Finally, I can share the user experience of my BYD Atto3, after 8000 miles of use.
From my original list of UPS and DOWNS, much just stayed put. The self-thinking wiper is just not on it and neither is the dashcam. I mounted a Garmin mini dashcam myself and as for the windshield wiper, I decided to install an automatic after market system myself.
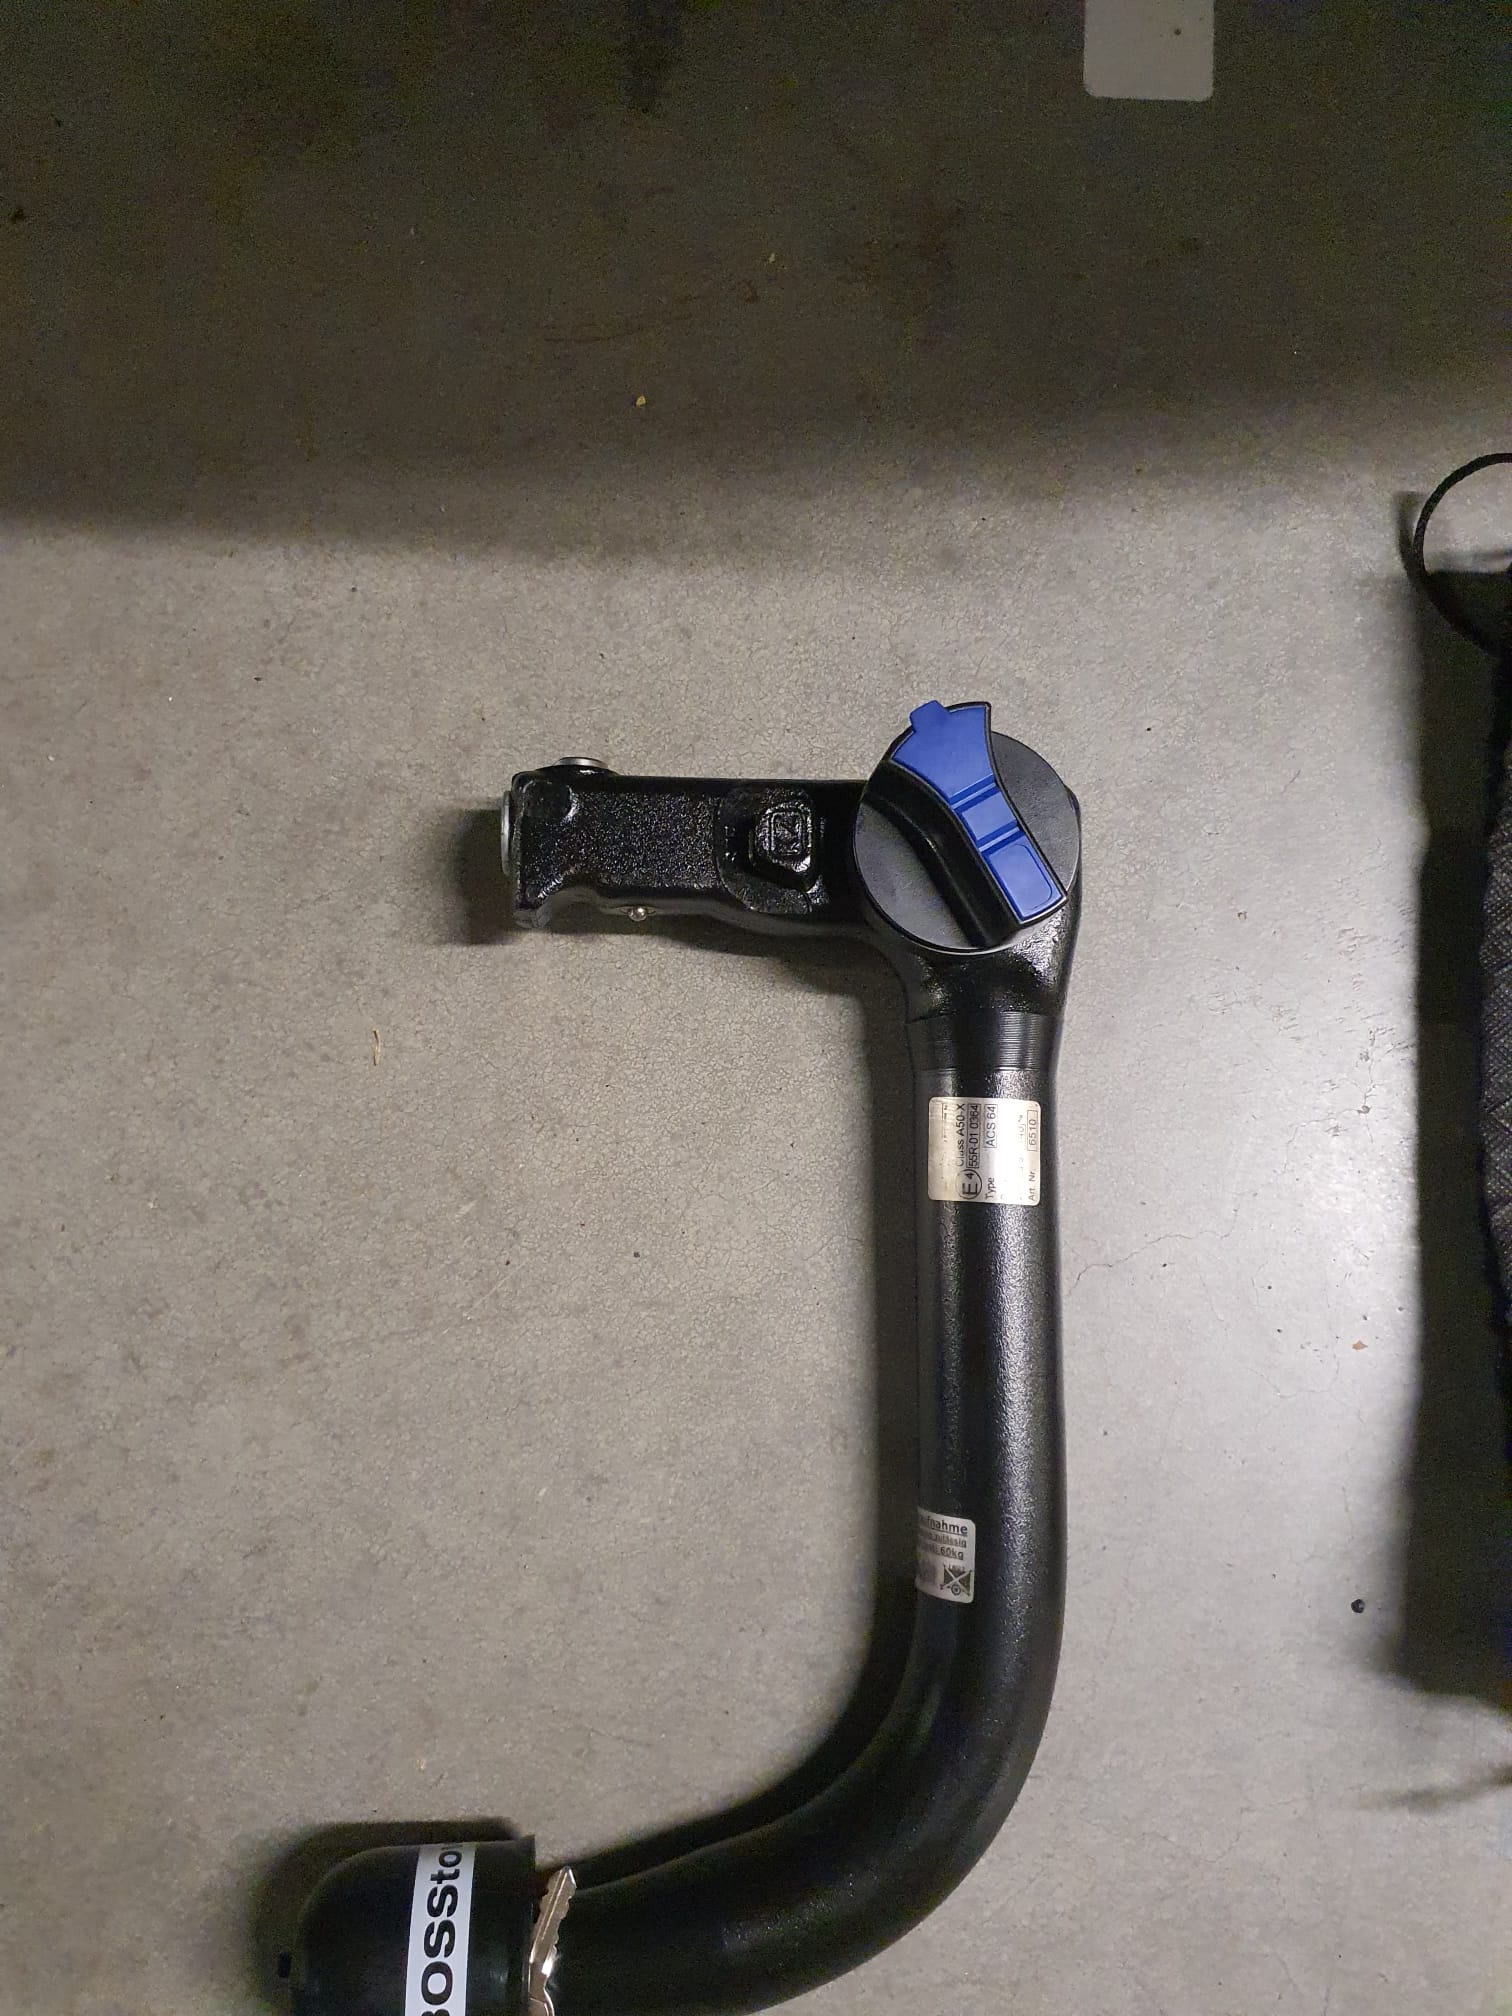
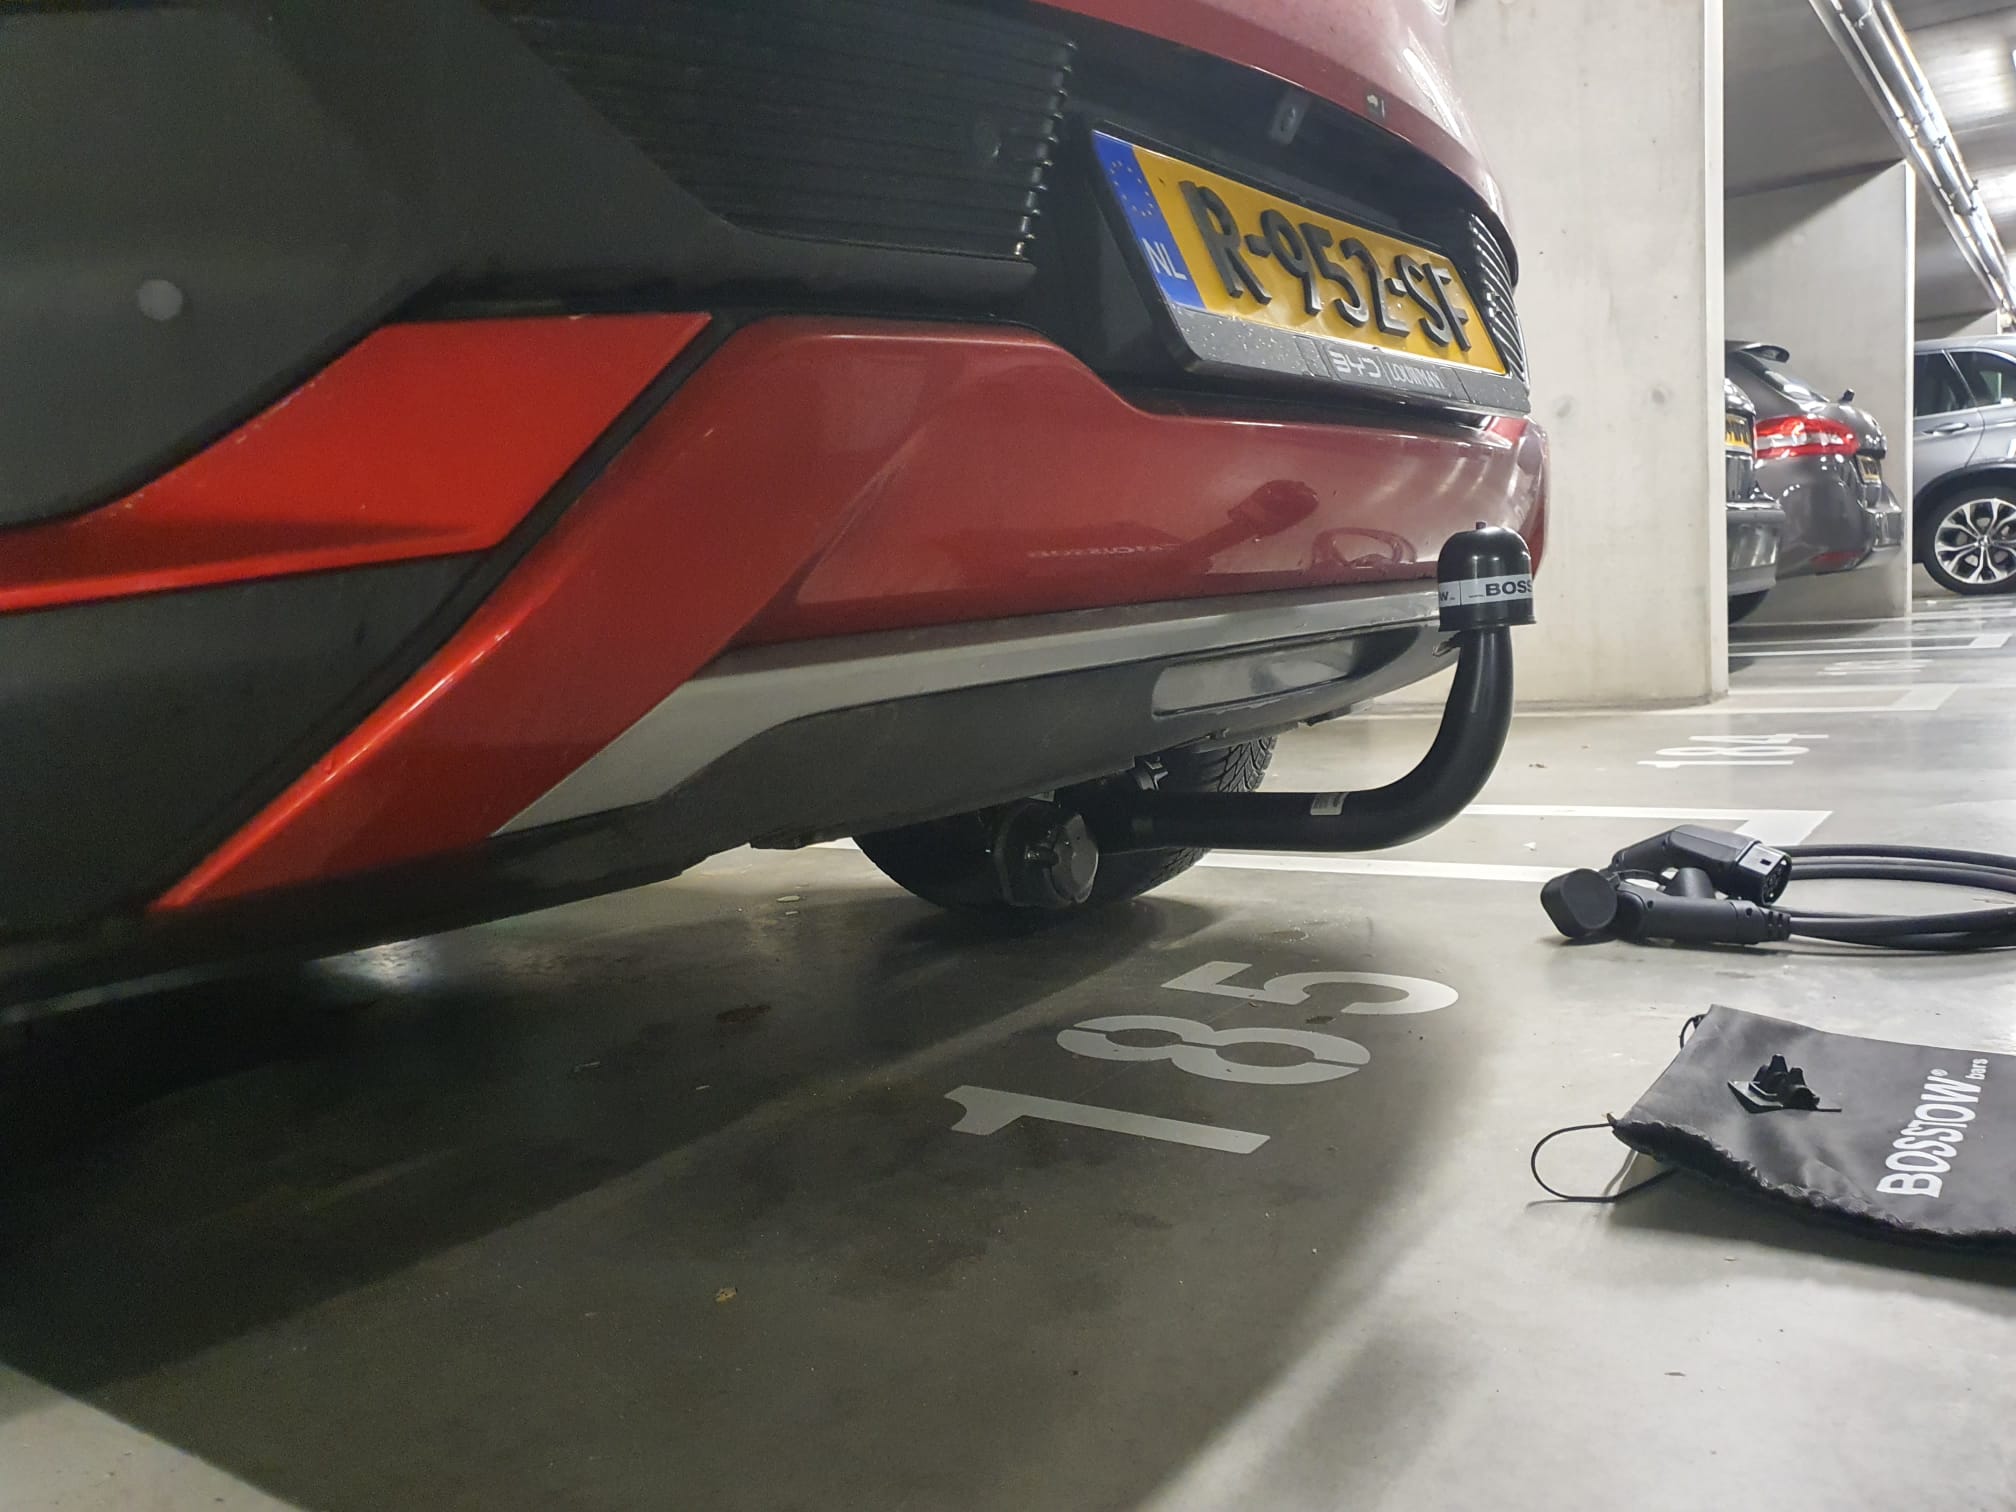
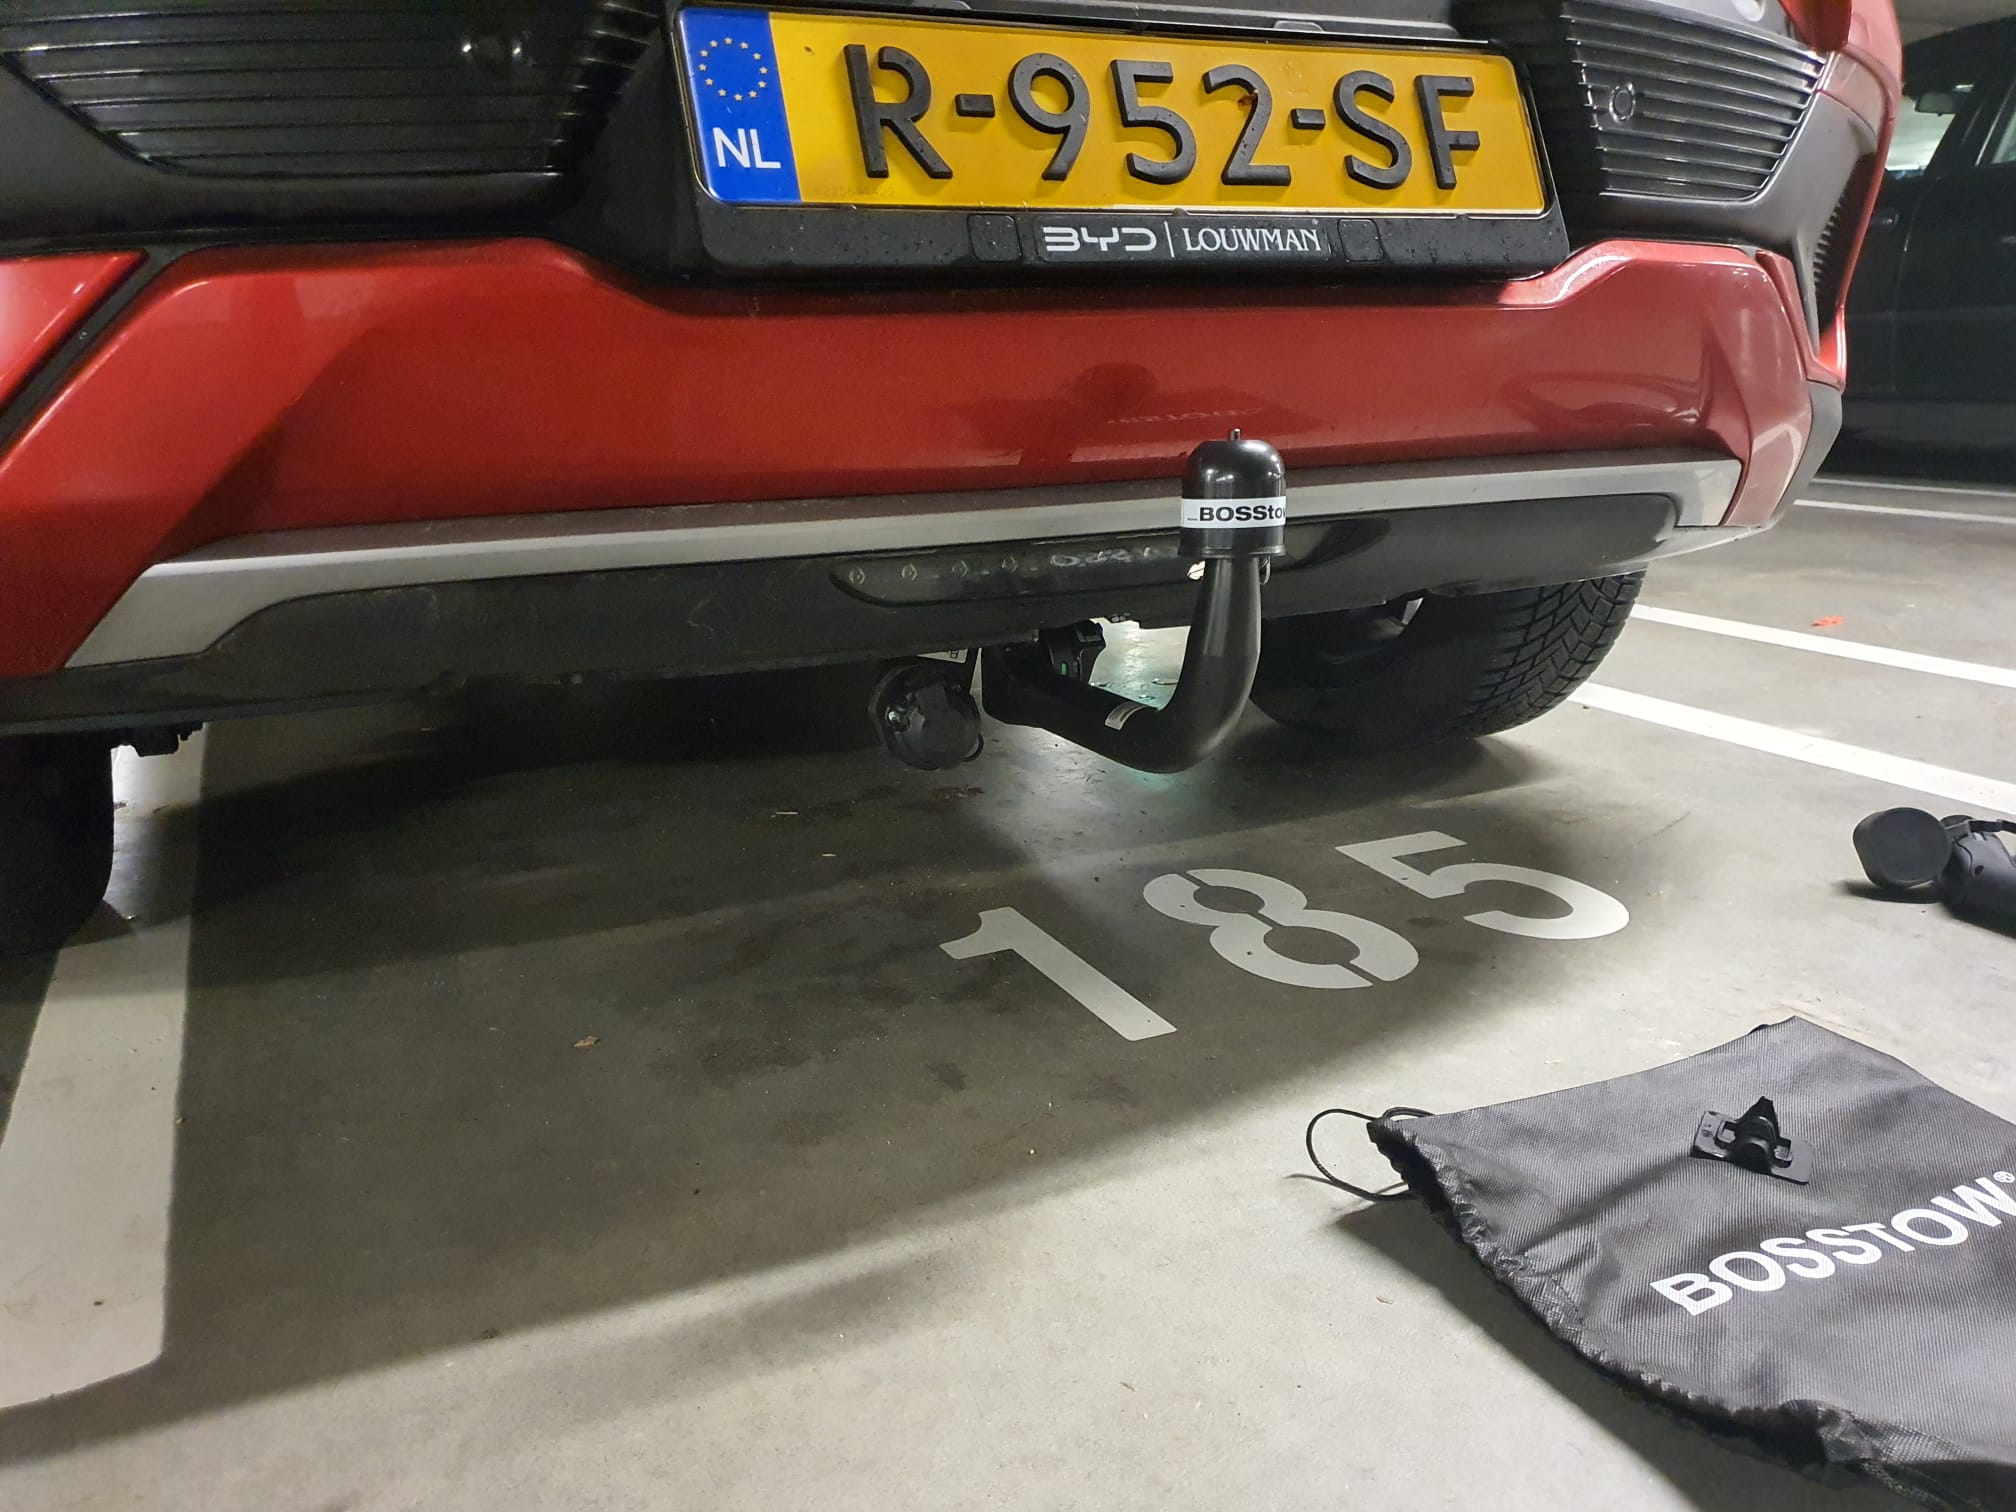
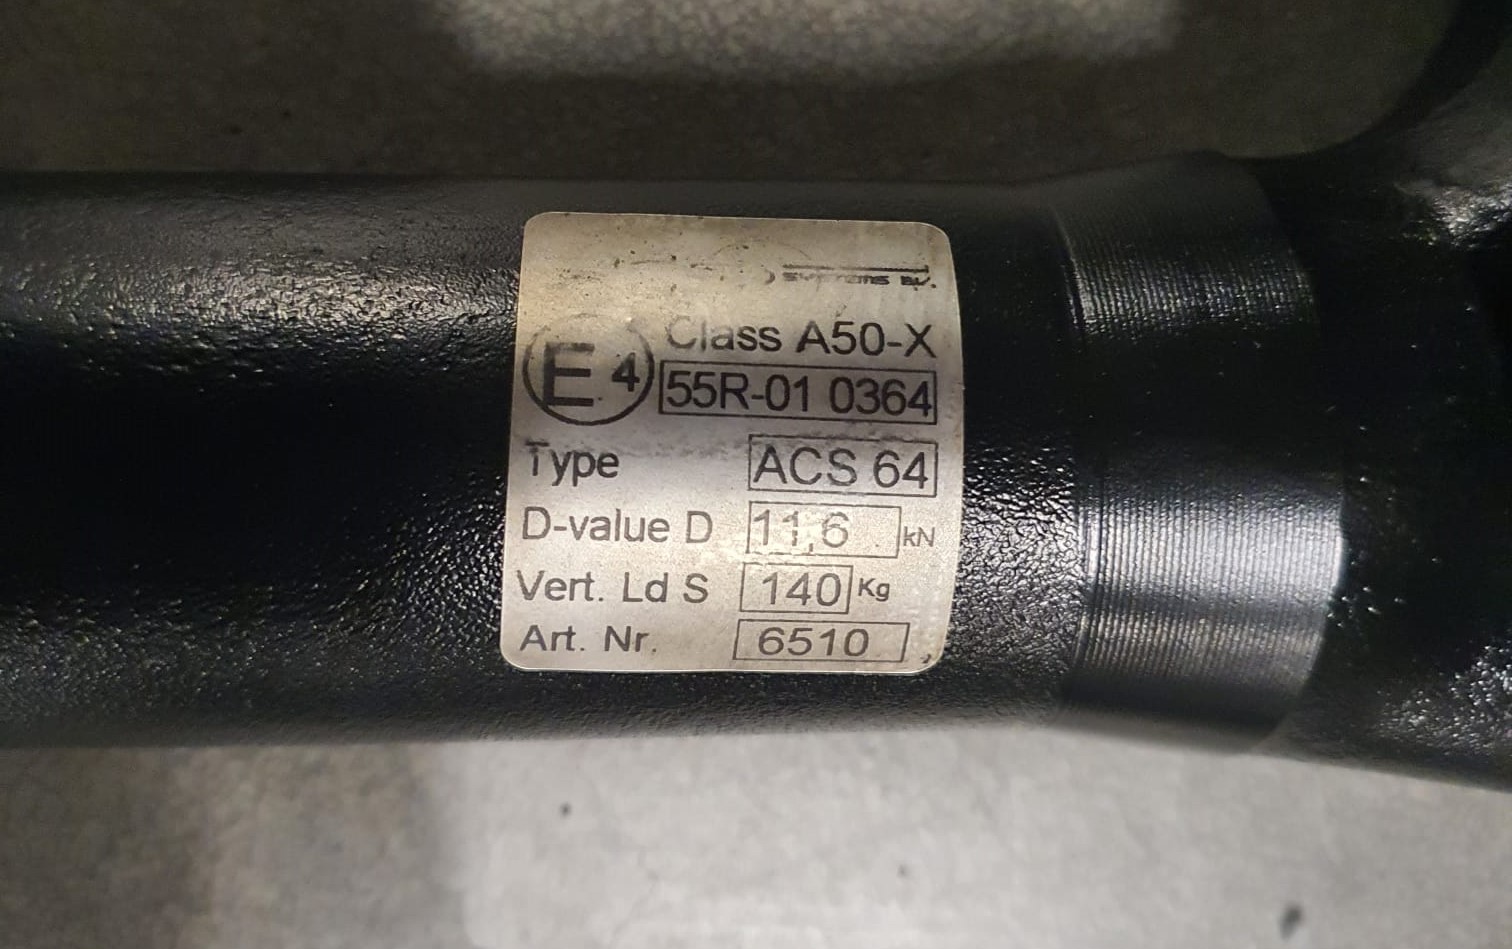
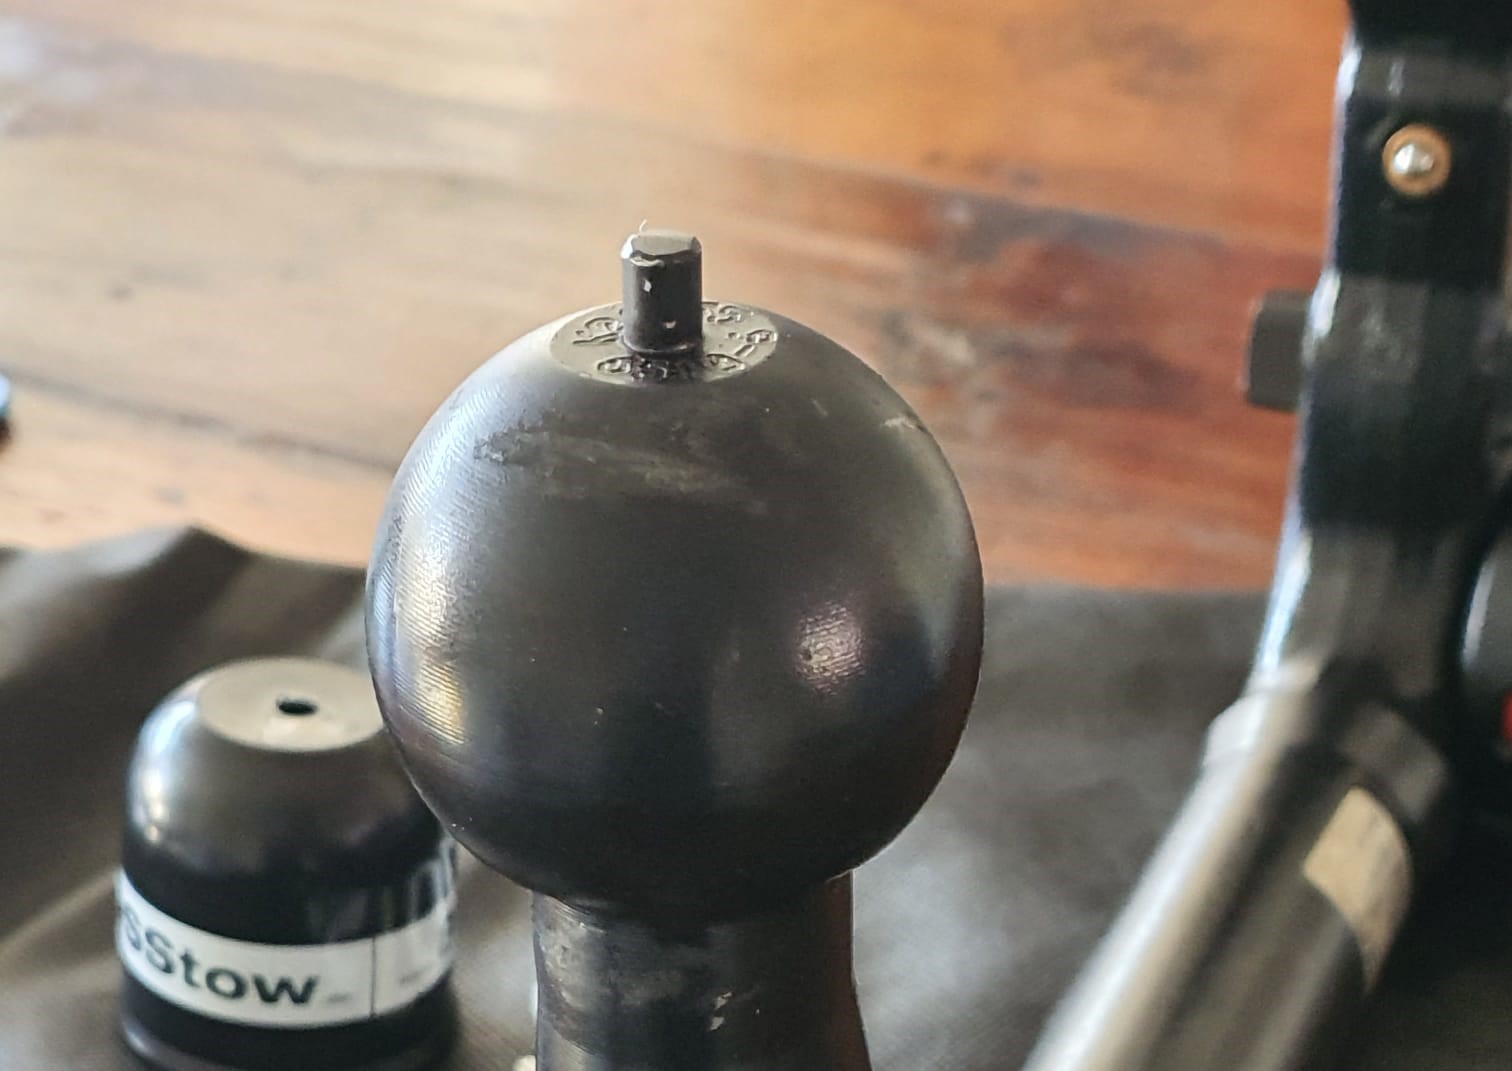
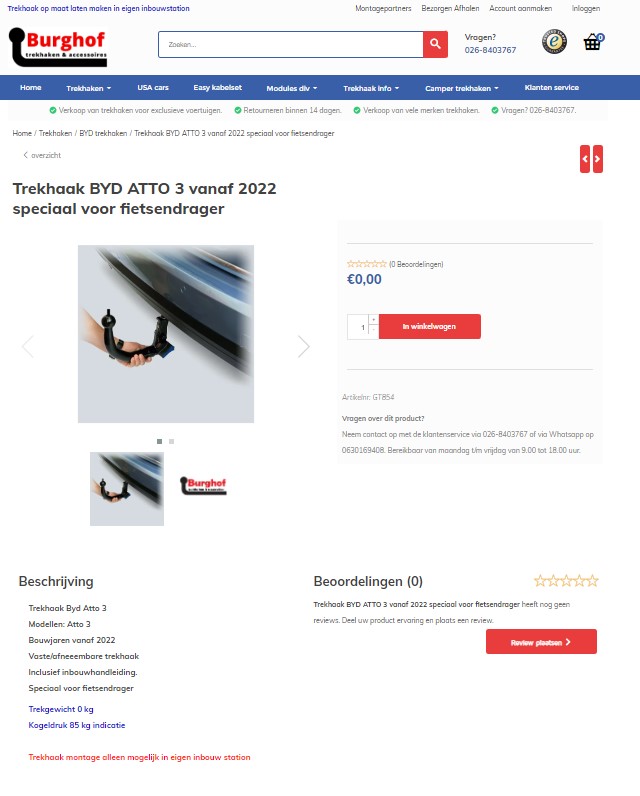
My car (first batch) has no tow bar homologation BUT for use with a bike carrier the solution has been found at Burghof tow bars.
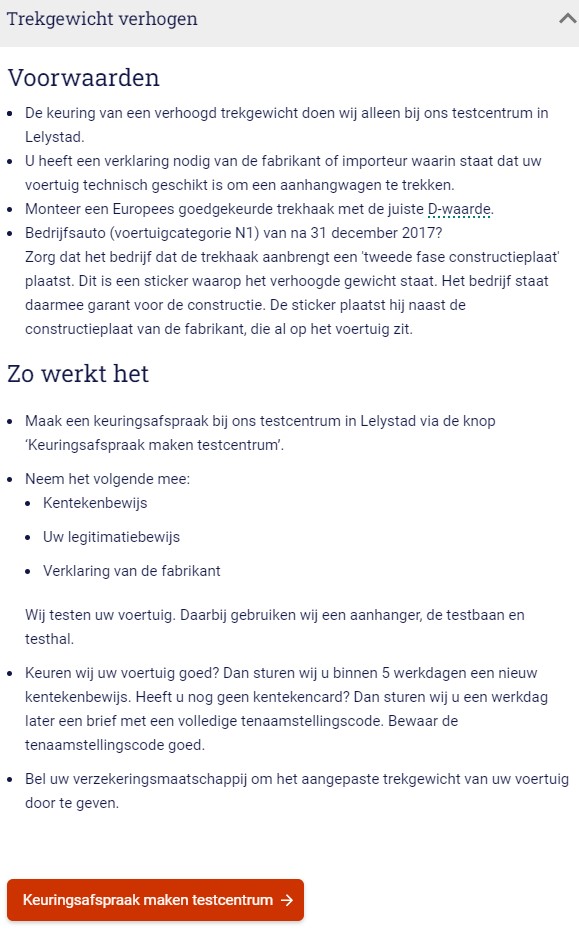
Possibly future ATTO 3 types do get tow bar homologation with a towing weight credited to the car’s birth tag.
The experiences:
The car drives, springs, steers and brakes fine in my opinion.
As with all EVs, the battery pack drains faster in cold weather than at an average of 20 degrees. I clearly noticed that this winter because I could only get about 320 kilometers far with the full battery. While I never drive faster than 105 km/h but always highway driving.
Now that the average temperature is 11-14 degrees I notice that I drive just a bit more economically than the WLTP estimate of 420 km on a full tank of over 60Kwh. The gauge on the dashboard shows a consumption of about 14kwH per 100 km and I drive mostly highway at 95 kmH maximum speed. Often with the ACC on I stick behind a car in front that drives approx 96km/h which is very relaxed driving. I keep the ACC at a distance of 3 lines.
Fast charging I usually do at Fastned and at about 20- 50% empty tank.
Then the battery is back to +40-45% capacity in 20-25 minutes.
The Atto3 then recharges about 25-30 kW with 88kW in those 20-25 minutes and with that you can drive about 150-200 km (if you take it easy).
And while the car is recharging I feel the need for coffee, so the charging/coffee time passes quickly.
This formula works fine for our travel and driving pattern. Kind of like being on vacation on a motorcycle, where I have to stretch my legs every 200 km and fill up the tank at the same time.
Notes on using the BYD Atto 3:
About the use of the car I do have some remarks in the meantime:
Lane assist: This is often not very useful on secondary roads. The car keeps ‘searching’ between the left and right side of the longitudinal stripes and is constantly steering with jerks. This results in continuous additional steering, not comparable to normal manual steering. So I always turn this function off when using the cruise control outside of straight roads and highways.
Open roof: unusable with the roof fully open, this only works below 80 km/h. The roar of the wind creates such a nuisance that with my then the roof always stays closed. Even on the ajar position with the roof slightly raised in the first automatic position, above 80 km/h it is unfeasible in terms of noise, especially with headwinds or partial headwinds. In any case, the navigation and radio are then no longer usable.
Automatic steering corrections: It took a lot of getting used to, especially that it cannot be turned off except to turn it off again each trip. As I noticed, the steering corrections are based on regular roads, with regular road lines. On N roads in the Netherlands, in our area (e.g. Kamerik, Kockengen, etc.) there are roads with no center line and broken side lines. If the traffic on both lanes obeys the side stripes you will collide with each other, due to the limited road width. So you have to drive just over the broken stripes, on the right side of them. Then you can drive normally past the oncoming car. The car cannot handle this and persistently corrects the car back to the left in left turns. Because it is done structurally by the car, I have gotten used to it and am no longer startled by these corrections, which I immediately correct again. By the way, as I can see on the road, it does scare oncoming traffic.
Navigation: the ME-MAPS navigation does not have an integrated function with charging points for the car. That means I have to search for (Fastned and/or Shell recharger) charging points on my phone, and then look them up and set them as my travel destination in the car navigation. Missed opportunity as far as I’m concerned. When car android is finally available for the BYD Atto3, just transfer everything from the phone right away! NB: Apple carplay is available for the Atto3 but I always have Android phones. UPDATE 2023-04-16: The Atto’s navigation does (by now?) have the ability to navigate to the nearest charging point, configurable by capacity, both along the route and fastest reachable. The charging points are just not in the route on the screen. You really have to search separately. With the exception when you get below 50km charging range: Then the navigation would like to navigate you to the nearest charging point as a suggestion.
Air conditioning/heating function: The heat pump provides air conditioning/heating for both the interior and the battery. Apart from the somewhat unfortunate set up of controls with touch screen after touch screen before you have found what is needed, the settings do not appear to work. Setting a temperature does not lead to reaching and maintaining that temperature and the setting automatic does not work at all. The ‘defrost’ button works but none of the function buttons remember the previous usage setting. That seems very strange to me. On the road I am constantly adjusting between very hot and very cold. Only after half an hour of driving can you reach a more or less stable temperature. Why not just a temperature knob that does it? and an A/C knob that can be turned on/off would also be better. By the way, what is very important in our climate and really not possible in the Atto 3 : THE setting of the windshield fan and thereby also the dehumidifier button on/off. These are just not there as a button or setting. What you then have to do to operate this though :: Press the defrost button and then set everything manually each time. temperature, feet and/or body aeration: all can only be set on or off and the fan can only be set for all 3 outlet options AGAINST each other. I experience it as unworkable.
In my previous cars this was always available, therefore I do not understand what is going on here: Did BYD not take our humid and sometimes cold climate into account in the design of the A/C/heat pump controls?
In my opinion, it should be fixable with a software update, so I will also inform the importer about this.
Just a little additional comment about the Atto3’s heat/cool system: : The temperature is not adjustable below 16 degrees, then a LO comes into the picture. While I like to drive in a car in winter that is 10-14 degrees inside the car. Then I like to keep my coat on and the car feels nice and warm in frost when it is 10 degrees inside as well. No problem. But lower than 16 degrees just can’t be set.
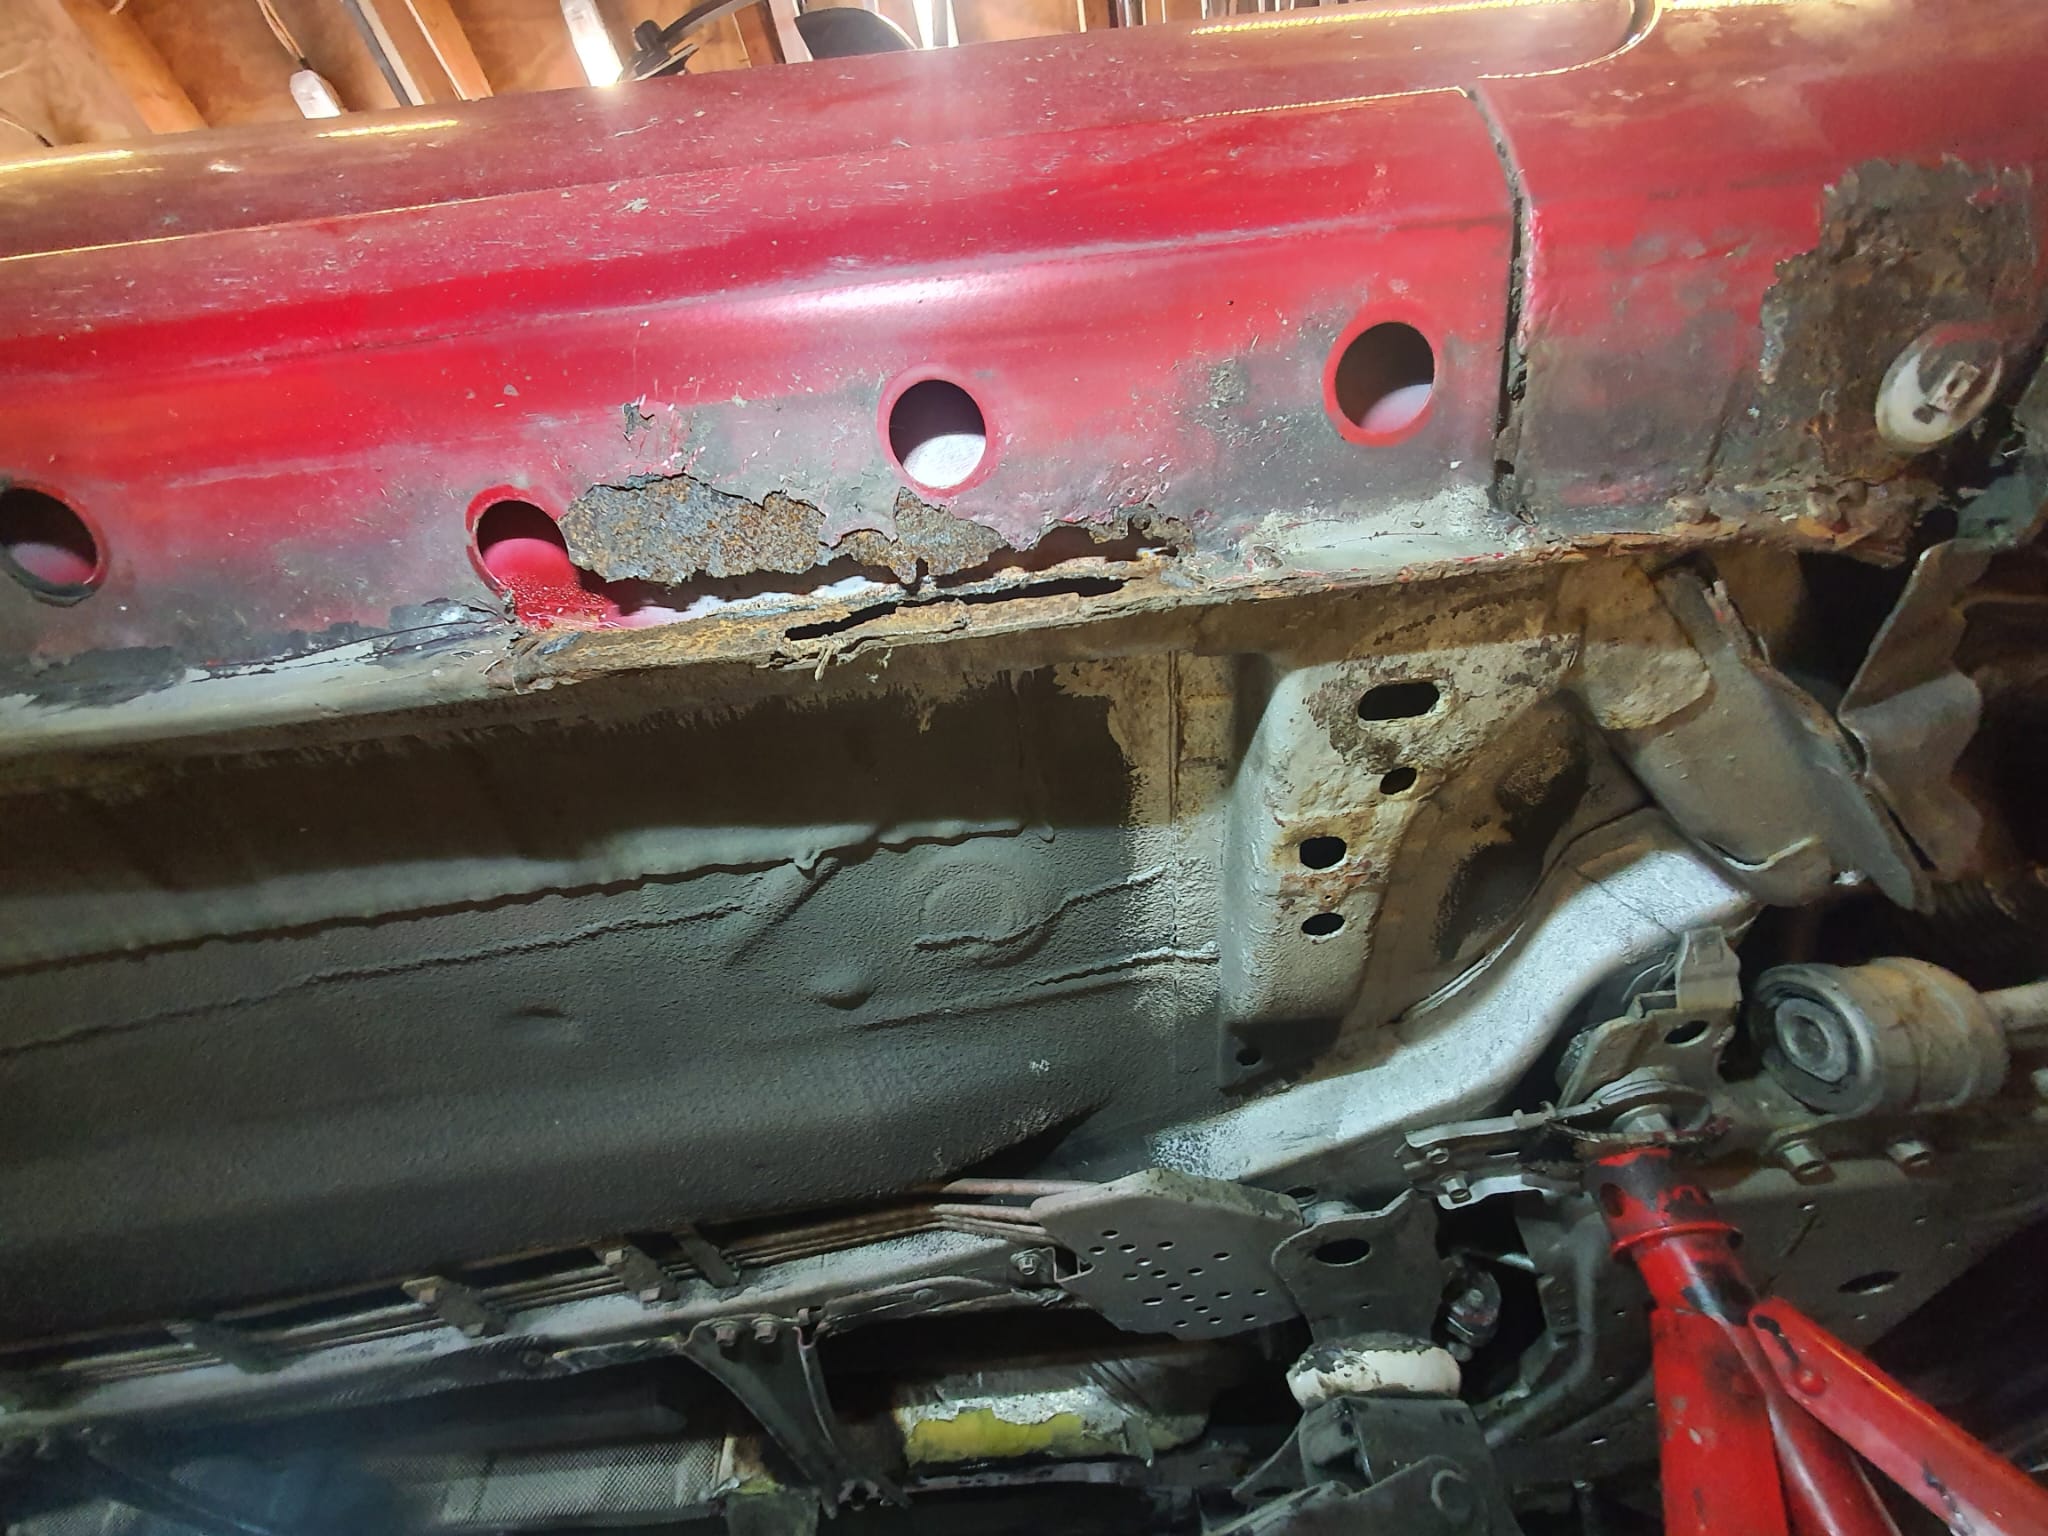
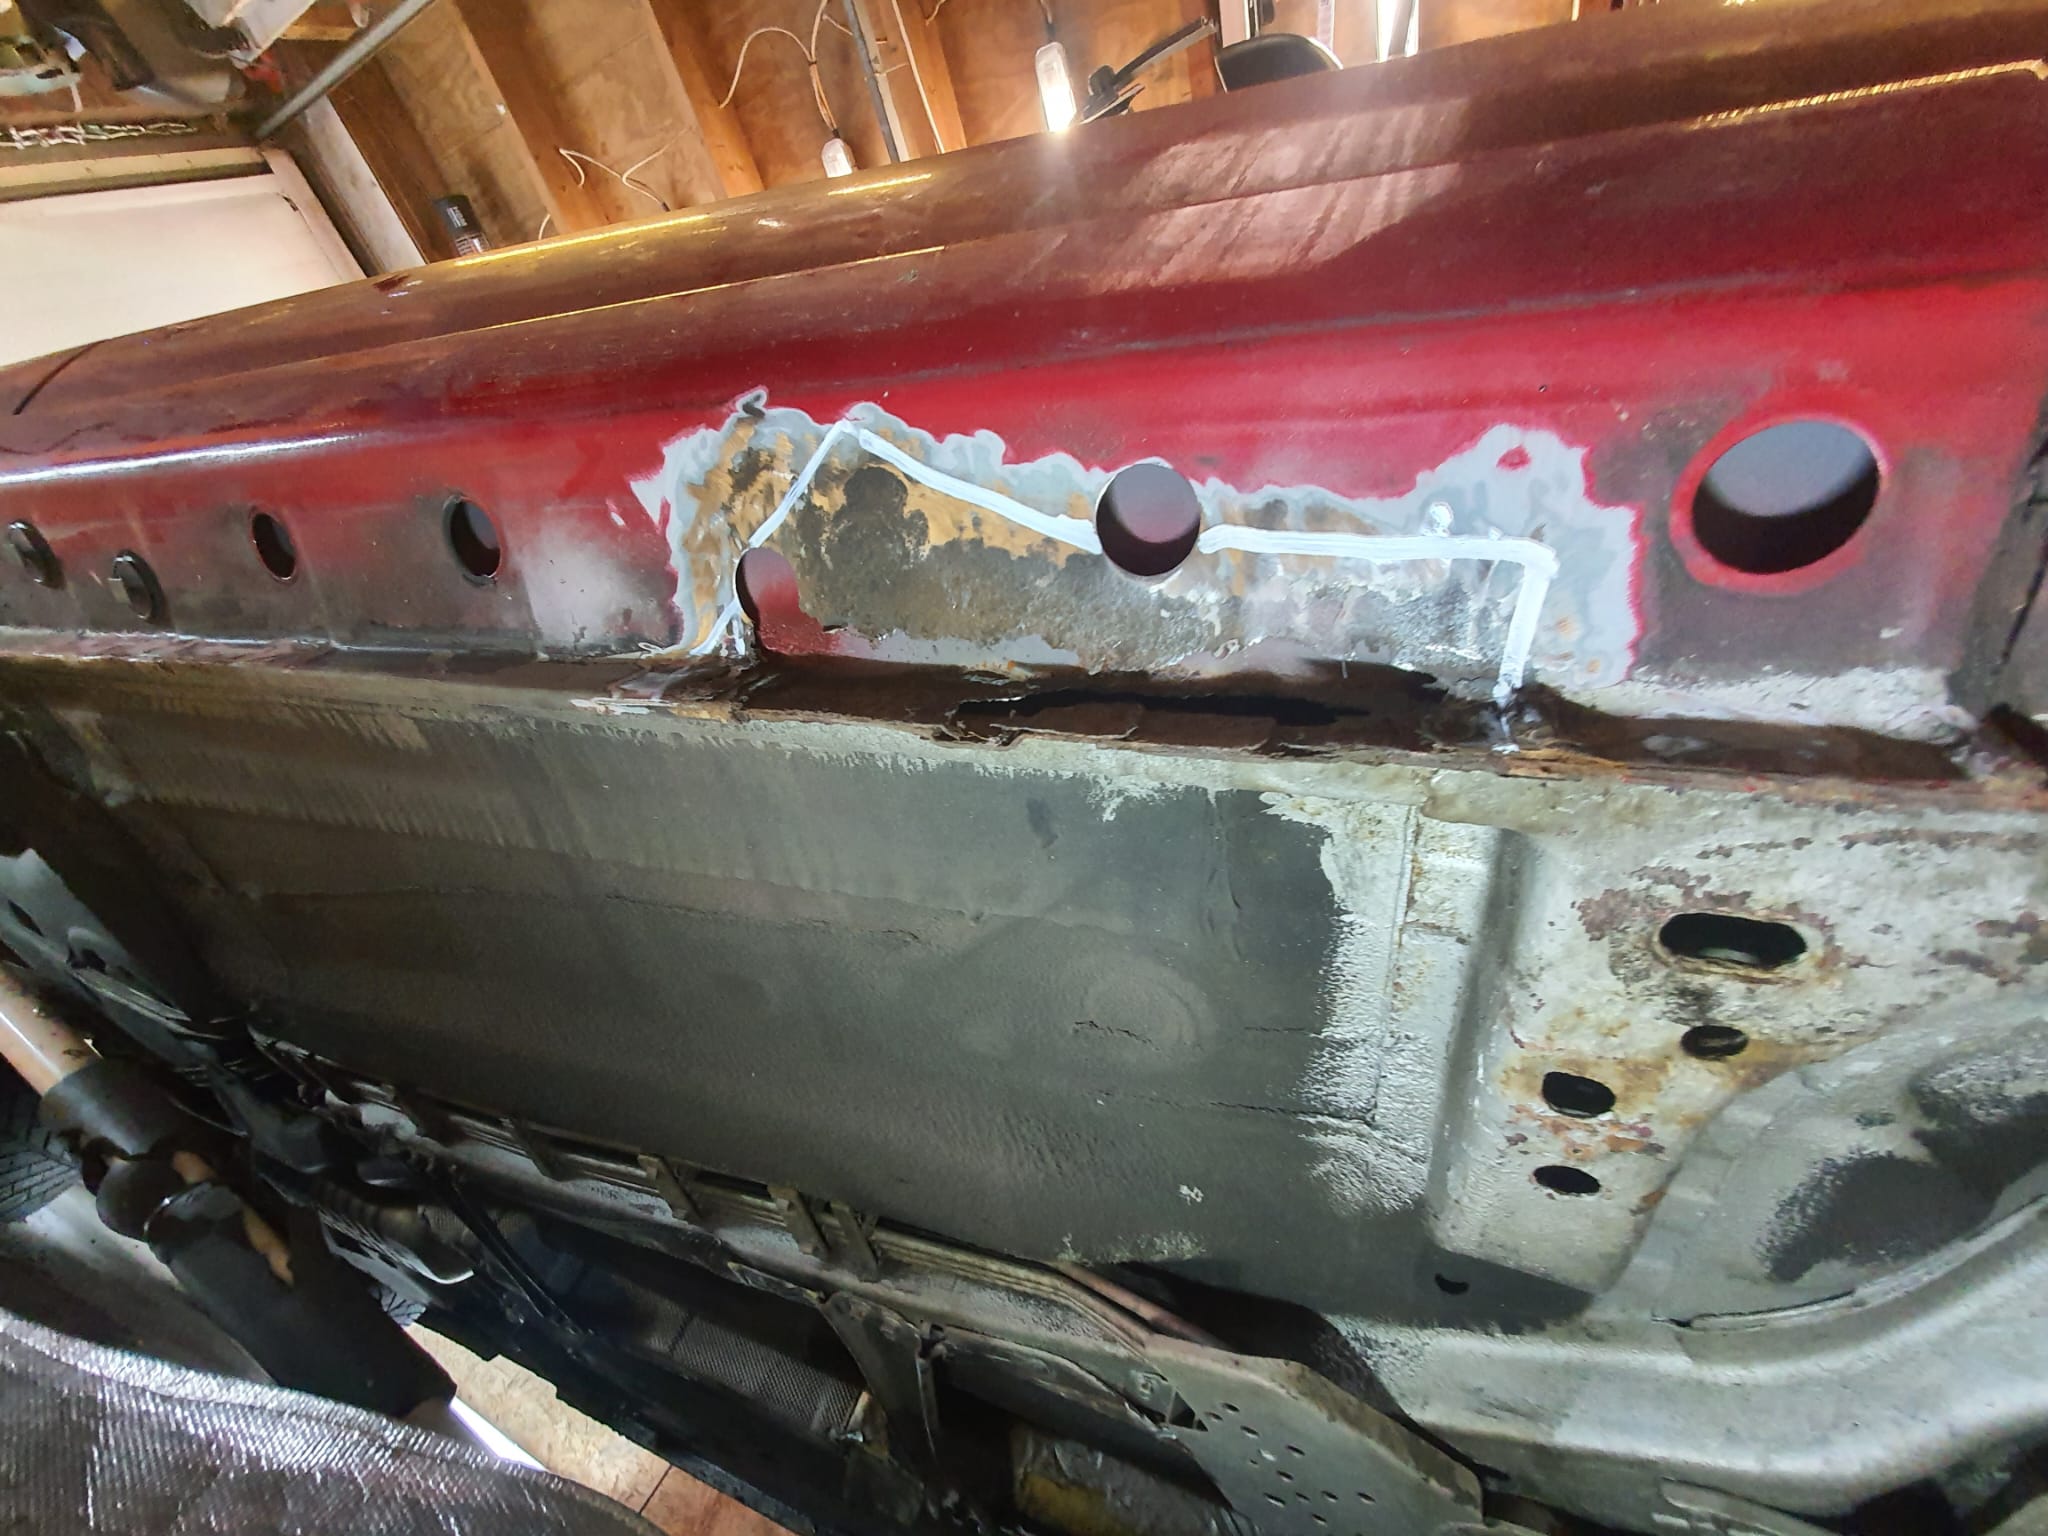
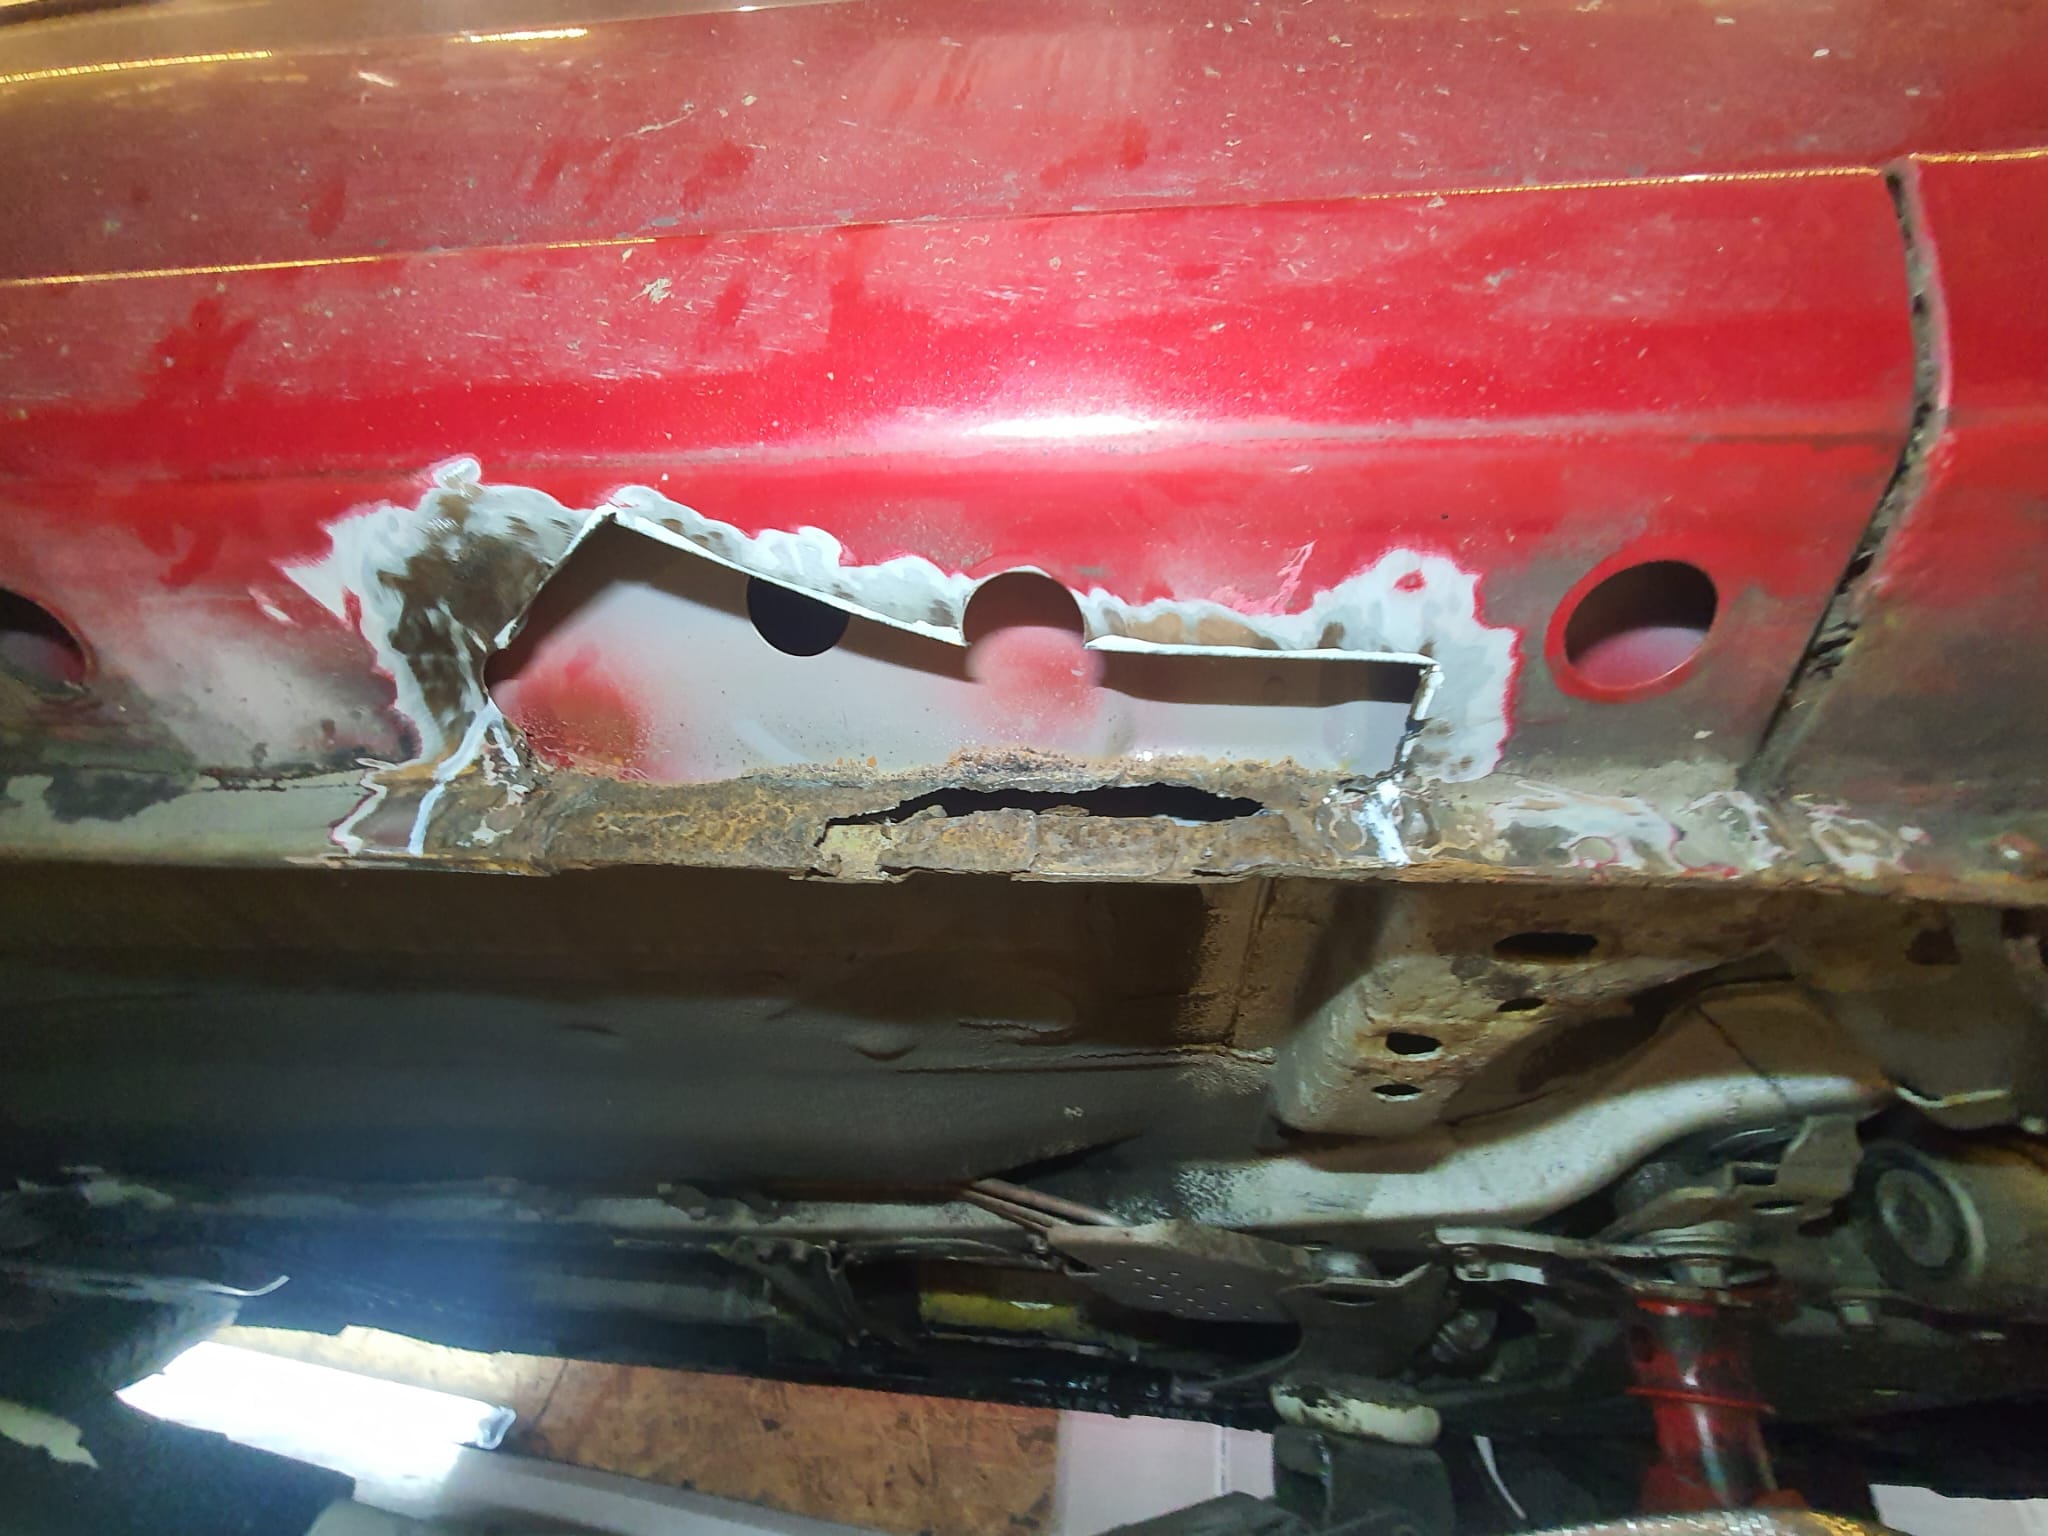
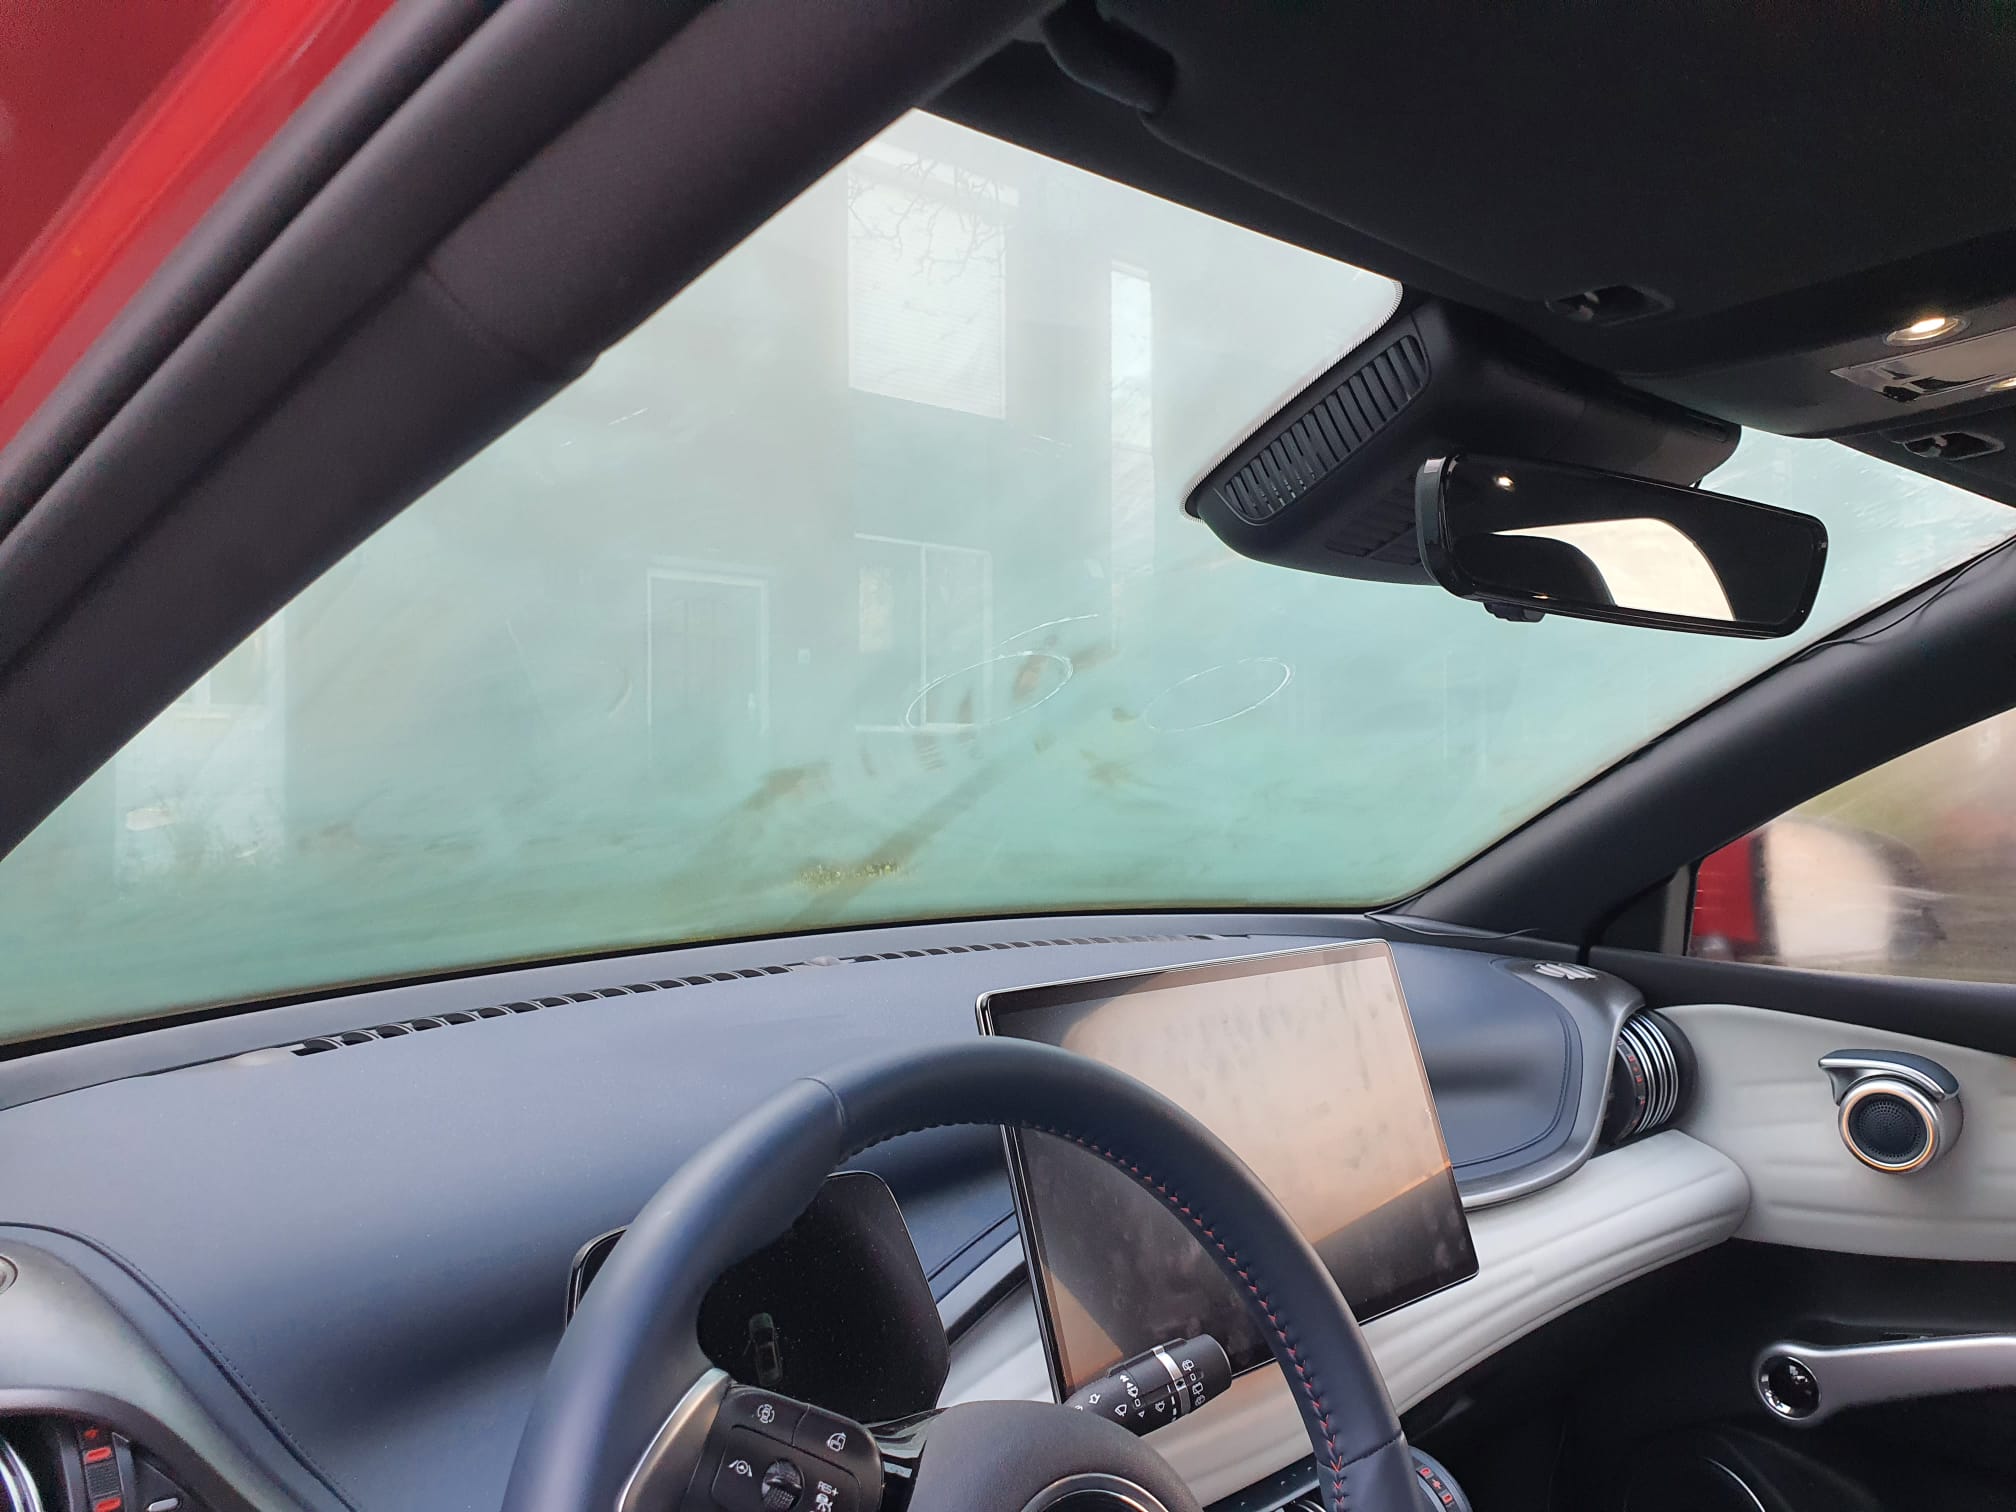
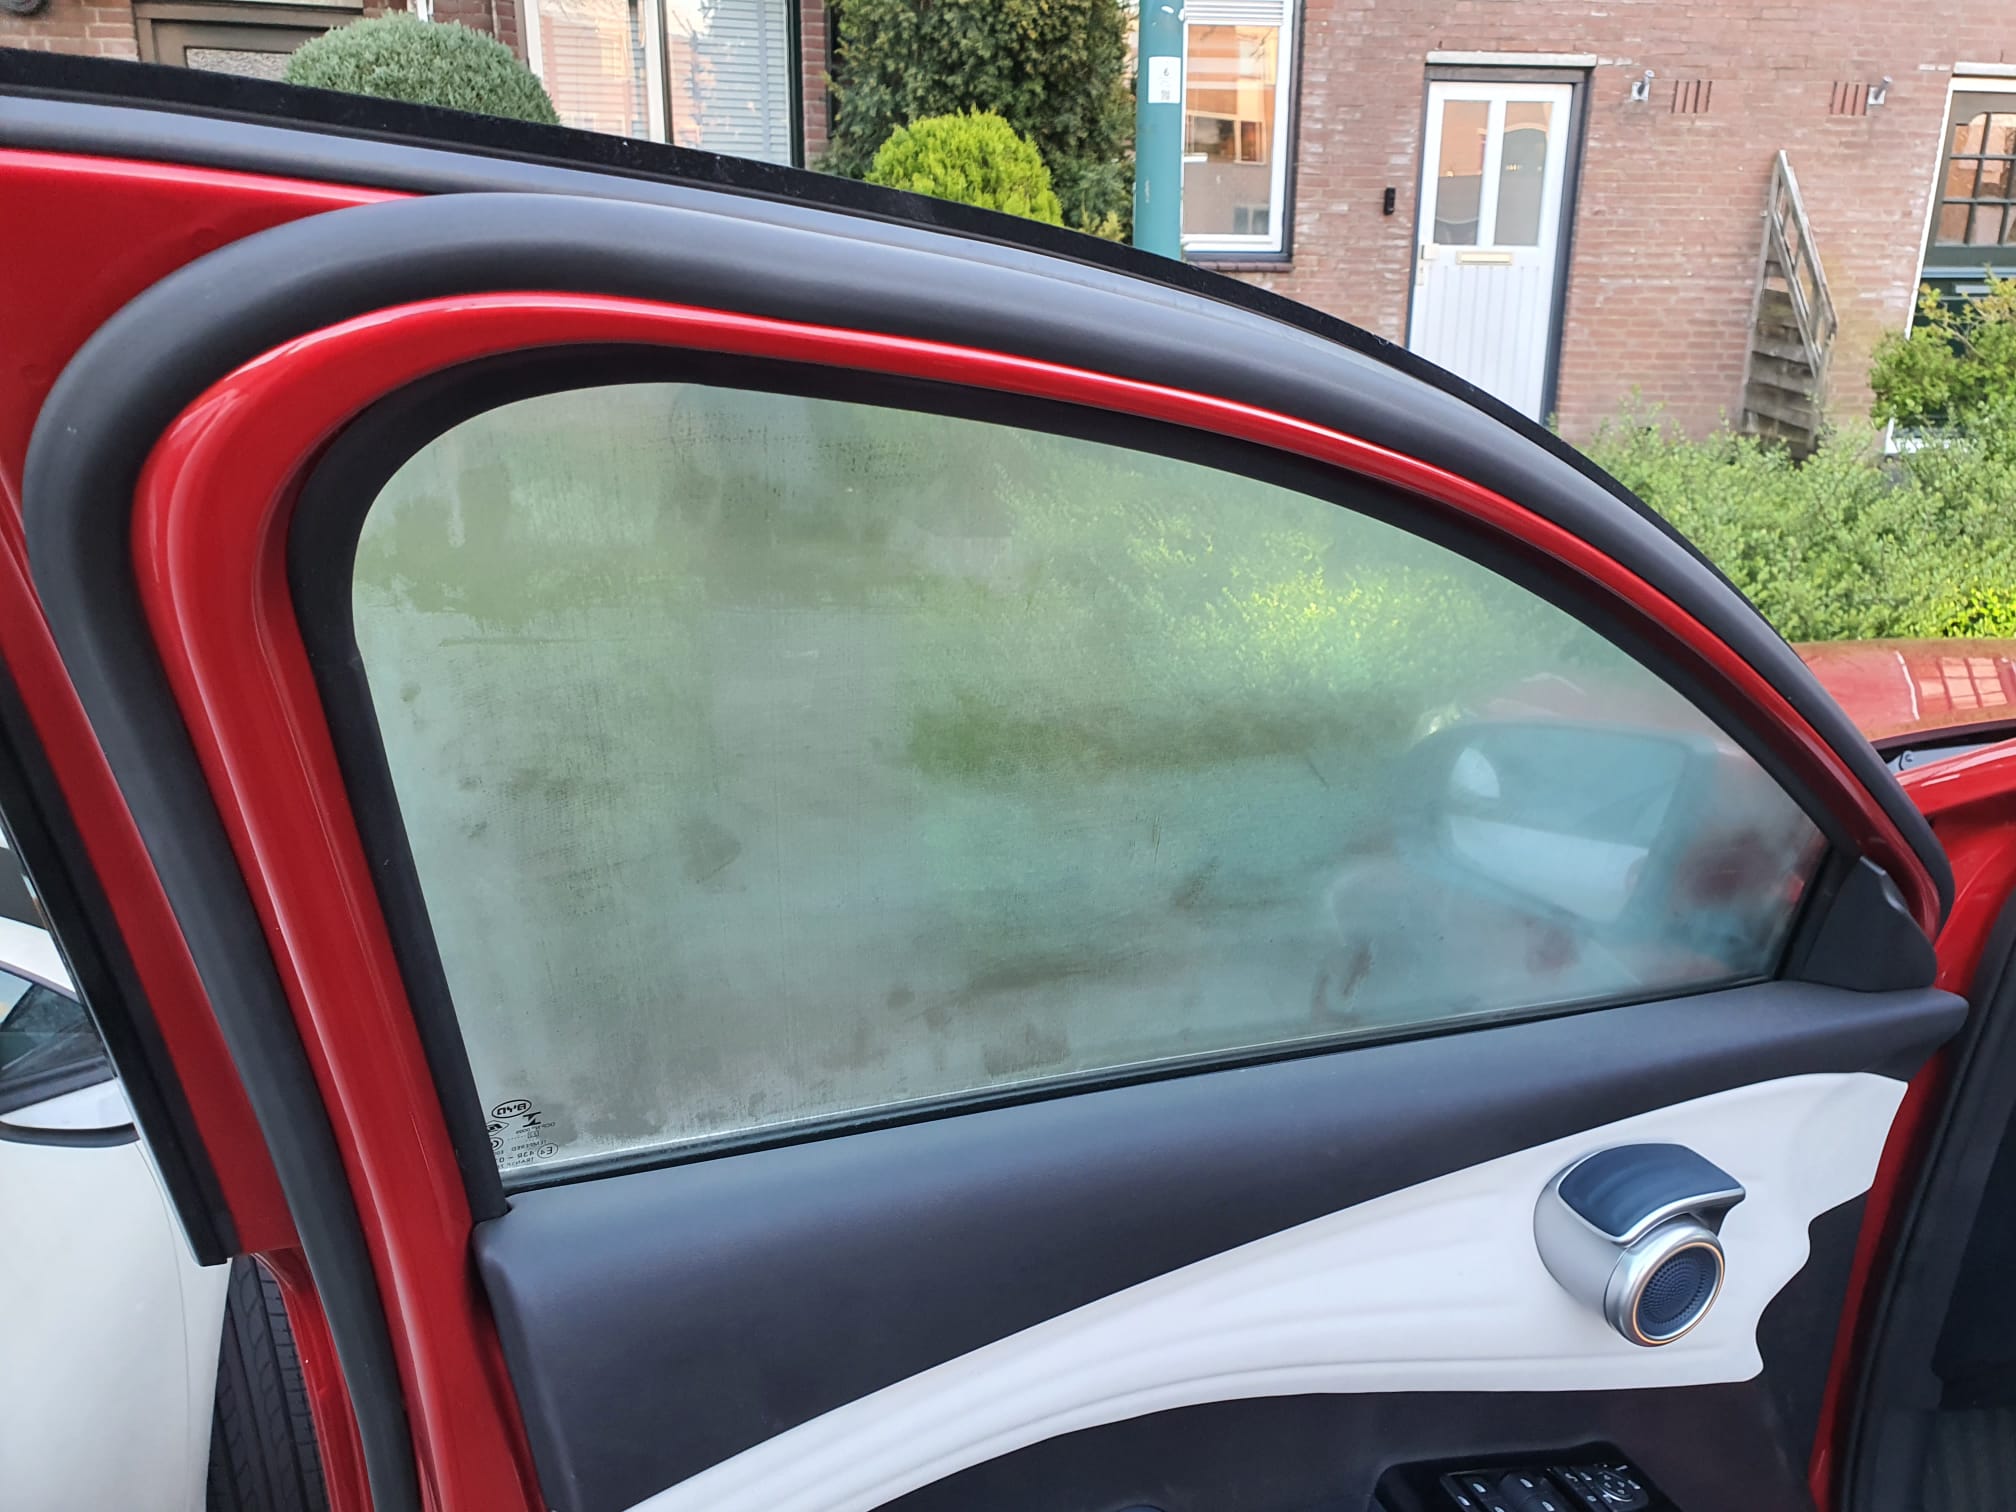
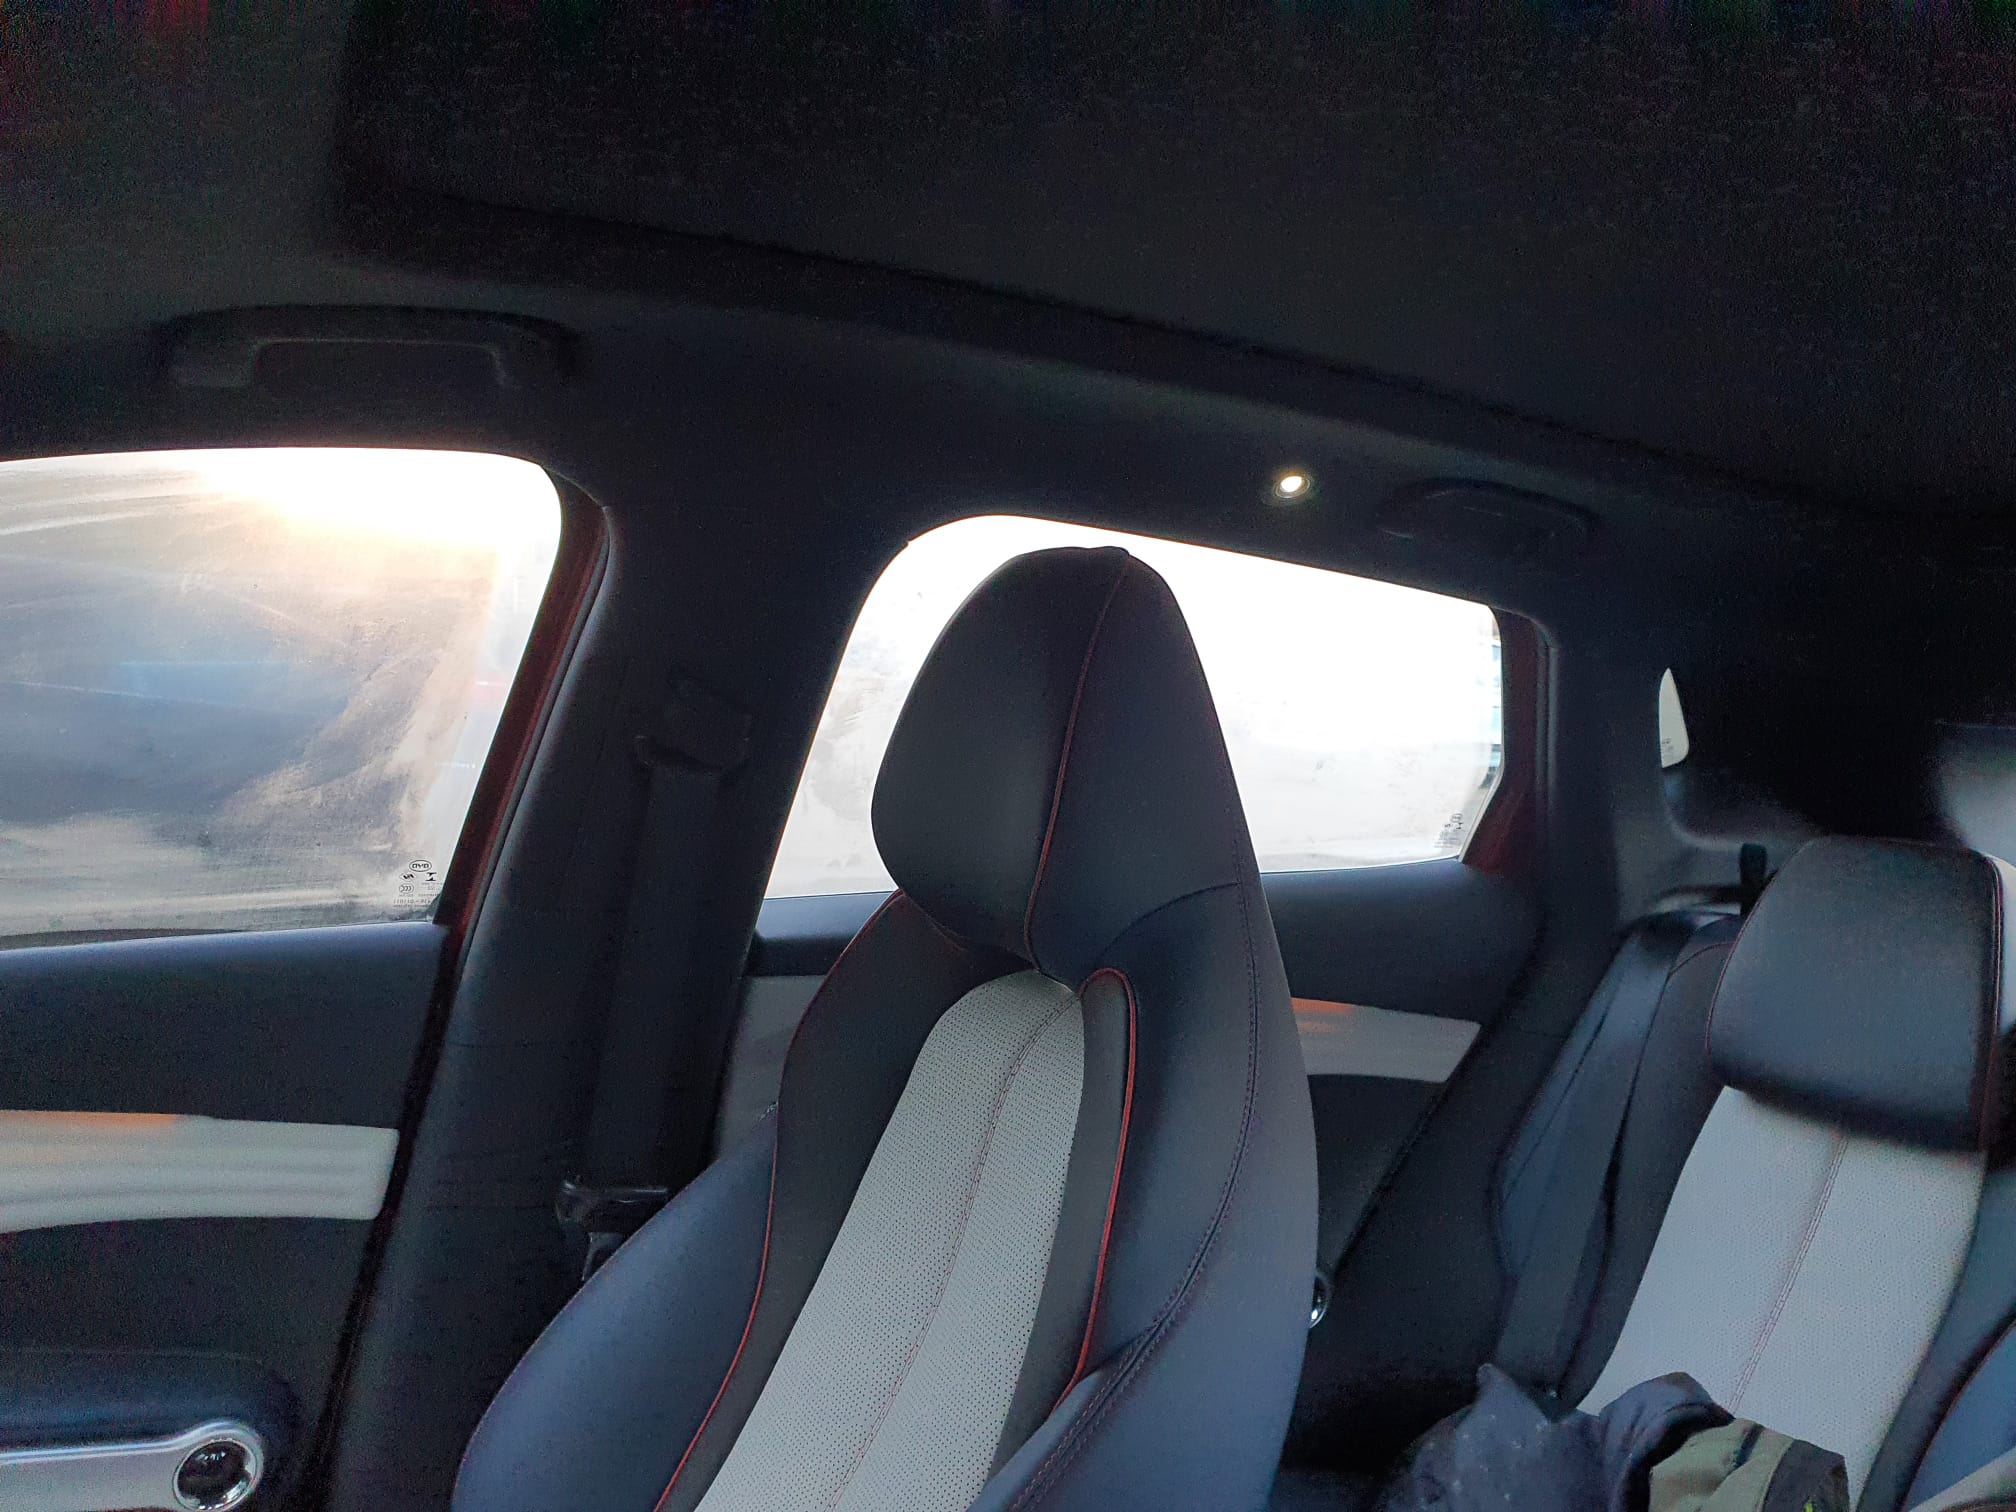
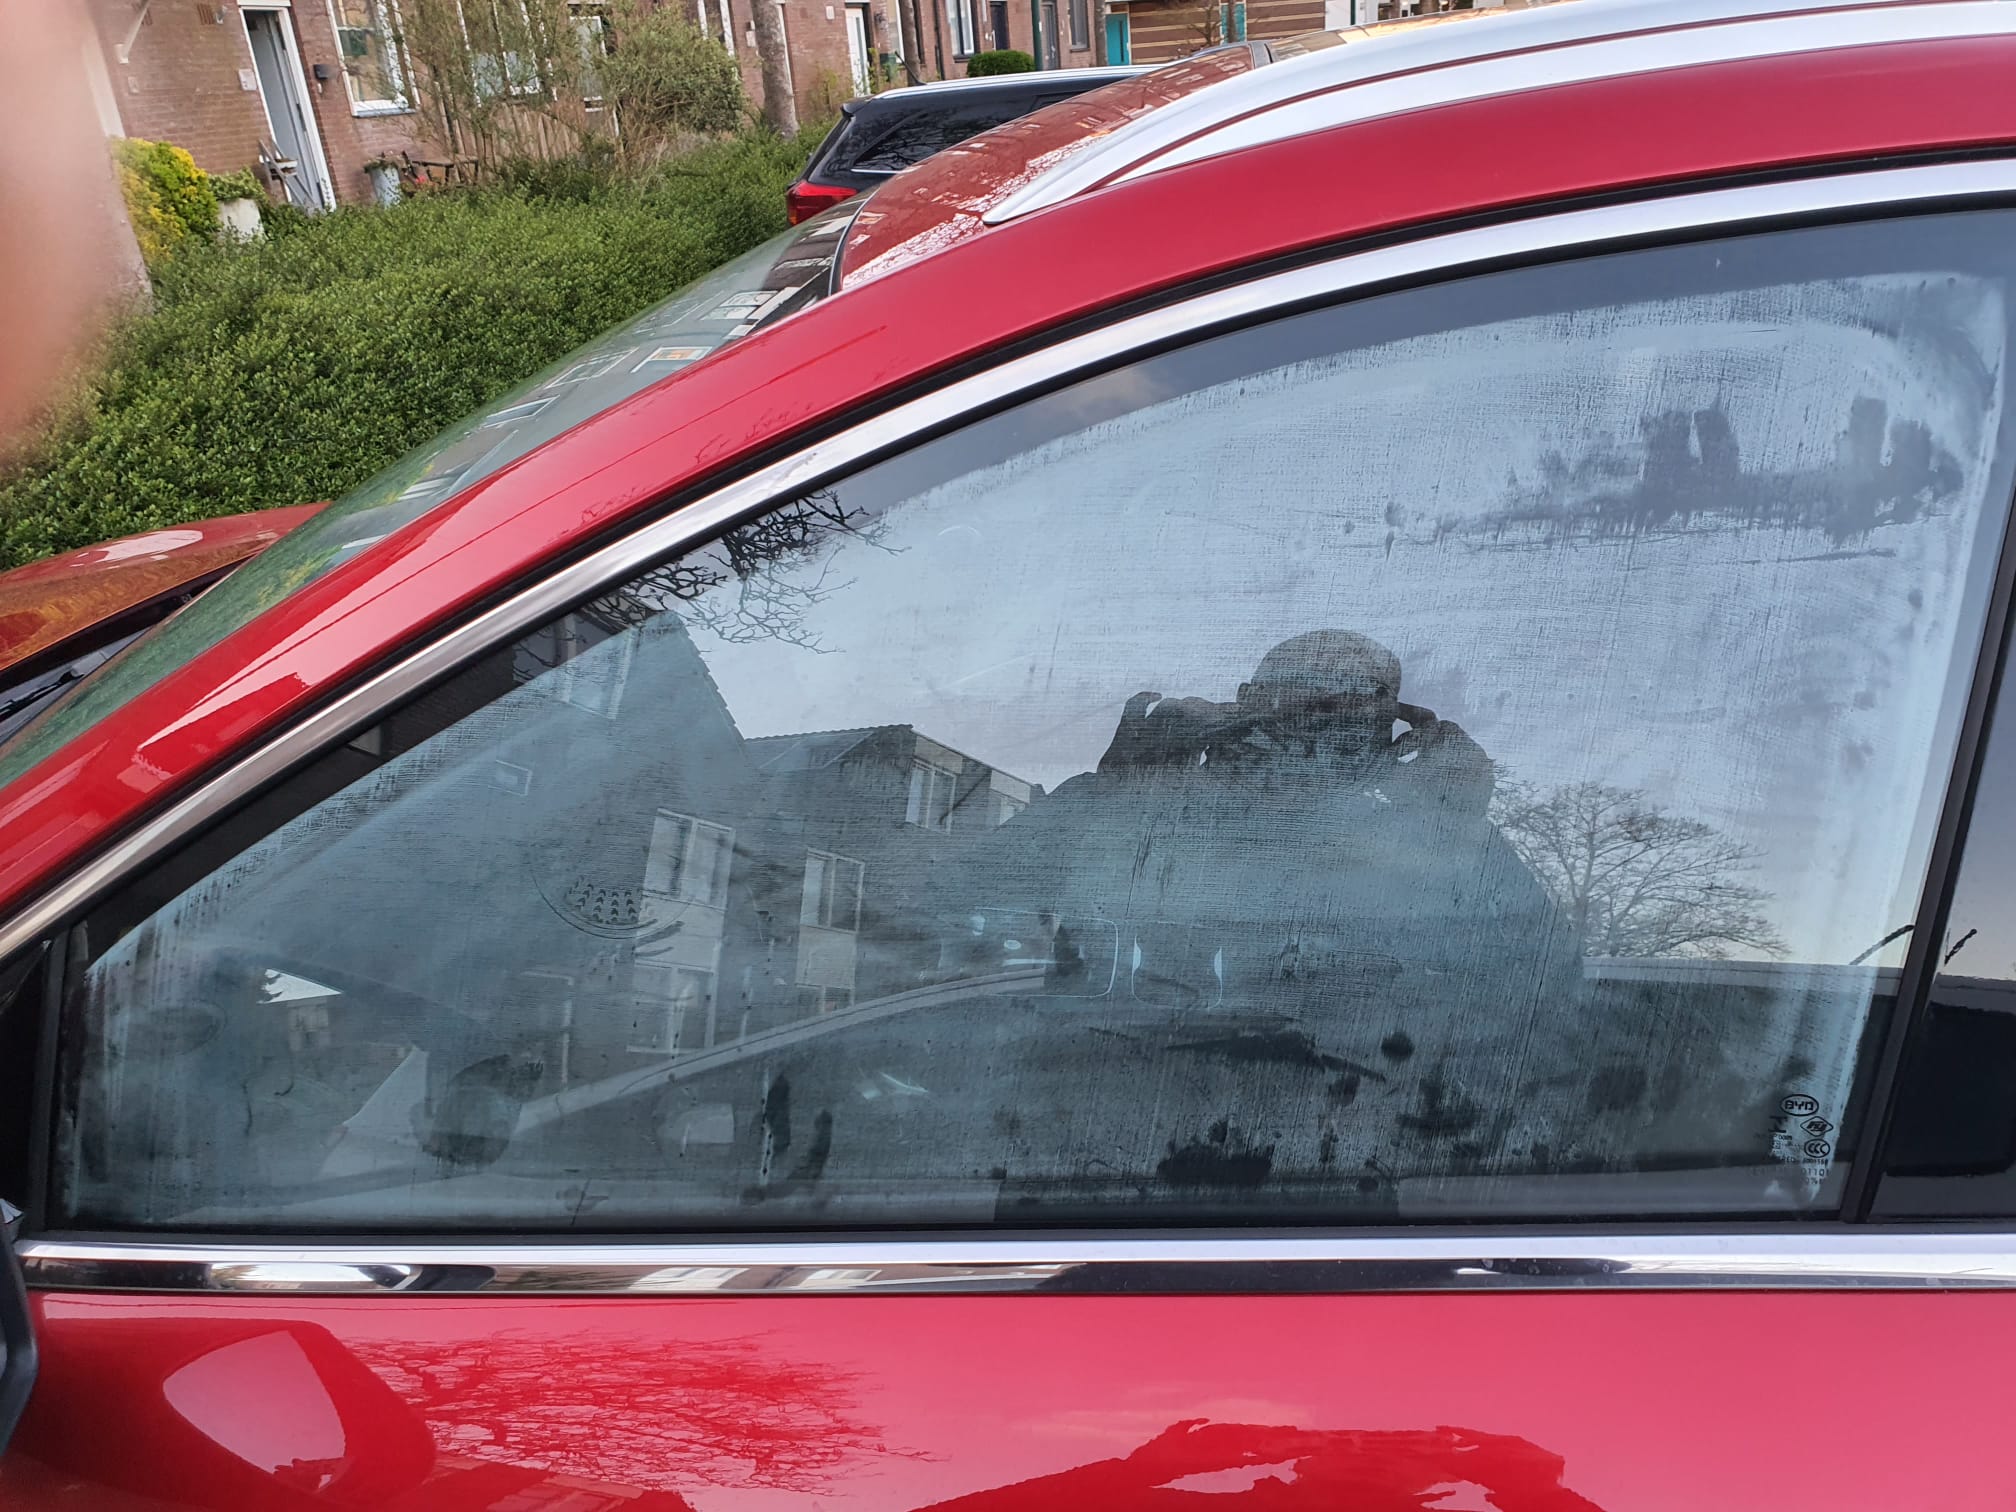
After an hour’s drive I park the car and when I get outside in the morning after 5-10 minutes at about 10 degrees the whole car is fogged up, and it takes quite a long time to get ready to drive again. According to BYD this is a known problem that can be solved by locking and unlocking the car twice when parking. Tried that but didn’t solve it for me. See the pictures:


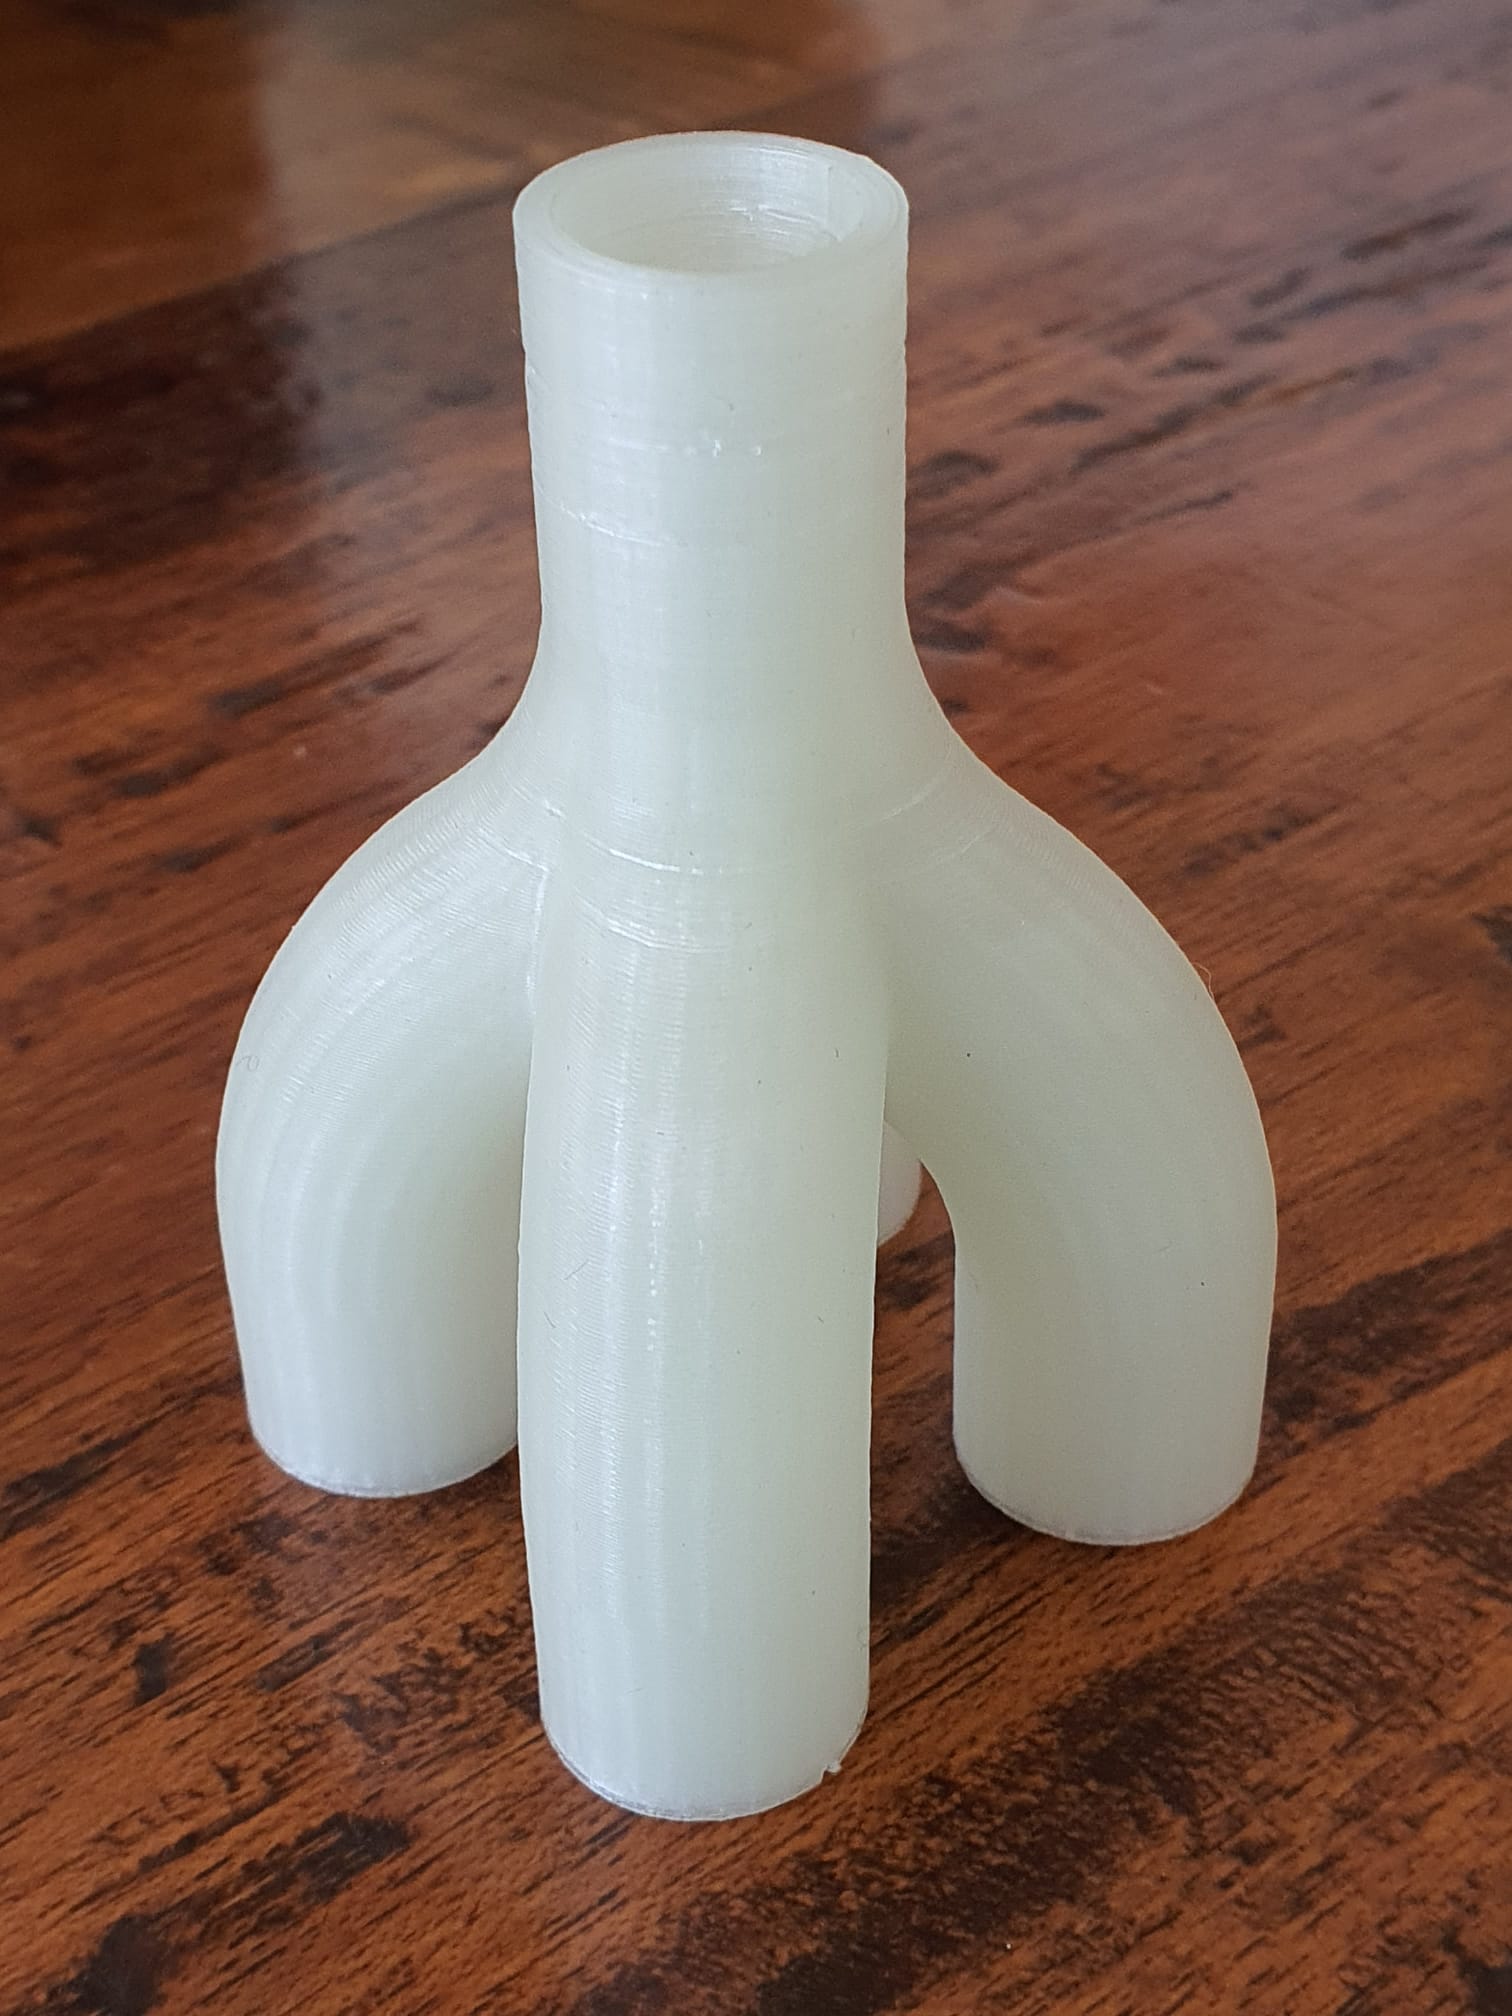
 Tea light chandelear straight very high size Jantec.nl 2023 04 20 V2b STL DOWNLOAD
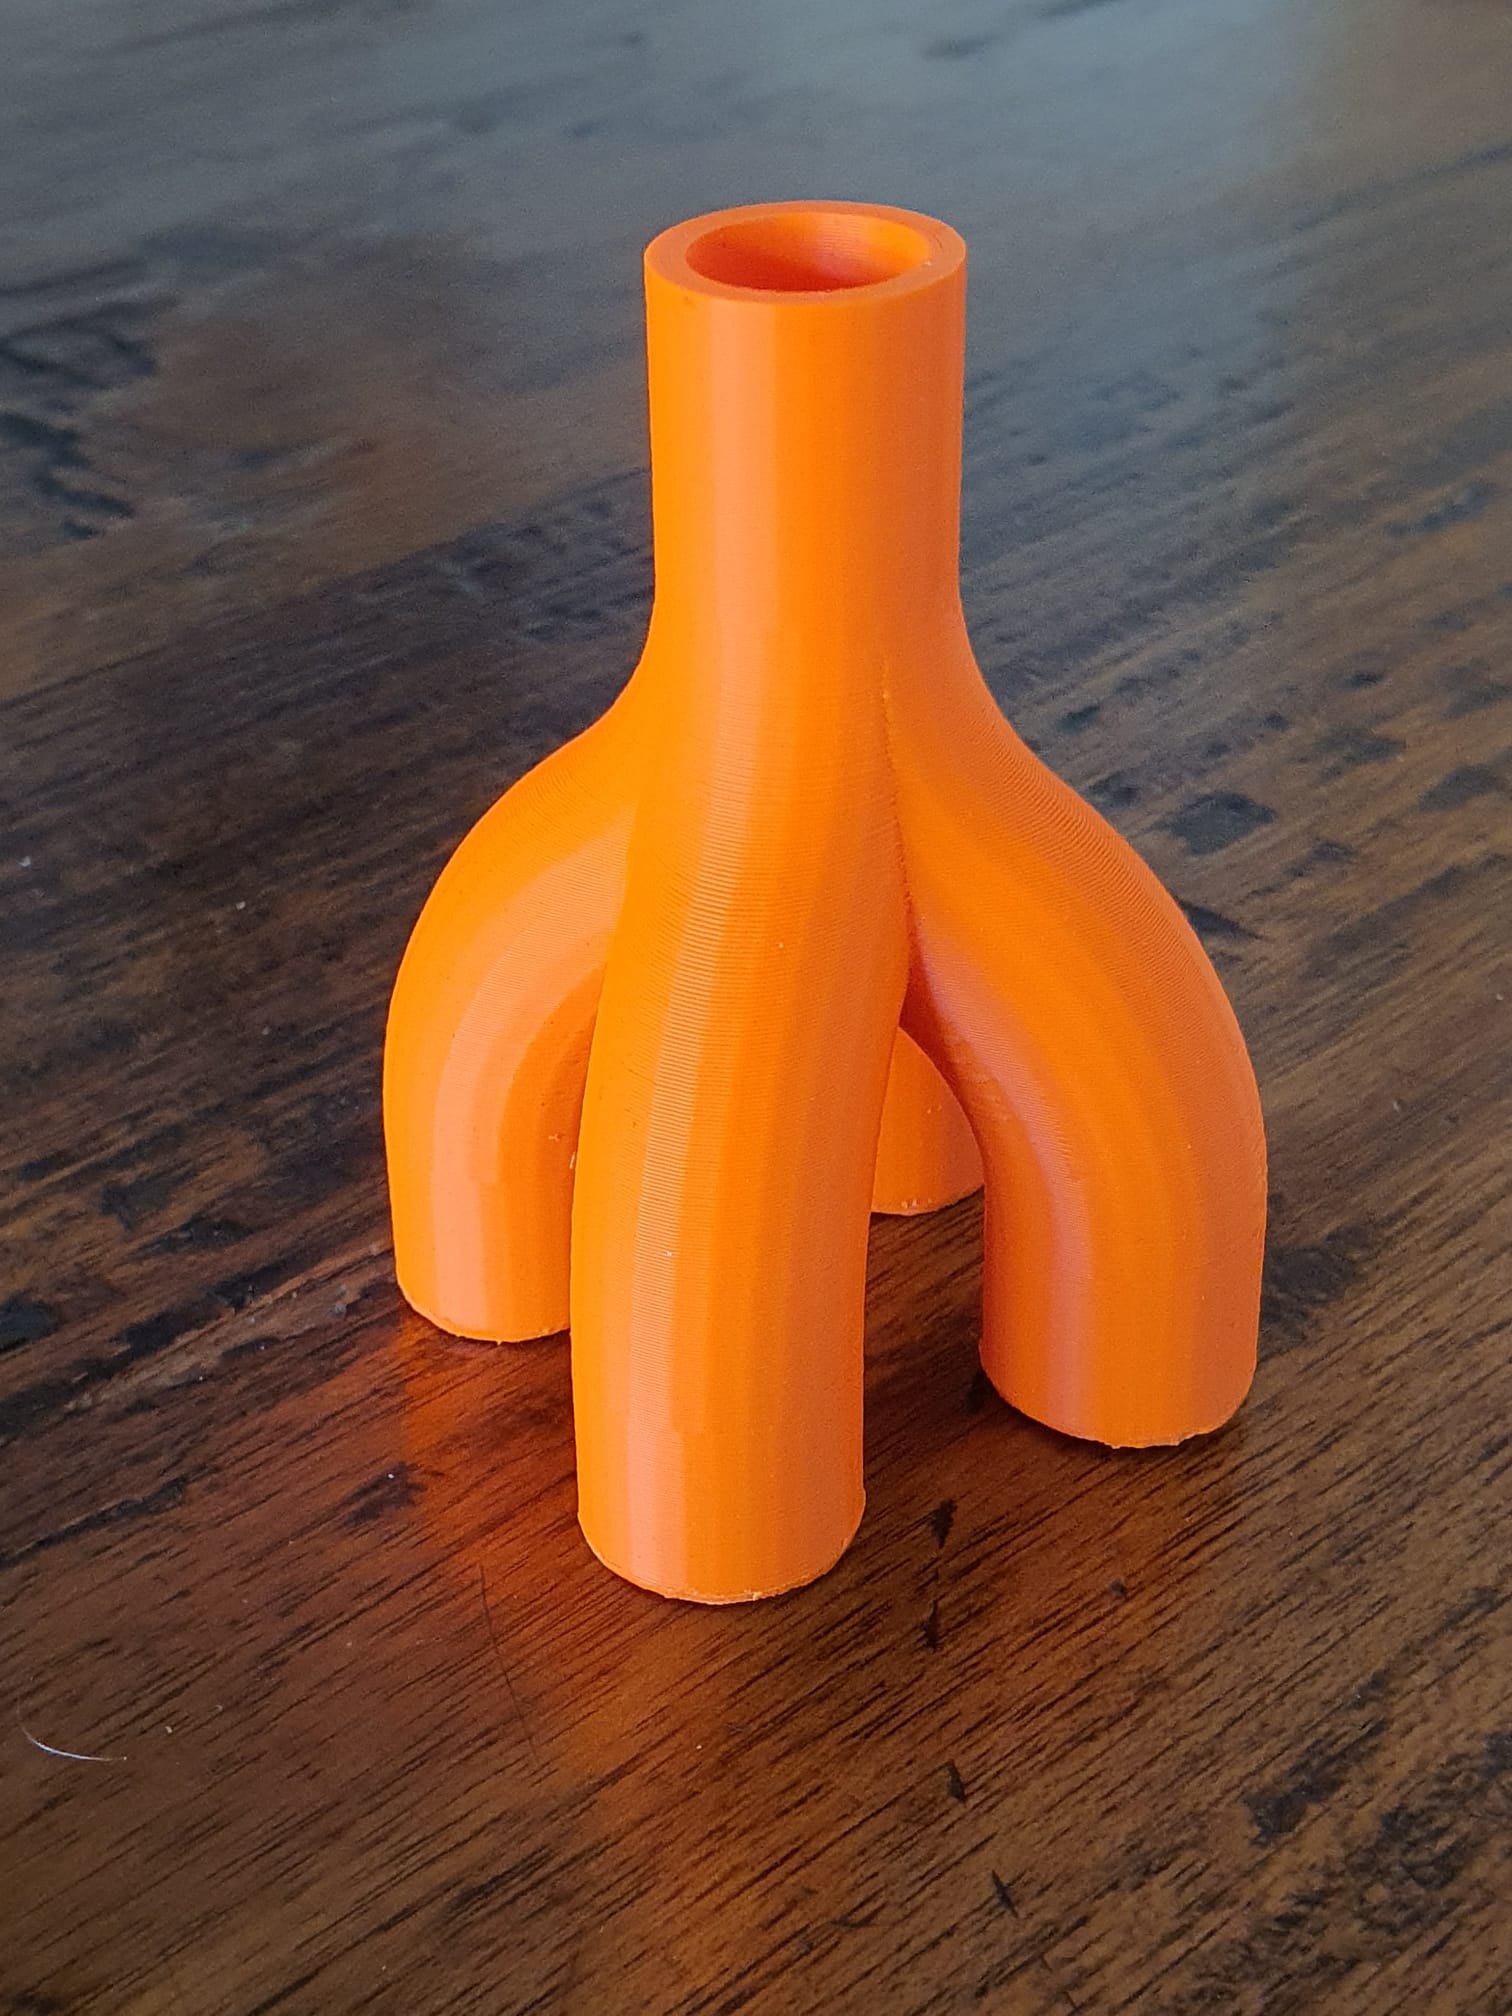
  Tea light chandelear straight high size Jantec.nl 2023 04 20 V2b STL DOWNLOAD
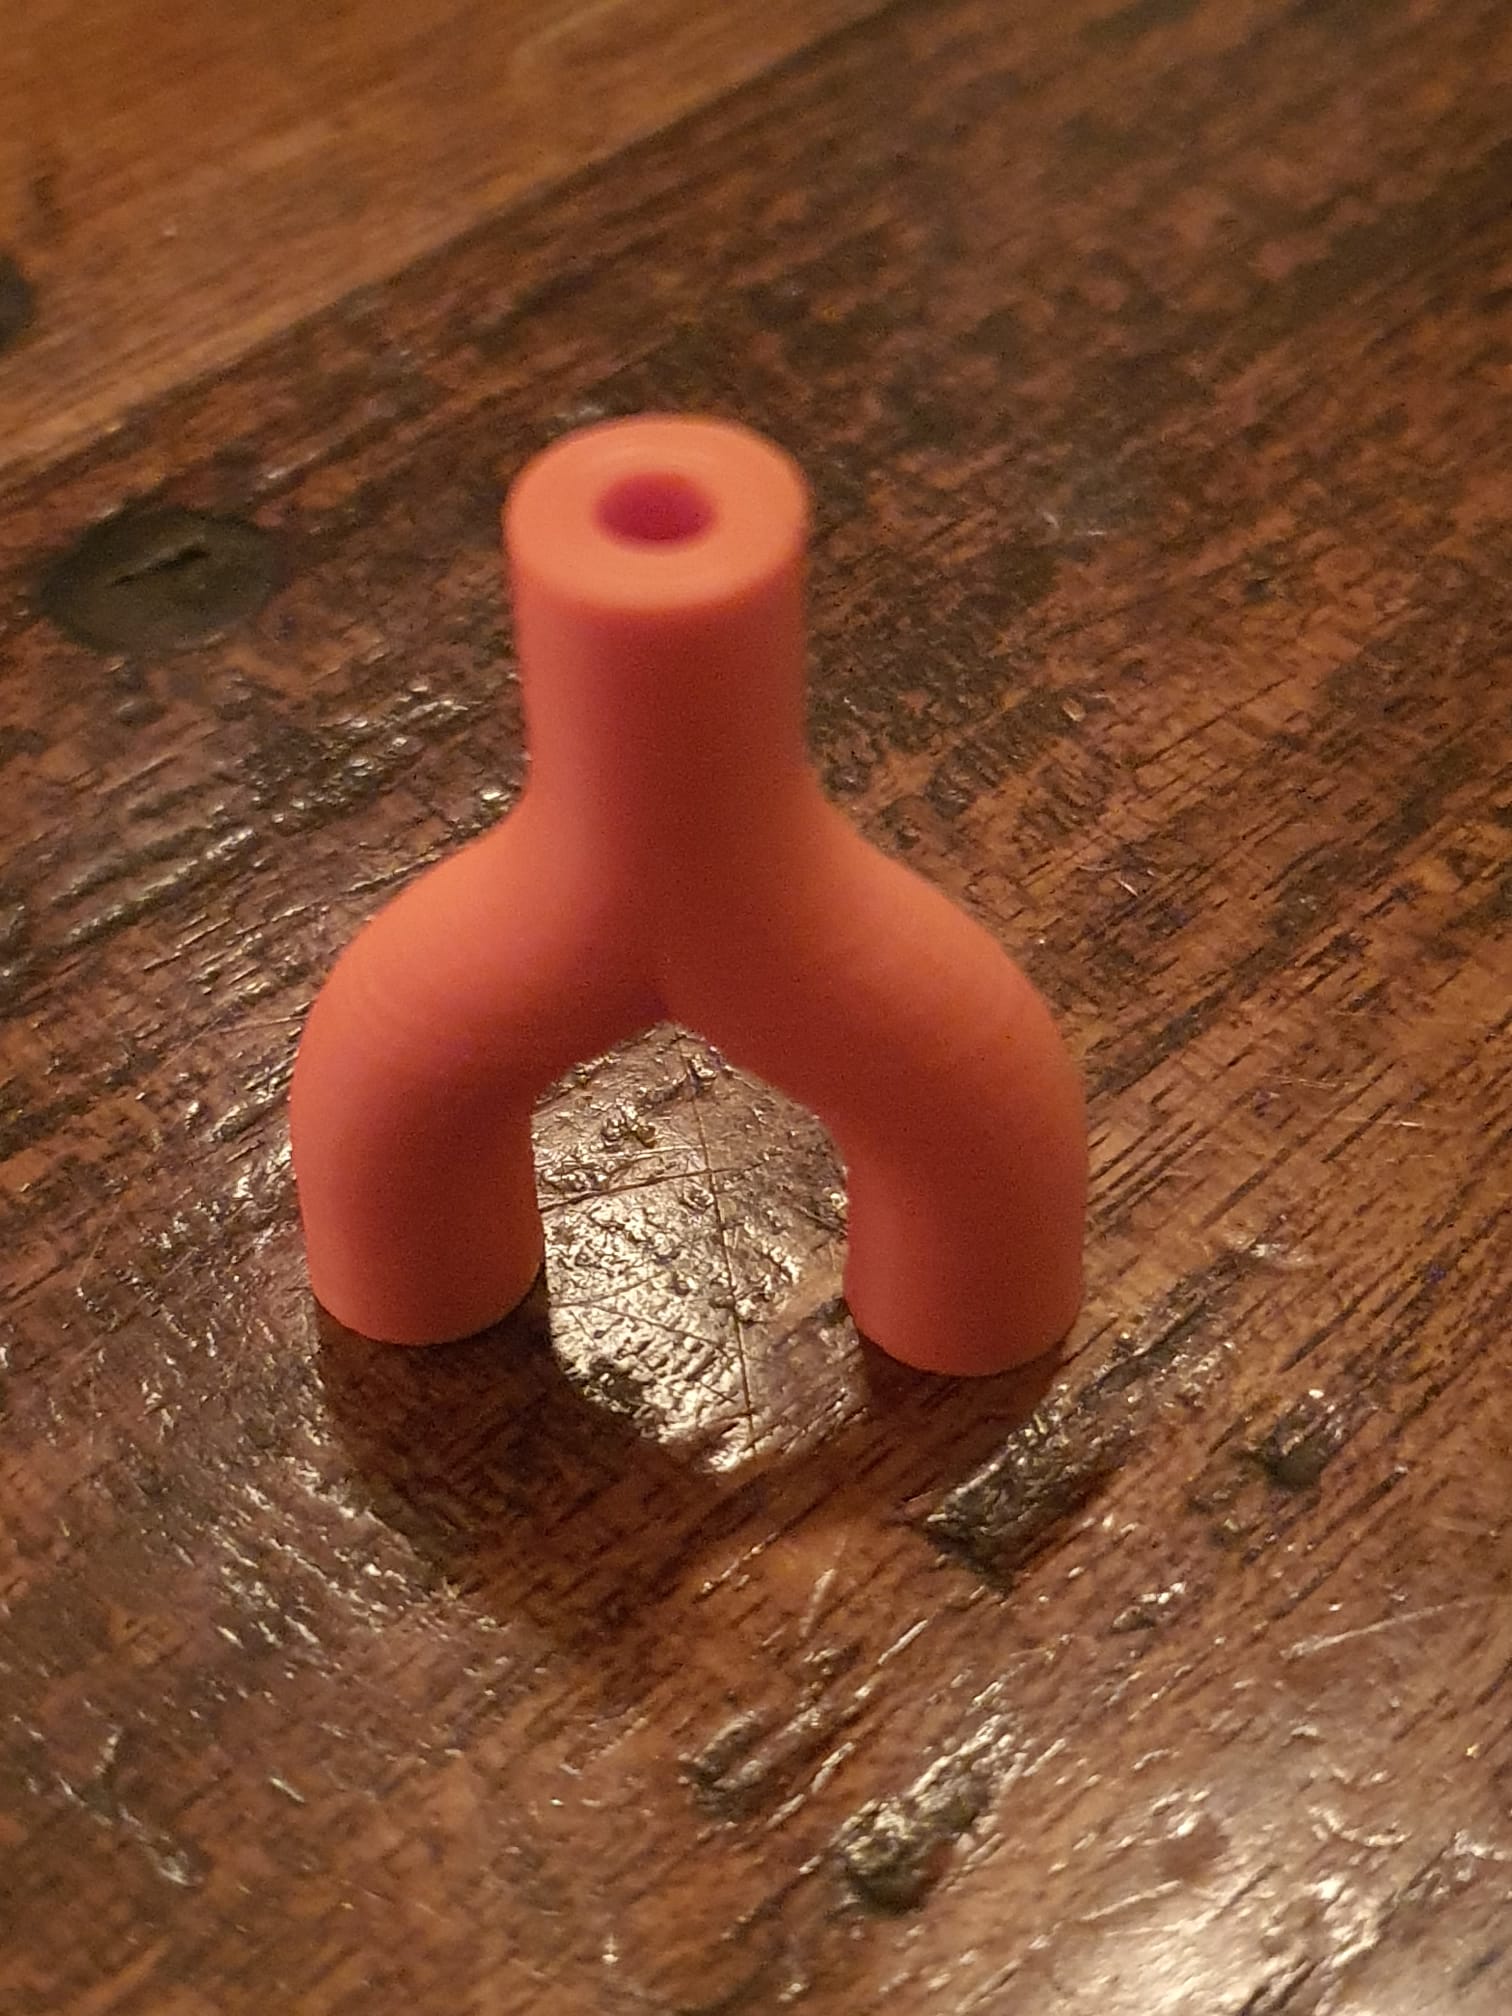
  Tea light chandelear straight medium size Jantec.nl 2023 04 20 V2b STL DOWNLOAD
 Wees je ervan bewust dat de TOOL-instellingen voor de carriages in config.g zijn ingesteld inclusief relatieve X, Y, Z waarden voor deze build, dus zet dit NIET in je slicer!