Sony A7 RII

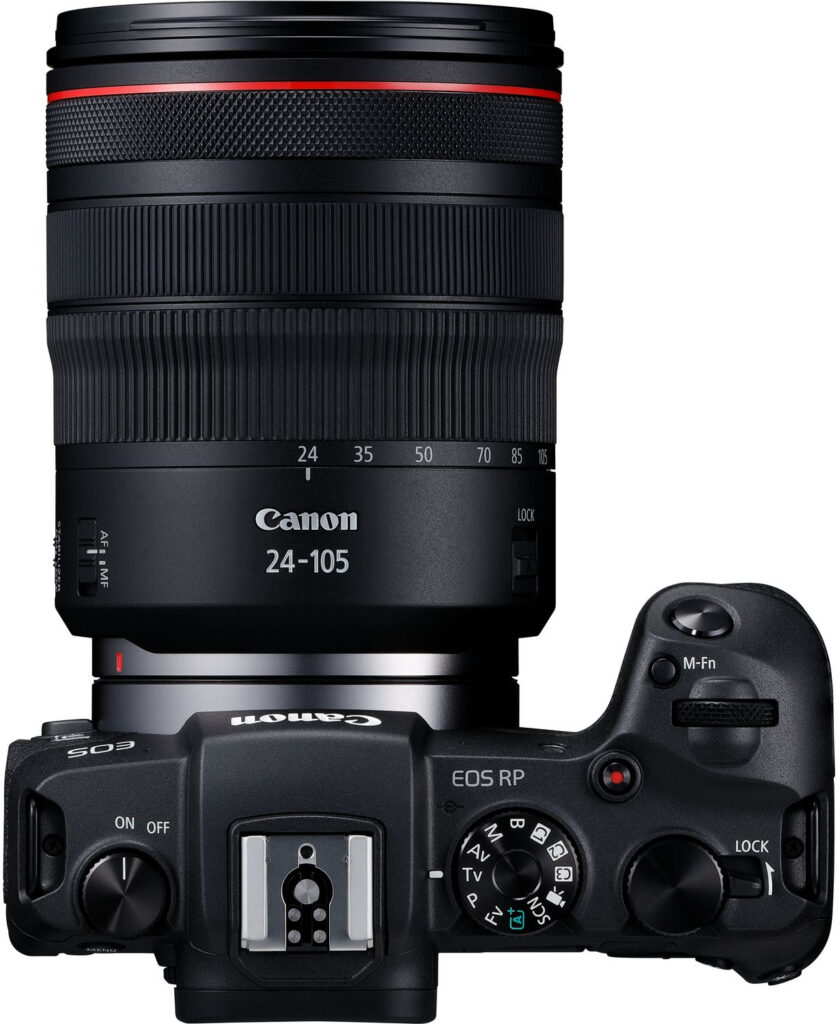
Mijn Sony A7RII heb ik eigenlijk alleen maar een keer geprobeerd, en daarna nooit meer gebruikt omdat ik kort na de aanschaf van deze Sony A7R2 de Canon RP heb aangeschaft.  En de combinatie van RP camera en standaard zoomlens van de Canon RP beviel me ergonomisch gezien beter dan de Sony A7 typen.

De Sony A7II heb ik voorheen wel regelmatig gebruikt, en daarmee o.a. walkarounds in Amsterdam gemaakt.  Vooral ’s avonds en ’s nachts heb ik daarmee erg mooie opnames gemaakt.  Maar ook deze camera is in de koffer gegaan nadat ik de EOS RP had aangeschaft.

ID20 voor- en achterschermen lassen en in de primer

Bodywerk DS (uitgevoerd tussen 2008 en juni 2010)

© 2010-05

Onderzijde rechterspatbord, helemaal weg! De buitenplaat bestond voor 90% uit plamuur….

Hersteld met vervangingsplaat, zowel binnen- als buitenzijde

Bevestigingsoog rechter voorspatbord, ook niet veel meer…

Nieuw oog ingelast en dragende plaat uitgesneden, daarna ook dit deel vervangen

Linkervoorspatbord. Ook hier de onderplaat aan binnen- en buitenzijde vervangen EN de spatbordrand geheel vervangen

Waar roest zat is alles tot het plaat kaal gemaakt, waar nodig nieuw plaat erin. Vlakslijpen en grof vlak schuren.

Daarna roestwerende primer Zincor of Hamerite erop. Vervolgens plamuren met epoxy plamuur. Vlakschuren en in model maken.

In de schermen zijn volledige polyester binnenschermen aangebracht, zodat het Nederlandse weer op deze delen geen invloed meer kan hebben.

Epoxy plamuur droogt erg langzaam (24 uur) maar is erg hard, kan iets vervormen en neemt geen vocht op

Achterscherm strak gemaakt en in de eerste laag 2K-filler gespoten


Scherm rechtsachter, nieuwe rand en binnendeel erin, strak gemaakt en in de eerste laag 2K-filler gespoten


Kofferklep ontroest, uitgedeukt en eerste laag epoxy plamuur erop


Strak gemaakt, eerste laag filler erop en vervolgens schuren…

Schuren……

Afwerkrandjes en knipperlichten passen en vooral weer schuren……

De motorkap!

Onderstaand zijn de foto’s opgenomen van het spuit- en plamuurwerk aan de zwarte plaatset, zo veel mogelijk aan de auto gewerkt…

De auto opgeruwd met korrel 150 en de meeste zaken geplamuurd zodat de filler/primer kan hechten

Gespoten in de dikke filler/primer, eerst aan 1 zijde en daarna de auto gedraaid zodat de andere kant erin kan

Schuren, schuren, schuren met korrel 150… Nu kun je goed zien waar nog moet worden geplamuurd

Zoals hierboven en -onder, waar nog het e.e.a. moet worden afgeplamuurd

Schuren, planmuren, schuren, plamuren….

3d printers – Overzicht

2022-08 heb ik de volgende 3d printers operationeel:

  1. Voron DIY 2.4 300x300x300
  2. Sapphire Pro
  3. Prusa mini
  4. I3 Prusa Bear DIY Fly-CDY-V2 met onafhankelijke Z-assen
  5. I3 Prusa Bear ‘plus’ DIY met 2 onafhankelijke carriages
  6. A30M Duet2wifi Geetech Cimera dual head
  7. Delta G2S Duet2wifi Geetech single head speedprinter
  8. Kingroon KP3 mini
  9. Flashforge adventurer 3
  10. Ender3pro met 2trees mini e3 V2.1 en MMU2S penta colour
  11. E3D Toolchanger met 4xHemera DD’s
  12. Mini Monoprice Delta printer
  13. Prusa mini clone ,DIY


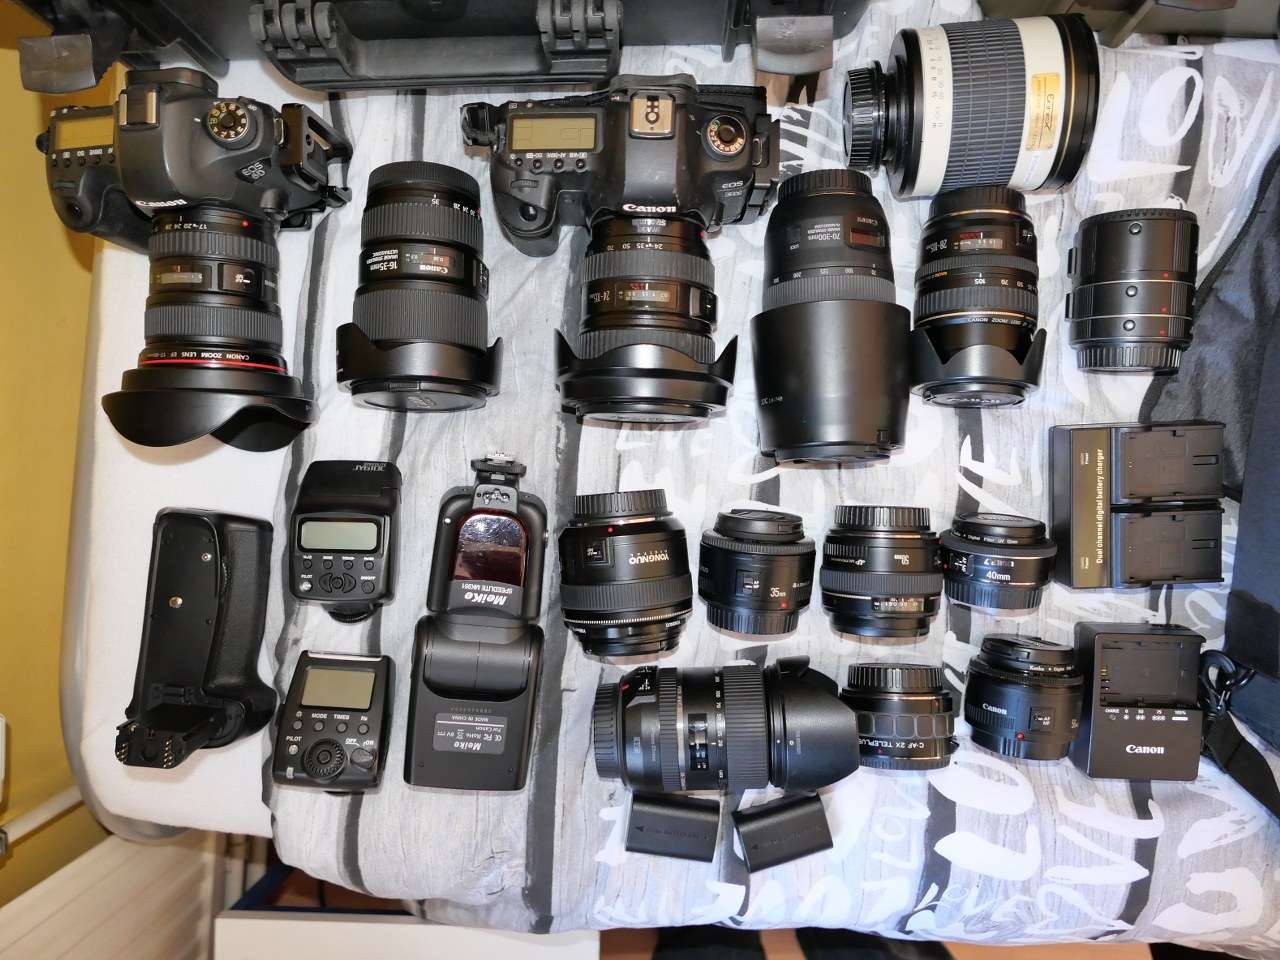
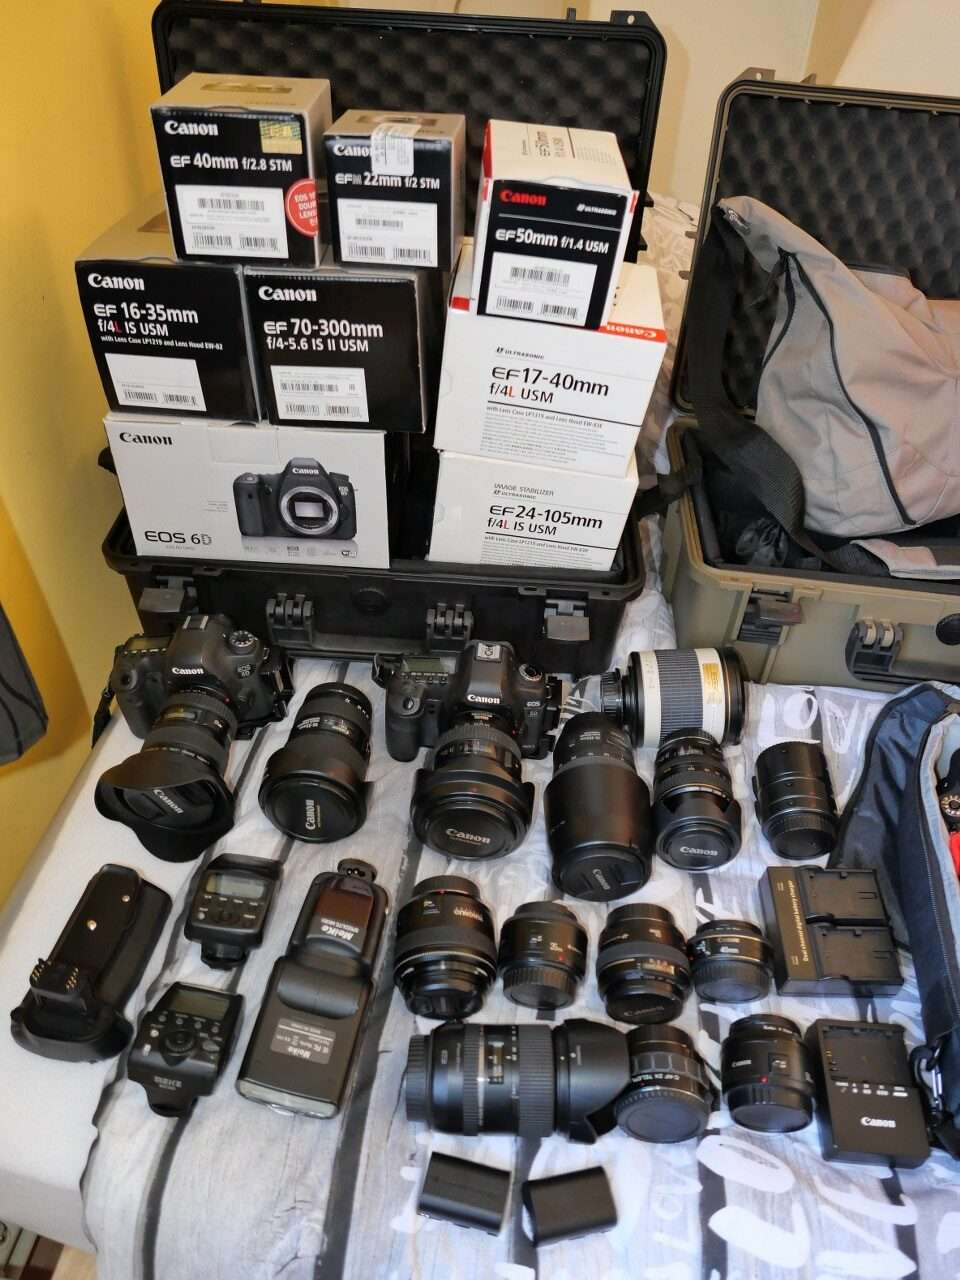
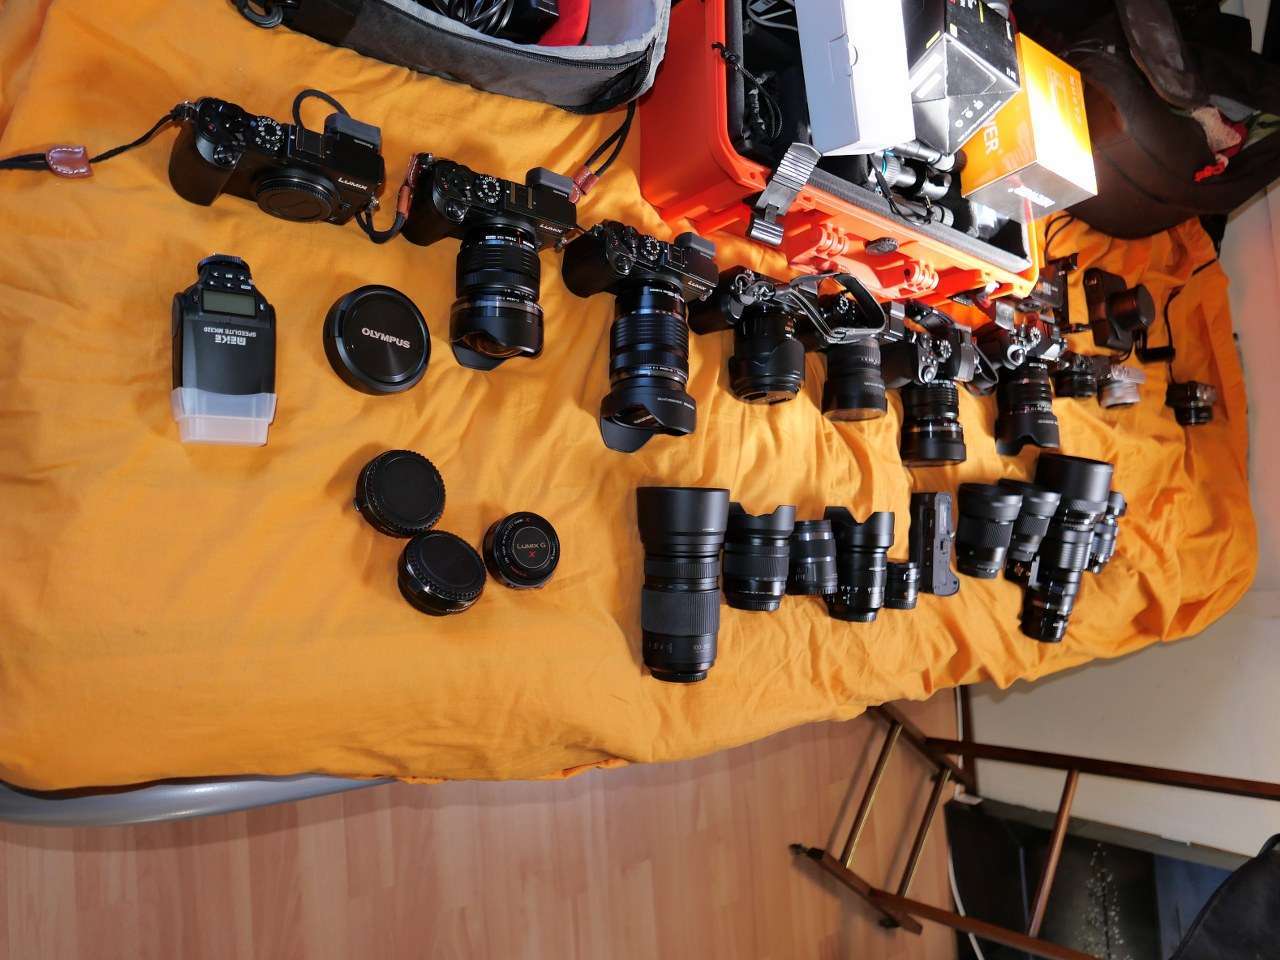
Mijn camera’s en lenzen 2021

In 1972 ben ik met een oude Agfa camera begonnen met fotograferen. Daarna is het allemaal uitgebreid met het afdrukken van foto’s en dia’s en de overstap naar digitale fotografie heb ik in 2005 gemaakt.  Met daarna alle mogelijke updates en -upgrades.

Uiteindelijk maakt het niet uit waarmee je foto’s maakt, maar wat je vastlegt.  En- toen dat steeds beter werd ben ik ook overgestapt van analoge video naar digitaal opnemen.

Naast het vastleggen van mooie plaatjes met en zonder beweging vind ik het leuk om met verschillende camera types te werken. Zo heb ik onder andere een Lytro Yllum voor dieptefotografie en maak ik graag gebruik van de MFT-lijn van Olympus en de semi-pro bijbehorende lenzen.

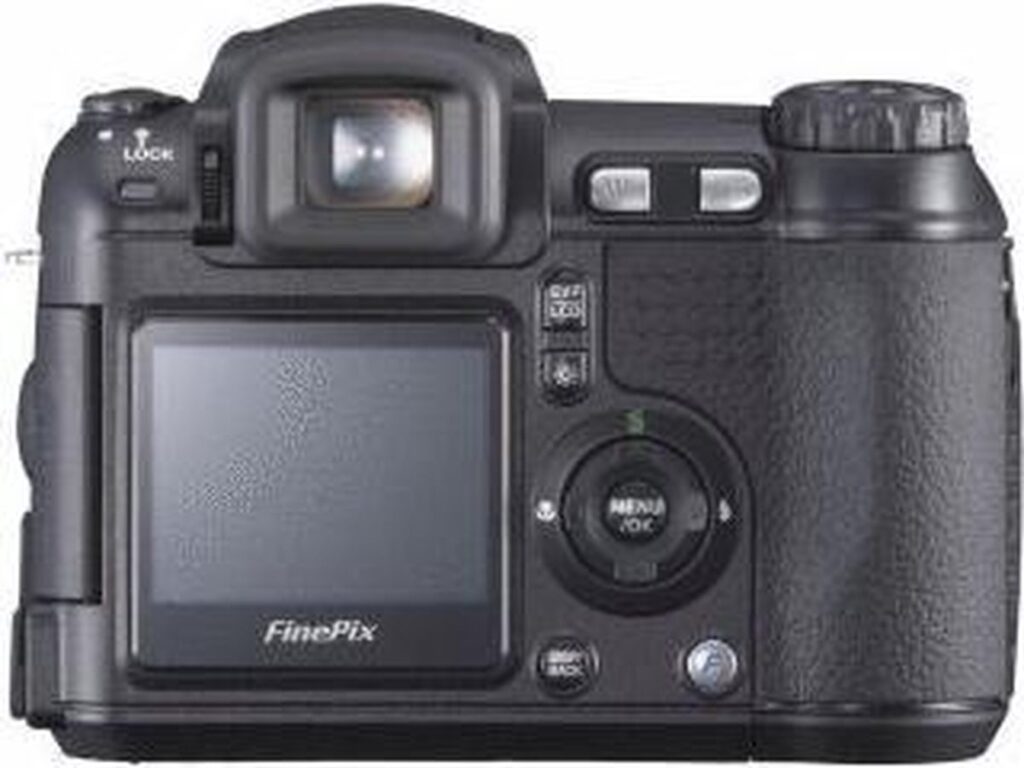
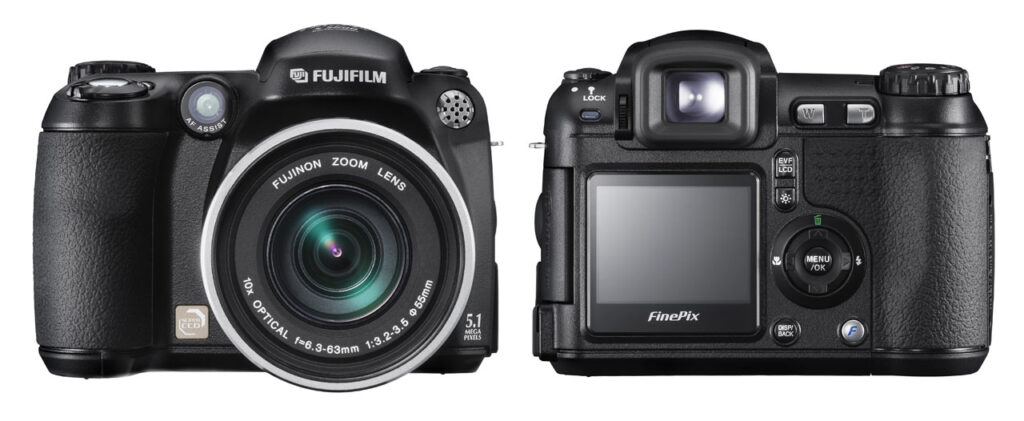
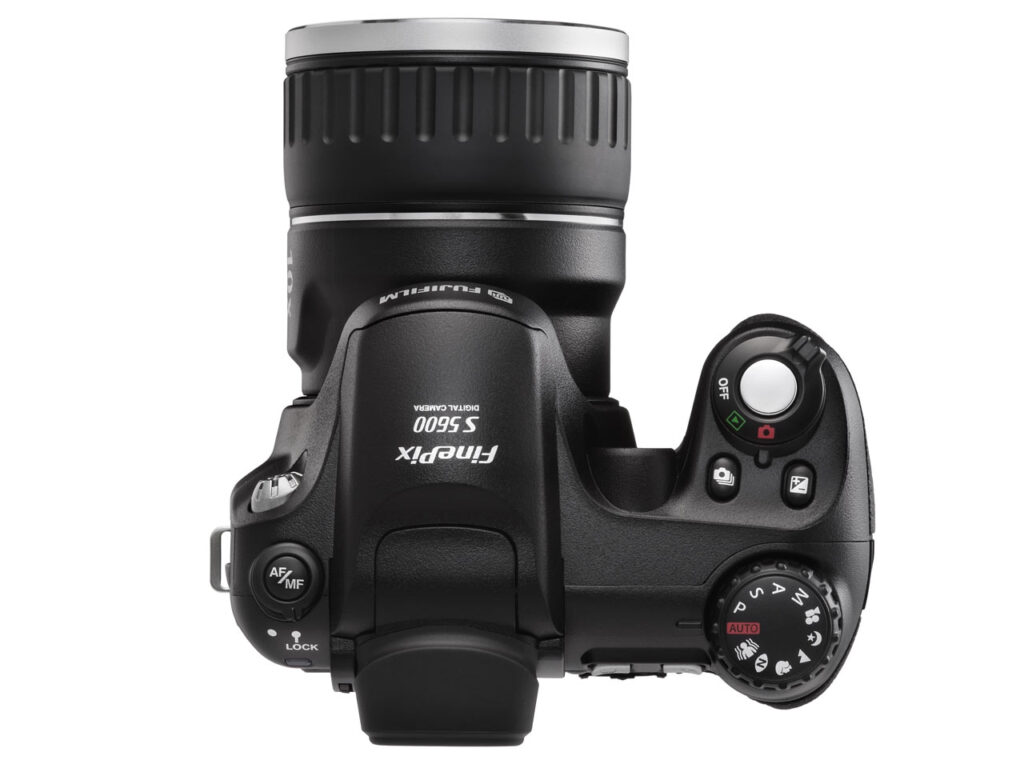
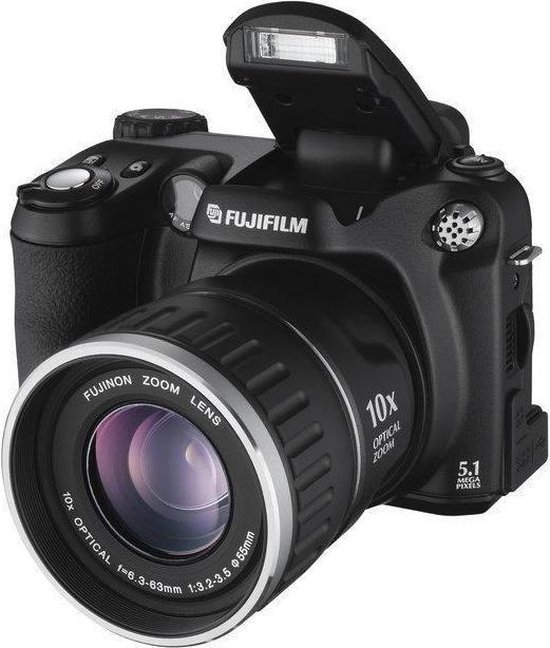
De afgelopen jaren heb ik vanaf mijn eerste echte digitale camera, een  Fujifilm finepix S5600 uit 2005 bijgehouden wat er allemaal te koop was en daarvan ook steeds gekocht en gebruikt wat naar mijn idee voor mij een goede keus was.

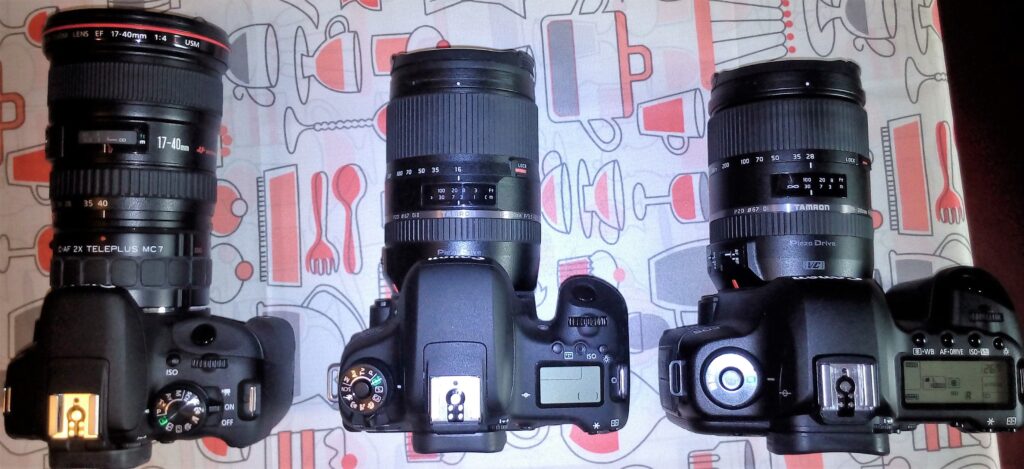
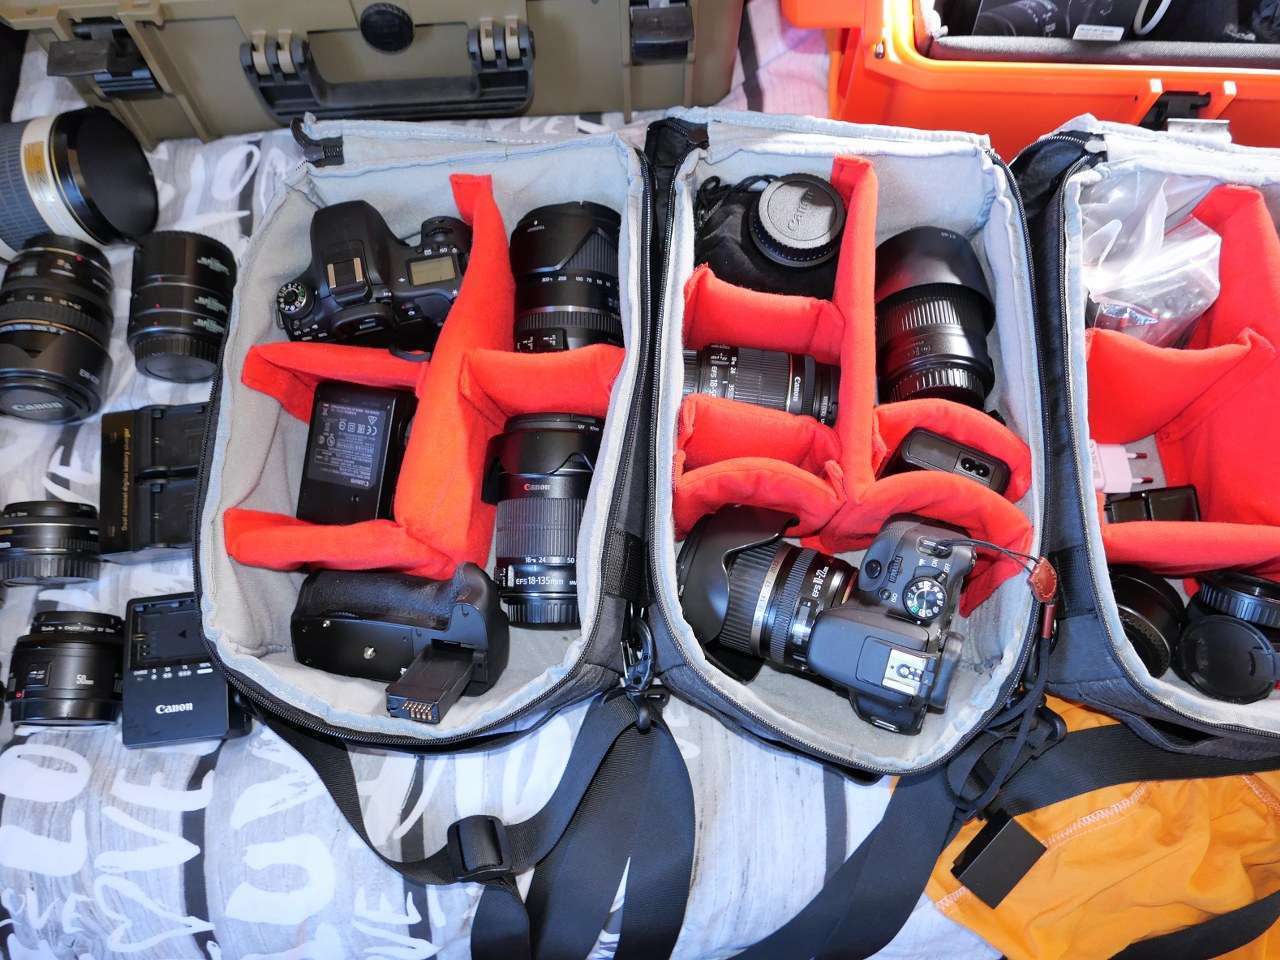
Zo ben ik de merken ook langs gegaan en ben ik eerst gestart met Canon, de EOS5DII en later de EOS6D  en een aantal APS-C types.  Daar heb ik ook zo’n beetje alle lenzen voor, van groothoek-zoom tot aan tele-zoom en een behoorlijk aantal primes.  Van Canon heb ik ook een paar camera’s uit de M-serie inclusief dubbele set lenzen maar daar gebruik ik eigenlijk niets van omdat de kwaliteit prima is maar onvergelijkbaar met mijn full-frame en M4/3 apparatuur.  Terwijl de  mogelijkheden van de M serie minder zijn dan van merken als Panasonic, Sony en Olympus en de portabiliteit is ongeveer  vergelijkbaar.

Omdat ik ook graag film ben ik op een gegeven moment naast de Canon full-frame  camera’s die ik voor still fotografie nog steeds gebruik overgestapt naar de Sony A7 lijn.  Daarvan heb ik mijn eerste A7 nog, maar ook de multipixel A7RII.  Ook voor deze camera’s heb ik een redelijke set lenzen, maar toch vooral zoomlenzen vanwege de primaire inzet van deze camera’s als filmcamera.  Ik vind (en dat is natuurlijk heel persoonlijk) de look en feel van Canon heel goed passen bij snel even een foto maken en de Sony Camera’s zijn me daar te hoekig voor. Prima in een frame met allerlei extra’s er aan maar niet als camera voor walk-arounds.

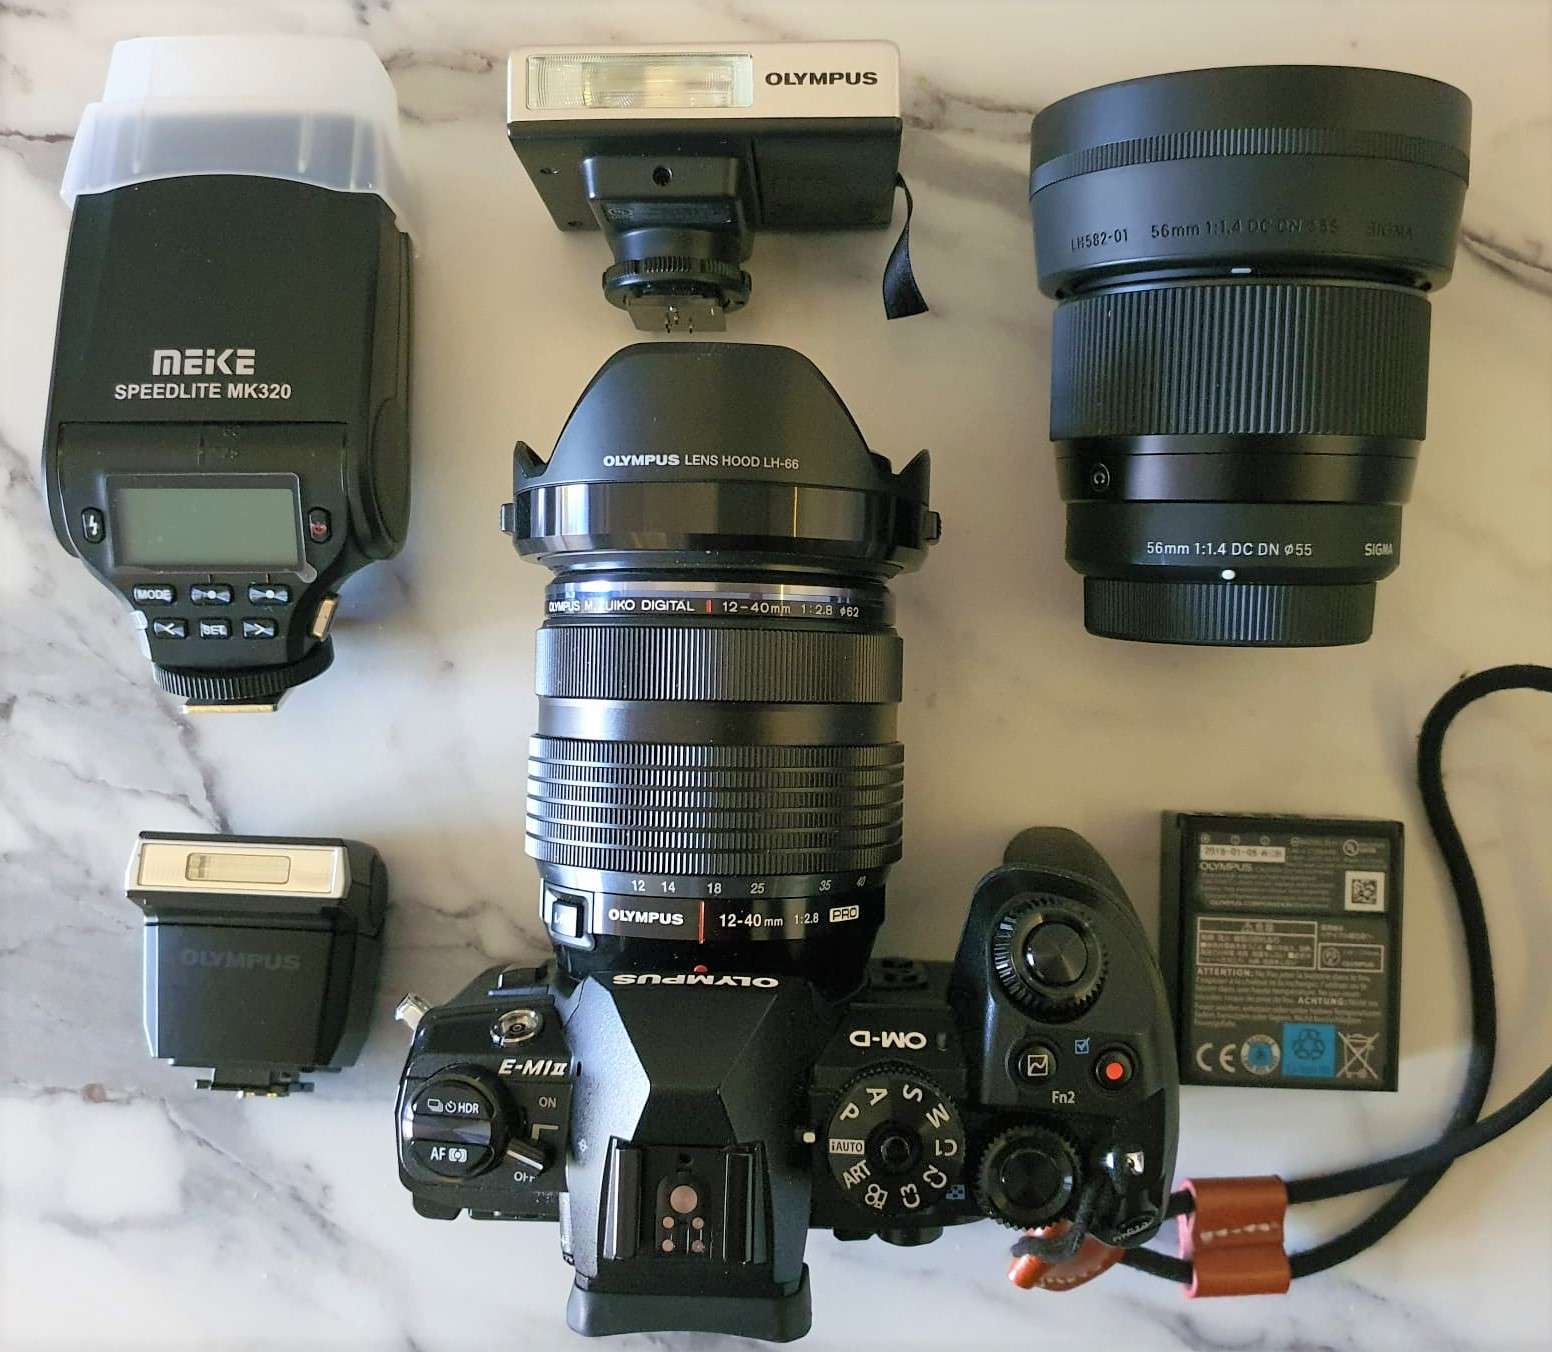
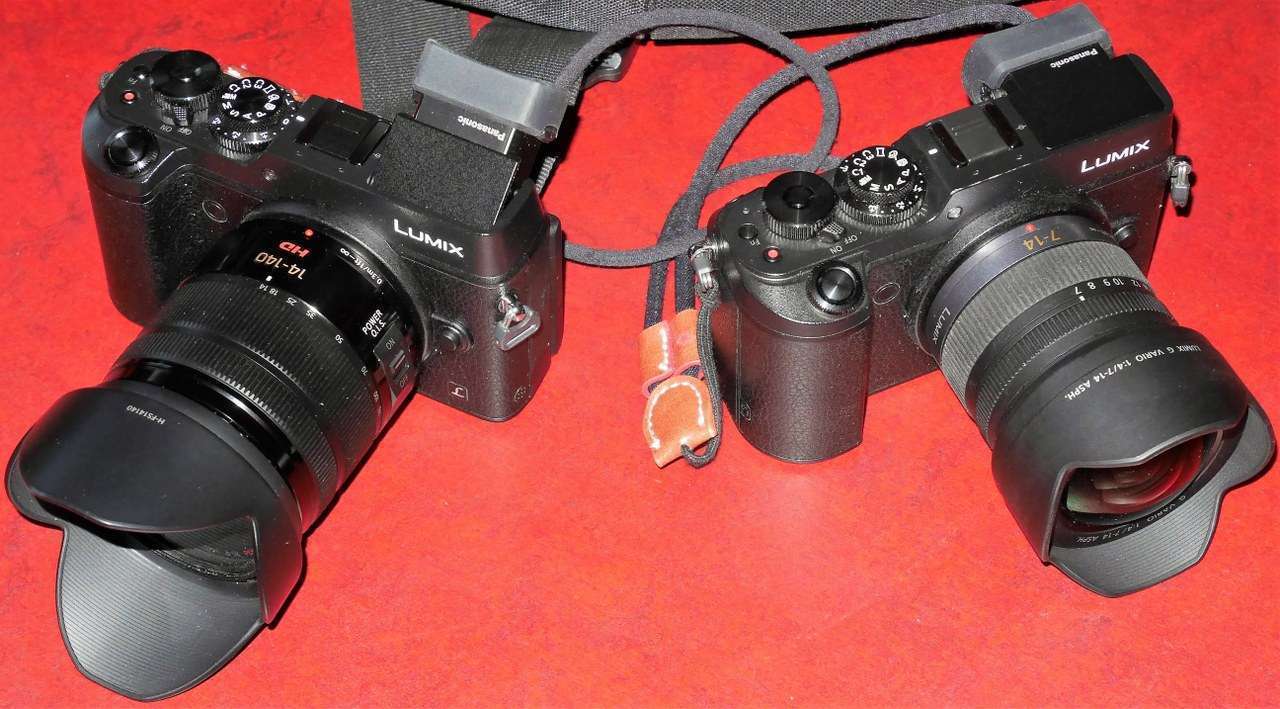
Uiteindelijk ben ik zo rond 2018 verslingerd geraakt aan de Olympus- en Panasonic– lijnen met de micro 4/3 sensors.  Ik heb daar de top camera’s zo’n beetje van in mijn bezit, en daarbij ook een groot aantal lenzen.  De 2 camera’s die ik het meest gebruik zijn de Olympus OMD-1 MII en mijn favoriete walkaround is de Panasonic DC-G90 met de korte OLYMPUS MFT 7-14MM F/2.8 M.ZUIKO erop.

Op vakanties gebruik ik nooit meer iets anders dan mijn Sony RX-100 MV.  Met het uittrekbare oculair en de bijna onverslaanbare beeldkwaliteit van de 1 inch sensor heb ik ervaren dat ik nooit meer iets anders hoef mee te nemen voor onderweg.  On top of all maakt deze camera ook hele goede video-opnames.

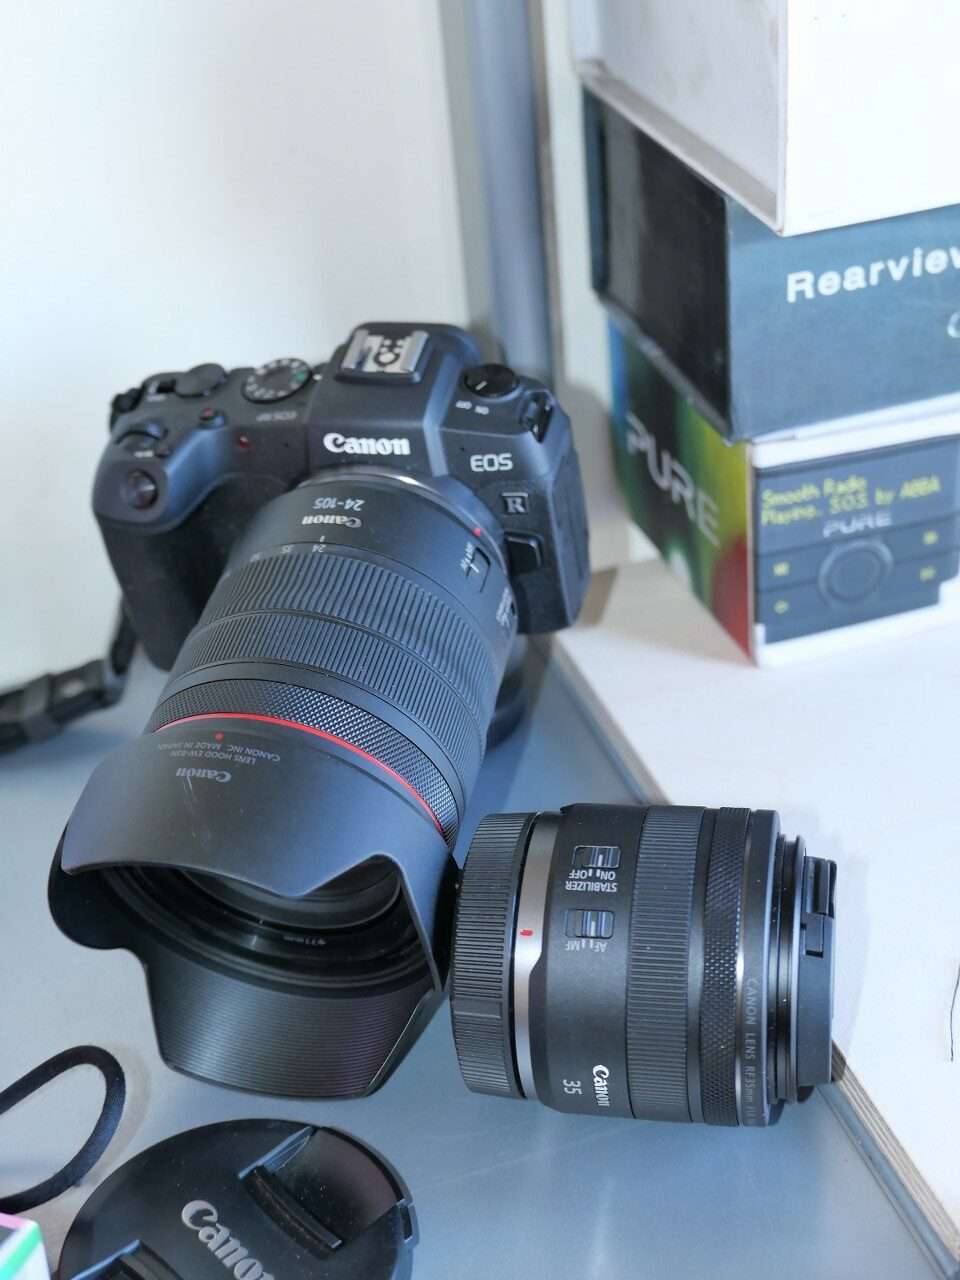
In de stad pak ik meestal mijn Canon RP met de korte zoom F4.0 14-35 er op.

Lekker compact en ongecompliceerd.

Voor reportages gebruik ik graag mijn setje Panasonic GX8‘s.  Kan een stootje hebben, is inclusief flits en door het aanwezige verstelbaar oculair (zoeker) altijd goed bruikbaar, ook bij fel zonlicht.  op deze camera’s heb ik meestal de Panasonic- korte zoomlens en een Olympus prime gemonteerd.

Bovenstaande opsomming  betekent wel dat ik zo’n 80-90% van mijn fotospullen nooit gebruik.  Ik heb geprobeerd alles te verkopen maar het levert me gewoon veel te weinig op.  Dus pak ik af en toe een setje uit de kast en gebruik het weer eens een keer, dat is ook wel heel leuk!

Maar ik merk dat ik daarnaast steeds meer gebruik maak van mijn telefoon waarop een hele goeie camera zit, vooral voor video opnames.  Op deze site vind je een indruk van mijn verzameld beeldmateriaal.  Cheers, Jan

[Best_Wordpress_Gallery id=”56″ gal_title=”Cameras”]

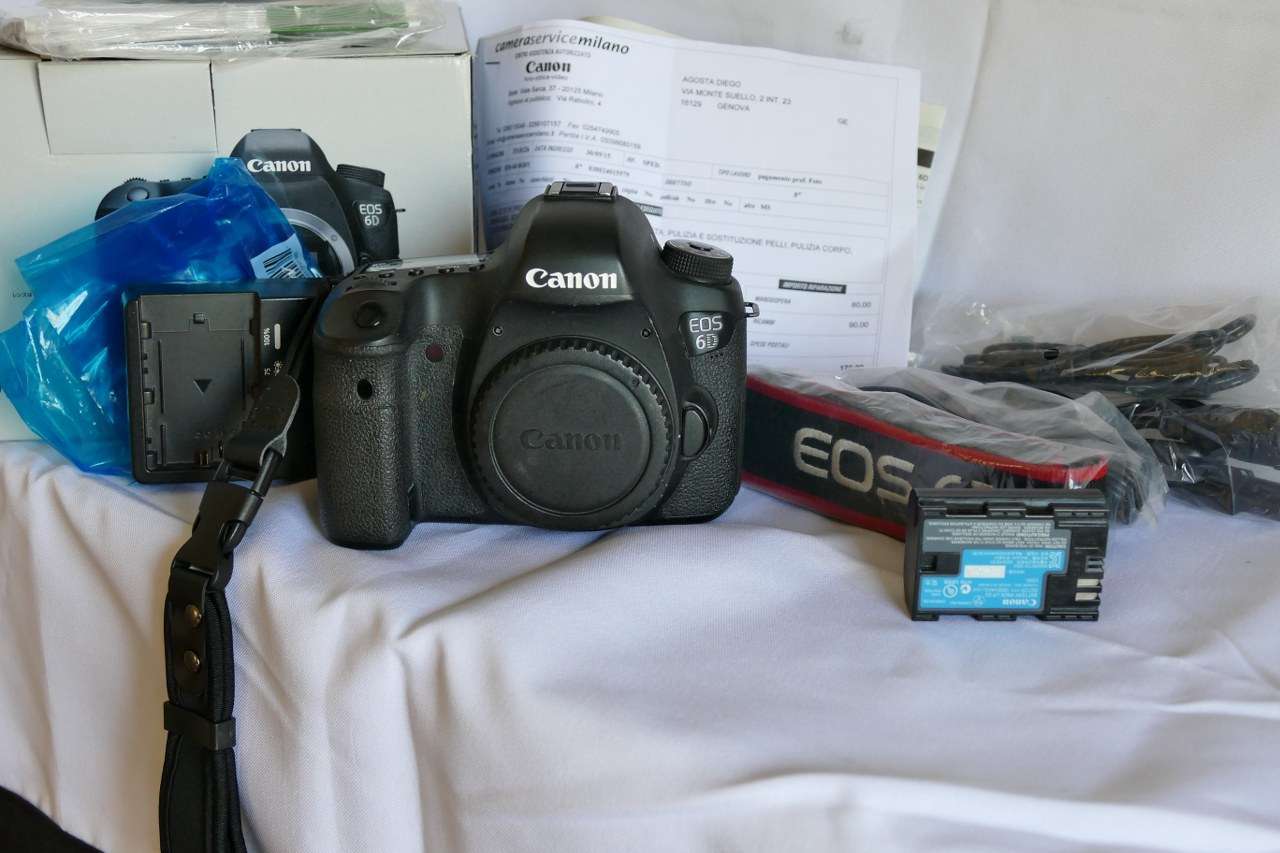
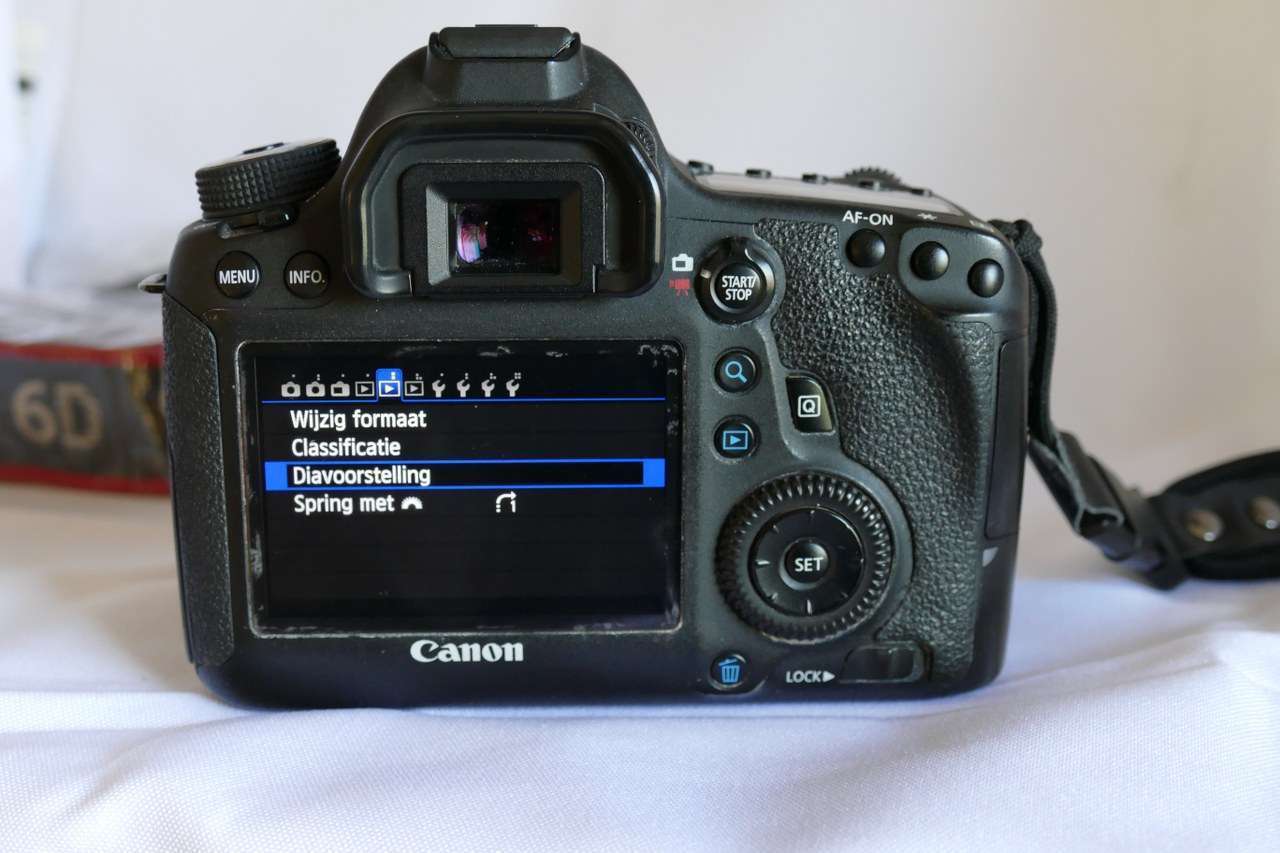
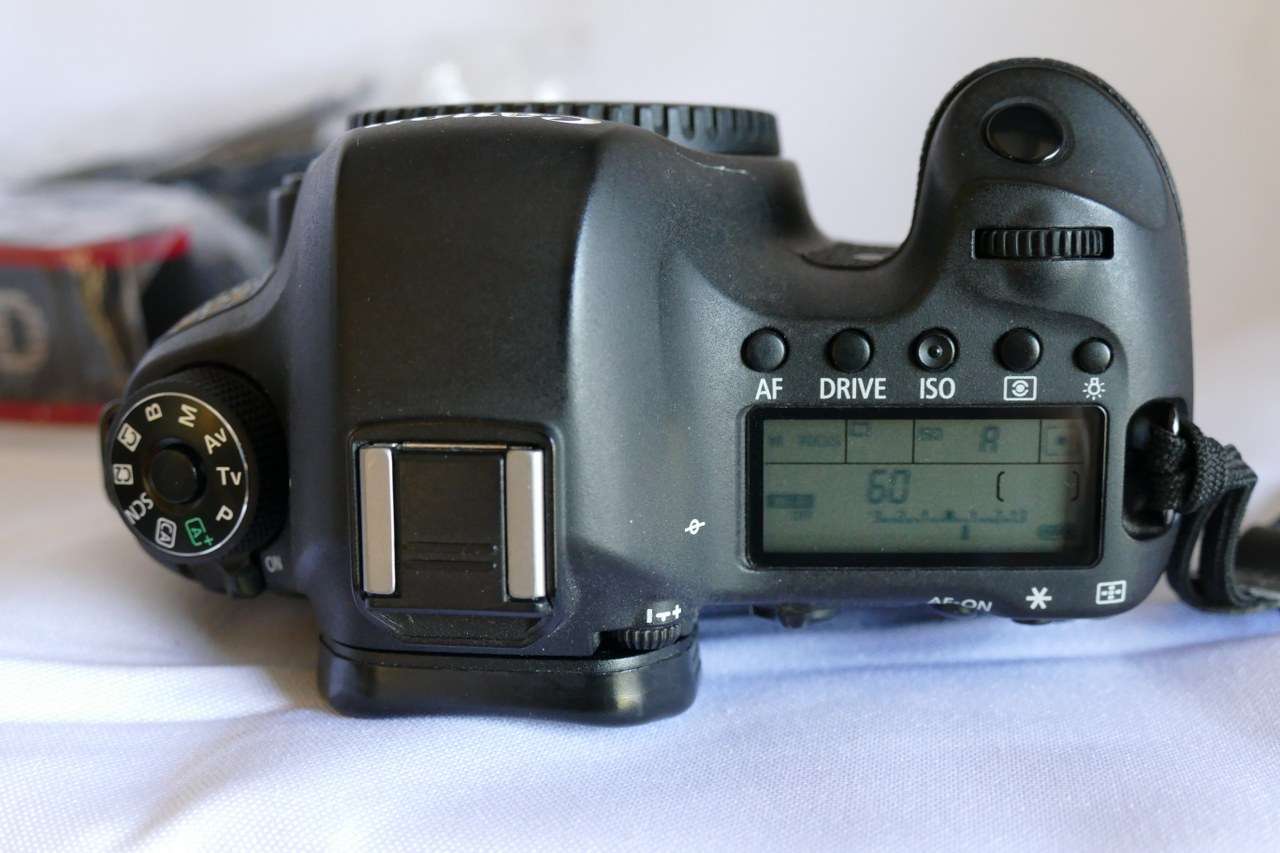
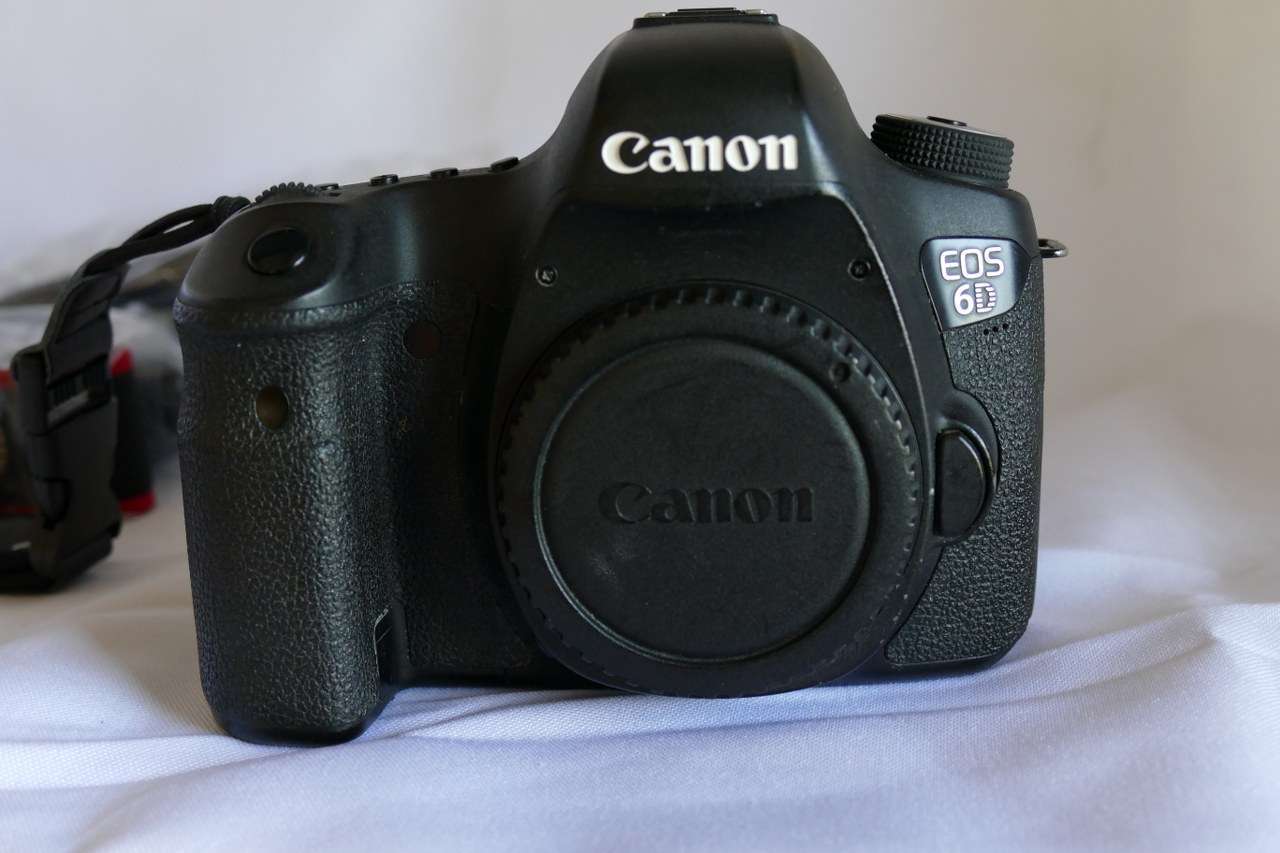
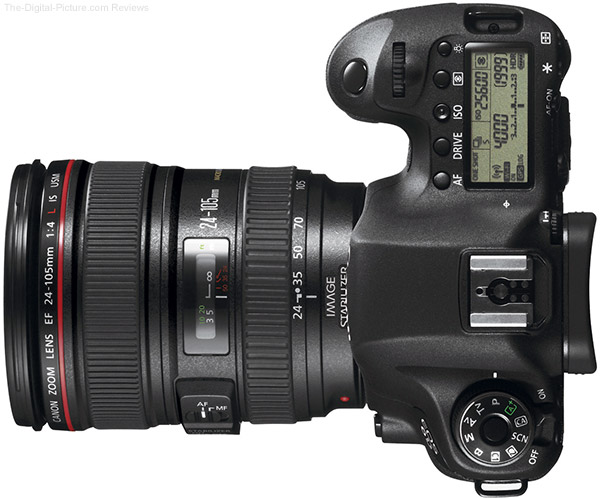
Canon EOS 6D (I) geotagging GPS camera en EF lenzen

Nog zo’n geweldige ondergewaardeerde camera, de EOS 6D (original V1).

Met GPS !

Mijn keuze voor al mijn geotagging opnames.

Af en toe heb ik opdrachten voor stadsopnames en deze camera werkt echt subliem samen met o.a. Google Earth.

Je kan op elke opname meenemen waar en wanneer de foto is opgenomen en later verwerken in een helder overzicht.

Als je het samenvoegt met Google earth kan je door in te zoomen pinpointen en doorklikken zodat je je foto opent. Fantastisch!

Je moet trouwens bij gebruik van GPS wel even een paar extra accu’s meenemen!

De camera is oorspronkelijk het meest gebruikt met de 17-40mm/F4 zoomlens (zonder AF) en later ook veel met de update van deze korte EF zoomlens.

De update van de EOS6 heb ik nooit aangeschaft vanwege de twijfel of dat wel een betere camera is.

Er was onder andere algemeen twijfel over de sensor van de EOSD6V2, of dat wel echt een verbetering was.

Die nieuwe sensor heeft Canon ook in andere camera’s gebruikt dus het zal wel loslopen maar voor mij is deze 6DV1 nog steeds top!

V70-II afstellen distributie (CVVT)

Na het vervangen van de cilinderkop met de lekke klep heb ik de timing van de distributie opnieuw gesteld.

Omdat de tandwielen van de nokkenas eraf waren geweest was dit nog wel een aardig meetklusje.  Daar heb ik ook speciaal gereedschap voor gekocht, om de nokkenassen te borgen aan de andere kant van de distributie.

De seals van de nokkenas zijn uiteraard ook vervangen.

[Best_Wordpress_Gallery id=”62″ gal_title=”V70-II distributie stellen CVVT”]

Een Engelstalige beschrijving voor het stellen van de distributie heb ik als 2 downloads toegevoegd, maar je kan ook heel veel hierover vinden op Youtube!

Voor het vervangen van de distributiesnaar, en eventueel vervangen van de waterpomp en spanrollen kun je het best even op Youtube kijken, dat is eigenlijk niet zo’n ingewikkelde klus MITS je de notch van je krukastandwiel even met een witte marker aanstipt aan de voorkant/bovenkant EN je dat ook doet met je CVVT nokkenastandwielen in de positie waarin alles MOET blijven staan.

Mijn ervaring met dit type motor met CVVT is dat de tandwielen altijd verschuiven en soms de nokkenas ook.

DUS: Gebruik opspan/blokkeer gereedschap, desnoods klem je er een kurk tussenin bij de nokkenastandwielen maar zonder deze te blokkeren kun je het gemakkelijk fout doen!  Het blokkeren van de krukas ligt iets moeilijker maar je kan de nokkenassen ook blokkeren met het speciale Volvo gereedschap dat aan de acherkant van de nokkenassen kan worden ingespannen, nadat je de nokkenassensors hebt verwijderd.

DOWNLOADS:

CVVT adjusting V70

Procedure for aligning CVVT on inlet

V70 CVVT(‘s) afstellen na verwijderen van de HUB van de as, ivm geen nok of stelpunt op de interne HUB aanwezig…

With the cams locked, and the crank set on its mark, the hubs need to be rotated ClockWise as far as they will go and then have the timing marks on the gears align on the reference point (on the cover)

It would appear that the best was to do this is as follows: ( a lot of these steps are similar to replacing a timing belt, and its probably not a bad idea to do this at the same time)

Jack up the car and put it on stands, (this doesnt need to be the 1st step, but it gets everything off the ground which makes it easier to work on)
Remove the engine cross brace, I like to do this by removing the 14mm bolts that attach the brace mounts to the shock towers, and the bolt that goes through the engine mount.
Remove the Air Box and MAF, if you have a Snabb intake you may wish to remove the 1st silicone coupler to give more room.
Cover the open intake with something to prevent ingress of debris. A latex glove works great for this.
Remove the upper engine mount. (you may need to remove the OTE pipe and Coil cover to access the engine mount bolts)
Remove the timing covers. (front and top) Front is a 10mm that is a bit tricky to reach, top is T30
Remove the RHF wheel. ( if you didnt jack up the car before, now would be a good time )
Remove the nut that hold the wheel well liner on in front of the strut, fold the liner along the crease and use some vise grips to hold it in place. (FCP’s S60 timing belt change video shows this very well)
Now you will have access to the crank/harmonic balancer.
using the 30mm nut rotate the engine ClockWise until the timing marks align on the cams. (this step is not crucial, but good to confirm everything is as it should be)
Confirm that the timing marks align on the crank. (this is rather tricky to see with the harmonic balancer, serp belt and timing belt tensioner in place.)
There is 2 sets of marks on the crank, there is the notches, which should straddle the mark on the block. and there is the mark where the Harmonic balancer attaches (in the foreground of this pic:

This picture shows the timing mark on the block and crank (not the little notches)
This is hard to see with the harmonic balancer attached, but not impossible.

Unplug and Remove the Cam Position Sensors (CPS). Intake is a T25 and EX is a T40
Remove the CPS triggers (these are the things under the CPS) These are marked as IN and EX on the back side. 10mm bolt.
As the triggers are removed the cam shaft will probably rotate a little.
Now re-rotate the crank shaft through 2 complete revolutions to re-set the cam shafts.

LOCK THE CAMS ! Using a Cam Locking Tool.
Re-rotating the engine should have re-aligned the cam shaft slots and the tool should go straight in. Other videos I have seen show people using a large flat bladed screw driver to align the cam after removing the trigger. With the engine in the car this is rather difficult and shouldn’t be necessary if you re-rotate the crank.
Do the bolts up on the cam locking rather TIGHT !
The Bolts that hold the CVVT hubs onto the cam are VERY tight ! And the Cam Locking tool works very hard to counter act these forces.
Hold a rag underneath the hubs and remove the CVVT hub plugs, (T55) Oil will flow from the hub with the plug removed.
Crack, but do not remove the hub bolt.
This is under the CVVT plug, its a T55 and is VERY tight. A breaker bar will be required. We found that a T55 Key (like an allen key) with a pipe worked well, especially as there is very little room around the exhaust hub.

Remove the timing belt. (this could be done earlier, but the belt helps to take a bit of the load of cracking the T55 bolts in the hub)
Using the lever on the tensioner you can remove the belt without a lot of trouble. (if you’re replacing the timing belt you might as well remove the tensioner)
Without removing the harmonic balancer the belt will not come off comepetely but will be out of the way enough to replace the hubs)

Remove the CVVT hubs.
With the center bolt still in the hub you can confirm the hubs are either spring loaded or not. (to my knowledge the R’s only use the floating hubs)
From the position they were in they should be able to rotate Counter Clock Wise, but not clock wise (this is assuming the bolt is still snug)

Remove the gear from the hub.

Install the gear onto the new hub so that the 8mm bolts are in the middle of the oval adjustment window.

Install the CVVT hub onto the camshaft.
Clean the locking bolt to make sure it is free of oil/grease etc.
Install the bolt but do not do it up tight, just snug.
Now rotate the gear/hub ClockWise unit it is at the Clock Wise limit. (that is the limit of the hubs movement, you can move the hub back anf forth to confirm this.)
Install the timing cover with the timing marks.
Continue to rotate the hub Clock Wise with the gear until the timing mark on the gear aligns with the timing mark on the cover. (this is very tricky to get it exact)
If you go past do not rotate the gear/hub back, but continue for another lap.

In this picture you can see the marks clearly, they are also not aligned.

This picture shows that you should only rotate the hubs Clockwise during alignment and points out the 8mm adjustment bolt.

Once the hubs are in the correct spots tighten the hub bolts to 120Nm (88ft/lbs) (this is rather difficult to achieve)
We Fount that with the PS (power steering) reservoir removed we could use an extension bar to get the head of the torque wrench close to the edge of the body and it was ok.
With the exhaust it was just not possible with the tools we had. However using the T55 key and pipe it was done up tight.
Confirm that the timing marks are still correct.
You can rotate the hubs clock wise and anti clockwise to confirm they are correct. (we had the exhaust move slightly while tightening and had to re-do it)
Make sure they are left in the most clockwise position.
Install the CVVT hub plug
Install the timing belt. (and tensioner if you replaced it)
We found the best way to do this is in the following order:
Seat belt on crank.
Keeping tension on belt feed it over the idler and around the intake gear.
Feed the belt over the exhaust gear.
Then around the water pump and finally over the tensioner (again using the tensioner arm to help get the belt on)

It is rather tricky to get a good amount of tension between the crank and the intake cam.
It might take a few goes to get it right.
It is also possible that the intake or exhaust will not line up with the teeth on the belt.
My understanding is that this is where the 8mm bolts and elongated holes in the gears are use. for Fine Adjustment

Make sure the timing marks are still correct.
Remove the cam locking tool.
Rotate the engine clock wise, do it slowly. (i’m told that valves can be bent when rotating by hand, but you not be able to continue to rotate the engine if contact is made)
After 2 rotations of the crank the marks on the cams and crank should still be aligned.
The slots in the cam shafts should also be parallel to the cam cover seam (as the cam locking tool holds them)
Reinstall the CPS triggers and CPS’
Reinstall intake and MAF and you should be good to start her up.
If all goes well put it back together, and smile !


  1. I just installed the intake CVVT and thought about contributing to this thread.
    Once the cams are locked, the goal is that at the clockwise limit, the mark on the timing gear are aligned with the mark on the cover.
    1-slacken the 3 8mm bolts and move the timing gear so that the bolts are in the center of the oval.2-slacken the T55 bolt
    3-turn the hub clockwise until the timing marks are aligned. Never turn anti clockwise. Do another lap if you pass the mark

    I used a ruler to precisely align

    4-tighten the T55 bolt to 120nm. This will probably cause the hub to move slightly and become misaligned.

    5-with the 3 8mm slacken and the hub in the clockwise limit position, move the timing gear to realign the marks.

    6-tighten the 3 8mm bolts to 10nm
    7-replace the cover and tighten to 35nm

    On a side note I also renewed the Orings inside the cover and the inner side of the hubs.


Testen met de riem erom:


Kap van motor boven, deksels distributie eraf, R voorwiel eraf, op bok aan 1 kant, schutbord opzij.

OP timing zetten op de krukas en uitlaatcam.. ]Als dit OK is, check op inlaatcam deze MOET goed zijn anders is het nodig om eerst de riem te verwijderen.

Checken doe je door aan de achterkant te checken of de as exact goed staat, dit is parallel aan de voetplaat. Al je de locjing tool aan de achterkant zou plaatsen moet hij zonder probleem passen… Check dit door de nokkenassensor en de nokkenas signaalgever van de as te verwijderen en met een lange rechte draad (laselectrode oid te meten of de as inderdaad recht staat. Bij twijfel nog een x helemaal met de klok mee de krukas draaien tot op de merktekens. Niet eroverheen, dan opnieuw ronddraaien met de klok mee! (=rechtsom)

Als de riem eraf moet, volg bovenstaande handleiding. Anders:

Als de tekens goed staan, stel dan de CVVT als volgt:

Borg de camshafts met een standaard borgingstool aan elkaar.

Verwijder aan de andere kant van de inlaatnokkenas de nokkenassensor en de nokkenas signaalgever van de as.

Maak de andere kant van de uitlaat nokkenas vrij (verwijder bovenste motorsteun, beugel, dekseltje)

Maak de afdicht torx van de CVVT los en maak de torx van de CVVT aan de as iets los, draai daarna net iets vast.

Maak de 8mm boutjes iets los en draai aan de achterkant van de inlaat nokkenas tot ze in het midden staan, maak ze vast 10nM.

Draai de inlaat nokkenas voorzichtig rechtsom met de klok MEE een hele slag tot exact de borgpositie van de assen is bereikt en zet het borggereedschap op de assen vast.

Los het borggereedschap op de poelies, laat het gereedschap aan de andere kant op de assen zitten,  en maak de TORX (55)van de as vast met 120nM en de dop met 35nM

Rechecken van de timing met de 8mm boutjes en herstel is op deze manier niet meer mogelijk! Kan alleen als de riem er af is worden gechecked.

Advies is om toch de riemen te verwijderen en het Engelstalige verhaal te volgen. Niet sneller maar wel beter!

Of… riem laten zitten., torx los maar slipbaar vast zetten… op timing marks zetten van tandwielen voorzijde, as aan achterzijde 1/3 slag terug, voorwaarts draaien tot exact recht in blokkeerpositie en torx vastzetten met luchtsleutel. (eerst met makita hammersleutel op accu is ok)

Nadeel van draaien van de inlaat nokkenas vanaf de achterkant is dat hij TEGEN de normale draairichting in gaat.

Alleen al om die reden is dit niet echt aan te bevelen….

  1. C) JG 08-2015


error: Content is protected !!