Openscan (best version in my view) for larger objects with pro cam and LED ringflasher, synced to the XYZ table and Arduino-based adjustable controls:
Openscan MINI with Raspberry PI4-4GB, LED light, and 8Mp PI camera:


Openscan (best version in my view) for larger objects with pro cam and LED ringflasher, synced to the XYZ table and Arduino-based adjustable controls:
Openscan MINI with Raspberry PI4-4GB, LED light, and 8Mp PI camera:
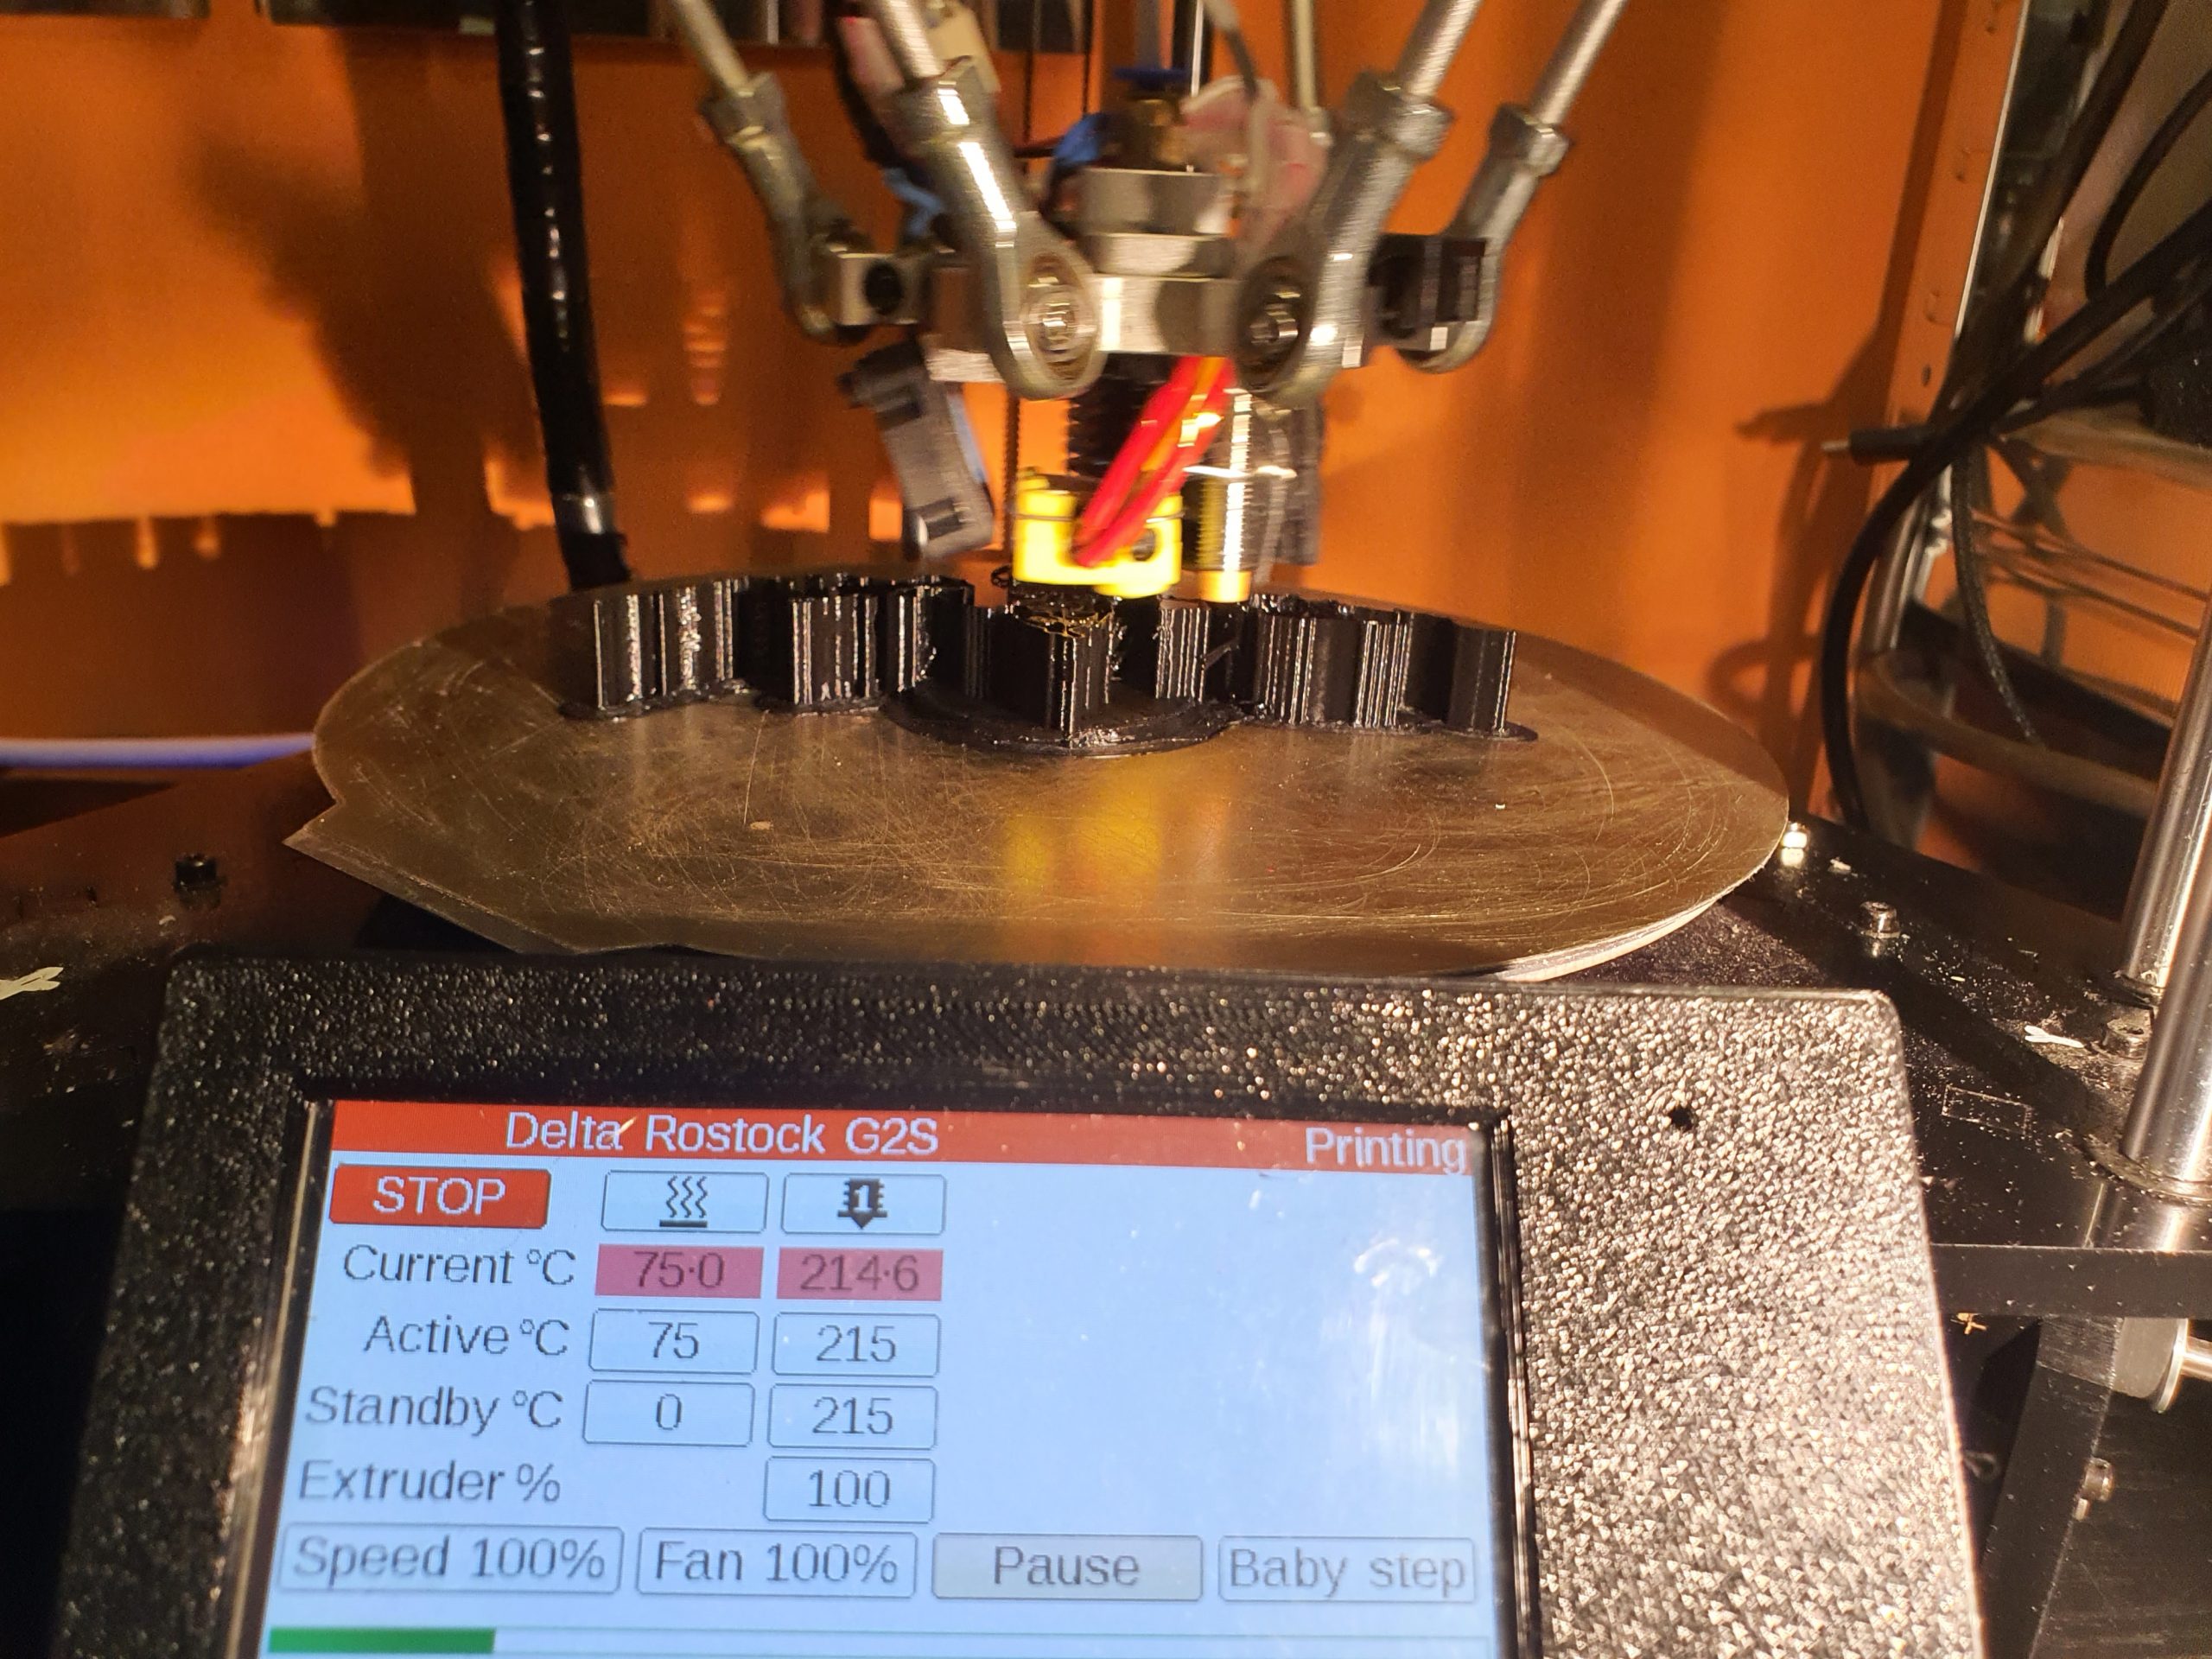
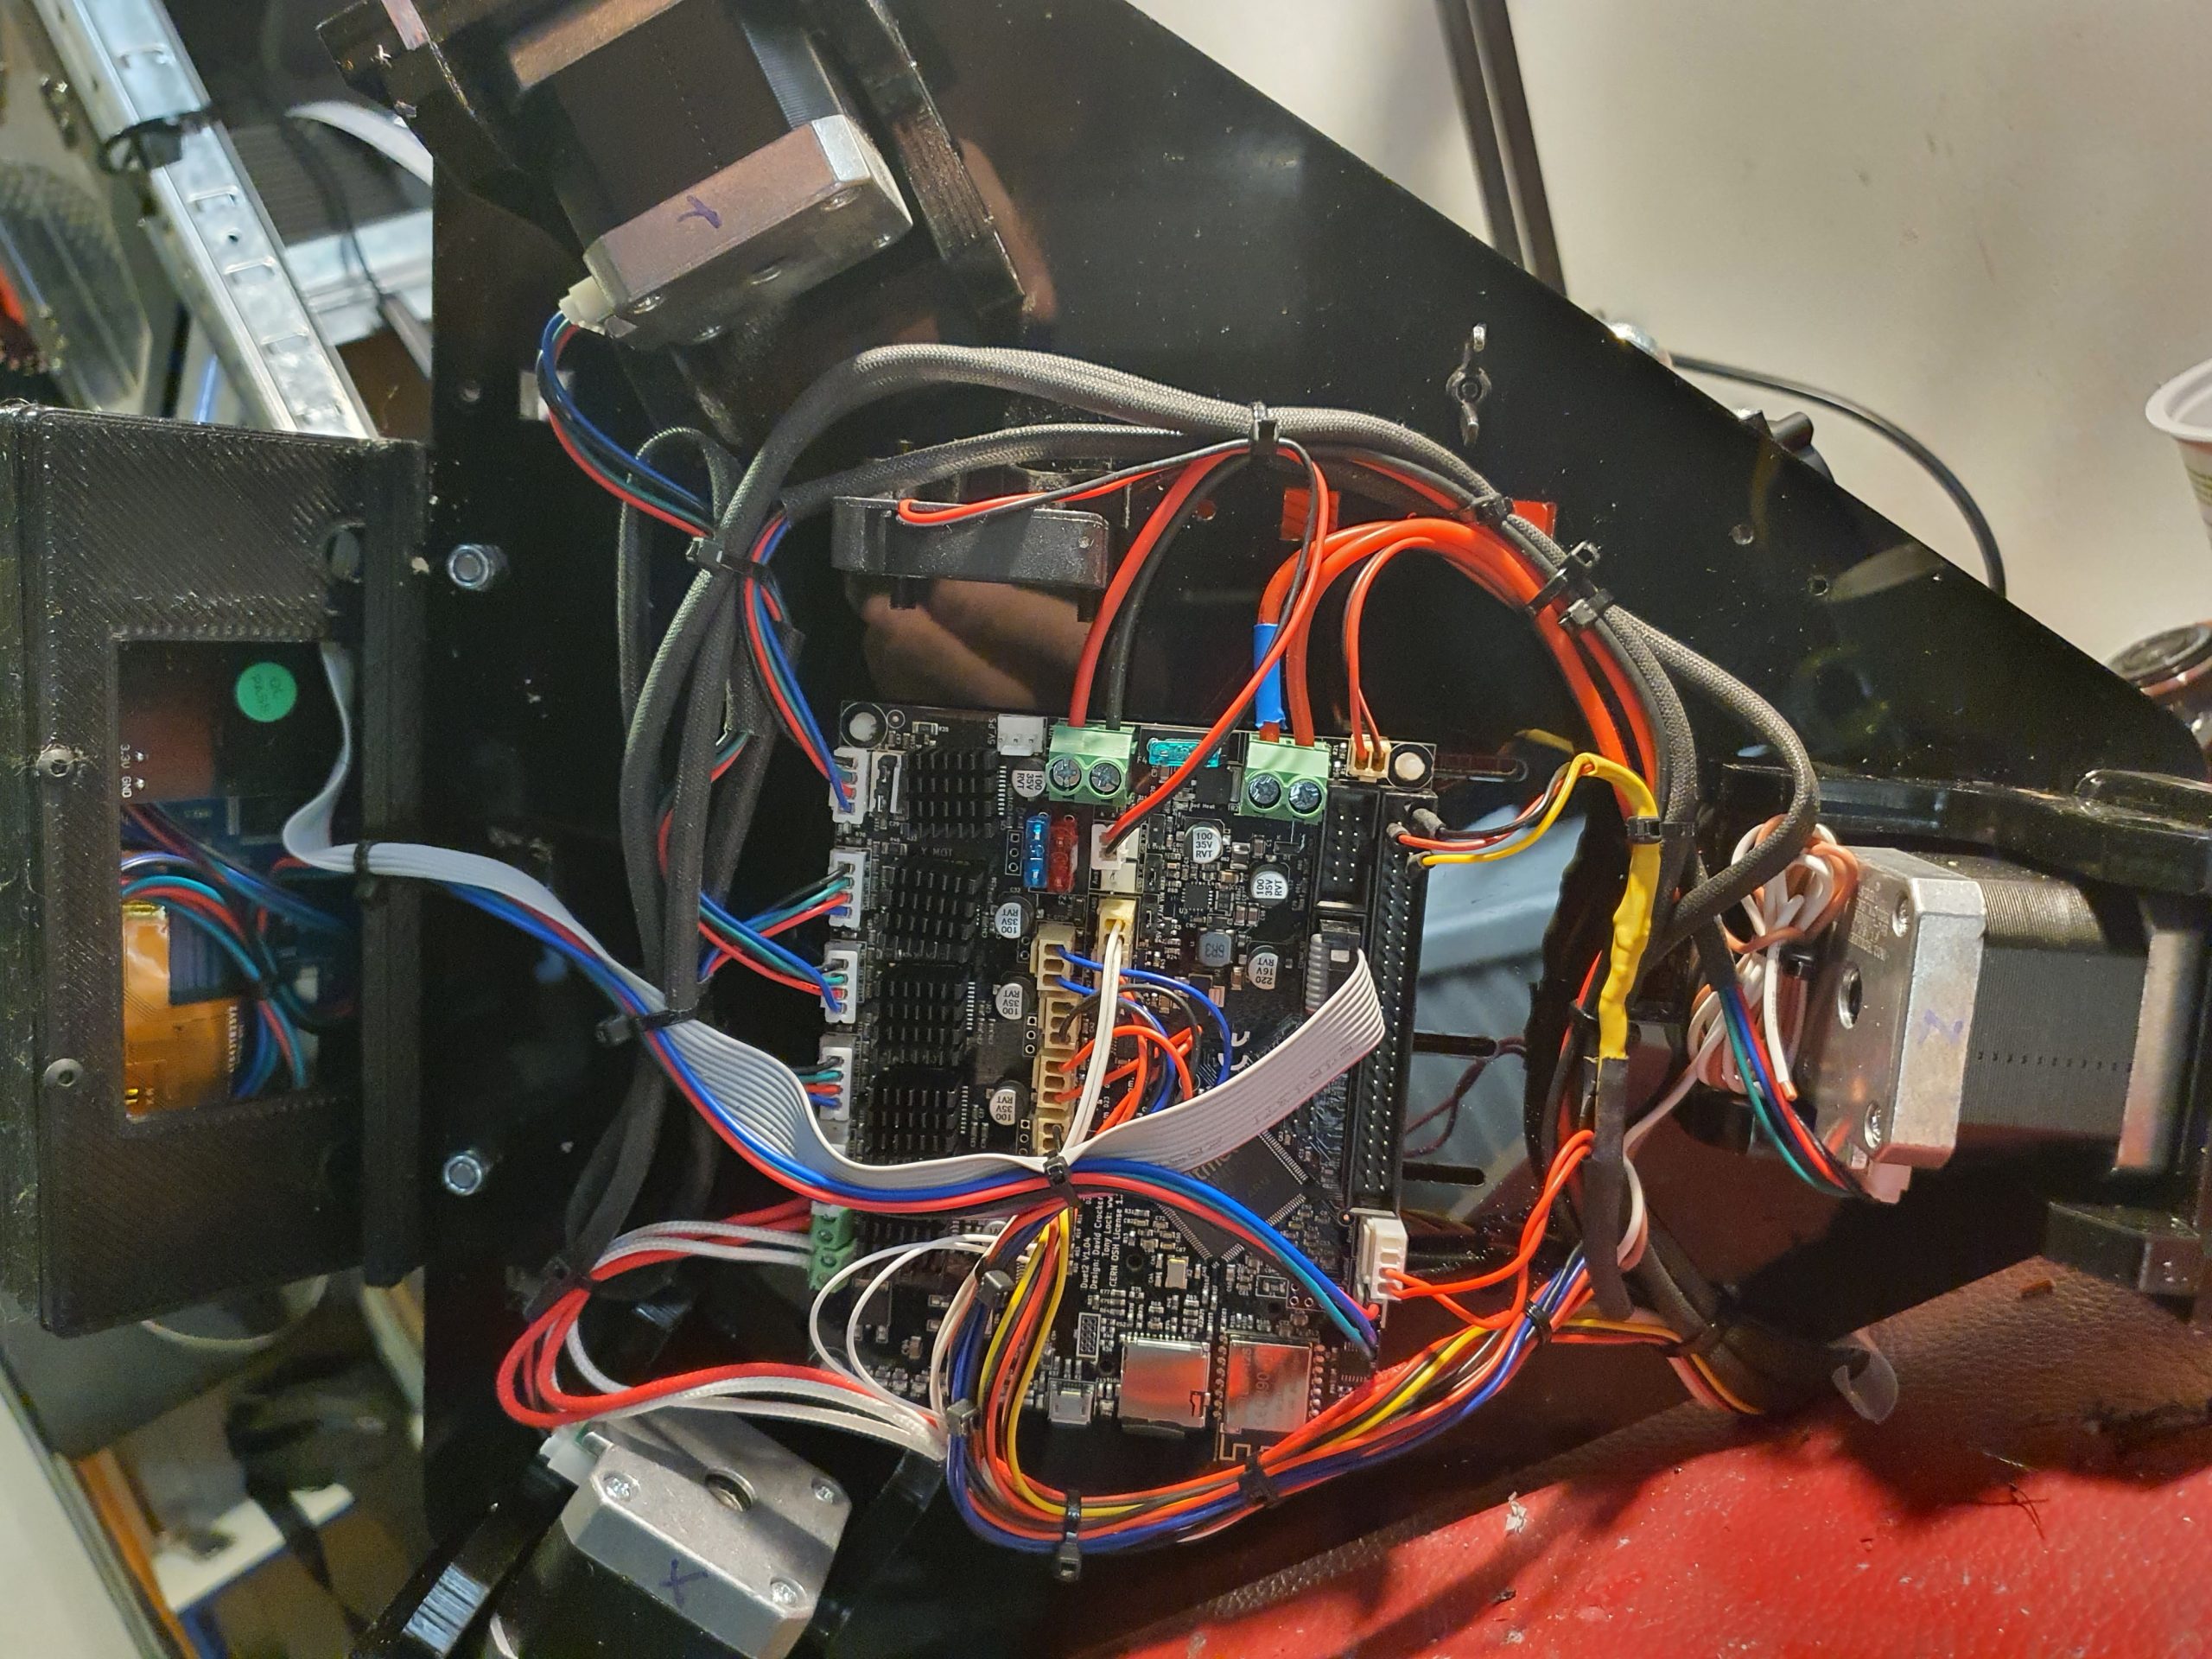
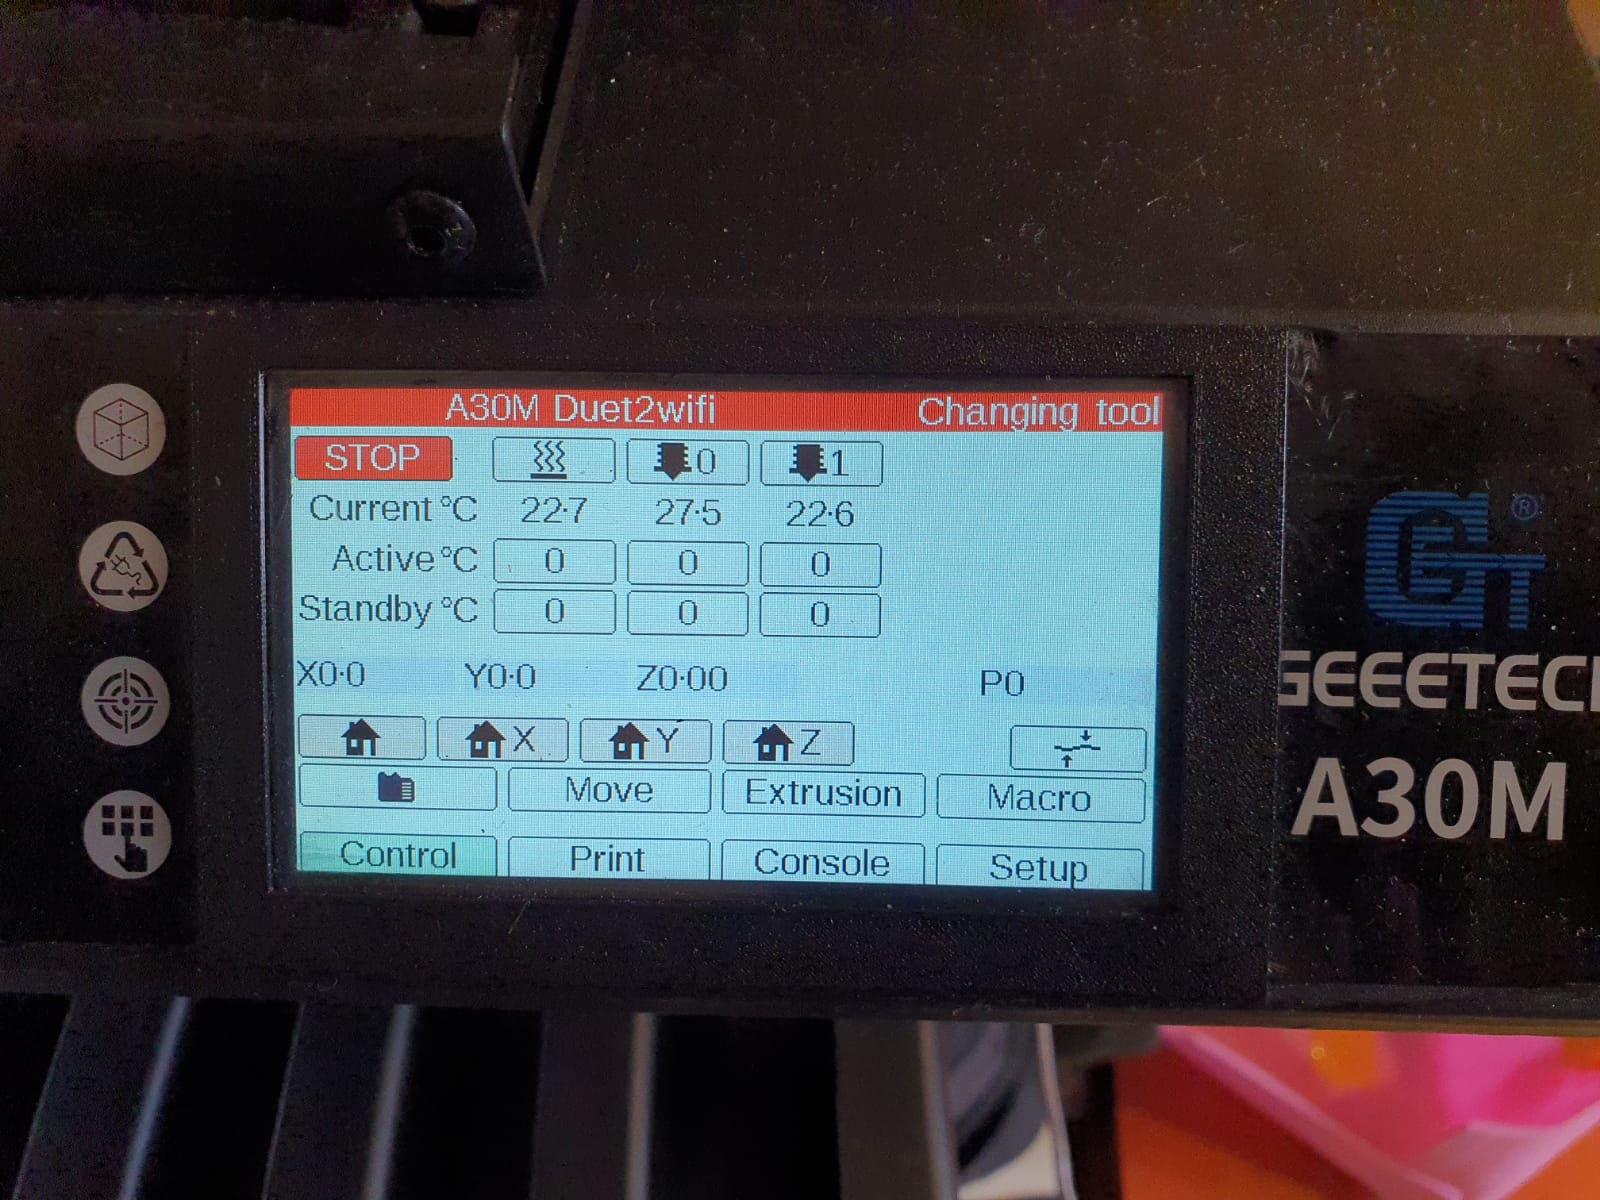
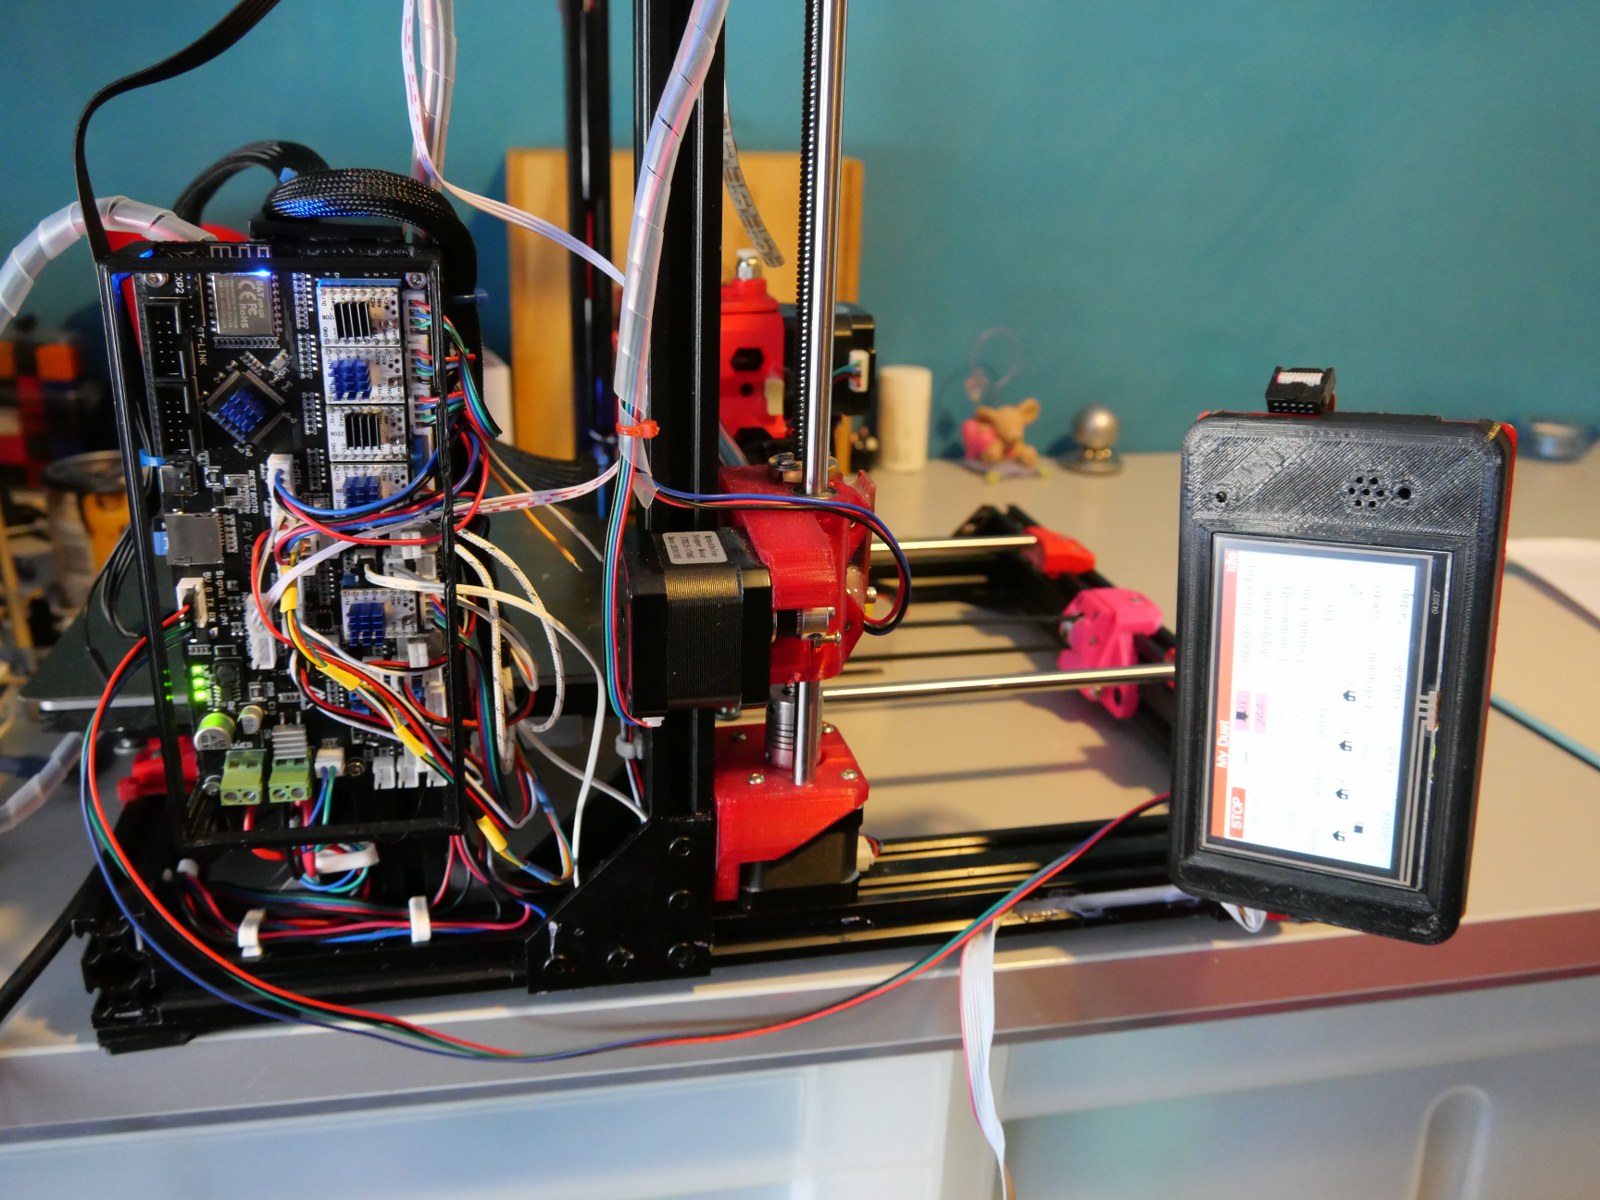
April 2021: My first 3d printer I bought back in 2014 finally got the Duet2wifi motherboard installed with 2 new extruders, piëzo Z-probe, new hotend, cabling, power supply, 24 Volt hotbed and 24 Volt fans.
The original motherboard is based on an Arduino Mega and had trouble keeping up with the latest firmware versions.
Besides that, I really want all my printers to have a sturdy wifi accessibility to manage them remotely.
The Duet has proved to be both reliable as easily configurable.
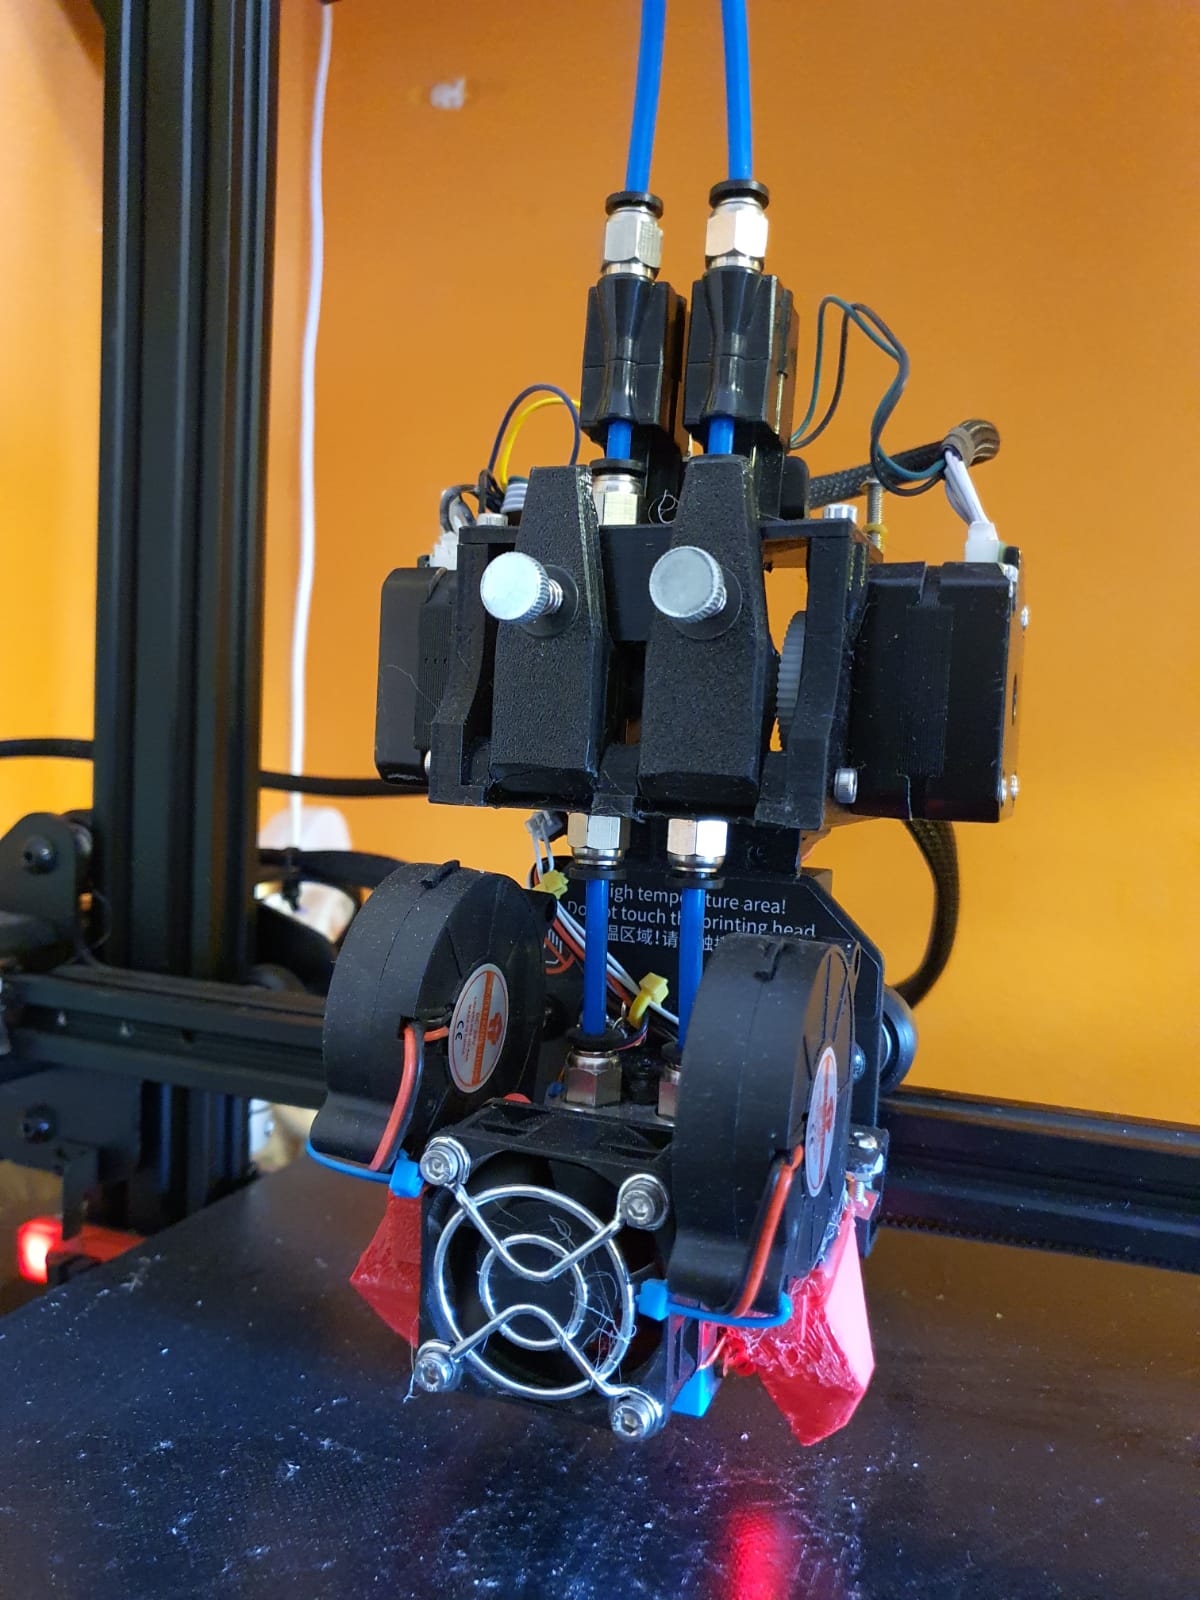
The electronics has been rebuilt to 24 Volt and two Bondtech extruders have been installed, 1 left- and 1 right handed version. But- for the time being only 1 hotend got installed. I will install a properly working mixing hotend later. Or maybe a dual switching hotend, just to try it out.
One of the advantages of the Duet is the reprap firmware. With a delta, reprap 3.2.2 has a G32 command which automatically configures all the difficult settings for the Delta printer like rod lenghts, endstop settings et cetera. Provided that you have a bed.g file with enough 6 or 7-factor probe points.
I used the heater pins of the 2nd extruder as PWM power supply for my LED toplights. If I ever install a dual hotend with 2 nozzles, I will add a Mosfet board that converts 3.3 Volt to 24 Volt and then I will use a spare bed heater pin (most likely GPIO heater pin 4 or five) for the LED top light. This works very well on all my other Duet boards where I connected LED lights to the printer . The LED’s are controlled via the PanelDue touchscreen (macros) and via the start/stop files.
All you need to measure yourself to get the Delta configured is the Z-probe offset versus the nozzle position and the rest will be done through the G32 command. The sequence is: Perform G28, G32, M500, G29 and you’re done. You will have to get the bed.g file for the G32 command to work as such from the escher3d website. I used the 7-factor version.
PS: You don’t need to calibrate G29 at every print. Please look at my homing file for the delta where-, after homing X-Y-X=Z to the top I only have a Z-probe G30 at the bed’s surface. I will attach my final config.g code and all needed additional code for the delta with reprap 3.2.2 so you can benefit from my config.g for the Duet2wifi learnings HERE. Cheers, Jan
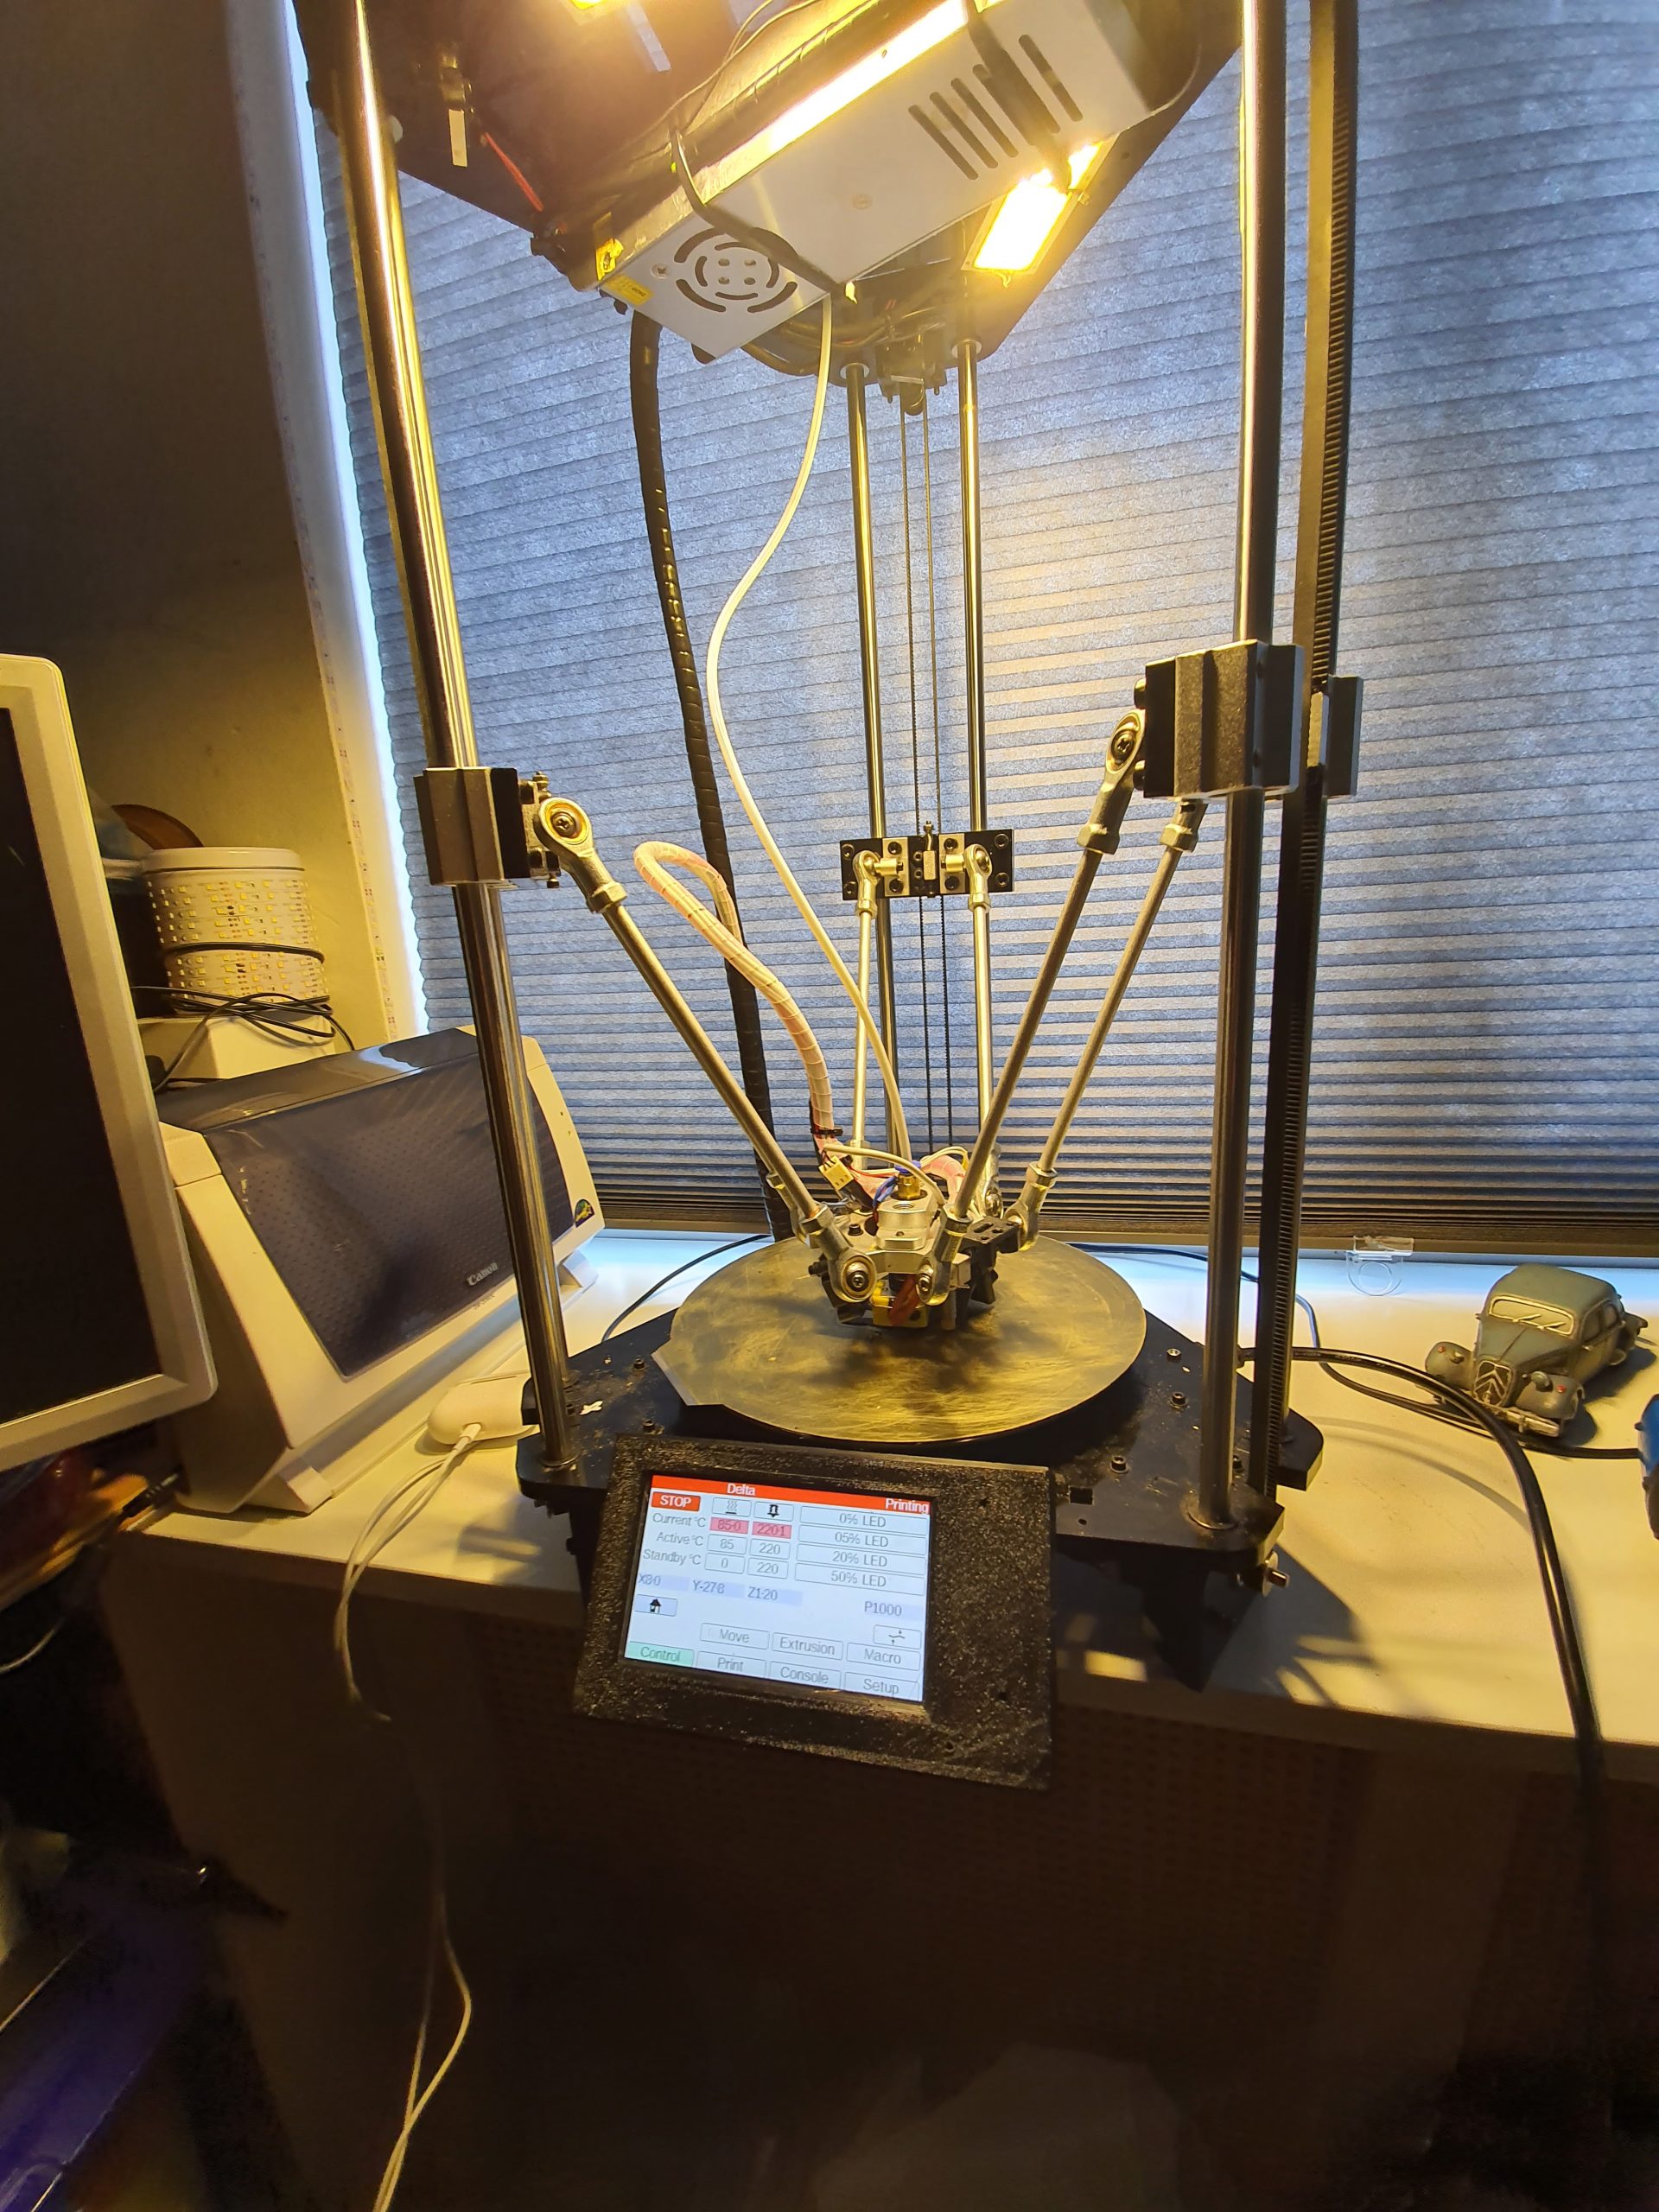
PM: Things that are really needed: The Z-probe MUST be as close to the nozzle as possible. I had a BL Touch earlier which was positioned to the side of the center carriage and this never worked as supposed to. It was positioned at 45 mm to the right and 25 mm to the front of the nozzle and this was clearly too far away to get a decent probing for G32. With the BL Touch I never got good Delta basic settings. The Piezo nozzle is a slim 6mm diameter version and has been strapped to the cold end of the E6D with a set of 1mm wires and works perfect.
The motherboard of my Geeetech A30M was broken, due to a defective Y-axis motor as I experienced later. I ordered a new Smartto motherboard from Geeetech, installed it and it broke down again, due to the shortcut in the Y motor. Very strange defect since the smartto board uses plug-in drivers. However, unrepairable and a real pity to now be stuck with 2 smartto boards without any use for them with both having a defect on the Y output. Exchanging drivers did not help, cables exchange did not help either…
After replacing the Y-motor,I decided to go for a complete rebuild of the A30M. In the old files you can still see the original smartto experiences on the A30M HERE.
Above, the movie of the first Duet2wifi experiences and the Chimera hotend. Later, I decided to make the extruders direct-driven.
Get my A30M config.g for reprap 3 Duet2wifi for the original mixing hotend (1 nozzle, 2 extruders).
Get my hotend to motherboard cable and pin assignment via the following link: 2020 12 09 improved A30M Extruder toolhead cable to board after adding dual hotend dual nozzle dual heater and dual temp sensors

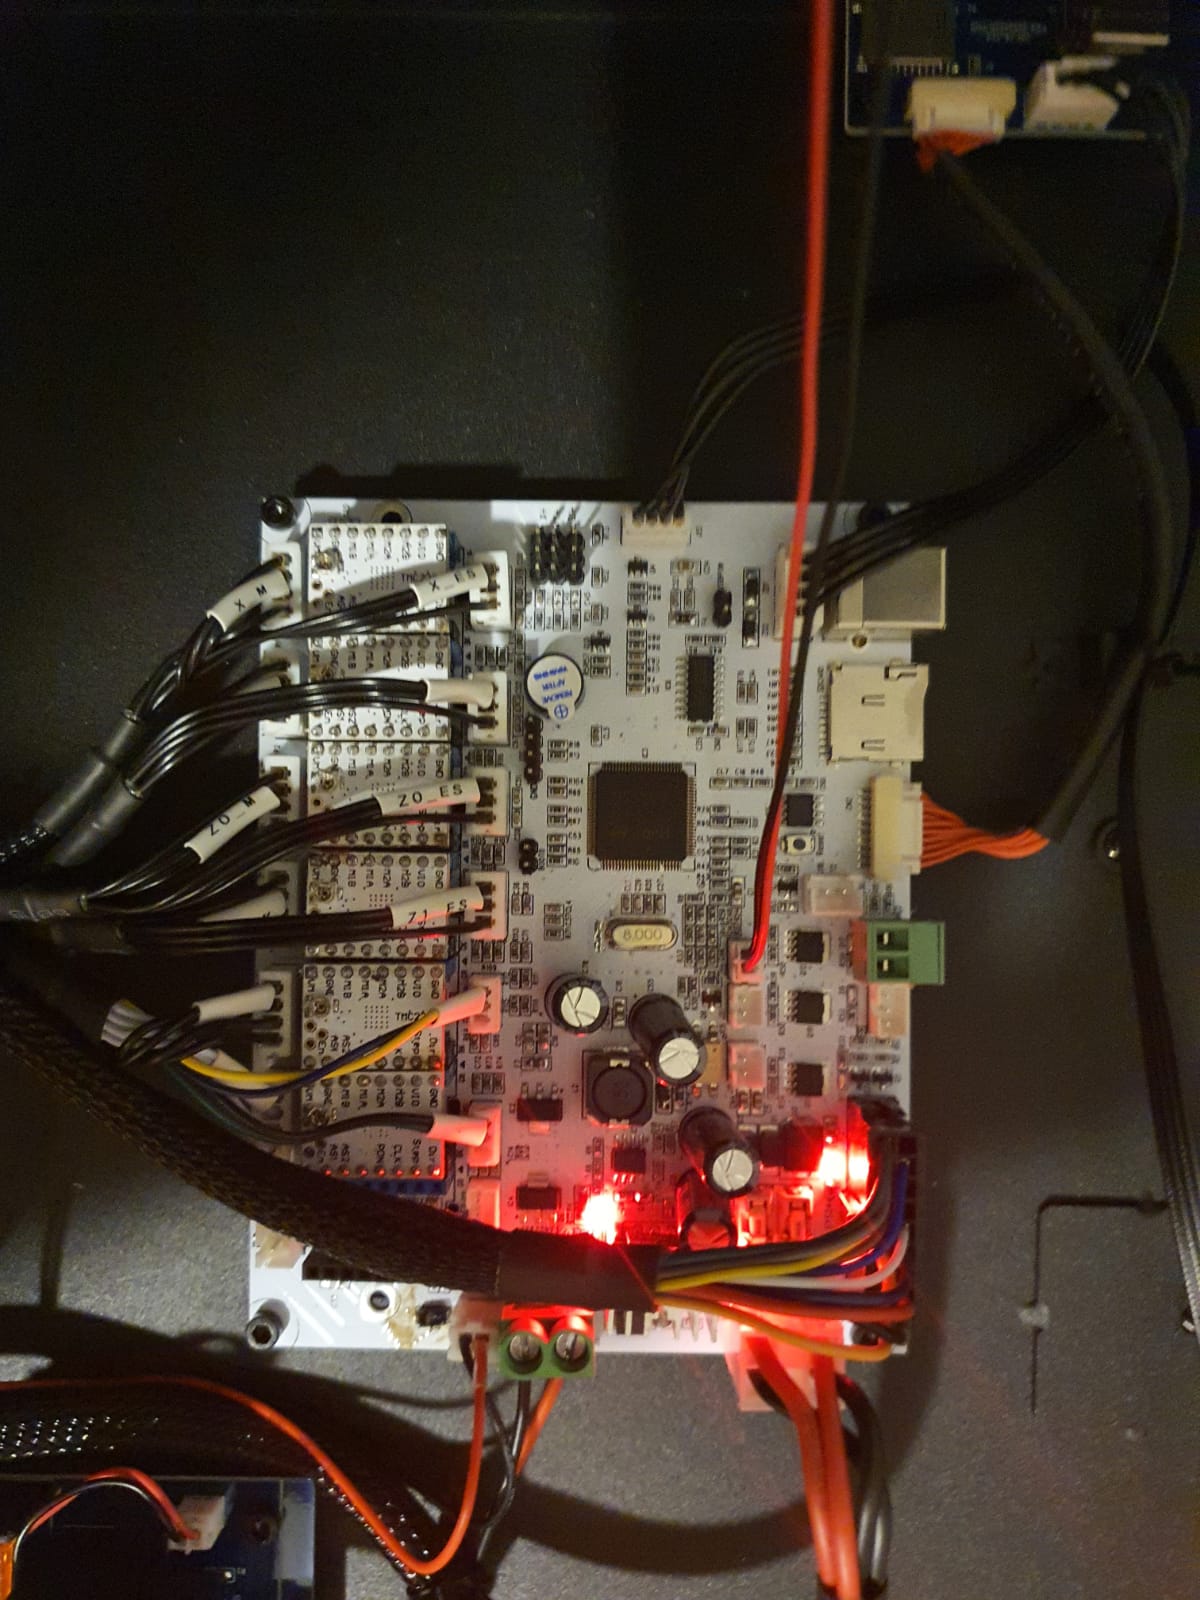
Since the FLY_CDY_V2 STM32 board comes without any firmware installed, I made a simple link for you to download and extract everything you need to a 2-16GB microSDcard.
Just download, extract, burn as-is to SD and plug it in the board, fire the board up and all works!
Make sure you follow the guideline HERE for getting attached to the board via wifi by using a USB cable and YAT terminal on your PC to get the home wifi SSID and Password programmed to ROM into the board, AFTER you installed firmware by putting in the SDcard and firing it up.
The settings in config.g at the SDcard are made for a Cartesian XYZ machine with triple extruder. This can all be changed to fit your build in config.g.
For a delta, use THIS DUET2wifi DELTA config.g and change the pin_name of bed heater according to the FLY_CDY_V2 name convention (thus: use bed instead of bed_heater).
For more info about the board and connecting to the electronics, steppers, endstops, filament sensors, BLTouch, Neopixels etcetera go HERE
Please donate $1 to my paypal account if you use (parts of) my developed materials so I can continue to share nice stuff for you to download
Cheers,
Jan Griffioen
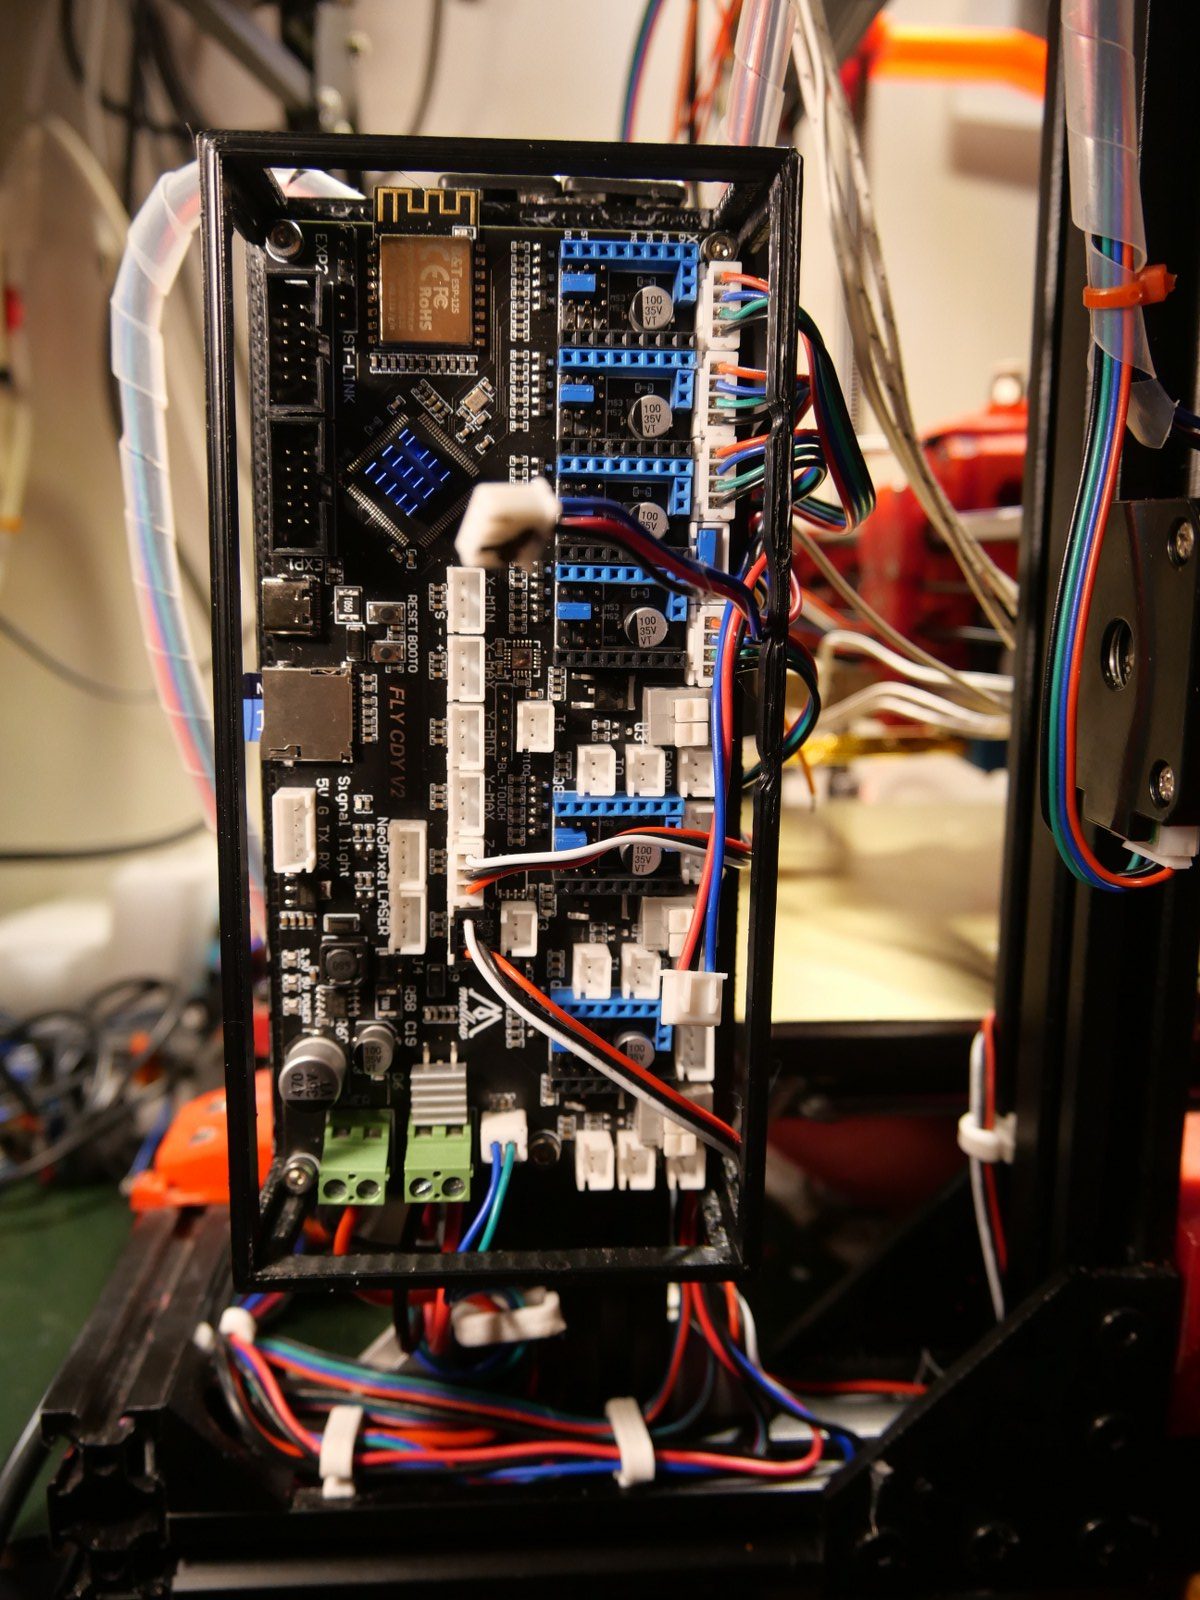
I replaced my Duet2wifi with the Mellow’s FLY-CDY-V2 motherboard
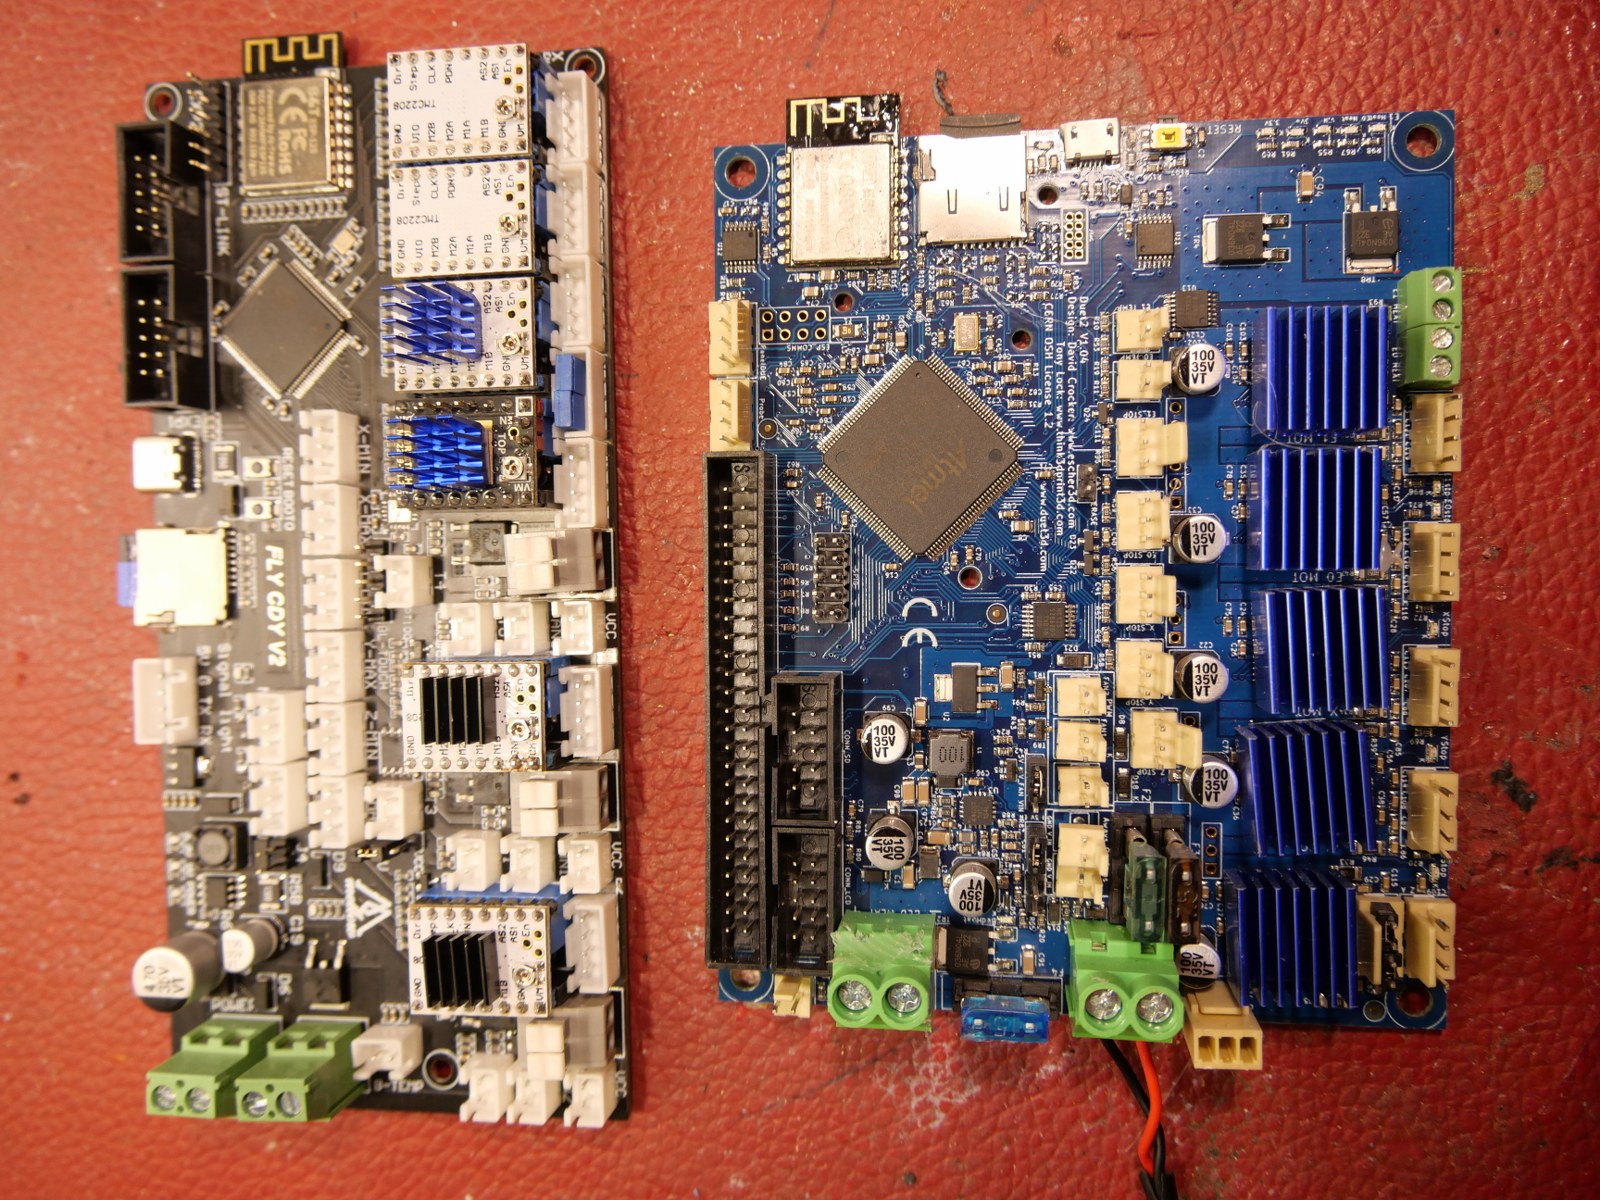
My cloned Duet2wifi MB that was running in my I3 bear suddenly refused to start up any longer, so I decided to put my recently purchased Mello FLY-CDY-V2 motherboard in the I3 bear printer. Up to now, the makerbase Duet2wifi clones keep working properly and all other clones die on me…
During the replacement process I encountered the following issues:
For what it’s worth, the articles I write are not only based on my opinion and experience, common sense is also part of my written content.
In the first place you should ask ourself what you would define to be a professional 3d printer. Is it about price, durability, quality, size, usability, repeatability, speed, portability, cloud-based usage, shared usage, or possibly some other requirement that you find inportant? If you read the world’s professional literature about 3d-printing, it is always about either making one-off products or prototypes for complex (machine, dental, medical) purposes, or it has to do with printing parts in series for a specific branch of industry. In both cases, the to be printed material is mostly nothing like the hobbyist uses. Professional printing goes from carbon/fiber to stainless steel, ceramics, titanium and so on. Most professional production printers are in the price range above 30 k Euro.
3d printers from 500 Euro up until 15 k Euro are usually very good and precise at printing with common materials like ABS/PLA/Nylon/PetG, Carbon/wood et cetera and have a higher price tag than standard consumer models due to specific added value like the ability to print really big models, heated chamber, multicolor et cetera.
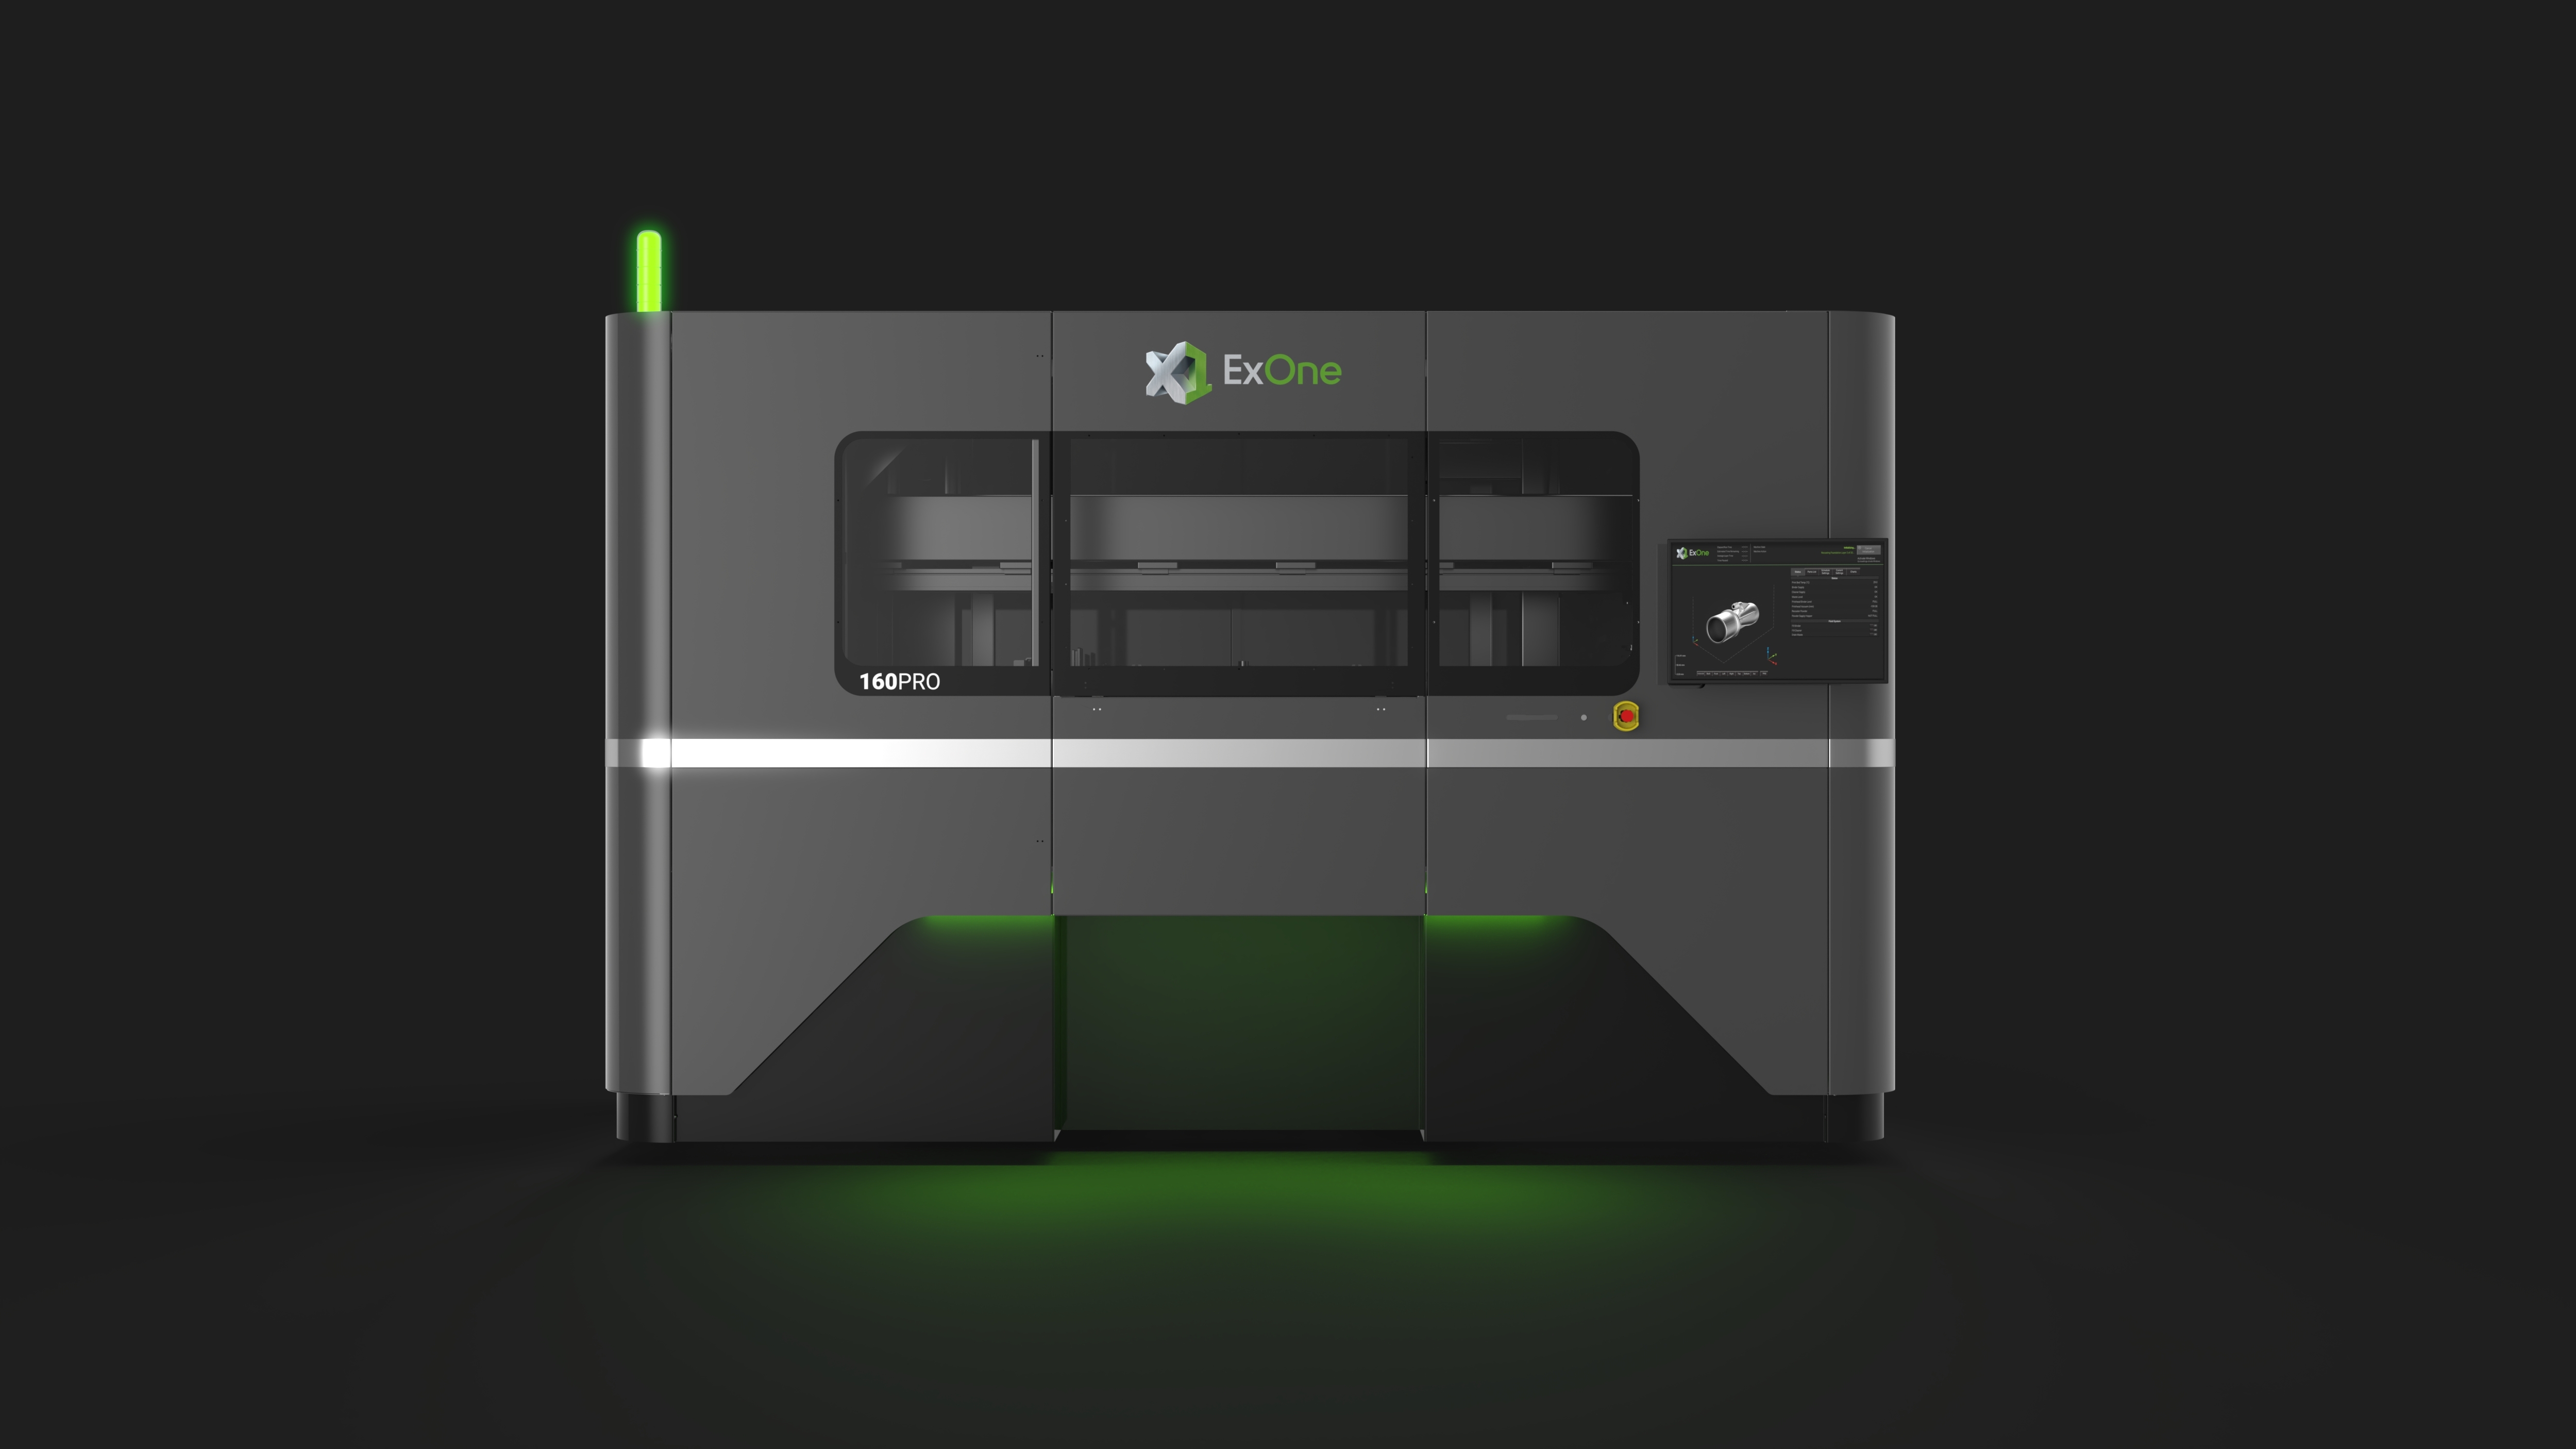
The X1 160Pro™ is the world’s largest metal binder jetting system and is now shipping to customers. A controlled-atmosphere model of the system, capable of high-volume aluminum and titanium production, will be available in late 2022. (Photo: Business Wire)And- after printing, most of these printed parts need post-processing like sintering for aluminium.

The price for professional 3d printers is a summation of a number of drivers, like:
With the hobbyist’s 3d printers, there is really only one driver for the costs, which is materials and production. Of course the quality is an issue here because cheap parts of lesser quality will make products of lesser quality. All other drivers from the above list are not required and/or have already been put in the public domain and are therefore not put in the final selling price. With professional 3d printers, the production numbers are usually low, quality high and developing processes are usually lengthy and expensive. Thus, the price per sold 3d printer will be uplifted a lot from the development related costs. On top of this, the real development of 3d printing is not even starting. The pioneers that develop printers will have to keep developing over and over again. Only when professional 3d printers will be in a stable production phase and development is more like tweaking than making large steps, it is possible to see prices drop.
So- to answer the question: No, professional 3d printers are not overpriced. But- they are expensive and are only interesting if you already need products that can be made today with such a specific printer. Think of car parts development, Formula 1- engine developments and so on. In these industries, it is very expensive to get a mold and rework a rough newly developed product in the conventional way so a 3d metalprinter will fulfill an already existing need. And the investment will pay back very quick due to the fast production times. And- the engineers that design a part can just use their existing tooling to make designs for 3d printing.
Deze 5-voudige hot-en cold end combinatie wordt geinstalleerd op mijn A30M met het Duet2wifi board+extension board (5-voudig met plug-in drivers).
De A30M heeft al onafhankelijke Z-stepper motoren.
De Duet2wifi heeft 5 stappenpoorten, en het uitbreidingsbord heeft ook 5 stappenpoorten. X,Y,2xZ, en 5 Extruders is een totaal van 9 dus dit gaat inderdaad passen!
Ik zal nieuwe bedrading maken voor de 5 extruder steppers boven op het A30M frame met 5 bowden buizen naar de hotend.
Aangezien de hotend niet mengt, zal dit een eenvoudige klus zijn om in config.g. te krijgen.
Voor de slicer zal het ook eenvoudig zijn.
Voeg gewoon de extruders toe tot een totaal van 5 stuks.
Voeg de juiste filamenten/temps/ geen offset toe dus zet offset X en Y op 0.
Het werk zal voornamelijk zitten in de tool changing files voor T0-T5 waar retraction- en extruding settings nodig zullen zijn.
Zoals ik n u werk met de 4-voiudige toolchanger van E3D kun je beter de retractie door de slicer laten uitvoeren, dus daar ga ik in eerste instantie mee aan de slag!
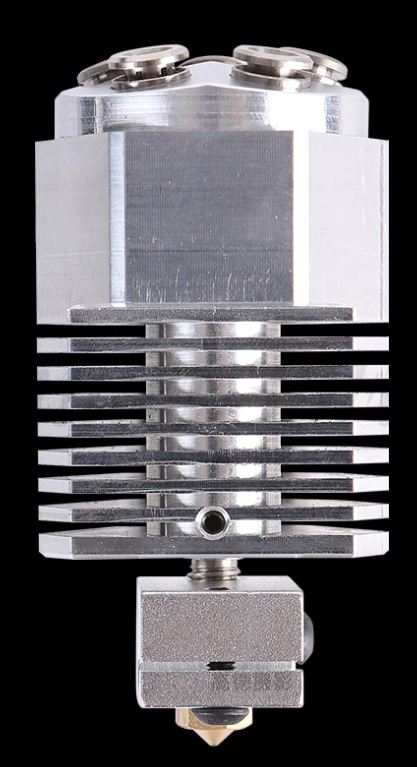
Voor de hotend heb ik een nieuwe setup beschikbaar waarmee ik snel de nozzle kan veranderen.
Dit zal het mogelijk maken om deze setup voor allerlei toepassingen te gebruiken.
Qua hardware moet ik nog wel een plekje vinden voor de Z-sensor, zo dicht mogelijk naast het hotend.
[Best_Wordpress_Gallery id=”48″ gal_title=”NYC 2016″]
[Best_Wordpress_Gallery id=”49″ gal_title=”NYC 2016″]