Na ruim een half jaar rijden met mijn Atto3 heb ik 2 ‘restpunten’ die me nog storen.
1) De klimaatregeling.
Deze is nog steeds niet zoals ik het graag zou willen. De temperatuur in de auto varieert nog steeds, ondanks een vaste temperatuurinstelling. Maar het varieert gelukkig niet meer zoveel als bij de levering van de wagen. Ik heb de wagen altijd op 19 graden ingesteld, en de temperatuur in het interieur varieert daarbij tussen 16 en 22 graden. Opvallend is dat de temperatuur bij bij langere constante snelheid wel stabiliseert op de ingestelde temperatuur. Maar wanneer ik de snelweg af ga of in een file kom te staan, loopt de temperatuur direct op en het duurt daarna ca 3 minuten voordat de temperatuur weer terugloopt naar de ingestelde temperatuur. Als ik daarna weer een paar minuten of meer sneller rijd, wordt het ca 3 graden kouder dan de ingestelde temperatuur en pas daarna stabiliseert de temperatuur weer op de ingestelde waarde.
Nadat ik dit ‘gedrag’ van de warmtepomp installatie heb doorgekregen, stel ik d etemperatuur nooit meer bij en leer ik te leven met de verhogingen en verlagingen, omdat de temperatuur uiteindelijk weer wordt bijgeregeld. Maar de manier waarop dit werkt is erg vervelend. Het ligt als klacht bij BYD Amsterdam, ook vanwege het steeds aan de binnenkant beslaan van de ruiten van auto na het parkeren bij buitentemperaturen onder 10 graden Celsius.
2. Het gebrek van een automatische regengevoelige ruitenwissersturing.
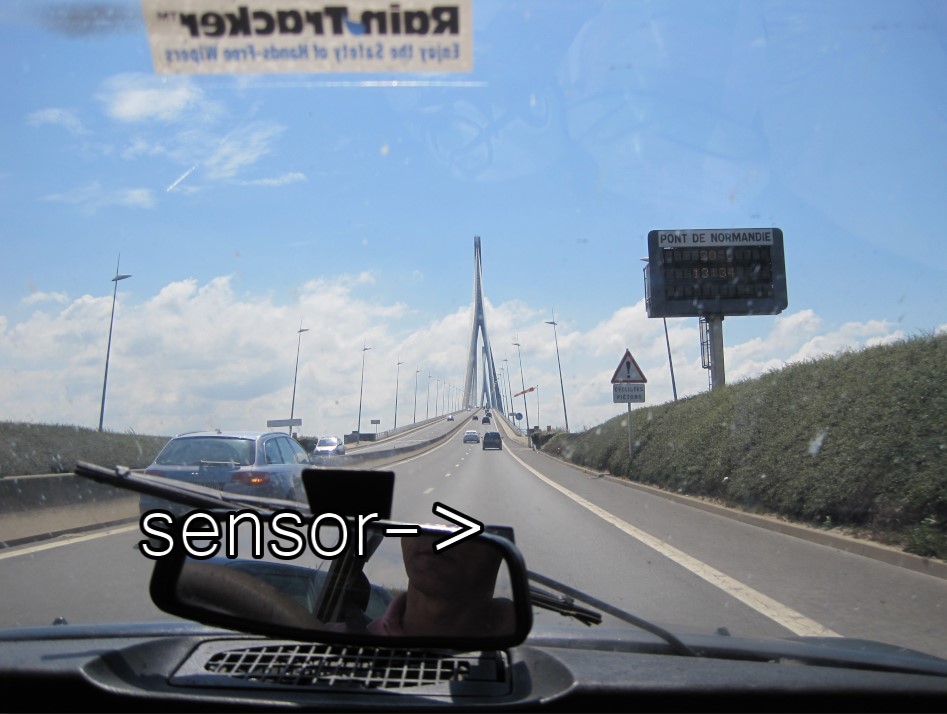
Als gevolg van het gemis van een automatisch sturende ruitenwisserschaleling ga ik dit zelf oplossen. Dat heb ik tot nu toe ook bij mijn auto’s gedaan waarop geen sensor- c.q. besturing van de regengevoelige automatische besturing van de ruitenwissers af-fabriek was gemonteerd.
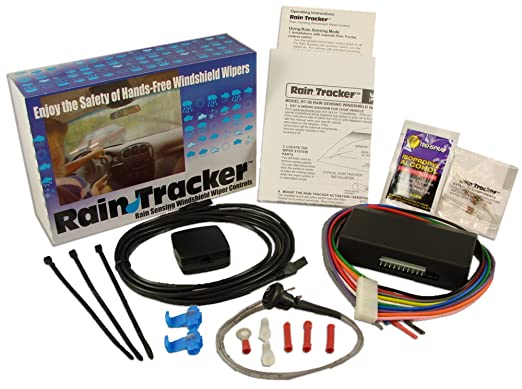
Voorheen gebruikte ik daarvoor de rain tracker RT-50A kit van Hydreon/Sonic en sinds deze niet meer wordt gemaakt gebruik ik soortgelijke in de markt verkrijgbare systemen.

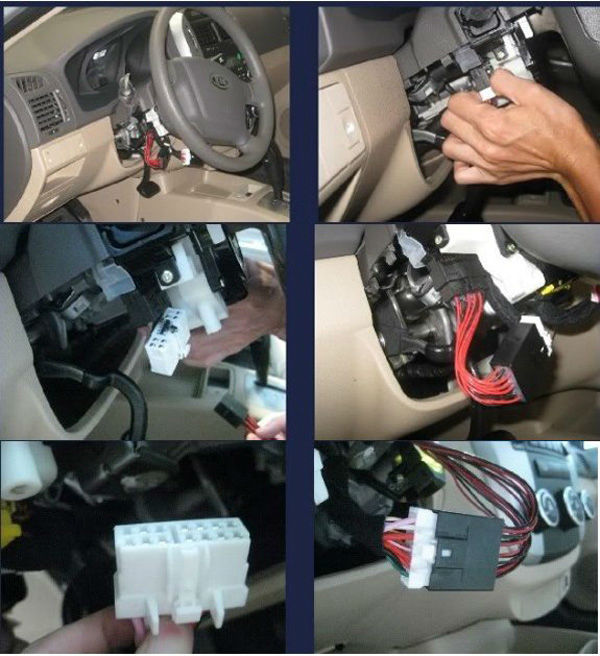
Vehicle-Specific Installation Notes RT50A
Eigenlijk zou ik het liefst een OBD2-systeem monteren, maar tot heden heb ik daar geen after market systeem voor kunnen vinden. En zoiets helemaal zelf bouwen wordt me te veel werk, ook al omdat ik niet zeker weet of de ruitenwissers van de BYD Atto3 inderdaad met een addresseerbare eigen OBD2-control module zijn bestuurd.
Daarom ga ik voor de old school-oplossing met standaard bekabeling en een installatie op de bestaande ruitenwisser schakelaars. Maar dan in de draadboom onder het dashboard. Ik weet dat het niet handig is om in een betrekkelijk nieuwe auo zo’n drastische oplossing in de wagen te ‘hacken’ maar mijn irritatie over de afwezigheid van deze optie zit zo hoog dat ik op een gegeven moment serieus heb overwogen om alleen al hiervoor de BYD Atto 3 in te ruilen voor een Hyundai Kona o.i.d..
De standaard bekabeling vergt naast de spanningsvoorziening vanaf de geschakelde 12V boordspanning ook een ingreep in de aansluitingen tussen de schakelaars van de ruitenwissers en de ruitenwissermotor. Ik ga voor de meest eenvoudige oplossing waarbij ik de nieuwe module als assistent gebruik voor de bestaande installatie. Dan kan ik met 1 extra schakelaar die ik netjes vlak in de onderkant van de stuurkolom wegwerk de nieuwe module activeren. En dan blijven alle functies van de bestaande schakelaars gewoon intact. De nieuwe module werkt dan parallel aan de oorspronkelijke ‘single-wipe’ schakelaar. Dat betekent dat ik de optie ‘HIGH SPEED’ dus NIET automatisch door de nieuwe module laat activeren en dat de nieuwe module alleen de standaard wissnelheid zal gebruiken voor zowel enkelvoudig wissen als continue wissen.
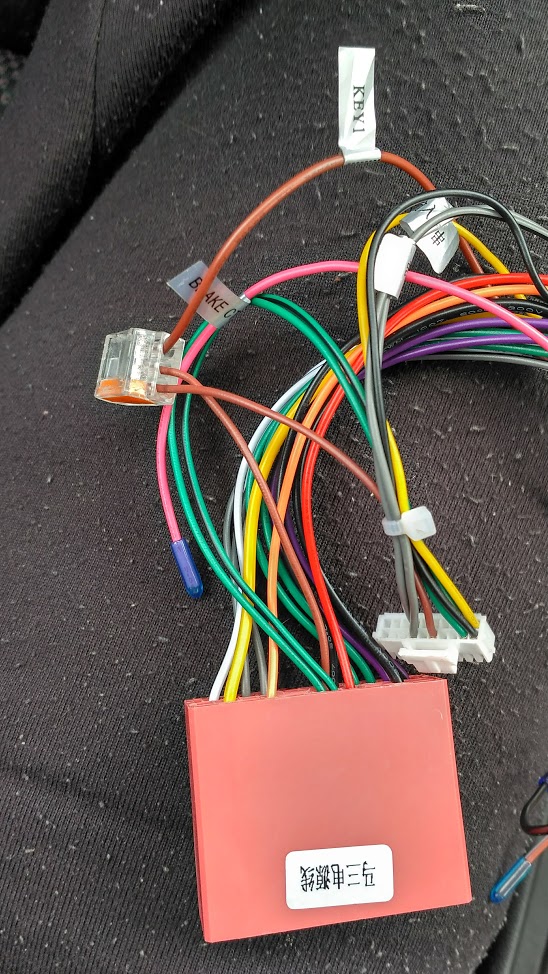
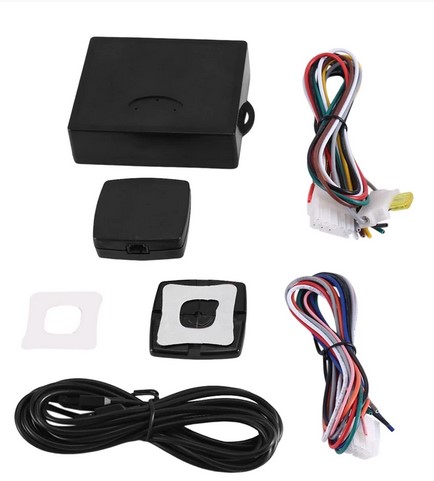
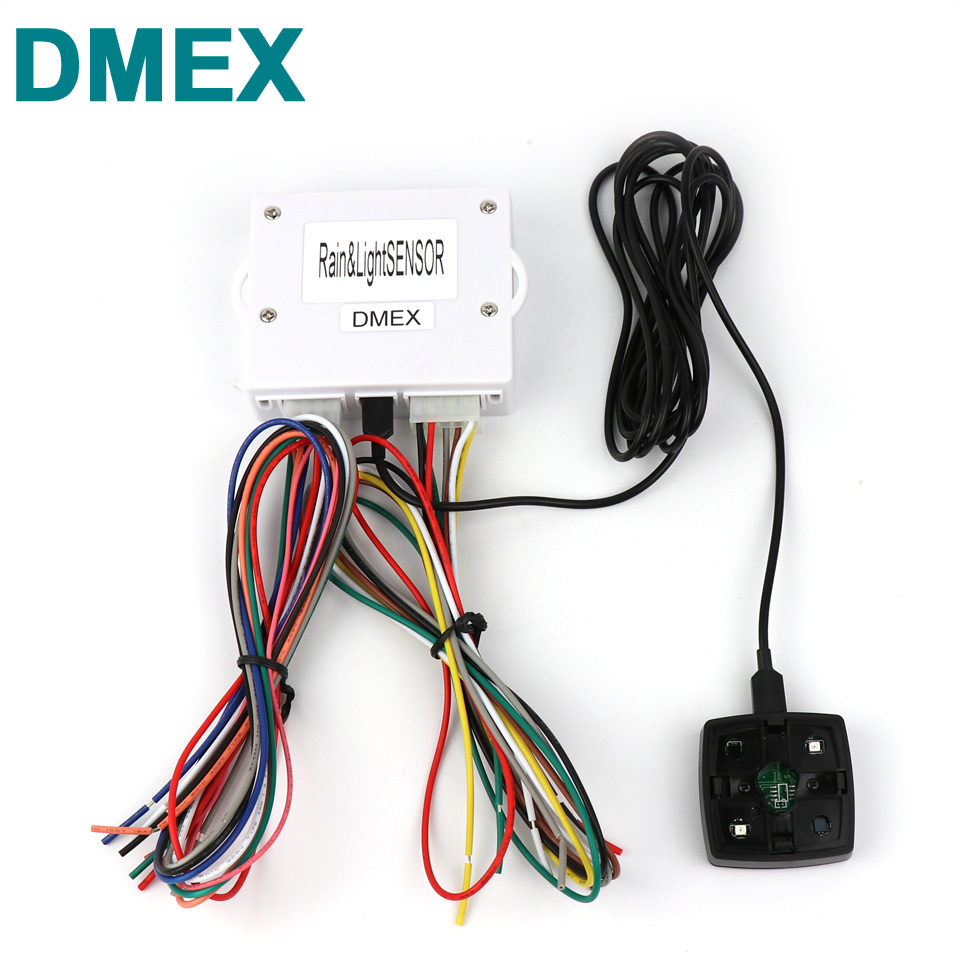
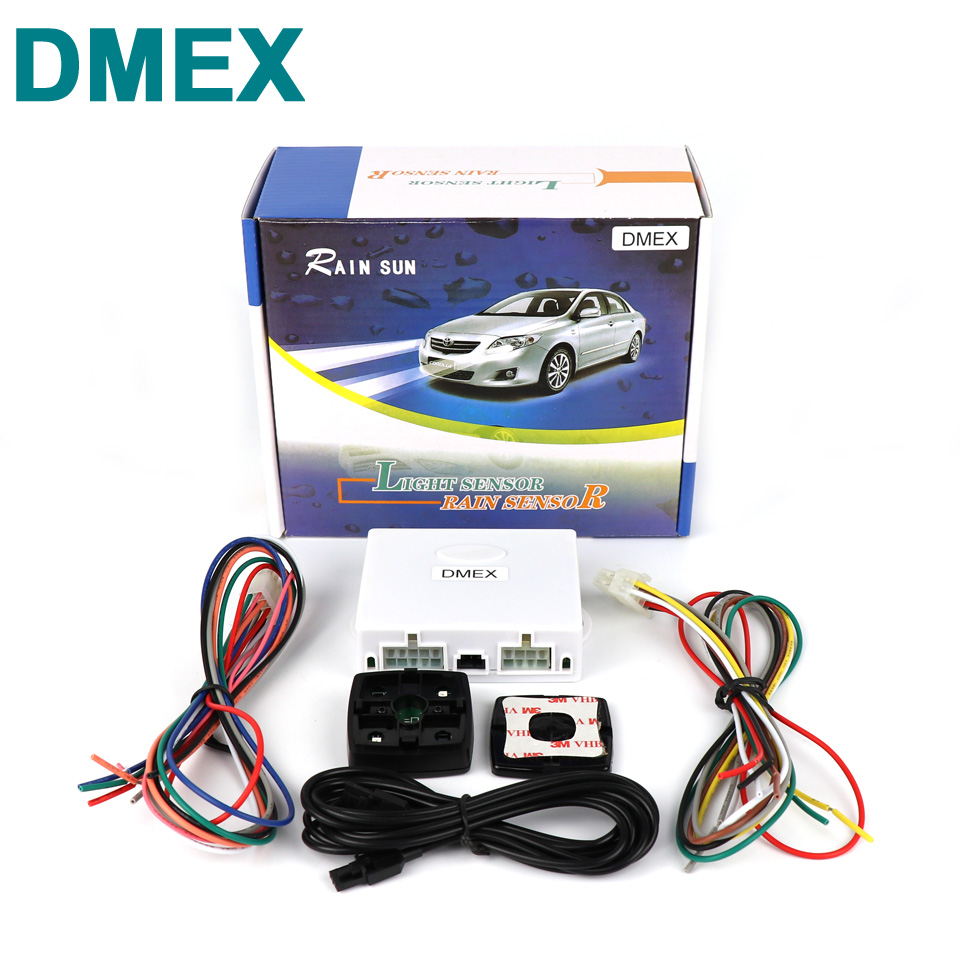
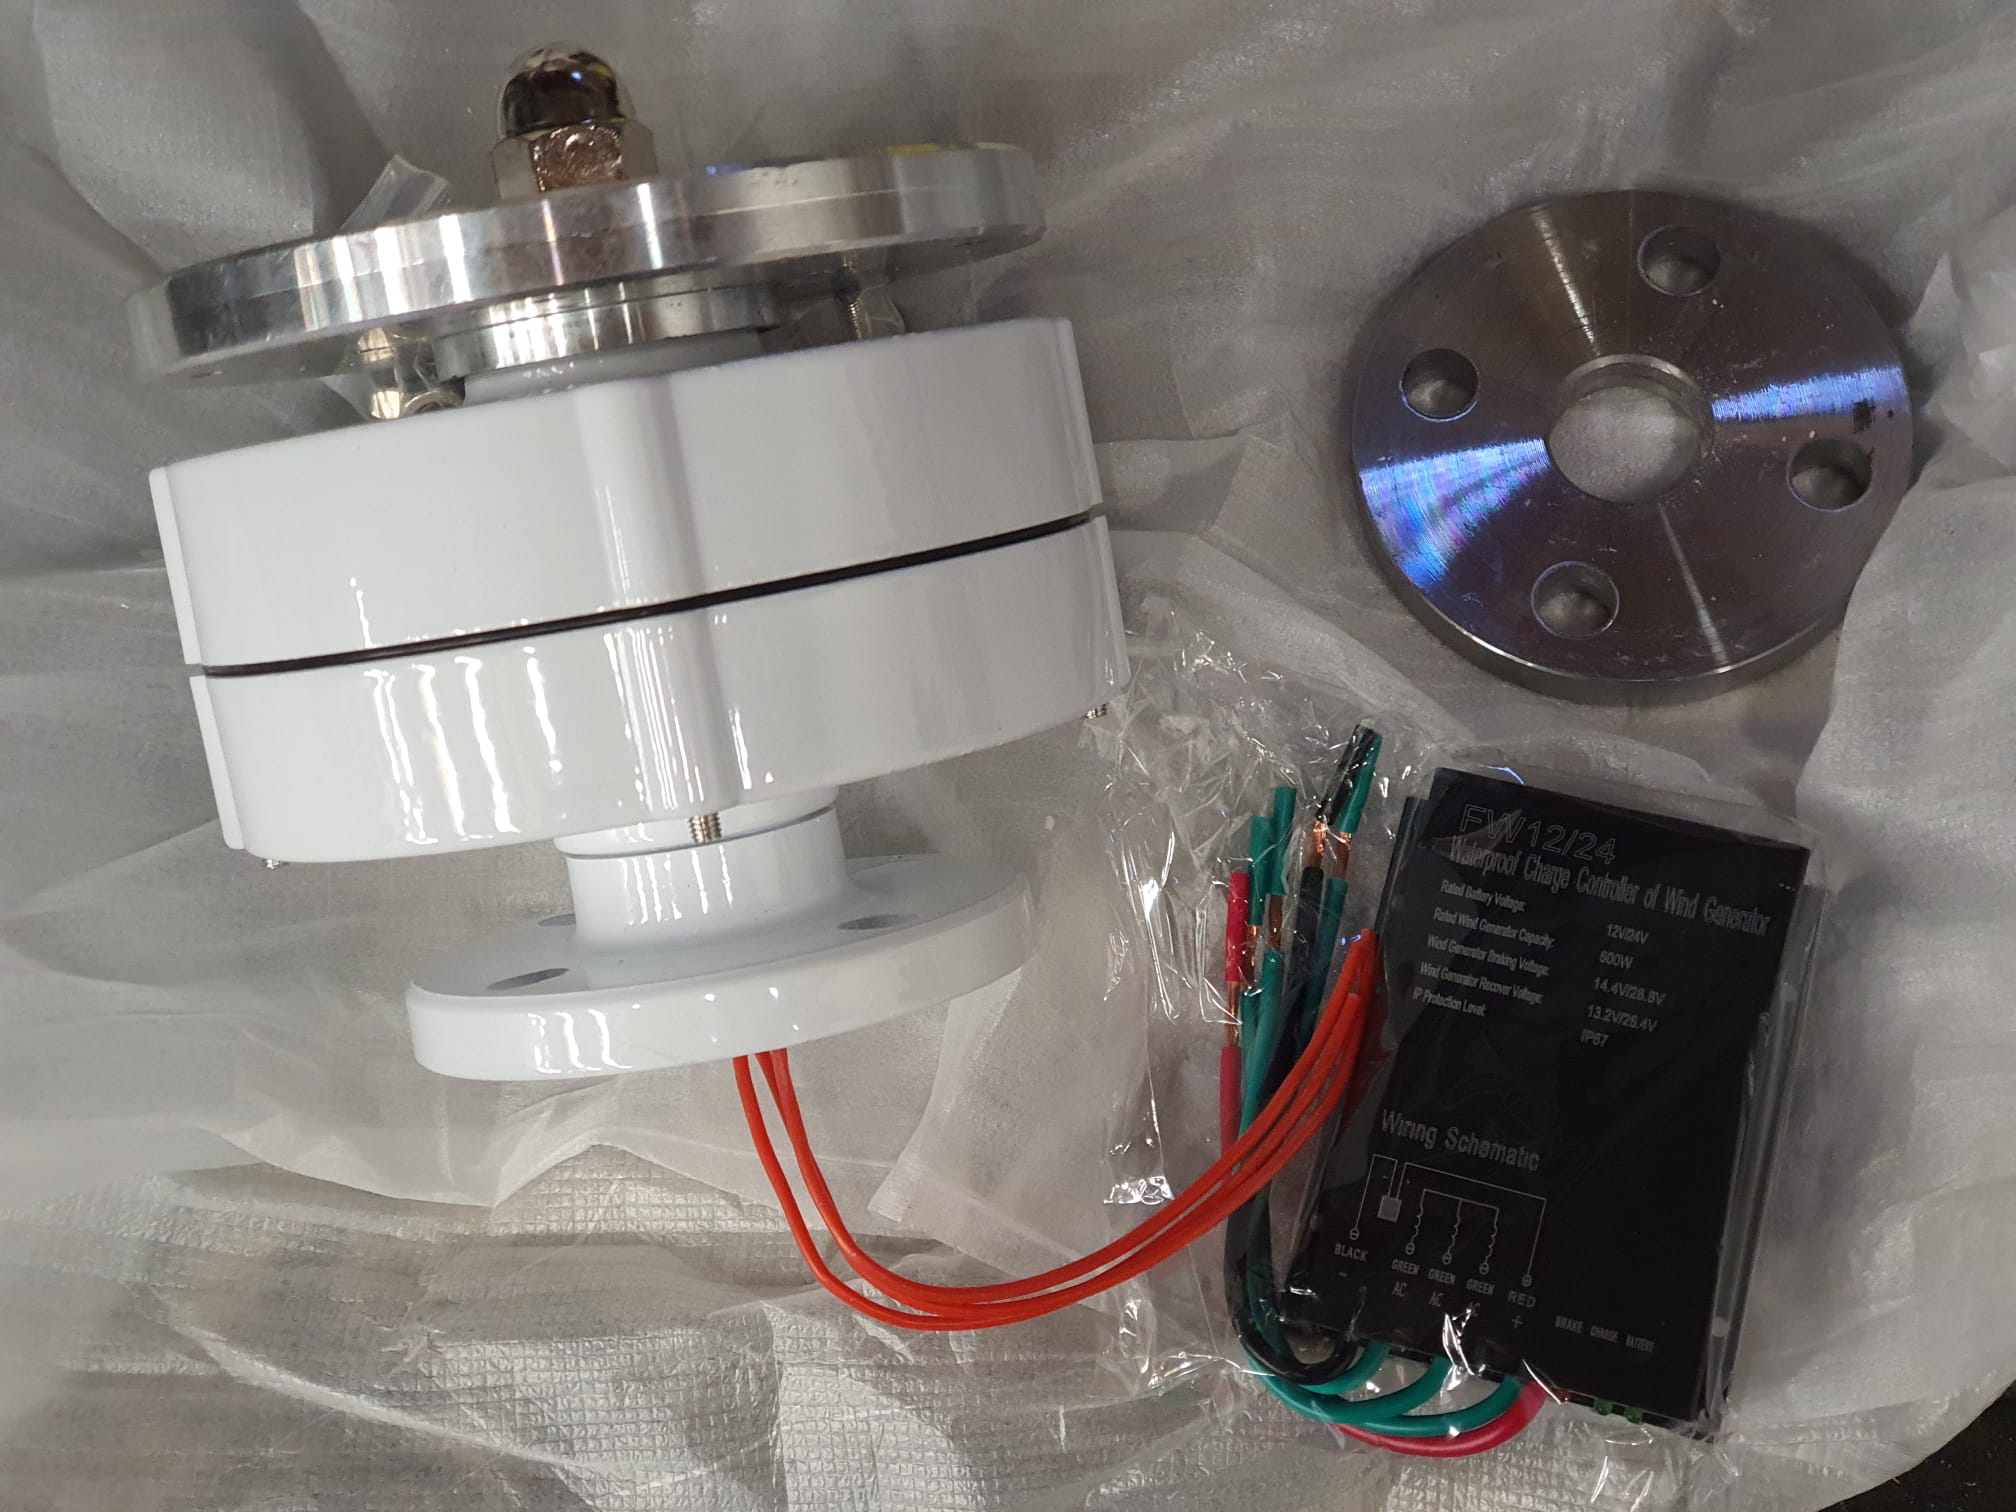
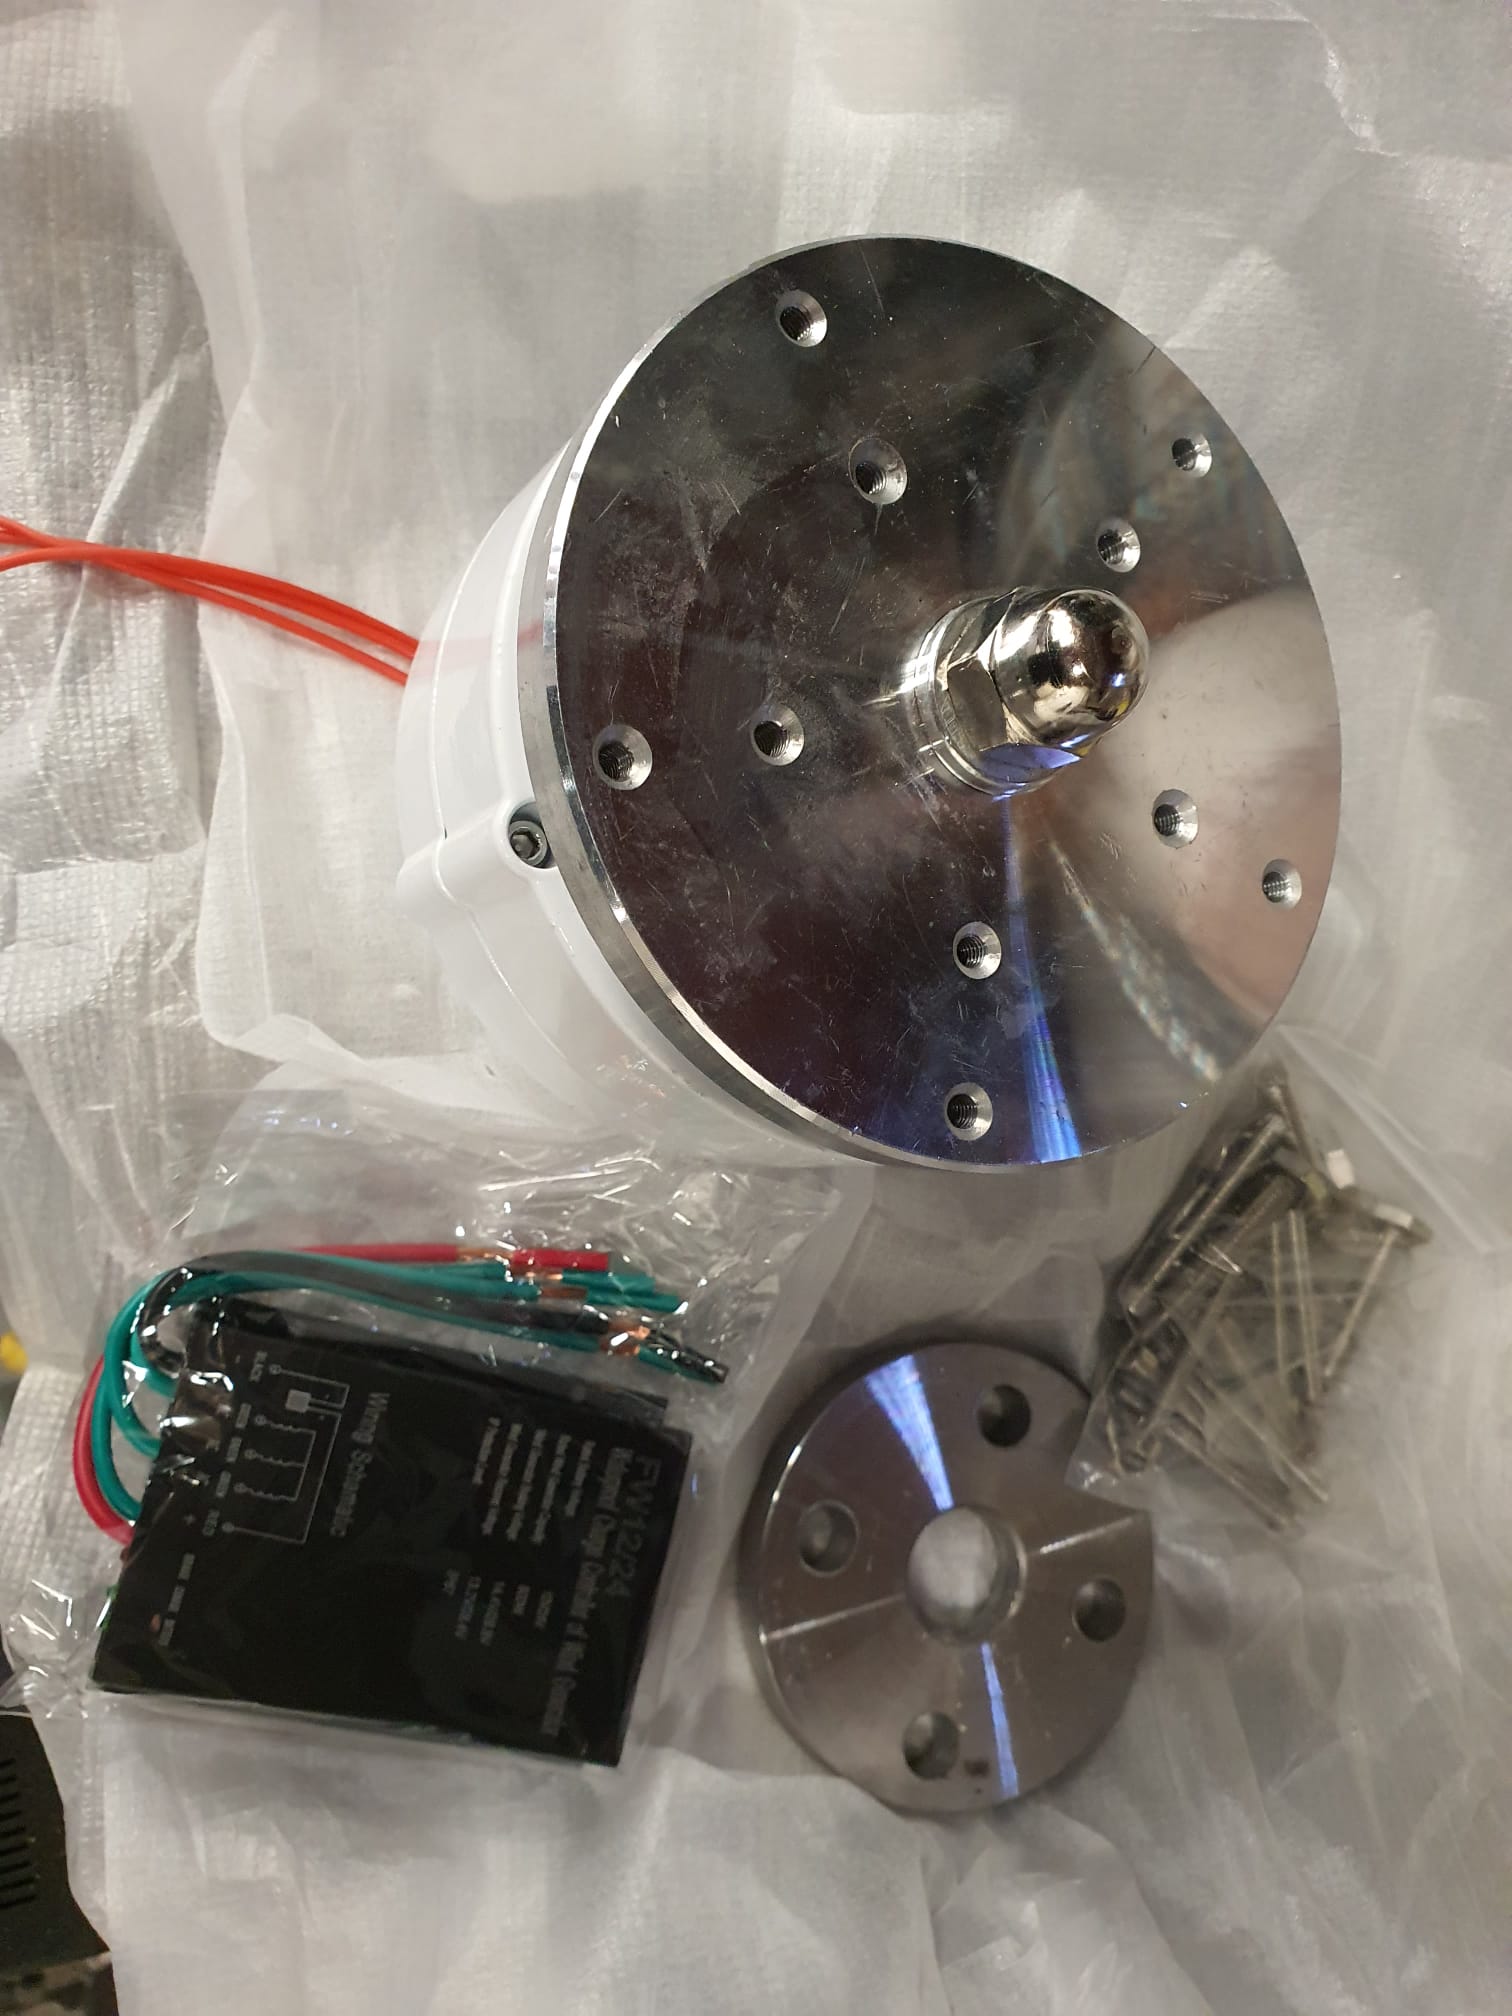
Dit is de nieuwe module die ik bij FRUUGO (China) heb besteld:
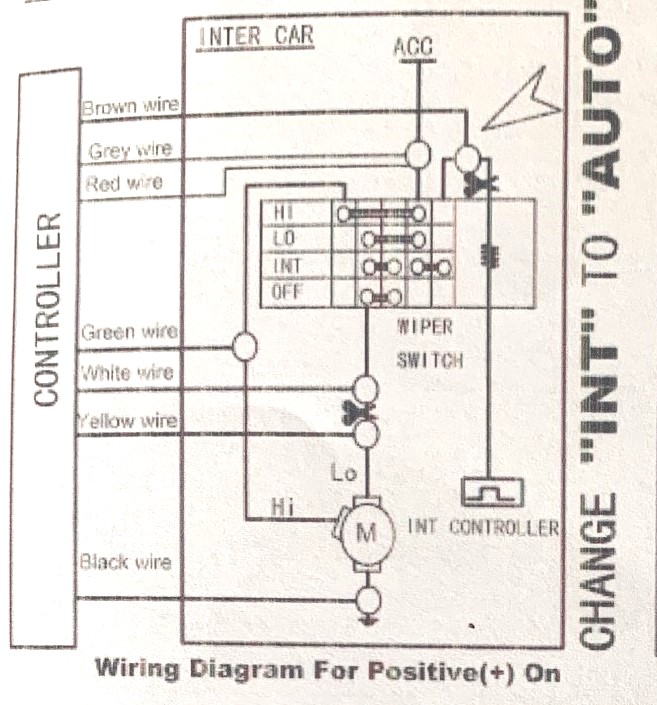
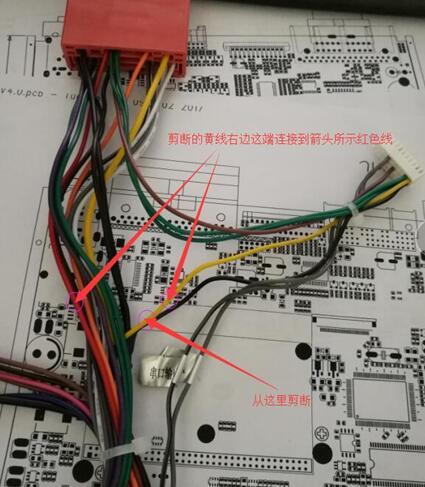
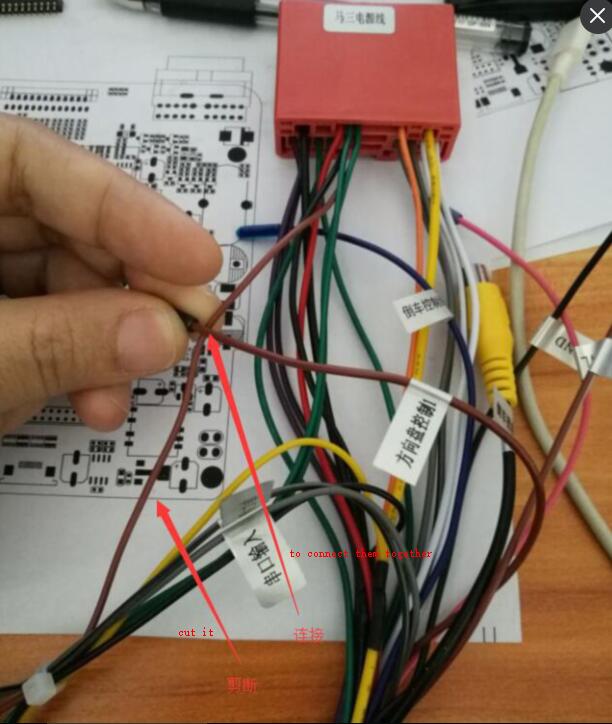
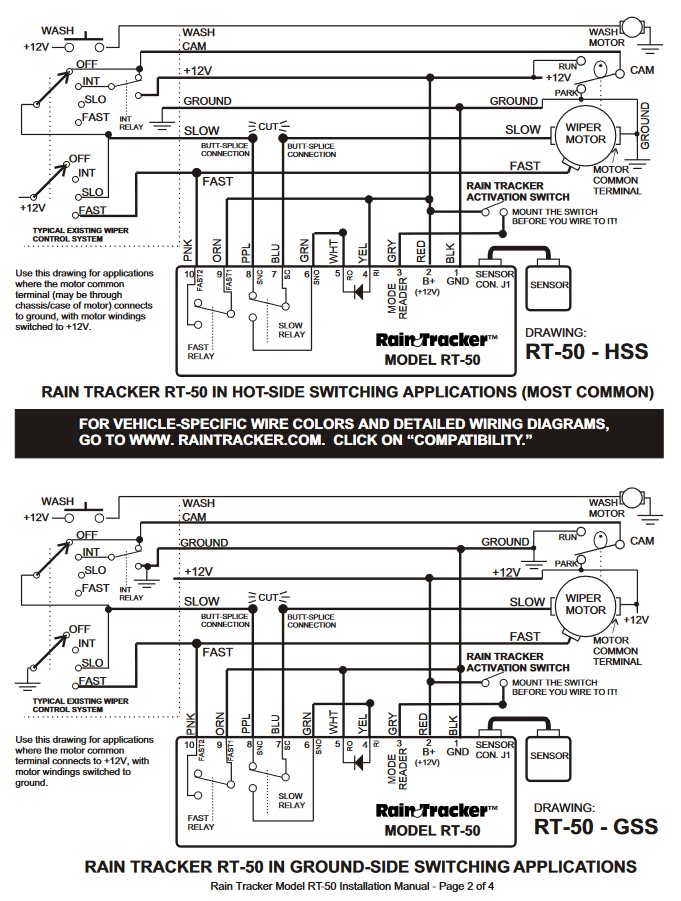
Zoals te zien is in bovenstaand aansluitschema voor een systeem waarbij de ruitenwissermotor op de ‘positieve’ manier wordt gebruikt (*en de gemeenschappelijke aansluiting van de motor naar de GROND gaat), moeten de volgende draden in de auto worden aangesloten:
Knip de bestaande verbinding van de tussencontroller naar de ruitenwisserschakelaar (die op de stuurkolom zit) door EN sluit de draad die je net hebt doorgeknipt (die van de INT-schakelaar komt) aan op de BRUINE draad van de nieuwe module. Dit is de hoofdverbinding die een puls van 12 V verstuurt wanneer regen wordt gedetecteerd door de nieuw geïnstalleerde regensensor.
Sluit ook de grijze en rode draad van de nieuwe schakelkast aan op de geschakelde 12Volts zodat de nieuwe module een werkende voedingsspanning krijgt.
Verbind ook de zwarte draad met massa, ergens op de auto.
Knip de verbinding tussen de ruitenwisserschakelaar van de stuurkolom die verantwoordelijk is voor de SLOW-verbinding met de ruitenwissermotor door en verbind beide afgeknipte uiteinden met de witte en gele draad van de nieuwe regelmodule. Let erop dat je ze op de juiste manier aansluit, d.w.z. GEEL naar de ruitenwissermotor en WIT naar de ruitenwisserschakelaar!
Tenslotte moet de GROENE draad van de nieuwe aansluitdoos worden aangesloten op de kabel van de ruitenwisser met hoge snelheid.
Aangezien er geen aan/uit-schakelaar in de setup zit, zal de regensensor altijd actief zijn zolang je de bestaande wisserschakelaar in de stand zet waarbij de INT (of een gekozen INT-stand, want de Atto3 heeft meerdere INT-instellingen) is verbonden met de actieve puls draad (BRUIN) van de module.
Hopelijk is de ruitenwisserschakelaar niet gebaseerd op OBD2 want dan wordt het wat lastiger om de regensensormodule geïnstalleerd te krijgen, omdat deze dan rechtstreeks in de bedrading van de ruitenwissermotor moet worden gehackt en er aanvullend een nog te installeren hardware schakelaar nodig is om te kiezen tussen de oude en de nieuwe situatie.
Voor de Atto3 zal ik een speciaal bedradingsschema maken voor het bovenstaande wanneer ik het nieuwe systeem kan installeren, dat zal waarschijnlijk tijdens mijn zomervakantie 2023 juli/augustus zijn.
Al met al is dit geen moeilijke installatie maar als je het niet goed aanpakt kun je de elektronica van de auto beschadigen en ik ben niet aansprakelijk voor schade als gevolg van mijn installatie voor deze of een andere installatie.

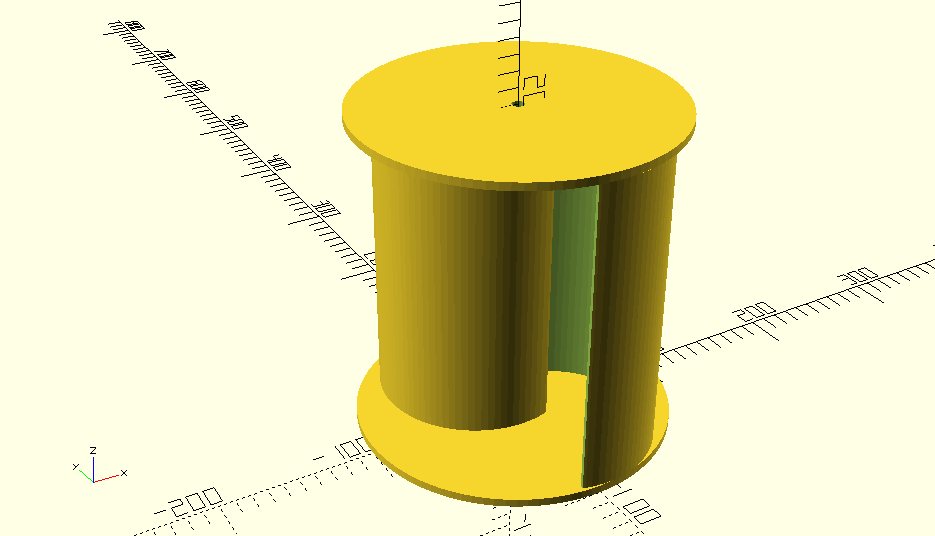


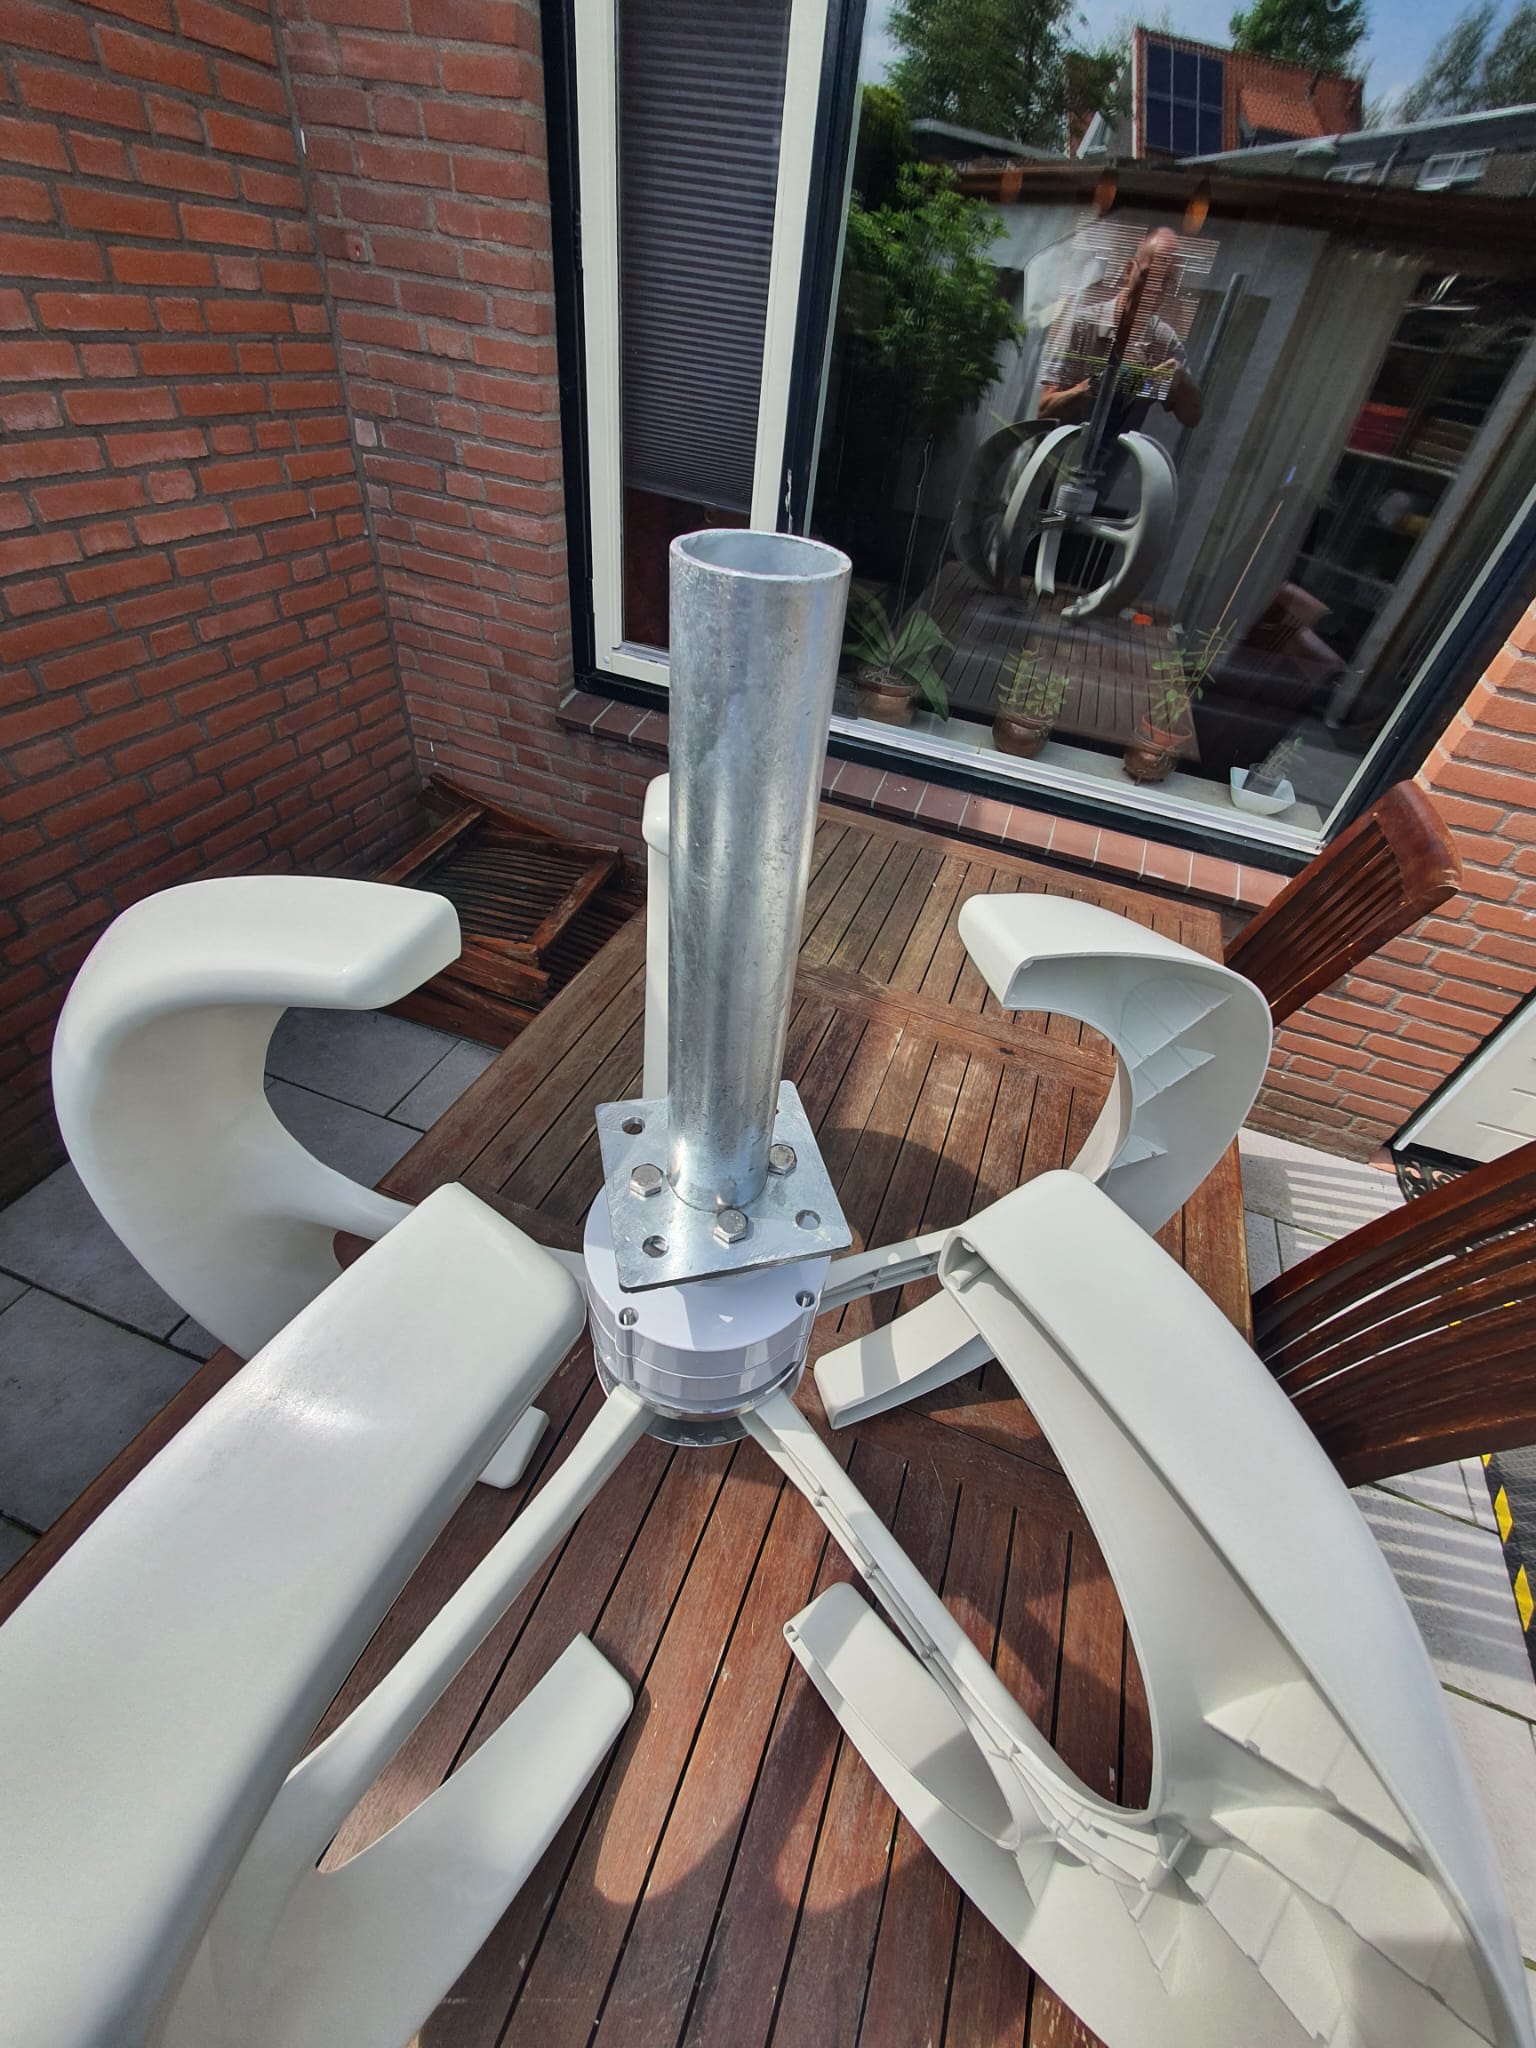
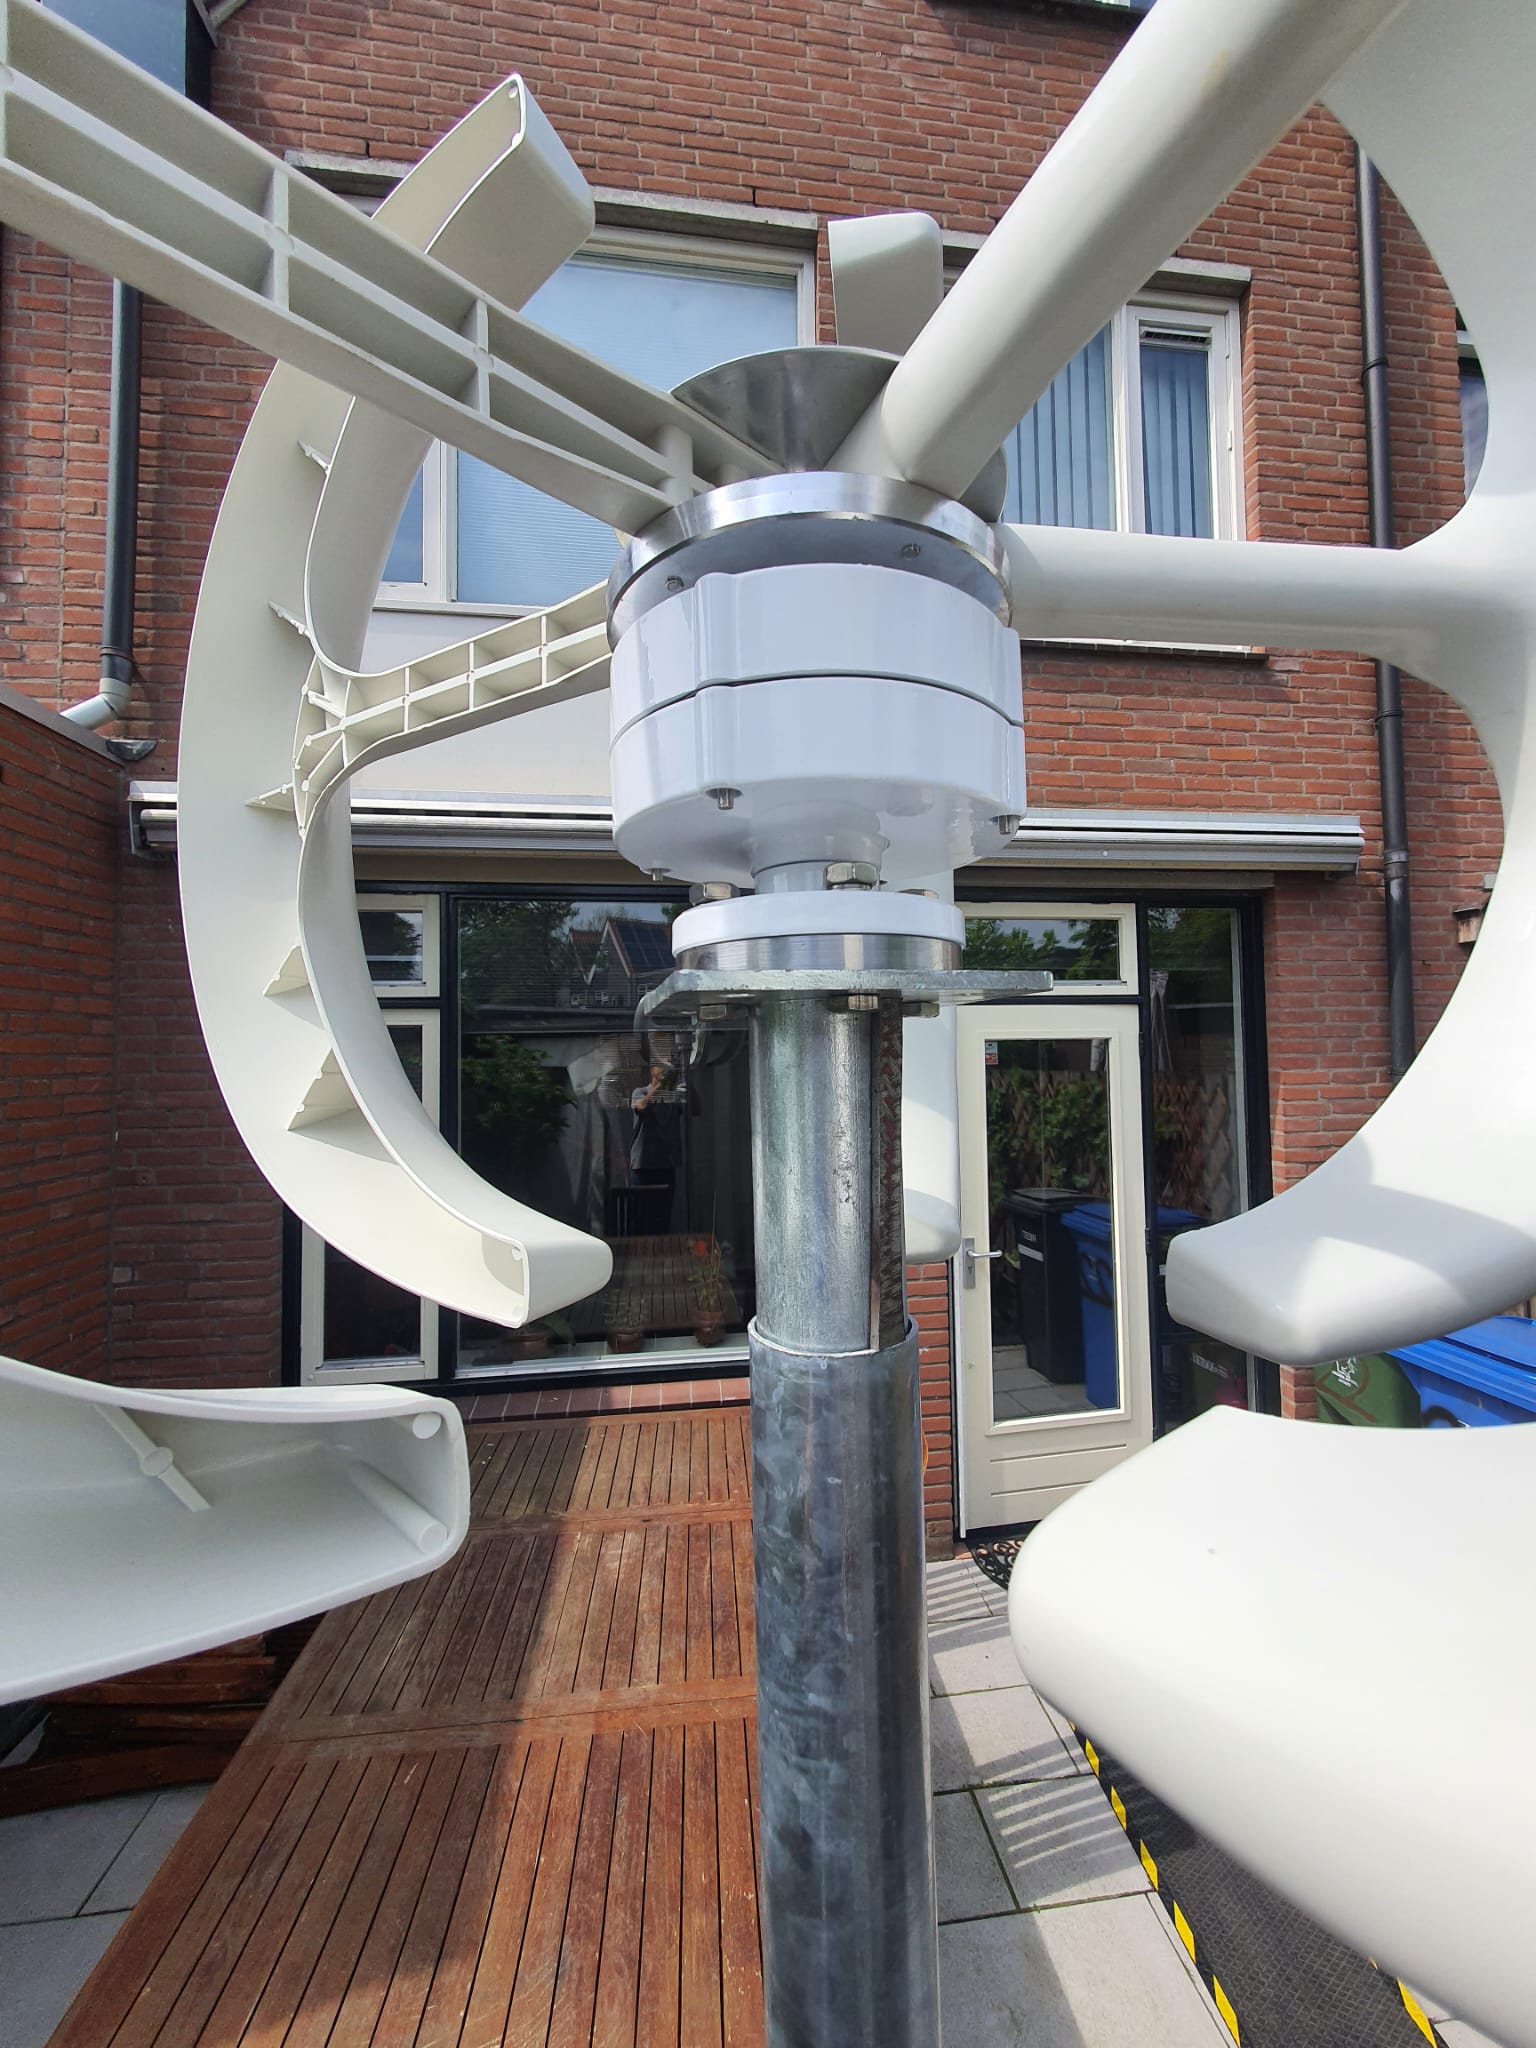
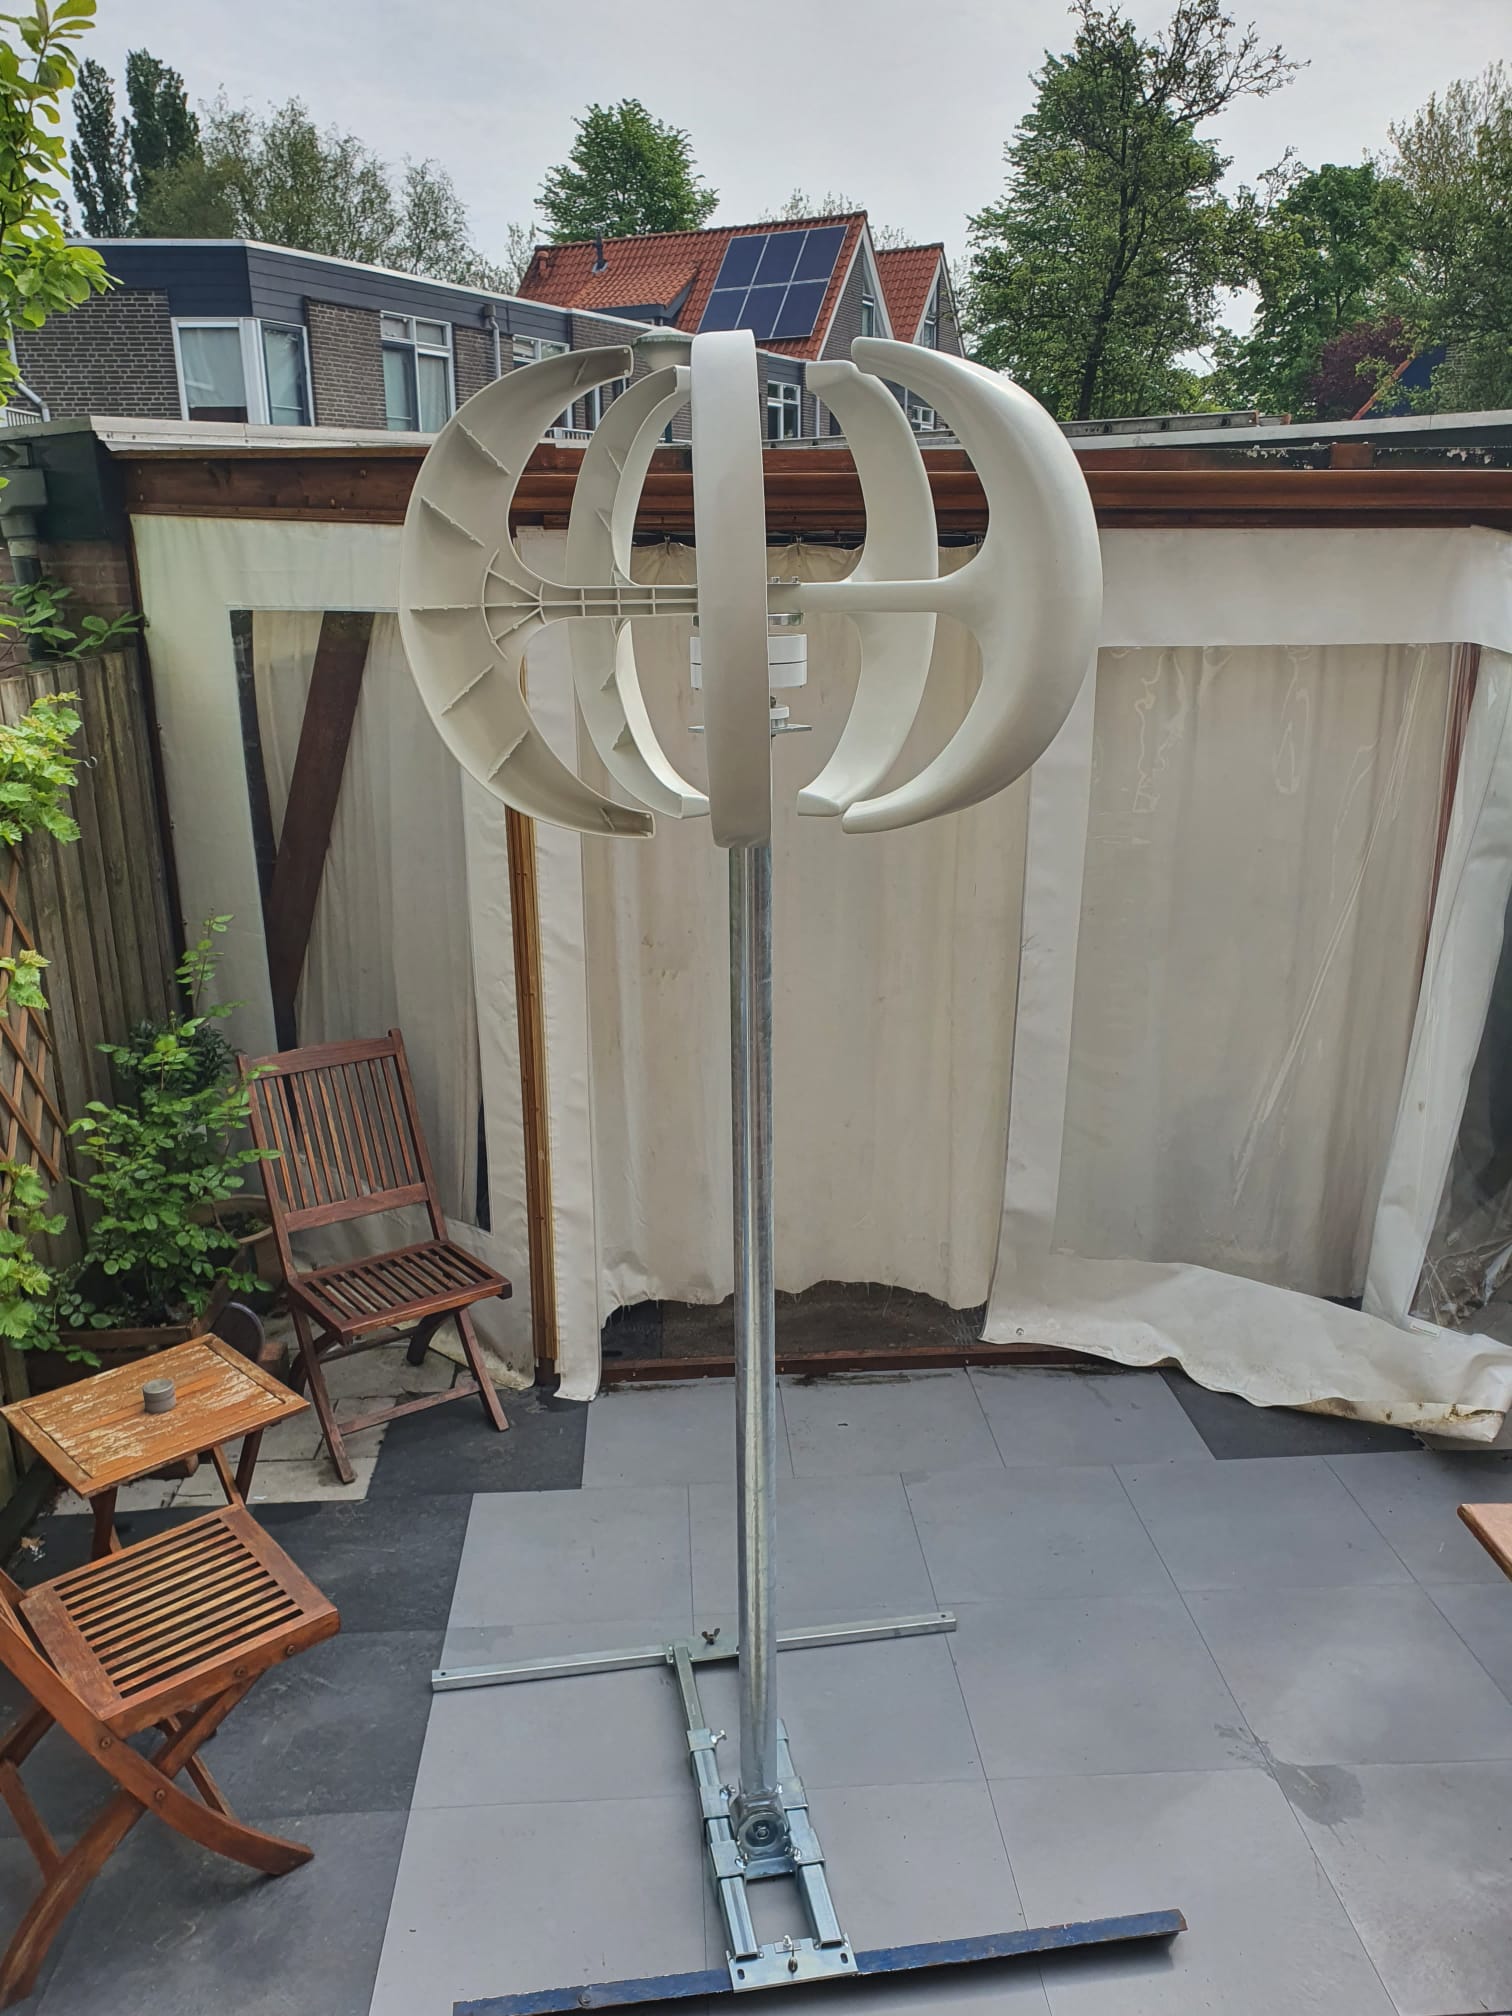


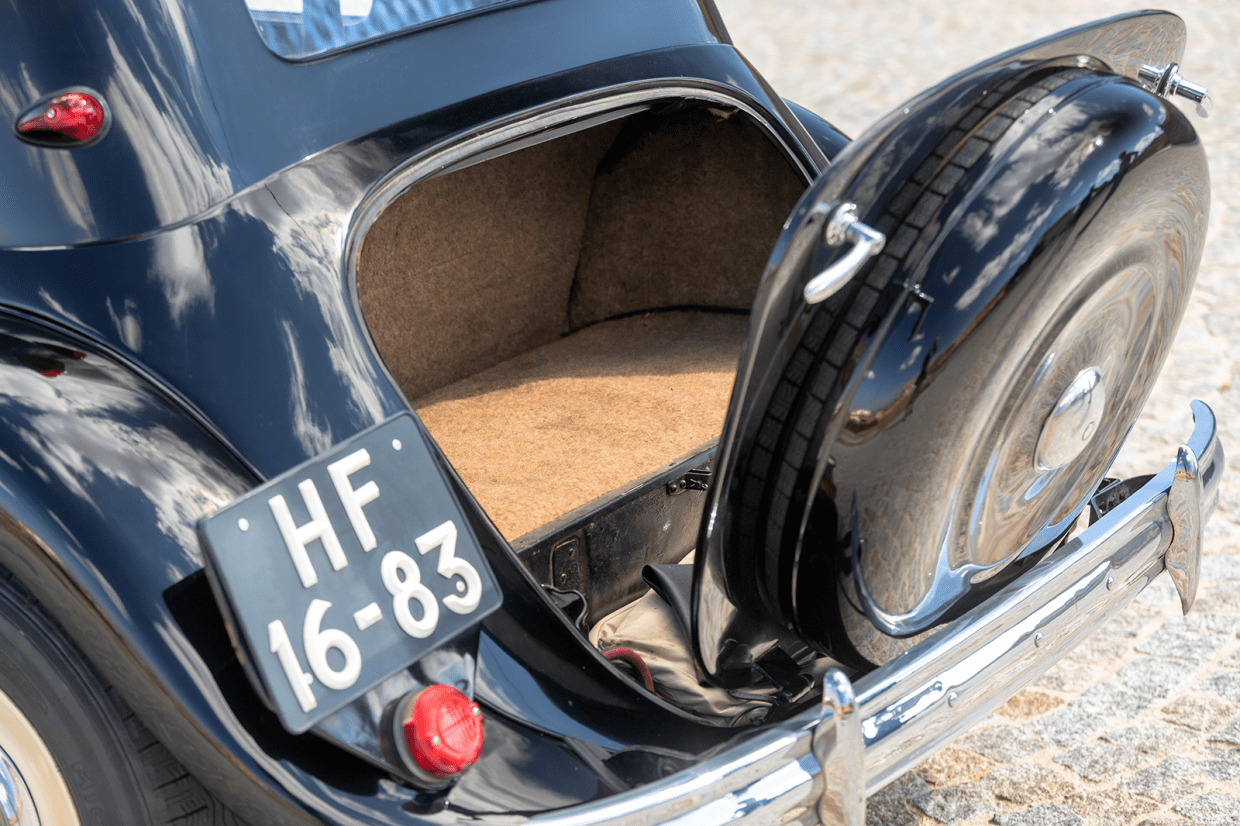

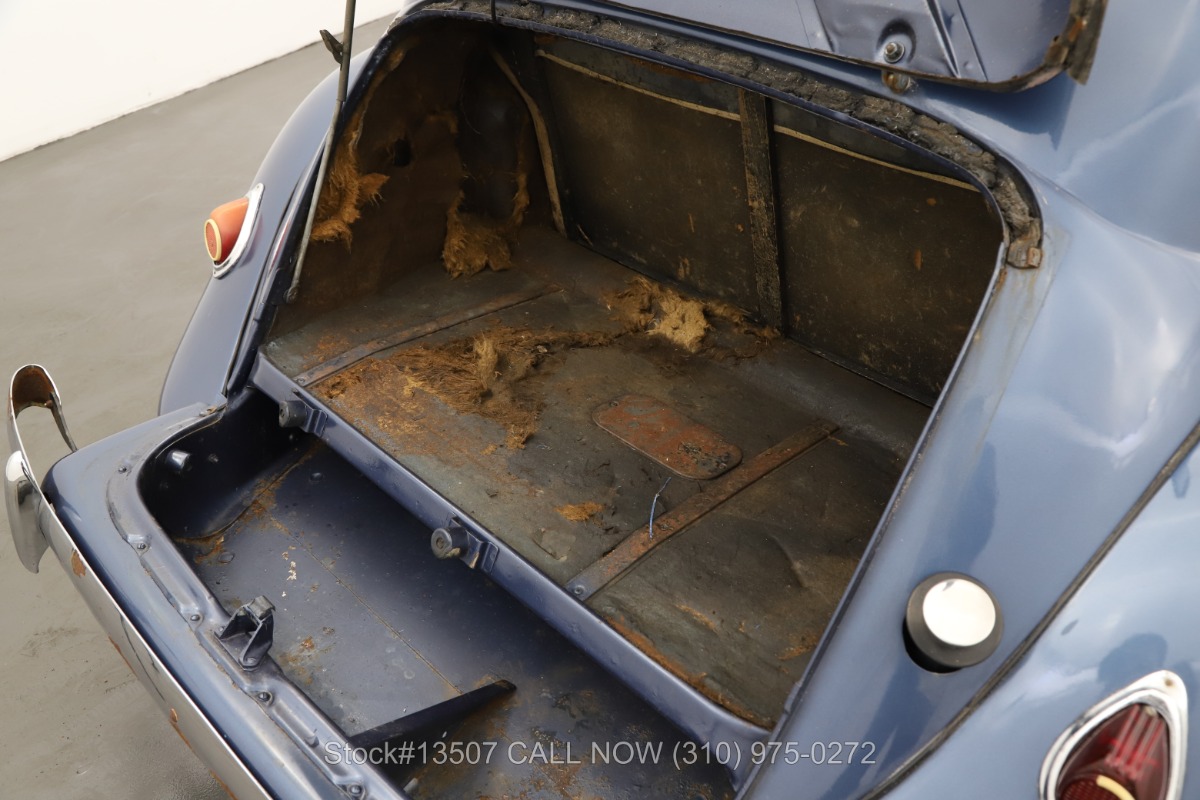
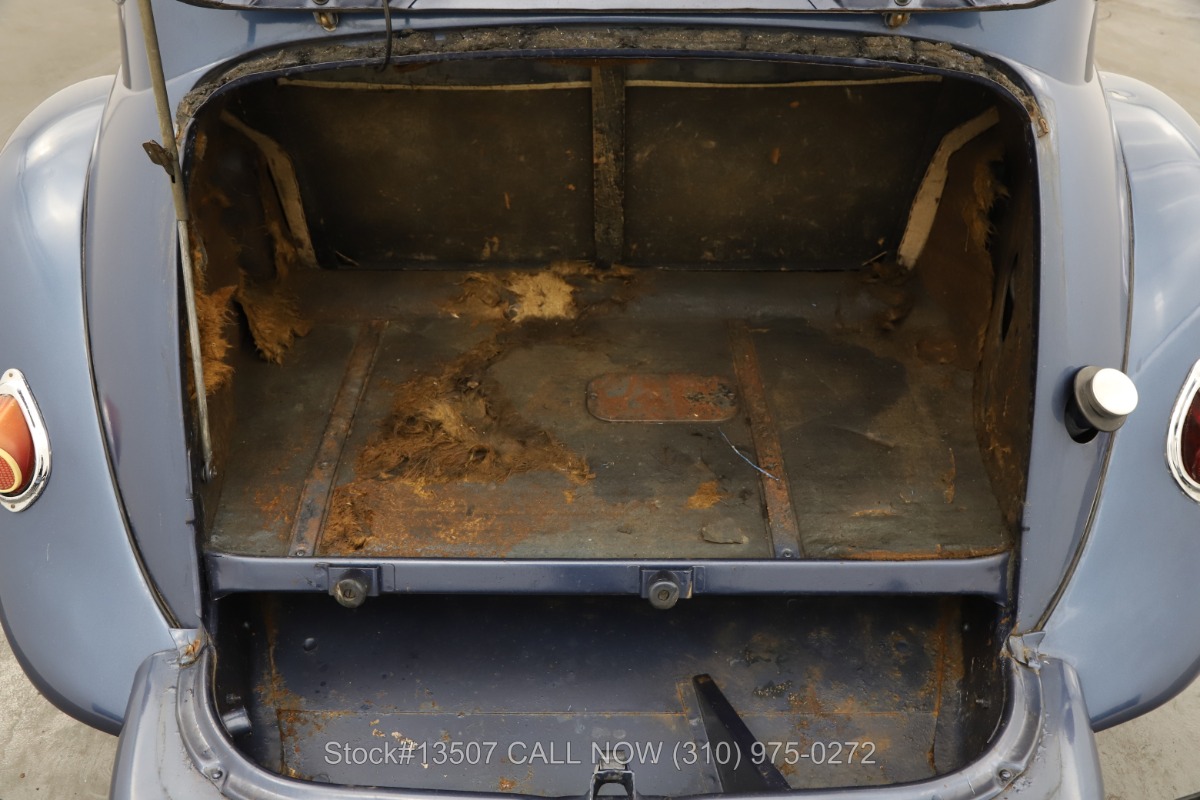
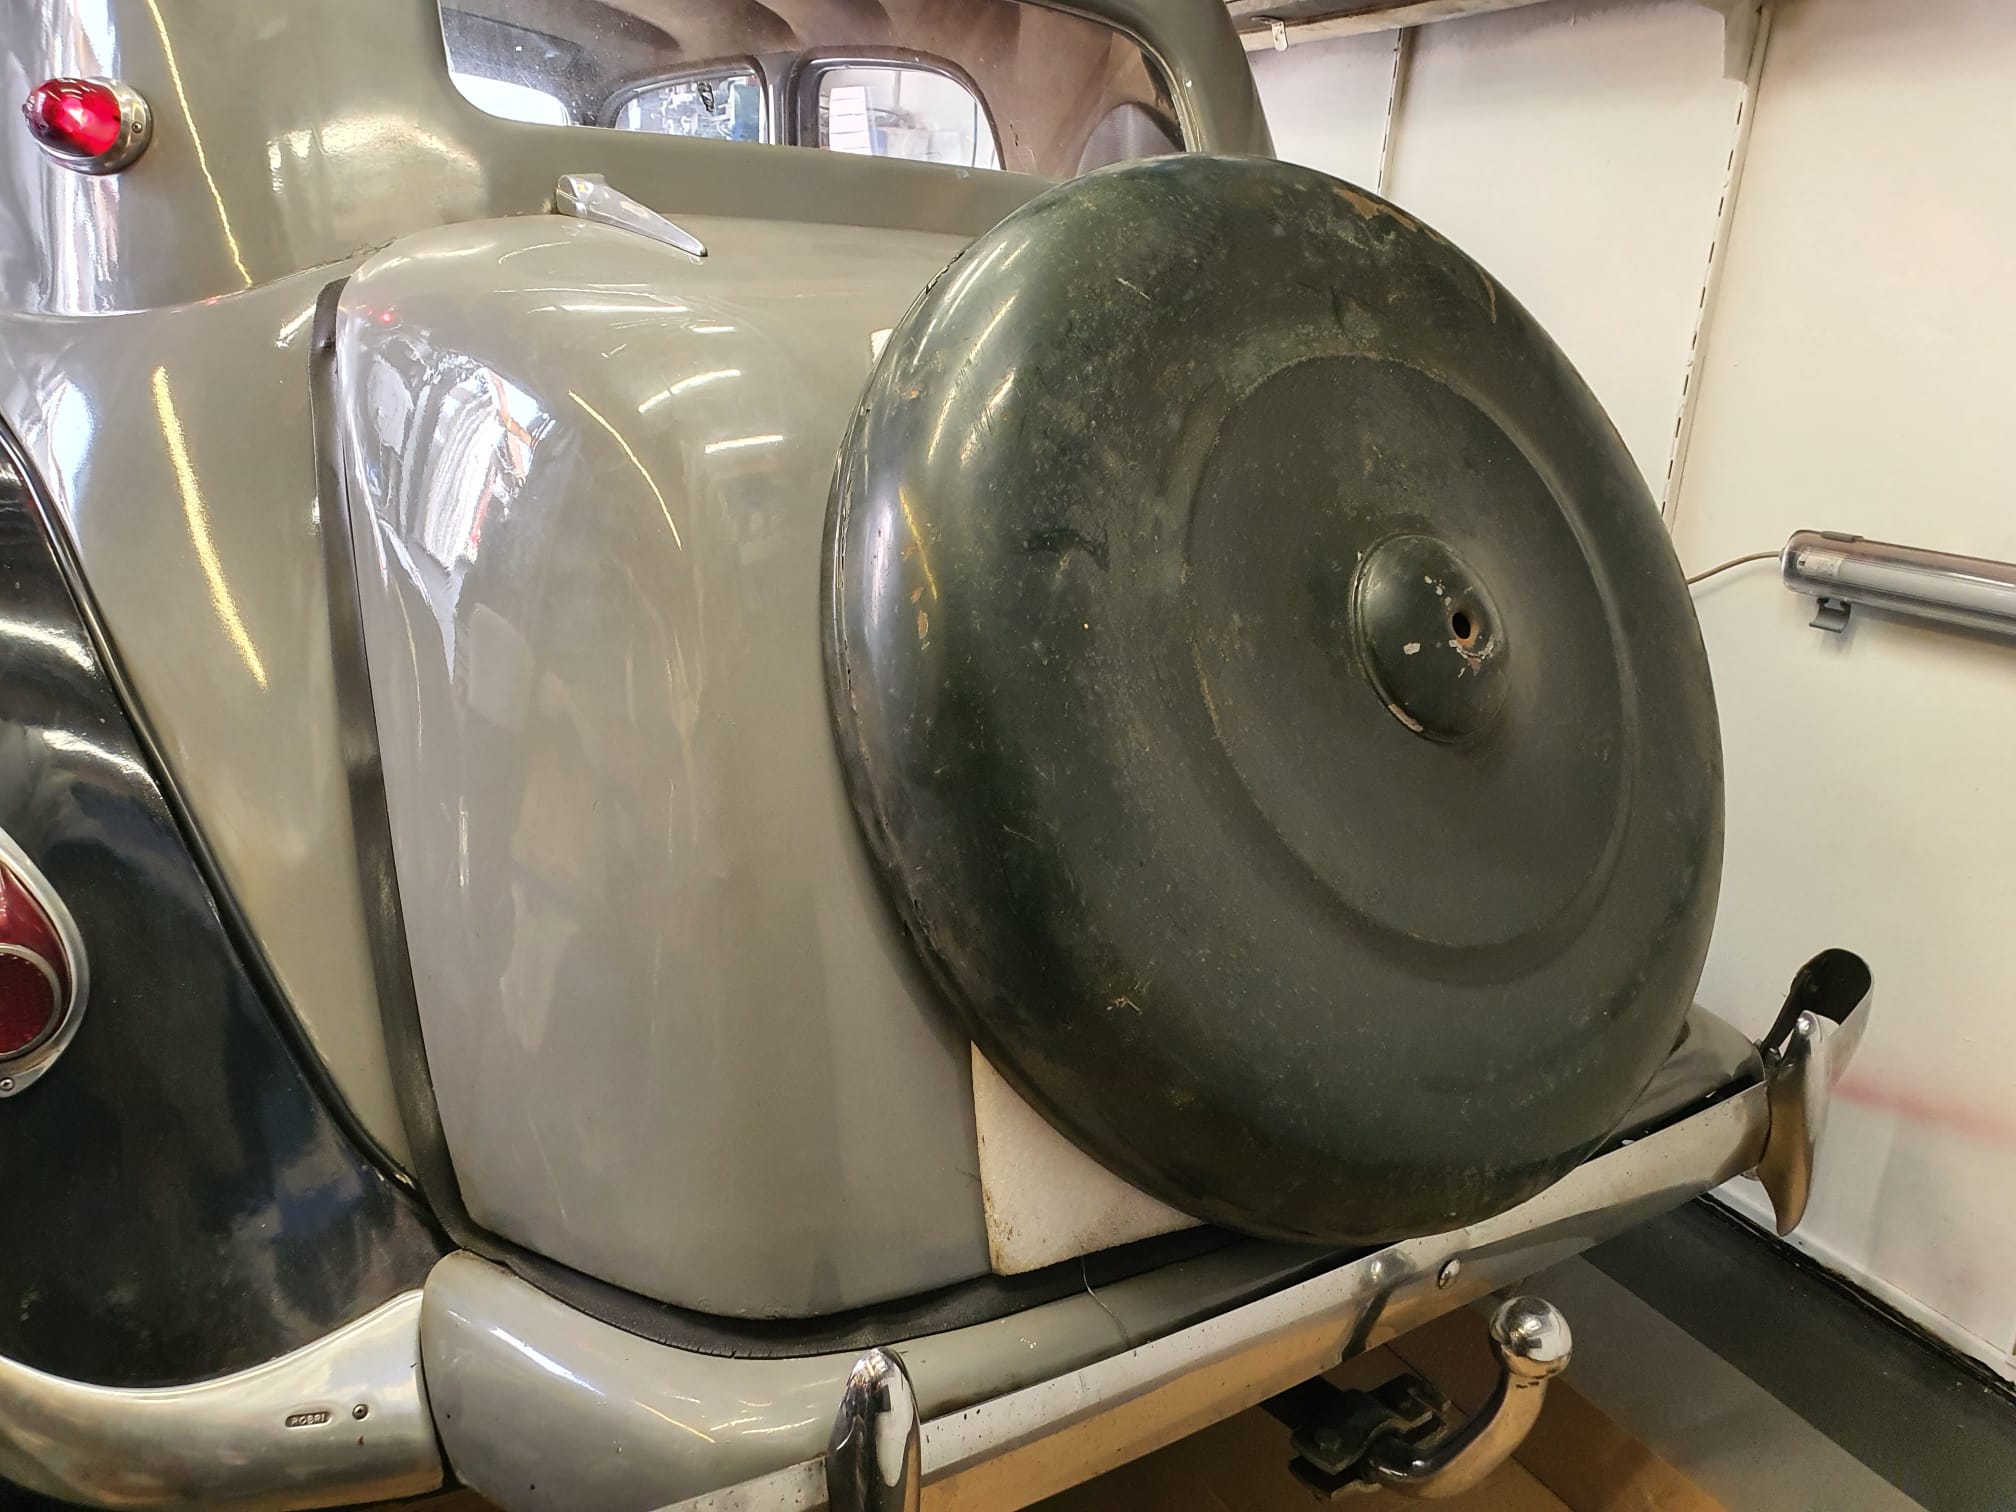
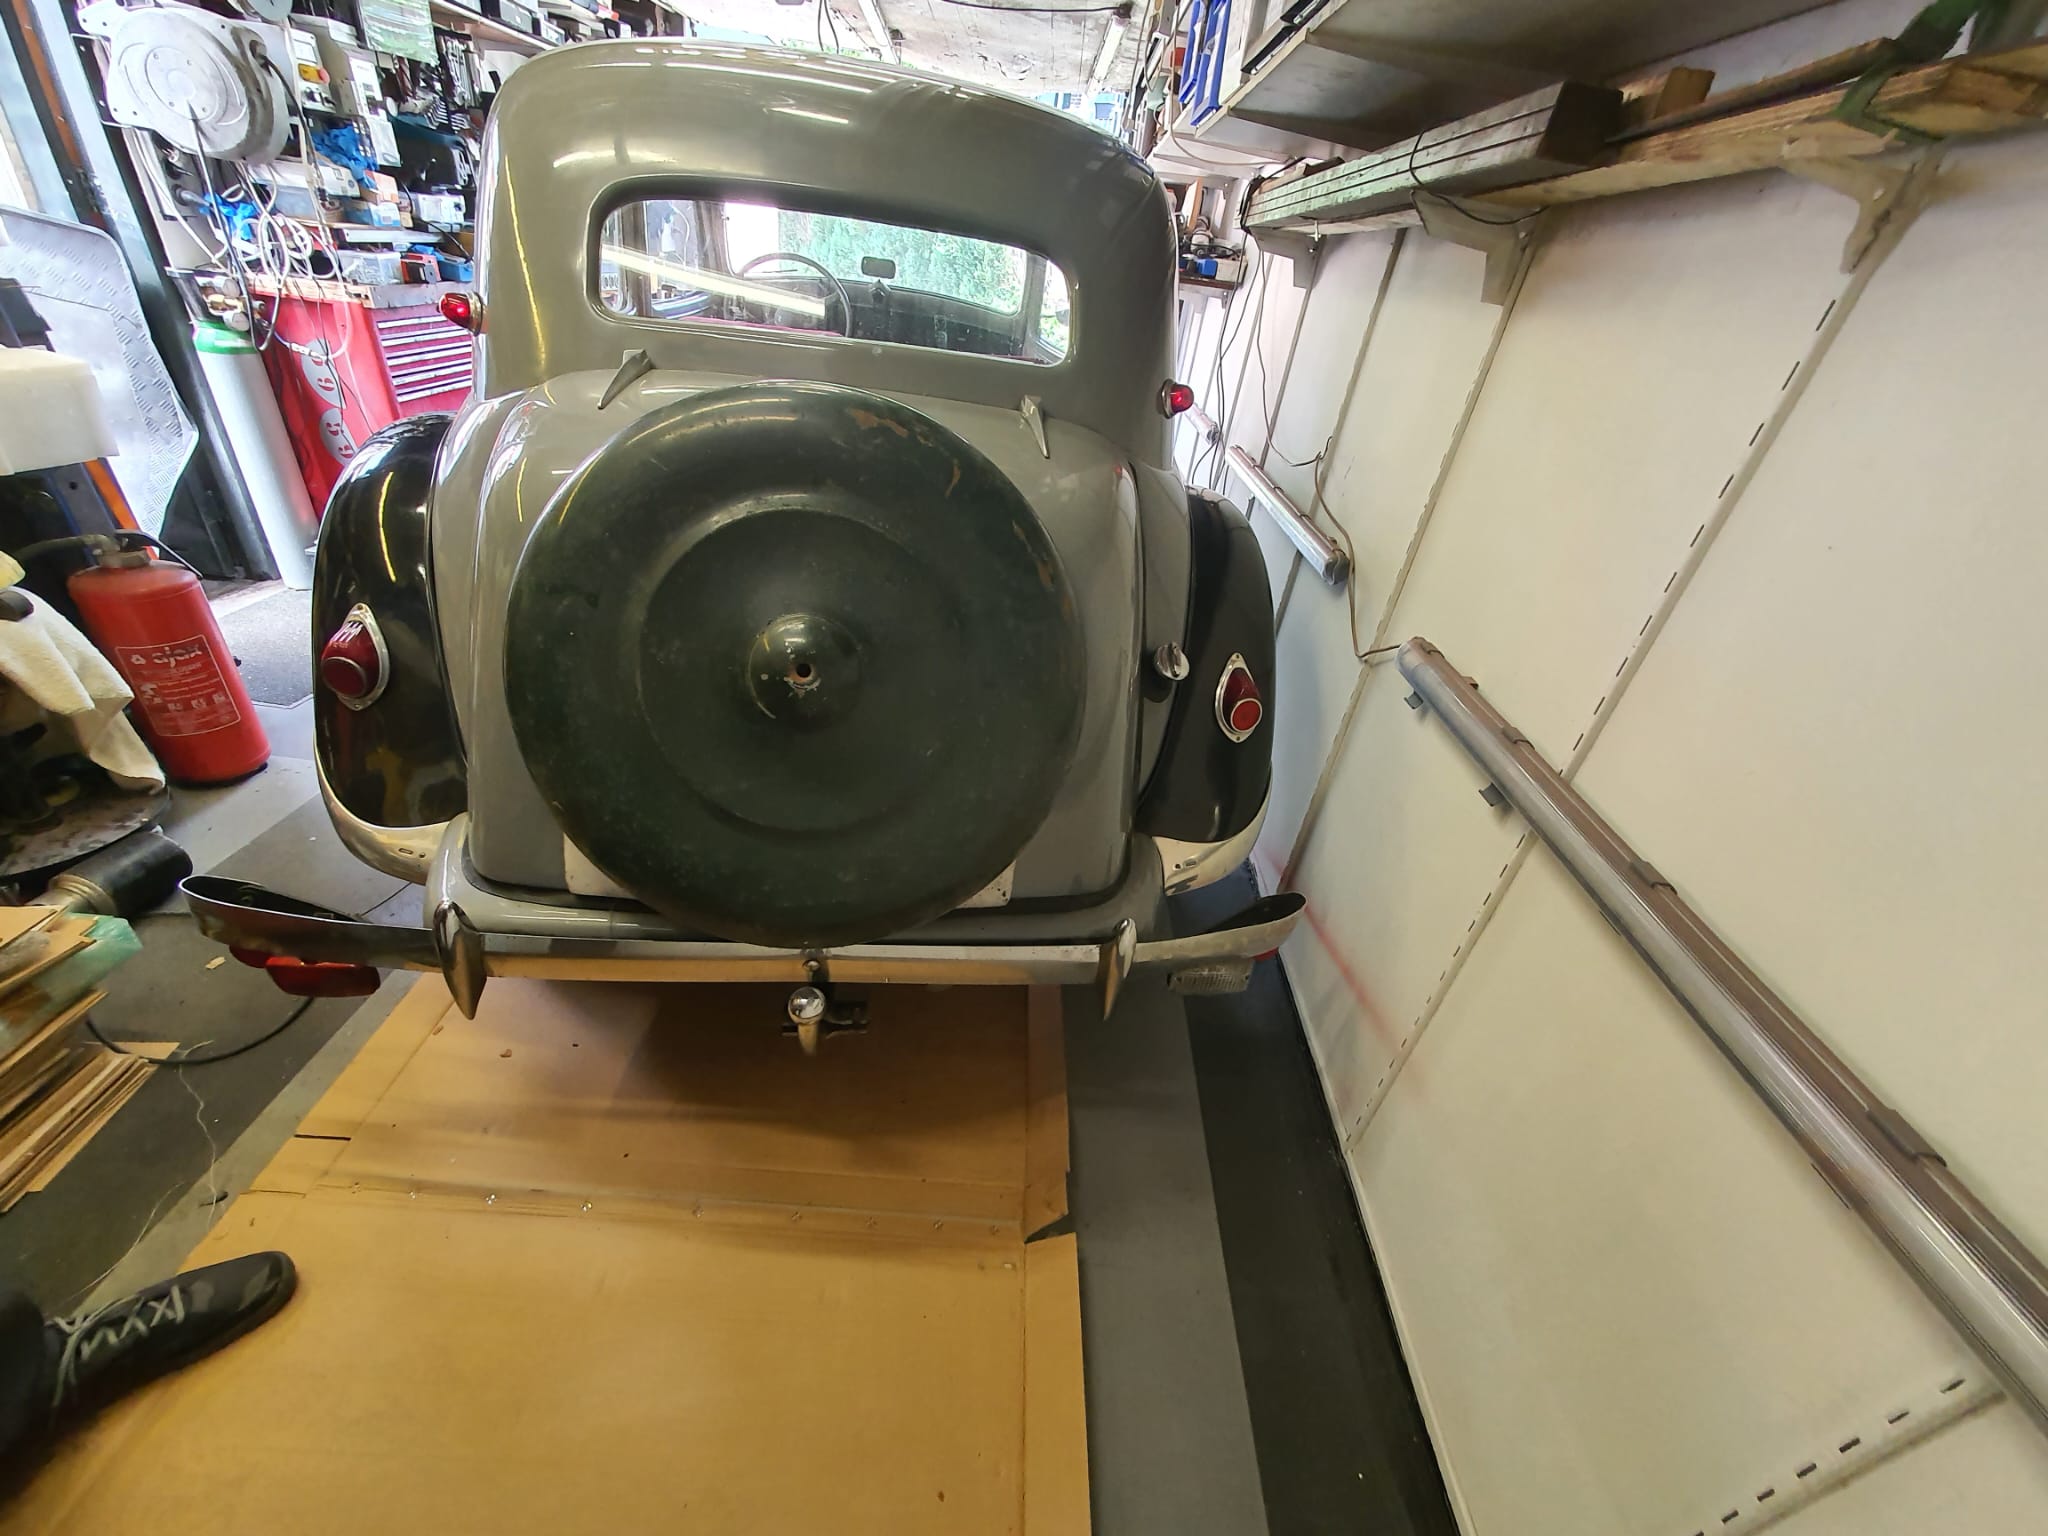
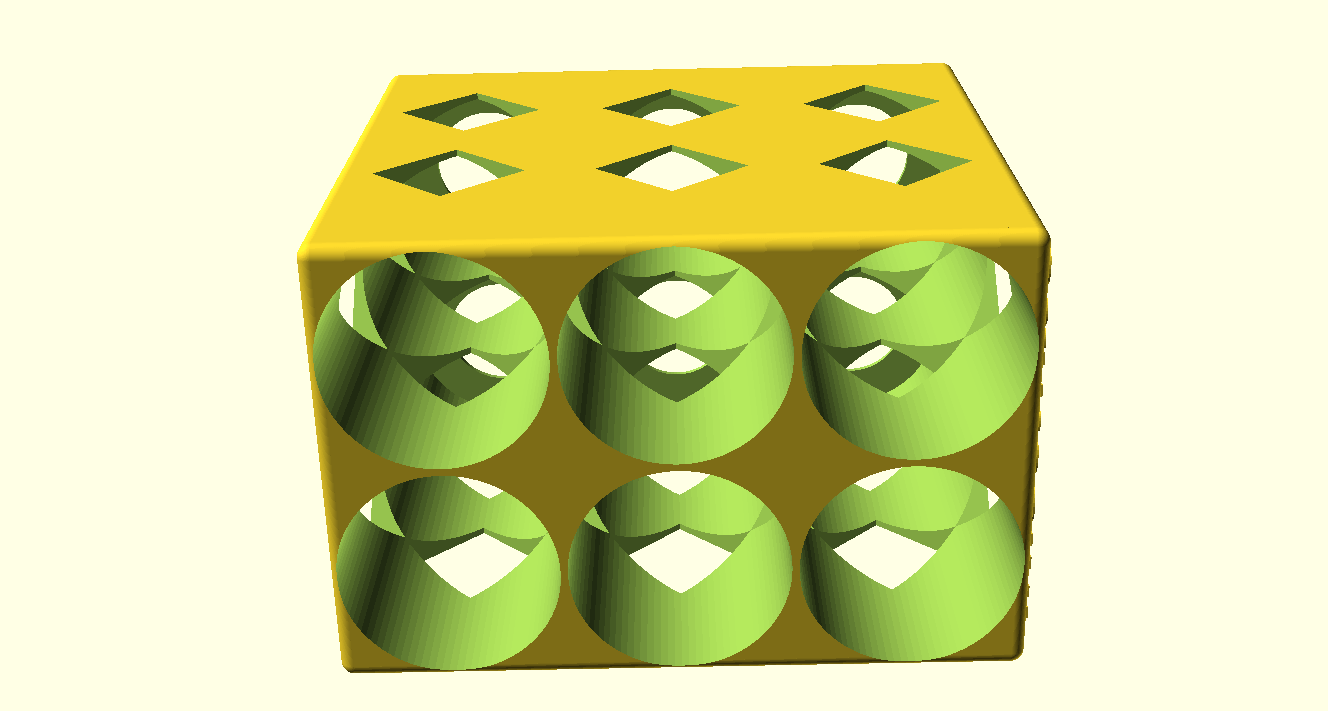
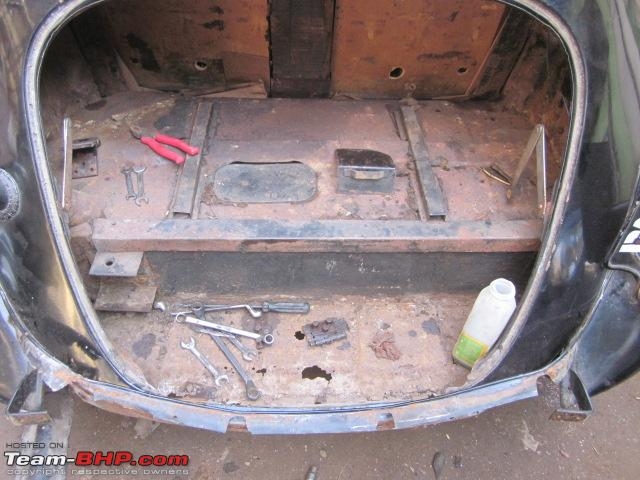 Boven zie je hoe een wieltje-uitvoering er zonder klep (en bumper) uitziet.