Deze review vervangt mijn eerdere reviews van mijn Atto 3, omdat alle door mij gewenste software verbeteringen de afgelopen periode zijn ingevuld. Inmiddels is software versie 1.4 via de OTA in de auto geladen op 18-9-2023 en is de auto wat mij betreft qua software helemaal OK.
Dat is natuurlijk erg persoonlijk. ik ben inmiddels gewend aan de piepjes en andere geluidjes die het systeem maakt wanneer er iets wordt gesignaleerd of gedetecteerd dat ik niet direct altijd als gevaarlijk interpreteer.
Dat het systeem ingrijpt bij gevaarlijke situaties heb ik inmiddels zelfs leren waarderen. Laatst reed ik gewoon in de stad (zonder cruise control aan of zo) achter een voorganger die opeens midden op de kruising vol op de rem ging om onbekende reden. Voordat ik kon remmen werd de auto al erg fors afgeremd zodat er geen aanrijding plaats had. Ik had eerder nog geen soortgelijke ingreep van de auto gehad en was er erg blij mee. Het geeft ook aan dat je eigenlijk pas weet wat je nodig hebt wanneer je het (ongemerkt) hebt. Ik ben op dit punt dus helemaal om. Veiligheid lijkt soms betuttelend maar een aanrijding voorkomen is wat mij betreft genoeg reden om de veiligheidsaspecten van de Atto 3 te waarderen.
Ingrijpen door de auto op het stuur wanneer je de rand van de weg te veel nadert vond ik eerder heel vervelend, en het bijbehorende piepje dus ook. Maar ik kan ook iets meer afstand van de berm houden en het ingrijpen voorkomen. Kwestie van doen.
Zoals ik in mijn eerdere reviews al had aangegeven waren er best veel zaken qua luchtbehandeling net niet lekker ingeregeld, waardoor rijden met de wagen niet comfortabel was. Dat waren zaken als haperende airco bediening, of net de verkeerde luchtverversingsfuncties beschikbaar maar ook dingen als het feit dat de airco niet onthield wat de laatste stand van de instelling was en daar volgende keer weer standaard mee zou moeten beginnen. Dat is nu allemaal wel helemaal opgelost.
Ook beloofde naleveringen zoals Apple Carplay en Android auto zijn er al weer een tijdje. Zelf gebruik ik Android auto en dat werkt helemaal top!
Negatieve puntjes die over zijn gebleven:
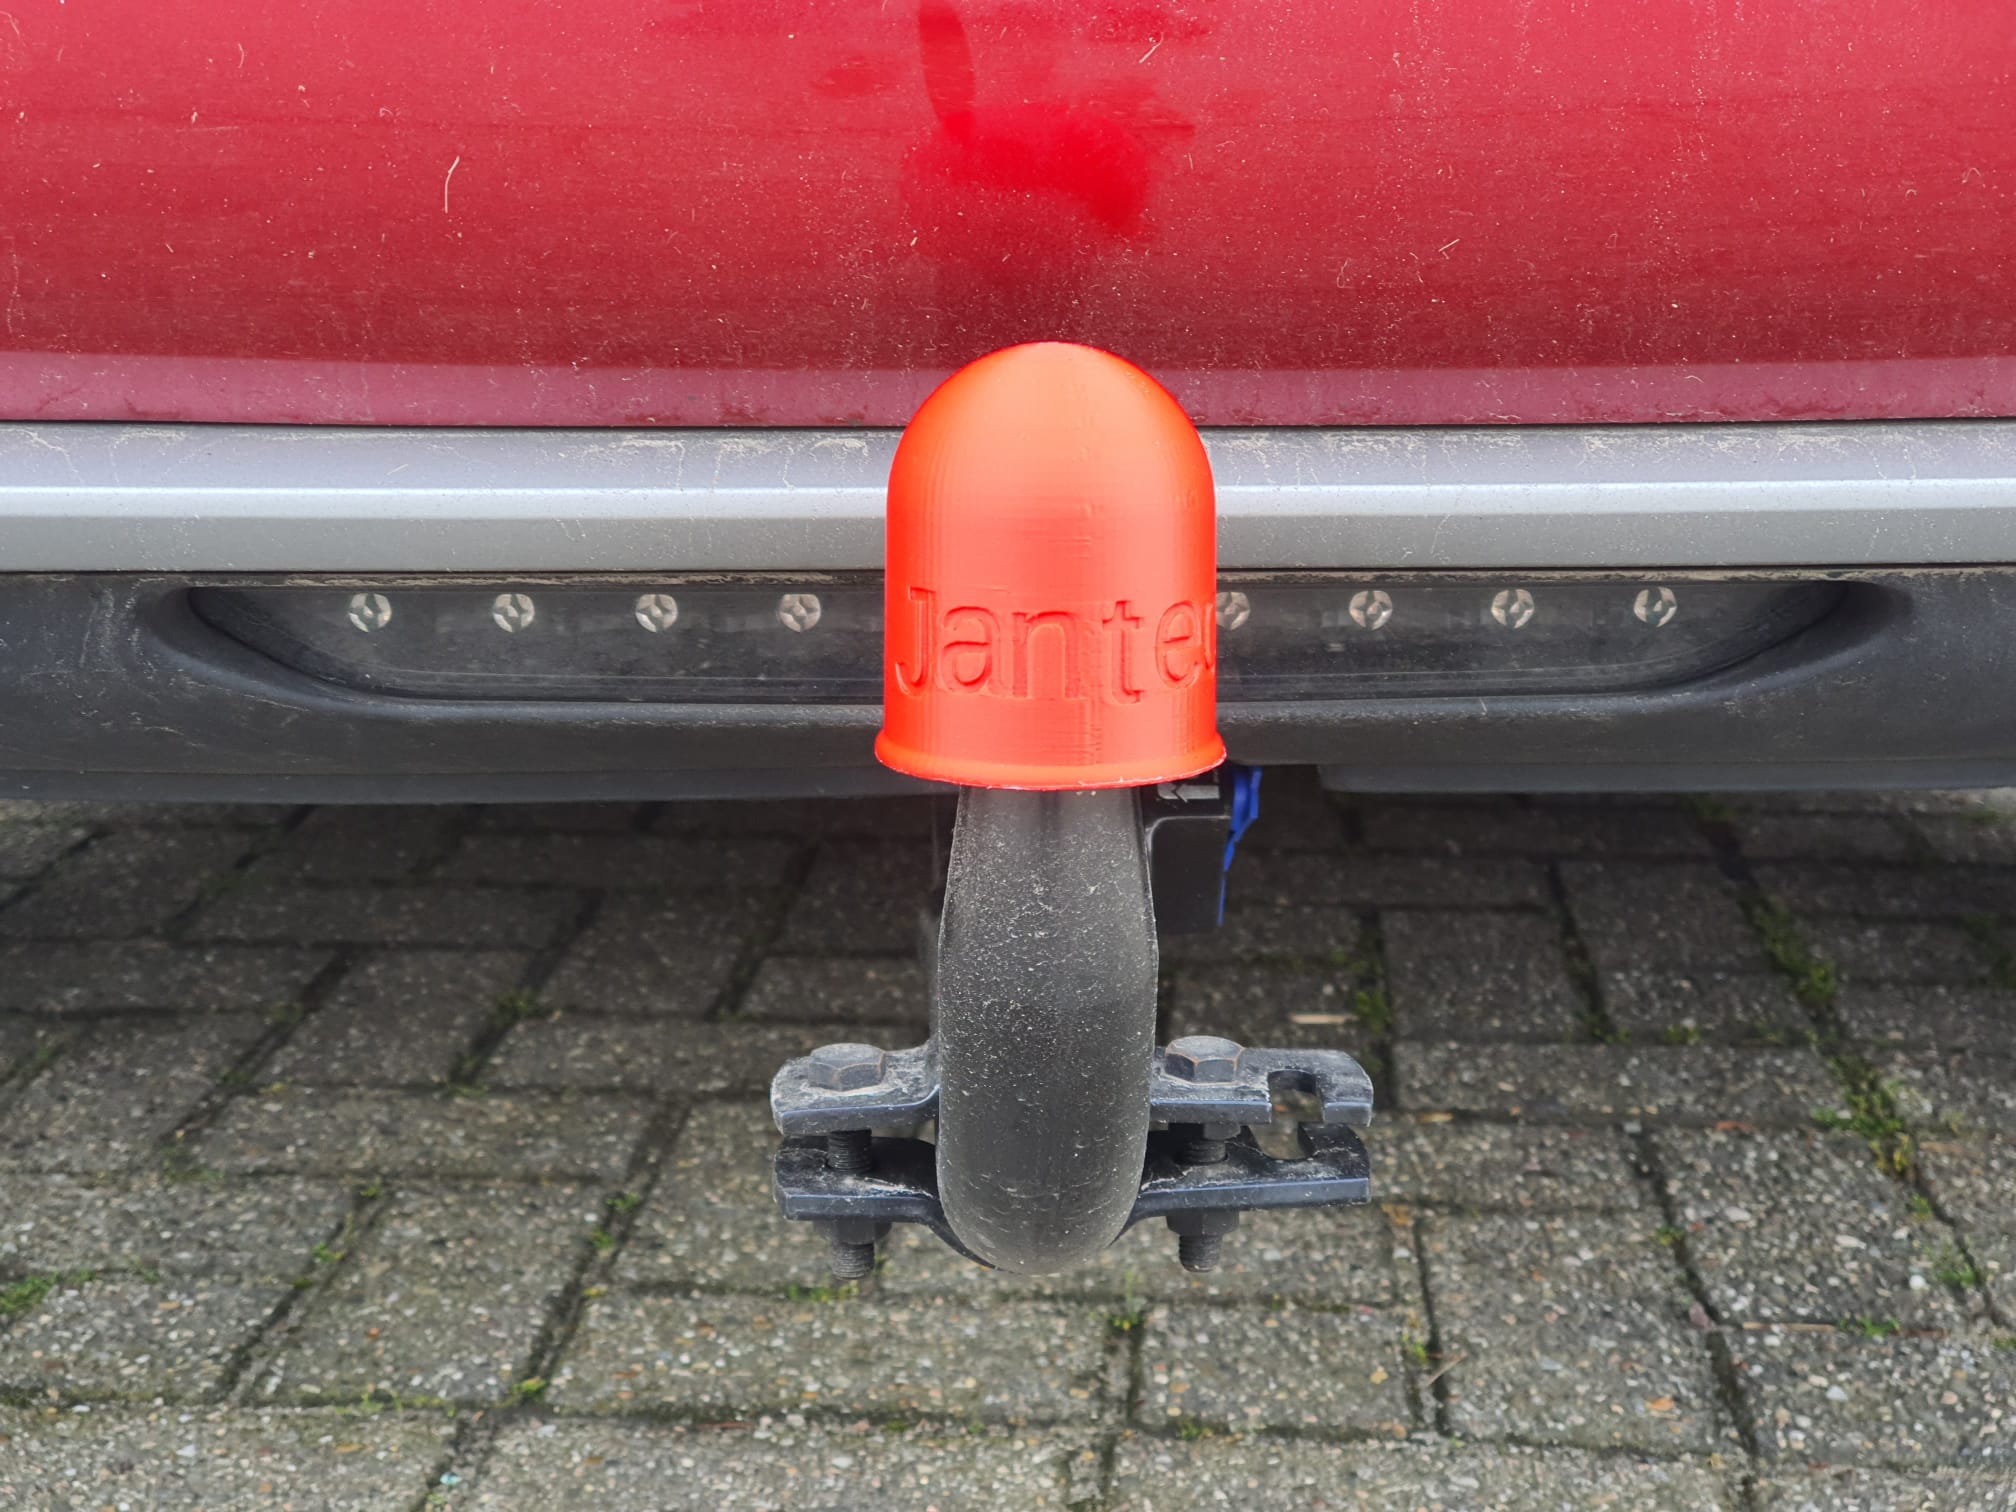
1) De trekhaak heb ik, maar de auto mag officieel geen gewicht trekken omdat de auto niet ‘gehomologeerd’ is. Dat wil zeggen dat er geen trekgewicht staat op het Certificate Of Conformity van de auto. Dat kun je later nooit meer krijgen, alleen bij de kentekening van de auto. Erg jammer, vooral omdat ons min of meer mondeling beloofd was bij de aanschaf dat dat allemaal nog wel zou komen.
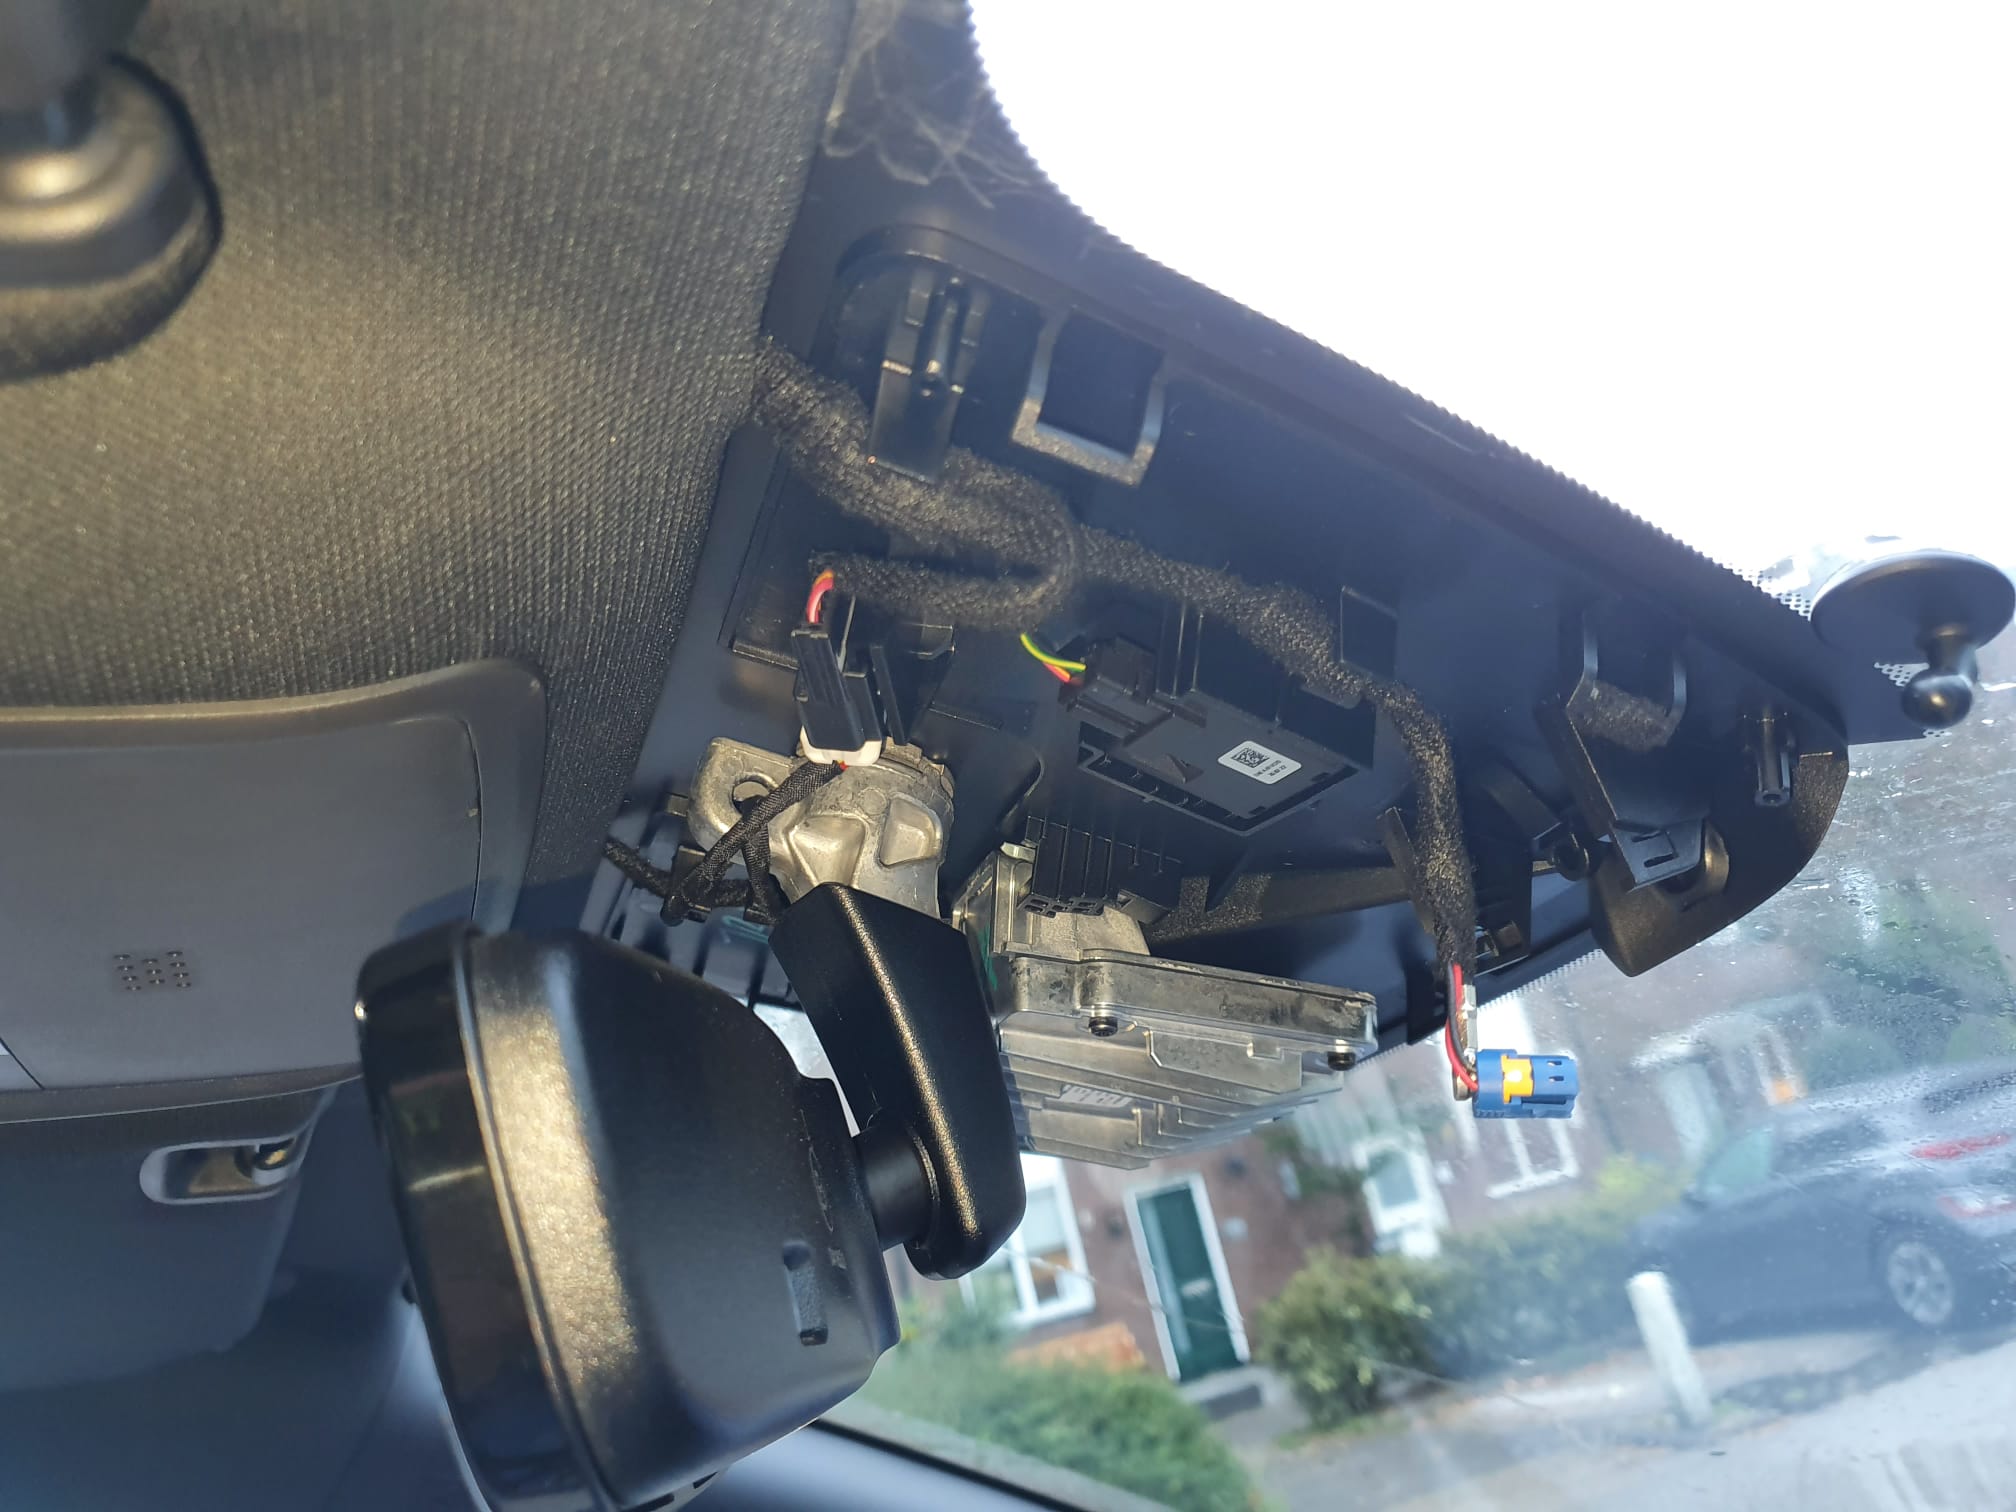
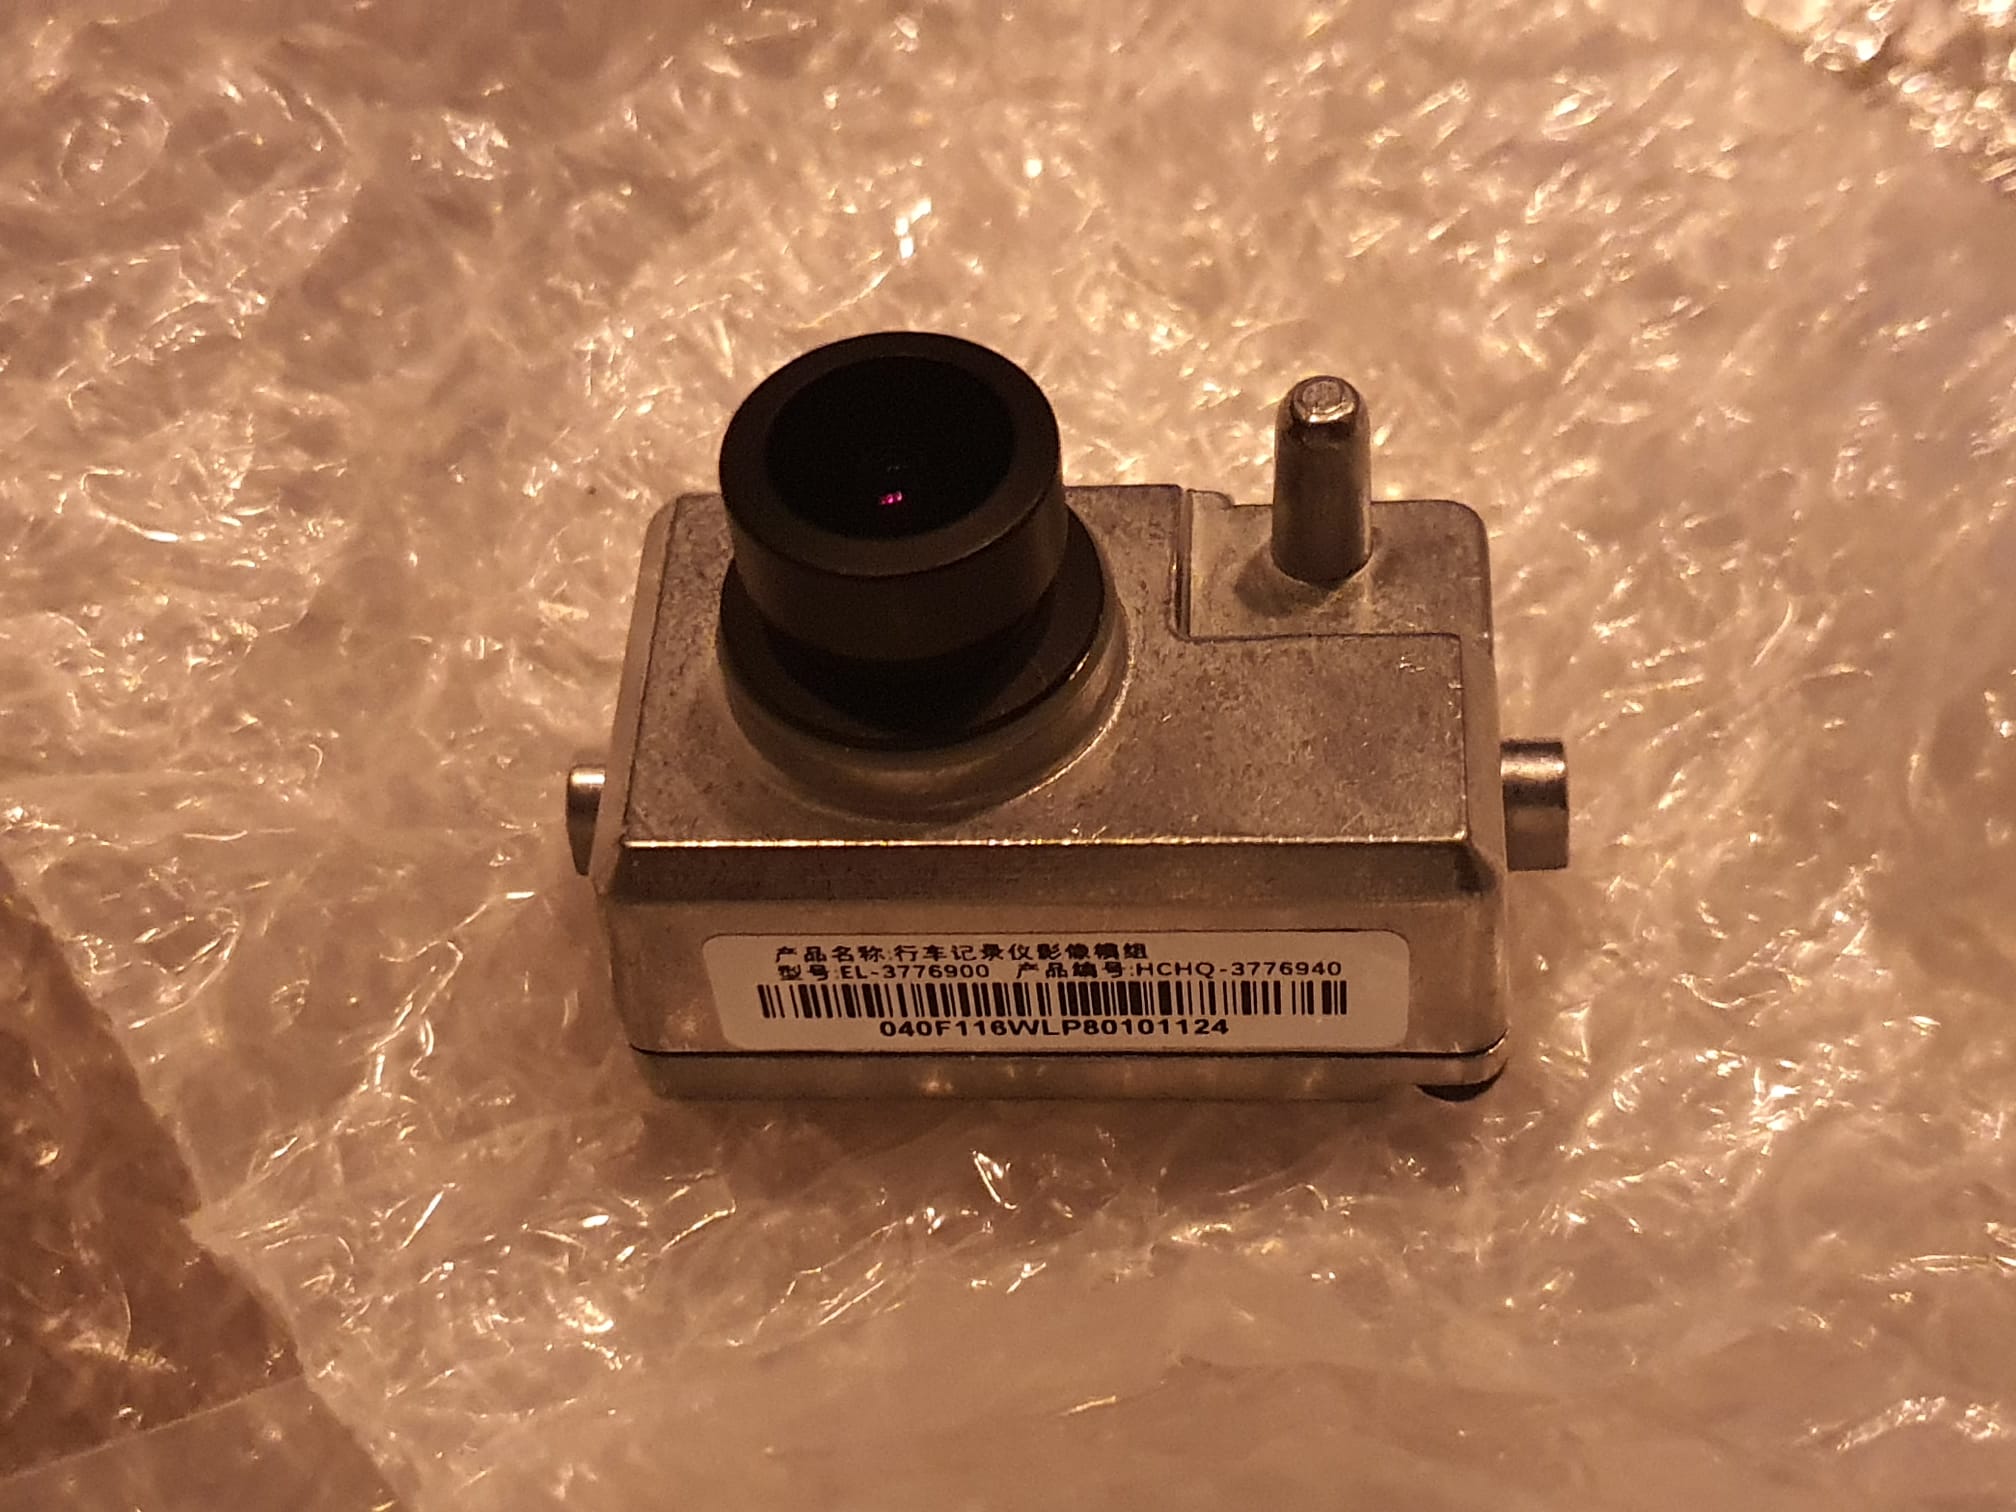
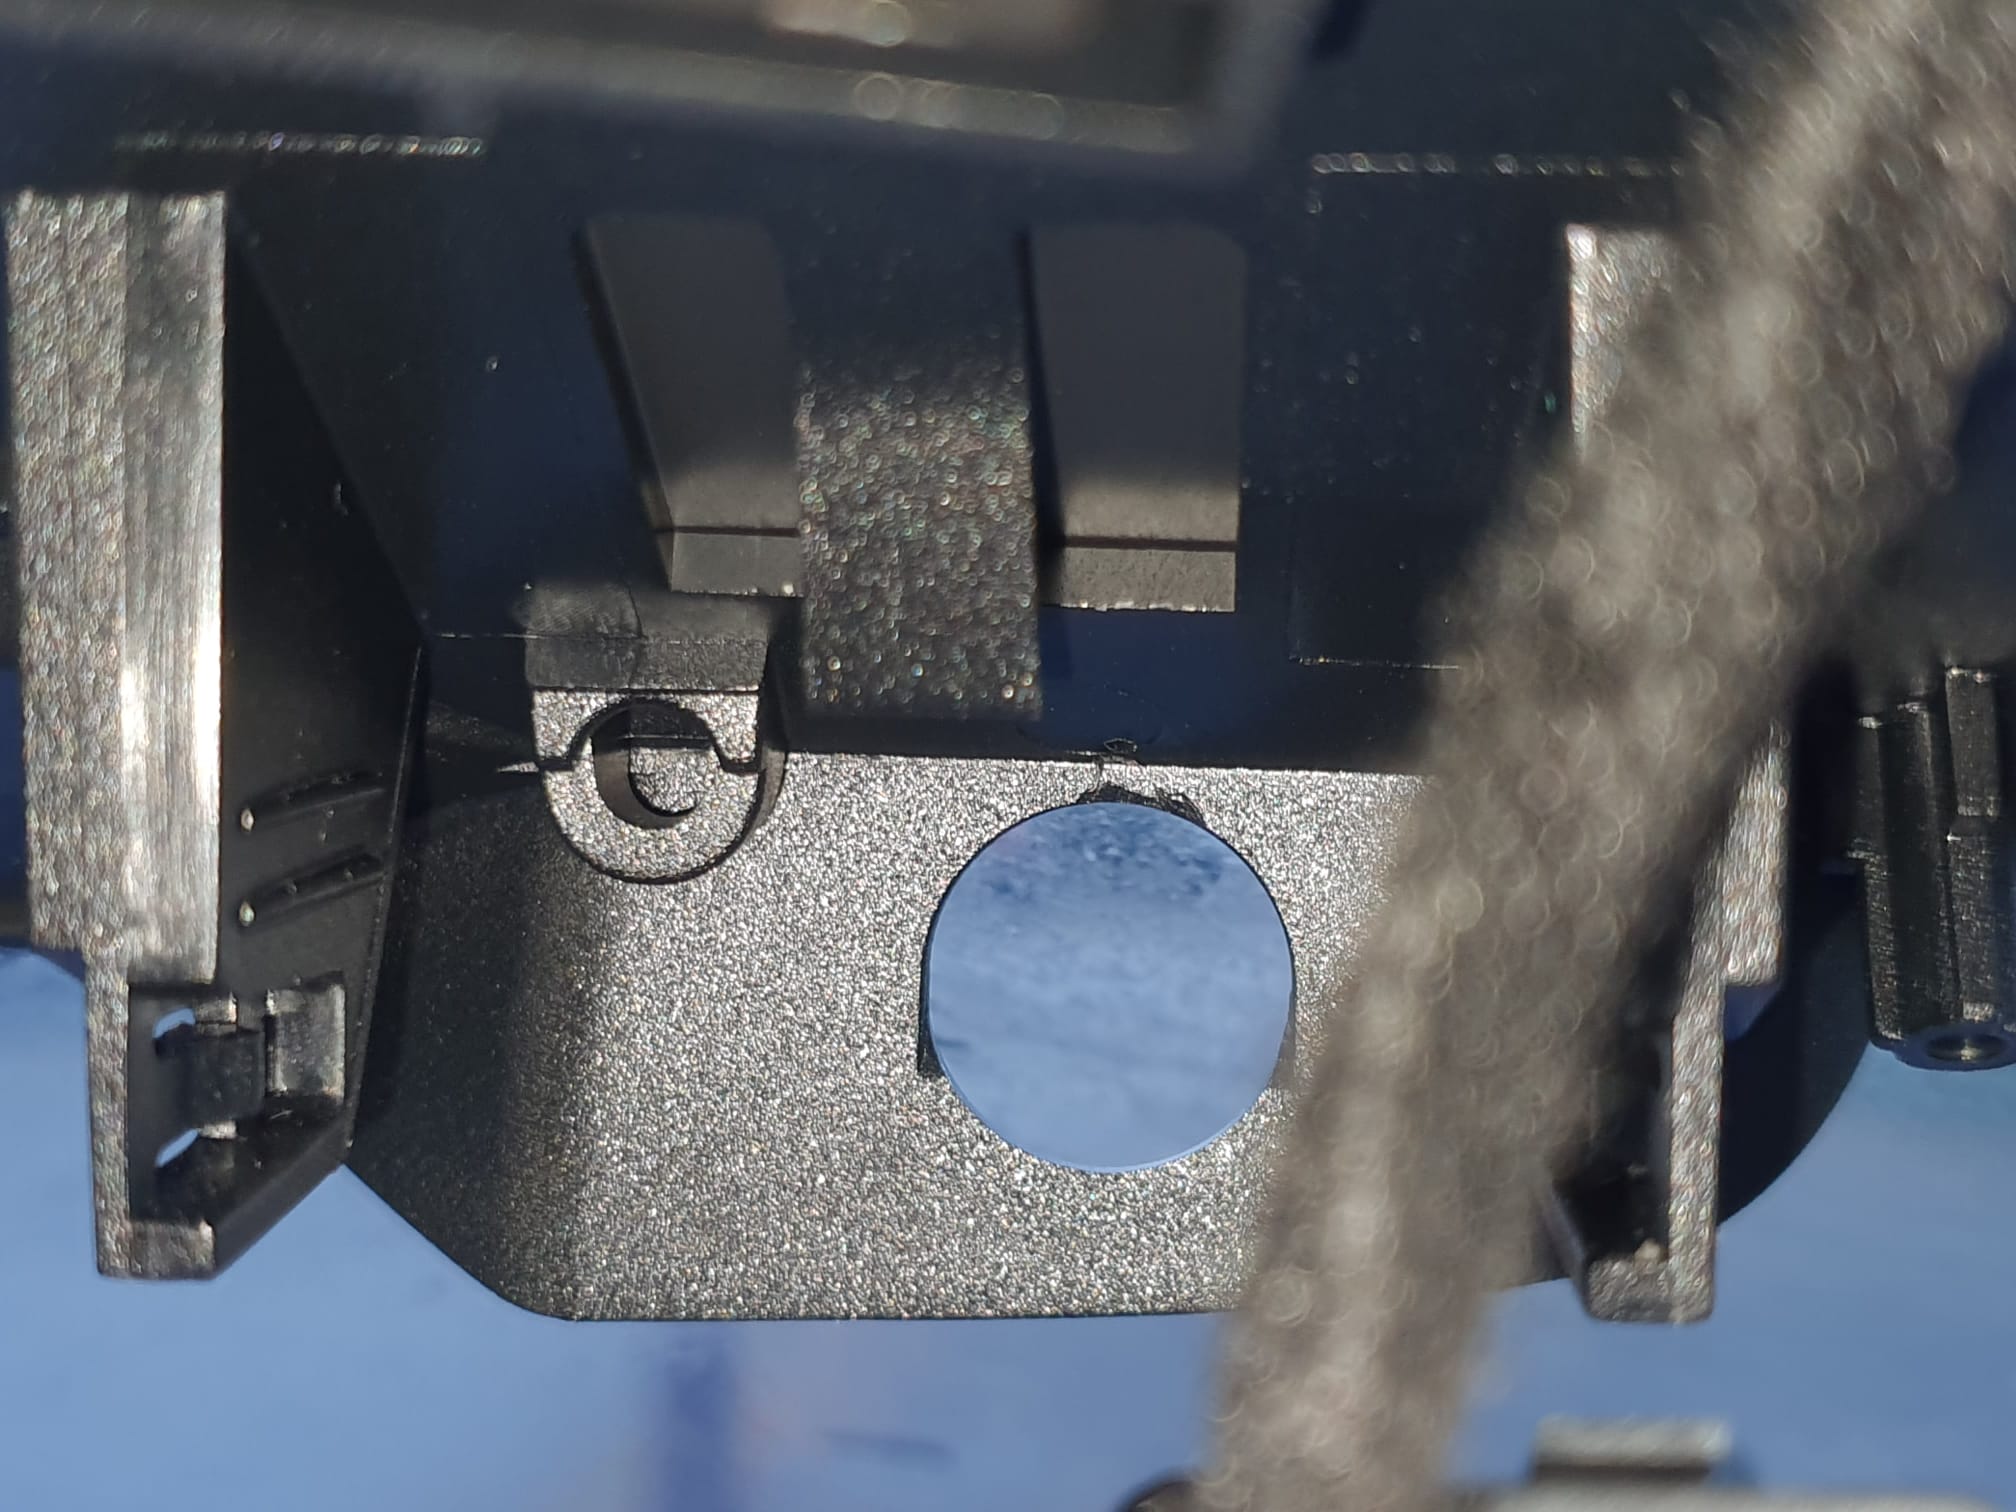
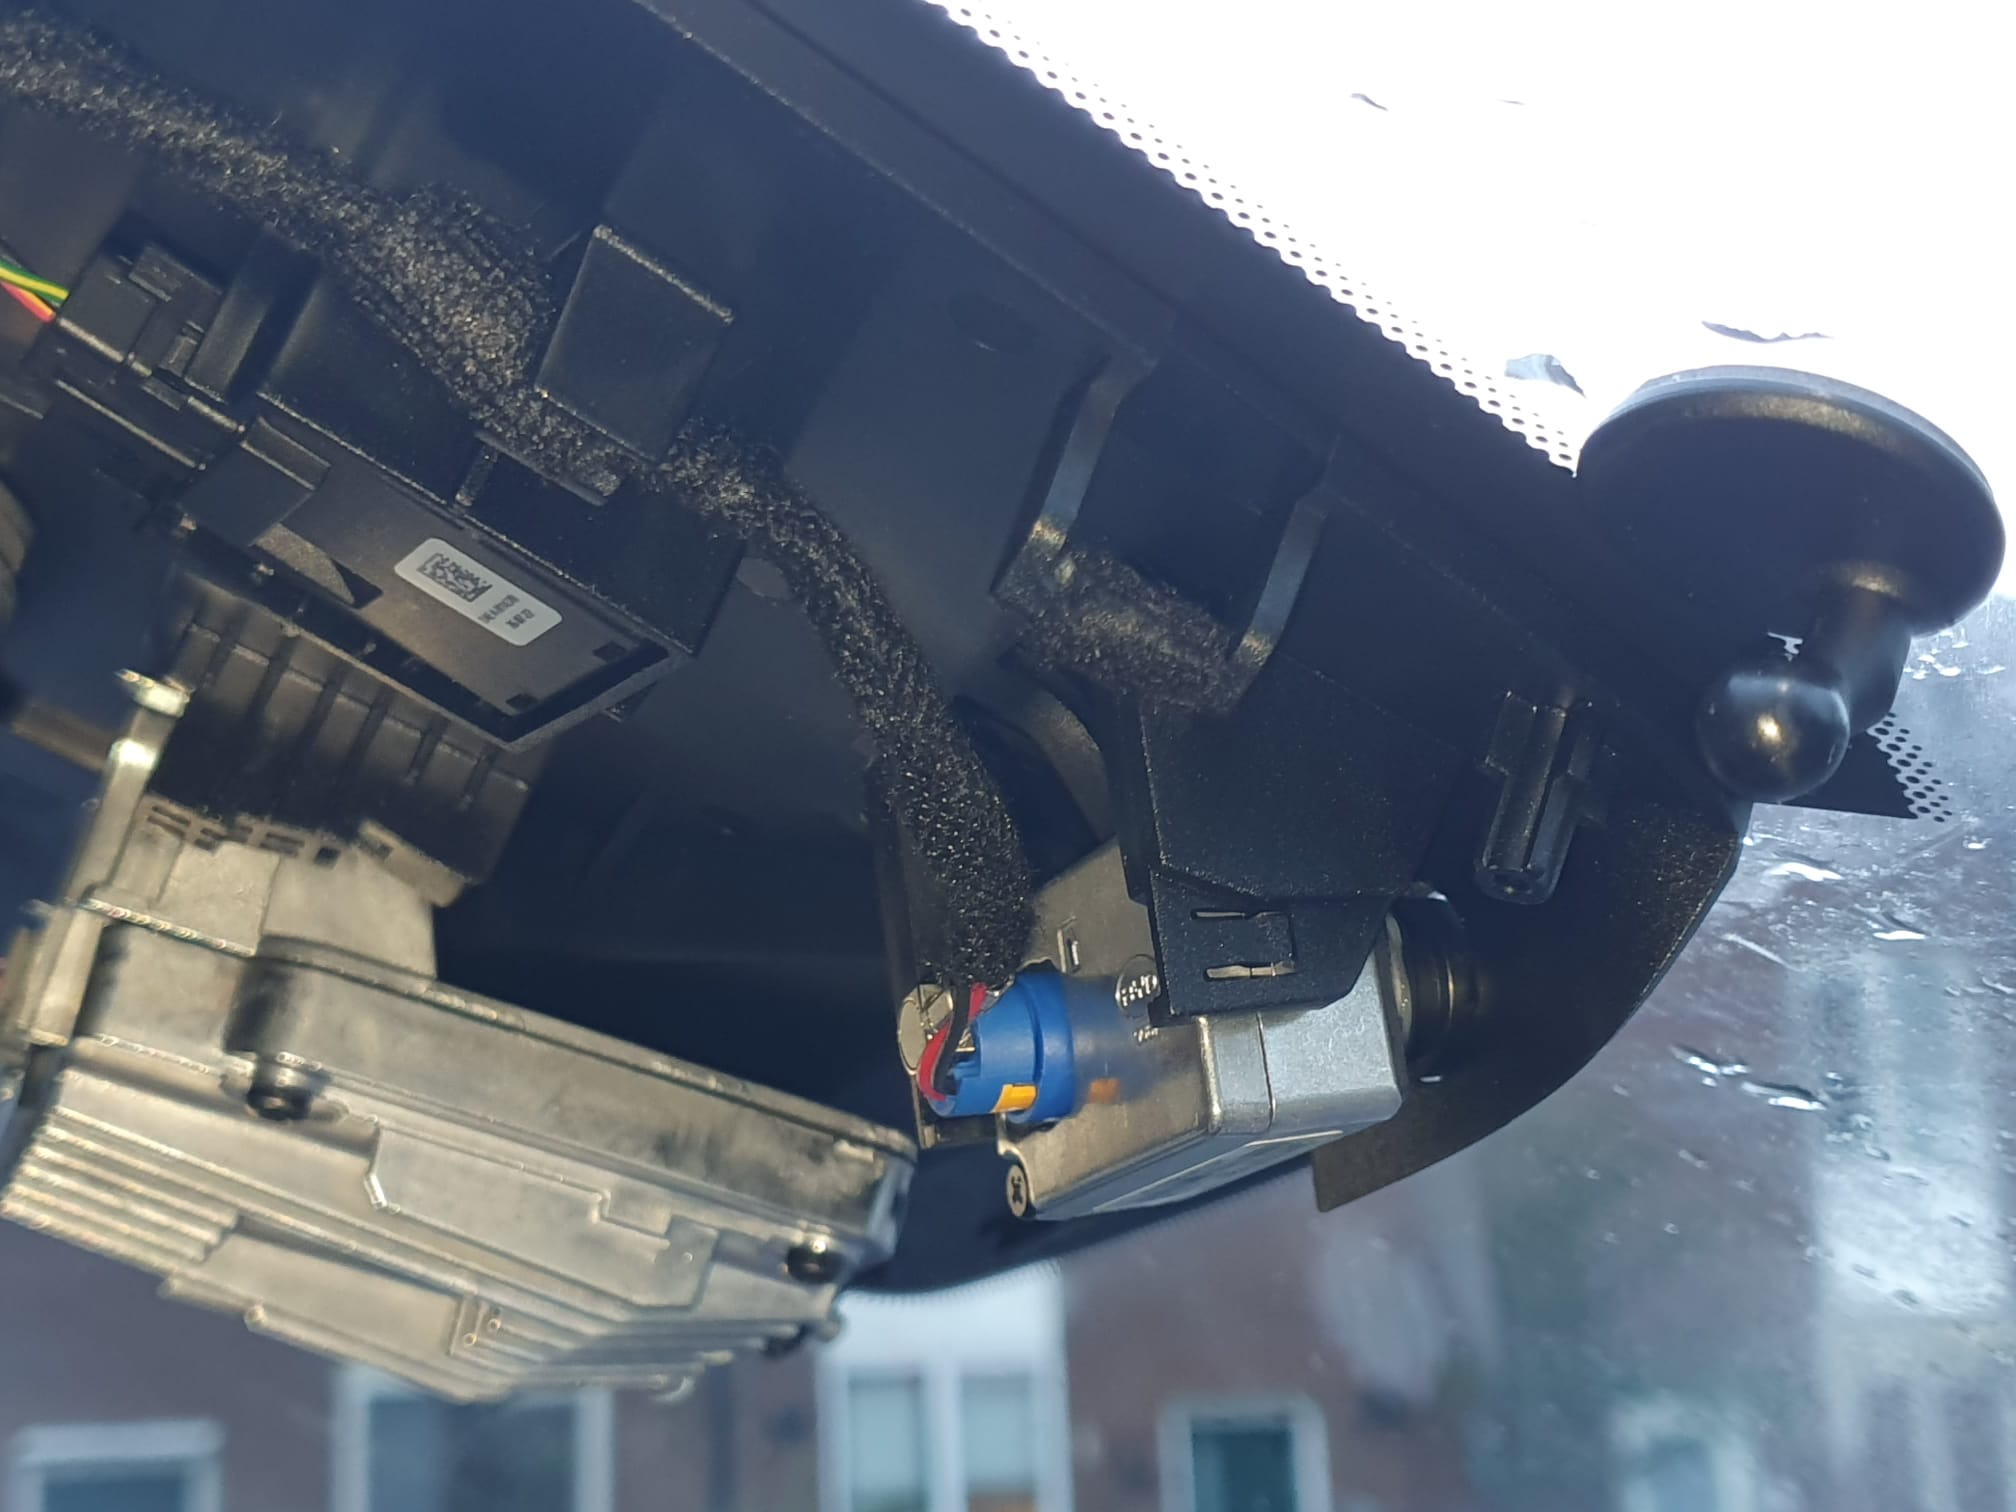
2) Geen standaard dashcam functie terwijl de kabel wel is voorgemonteerd. De camera is gewoon niet af-fabriek (voor NL) gemonteerd. Dat heb ik achteraf zelf opgelost, lees HIER.
3) Geen regensensor voor de ruitenwisser. dat was ik even helemaal niet gewend dus was het extra wennen dat ik steeds zelf de schakelaars moet bedienen. Dit kan ik oplossen maar ik ben er vanwege een probleempje met mijn Traction Avant nog even niet aan begonnen. Zodra de garage weer beschikbaar is begin ik aan de regensensor inbouw. Lees HIER de voortgang.
Verder nog gedaan:
Ik heb achteraf zelf een reservewiel geplaatst, heb je natuurlijk nooit nodig maar wanneer je het wel nodig hebt.. ja, precies!
En gelijk bij ontvangst de standaard zomerbanden door all-weathers laten vervangen.
Camera op achterruit. Naast de dashcam achter de voorruit heb ik de dashcam die ik tijdelijk VOOR had, een Garmin mini2, naar de achterruit verplaatst. Die had ik opeens toch over. Gewoon stroom via de lange voedingskabel uit de USB aansluiting gehaald, achterop de middenconsole. De Garmin werkt via een app op de telefoon, ik ga nog kijken of iik dat ook via Android auto kan laten lopen, zodat ik het overzetten van beeld ook via de USB aansluiting onder het dashboard kan laten lopen.
Rij-ervaringen
De auto heb ik al vanaf mijn eerste rit in november 2022 prettig gevonden qua rijbeleving en weggedrag. Door de software verbeteringen is mijn beleving nog beter geworden. De Atto 3 rijdt niet als een kleine middenklasser maar gedraagt zich op de weg heel vergelijkbaar met mijn vorige auto(‘s), Volvo V70. Misschien een rare vergelijking, maar ik rijd ook met regelmaat in andere auto’s en daarmee ervaar ik wel verschil maar tussen de Atto 3 en een laatste versie V70 dus niet. Ja kan ook zeggen dat een V70 een lompe bak is natuurlijk, maar dat is met de laatste versie V70 niet mijn ervaring. PS: Mijn laatste versie V70 F (BW), 2 liter benzine/LPG had een leeggewicht van 1450 kilo, de Atto weegt leeg 1825 kilo….
Maar goed, ik was en ben nog steeds erg tevreden over de Atto 3.
Wat rij-ervaringen betreft en het bereik van de auto heb ik gedurende de afgelopen 15.000 kilometers ook wel het een en ander meegemaakt. Uiteindelijk viel het mij helemaal niet tegen. Je gaat er na een tijdje anders mee om dan met een ICE auto. Nu vertrek ik meestal met een volgeladen auto. Dat kost nl. toch geen extra gewicht en de blade accu van de Atto 3 kun je net als een Tesla 3 niet overladen. En je kan het laden ten minste 10.000 keer doen, tot helemaal vol. No problem. Dat is heel anders dan bij veel andere elektrisch aangedreven auto’s.
Wanneer ik ’s avonds thuiskom gaat de auto dus altijd aan mijn lader en ik maak me onderweg helemaal geen zorgen over bijladen, tenzij ik naar het buitenland ga. Dan plan ik een stop in om te laden. Met het rijbereik van de Atto 3 van WLTP 420, en regulier zonder op te letten 350 km kom ik net niet heen en weer tussen Amsterdam en Groningen. Die afstand is 400 km heen en weer en dat vind ik niet fijn, bijna leeg rijden. Dus ergens na tenminste 100 km te hebben gereden gewoon een willekeurig laadpunt pakken om 100 km bij te tanken is genoeg om ook weer terug te komen.
Rijden in een EV is wat dat betreft wel heel anders dan een auto op fossiele brandstof. Even snel volgooien duurt sowieso wat langer dan aan de pomp hangen.
De Atto 3 weegt dus wel 1825 kilo. Minpuntje dat samenhangt met een betrekkelijk zware EV: Je moet echt erg opletten met sommige verkeersdrempels, om er niet altijd zomaar met de geadviseerde snelheid overheen te gaan. Vaak gaat het goed maar ik heb er inmiddels 1 in mijn route zitten waar ik niet sneller dan met 40 overheen wil terwijl er een advies staat van 60. Op een 80 km/h meg. het erop rijden is OK, maar met afrijden is het bij 60km/h net of je van een platform af valt
Verbruik en laden
Maar, met name bij de buitenland reizen het afgelopen jaar bleek dat alles heel goed gaat wanneer je vooraf bekijkt WAAR je WAT met welke pas of app kan laden. Omdat de Atto3 ‘ maar’ met 88 kiloWatt kan snelladen duurt het wel even om helemaal opnieuw de auto te laden. Dus doe ik dat bij 40-50 % overgebleven lading. En dan is 15 minuten genoeg om weer op 90-95% te zitten. Dan moet je misschien meer stoppen onderweg maar dat vind ik voor 15 minuten niet zo erg. Je rijdt met de Atto 3 van 100% naar 50% ongeveer 210 kilometer. Dus stoppen bij ca. 200 km na 2 uur rijden dus past mij heel prima.
En dan kom je op het echte verschil tussen fossiel rijden of elektrisch: Alles wat je doet kost stroom- en bij een EV dus ook rijbereik. Tegenwind: 10% minder bereik. Gemiddeld verbruik bij 90 km per uur is ca. 14 kWh voor 100 km dus kom je dan met ene volle tank van 60 kWh ruim 400 km ver, zelfs de 420 km WLTP waarde kun je dan halen. Tenminste, ’s zomers met 90-95 km/h op een vlakke weg zonder storm, zonder tegenwind en zonder al te veel belading.
Ik heb een aantal rijscenario’s uitgeprobeerd en mijn meest opvallende scenario is op de A2 van Breukelen naar Abcoude met 130 km/h zonder tegenwind of storm, wel ’s avonds met verlichting aan. Gemiddeld verbruik: 35 kWh voor 100 km. Als je dus langere duur 130 km/h zou rijden kom je krap 250 kilometer ver en dan is de accu leeg.
Opeens begreep ik waarom de Atto 3, net als de meeste nieuwe kleinere EV’s is afgetopt op 160 km/h…
Wanneer je vooral op provinciale wegen rijdt en/of stedelijk en je kan je voet een beetje bedwingen met accelereren, kun je gemakkelijk onder de 15 kWh/100km blijven, ik red soms zelfs gemiddeld 14 kWh/100km.
Het blijft natuurlijk toch een small/medium SUV en de daarmee samen hangende mindere stroomlijn heeft ook negatieve invloed op het verbruik..


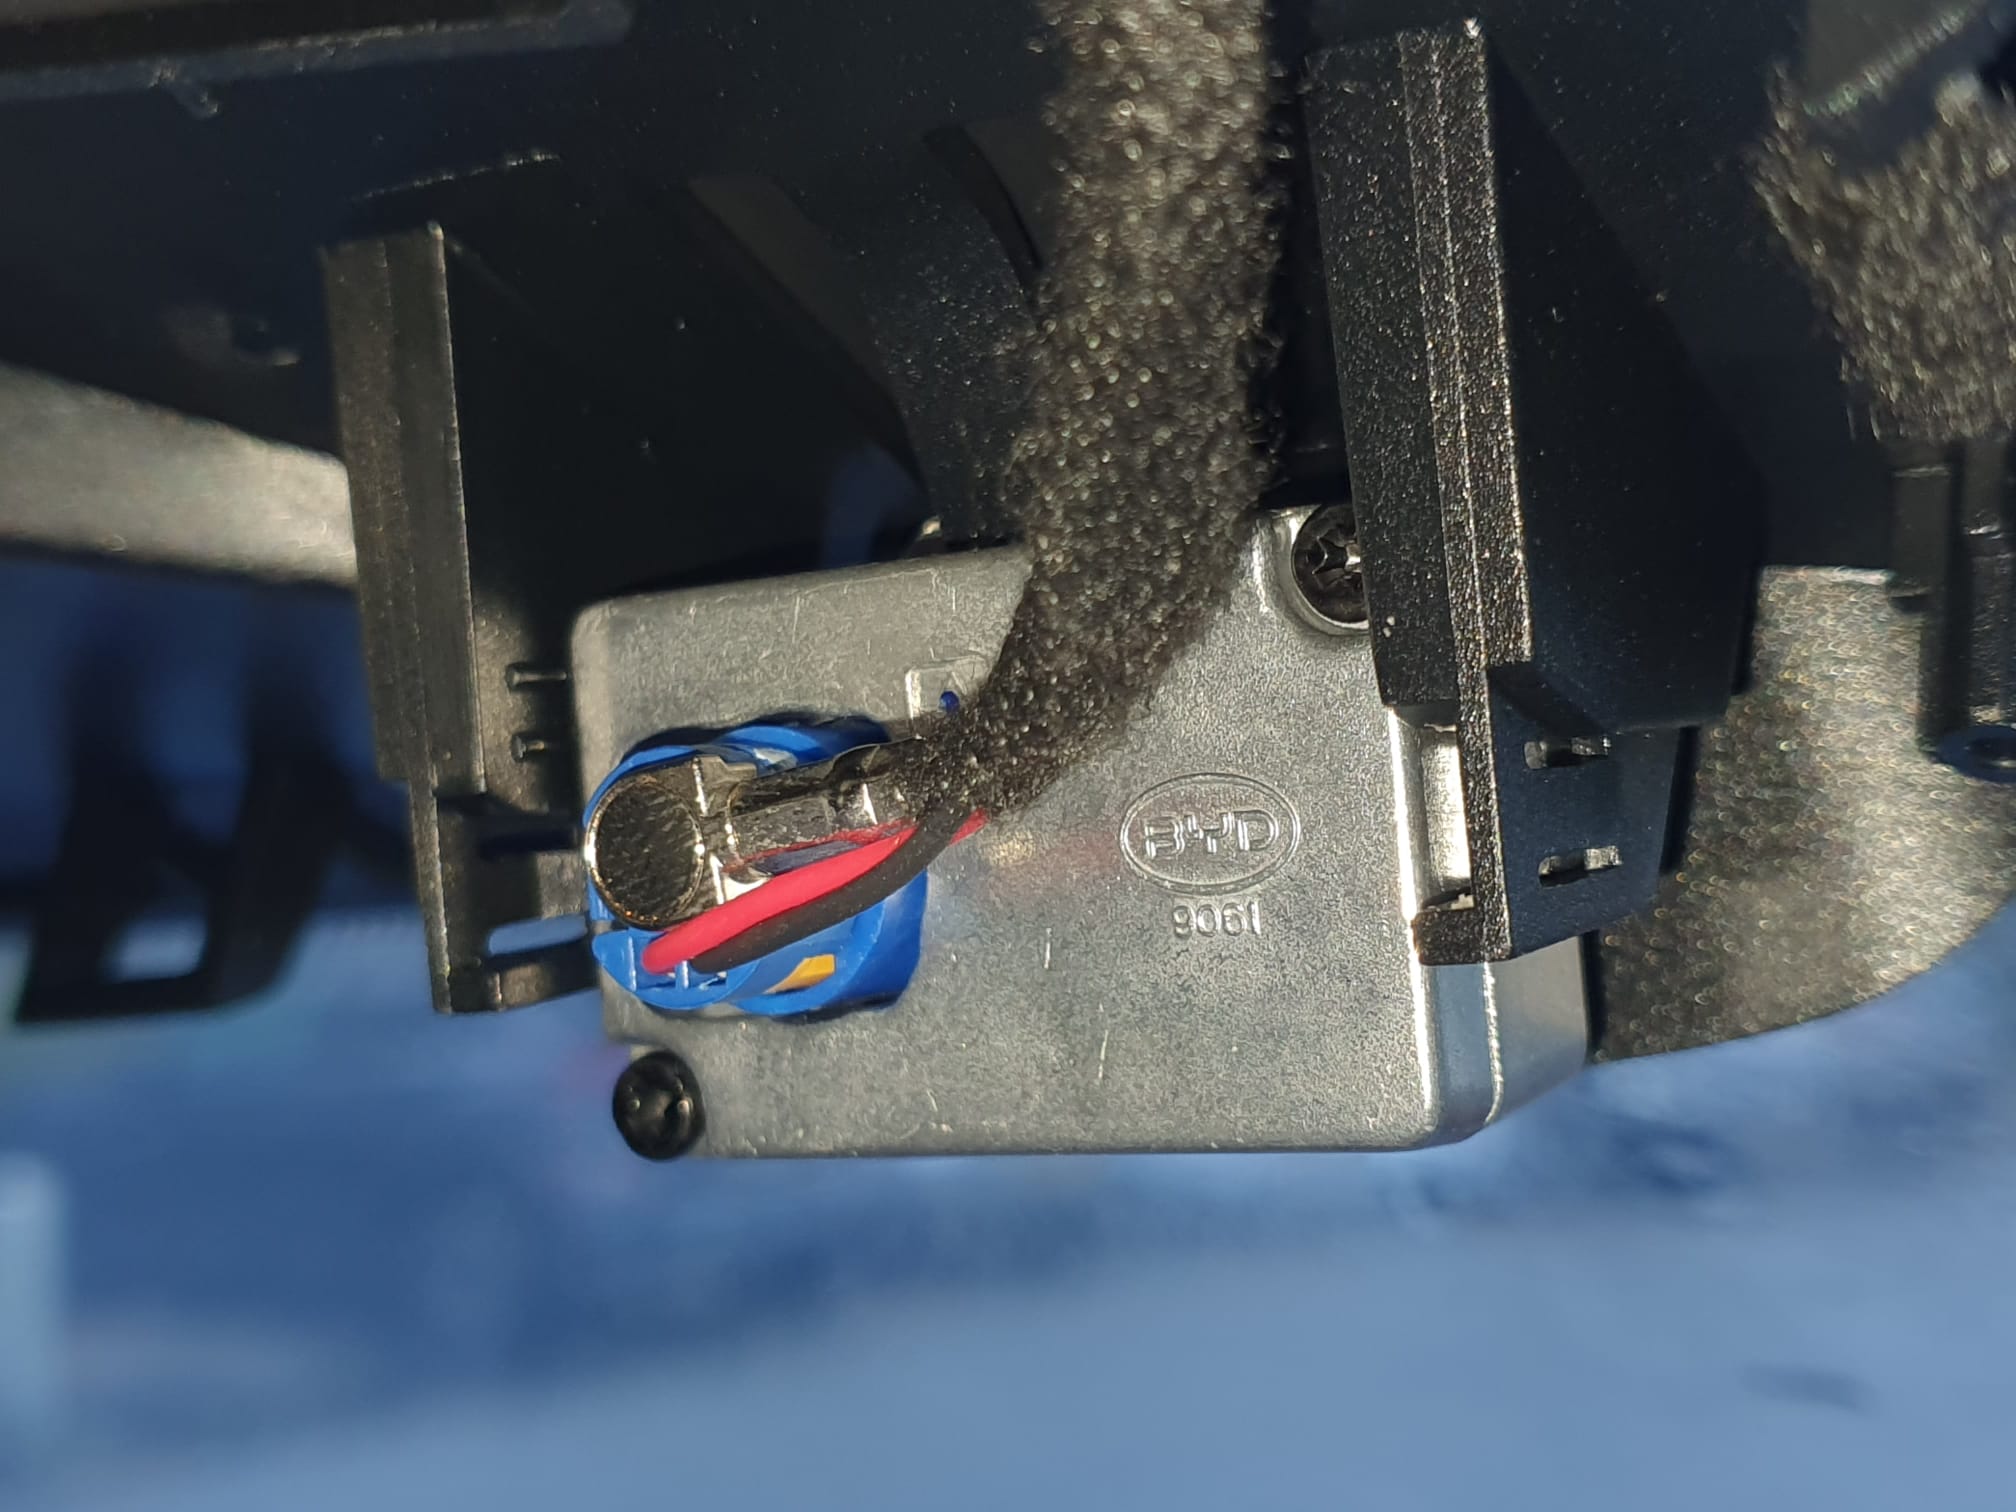
 Daarna bleek dat de kabel voor de dashcam gewoon netjes gemonteerd aanwezig is. Rechts op onderstaande foto kun je nog net het montagevoetje van de Garmin mini dashcam zien. Het blauwe losse stekkertje met gele vlakje is de stekker voor de originele BYD dashcam .