GPL in my 1955 Traction Avant

The reason for installing LPG is not because of cost.  I hardly ever drive the car, and starting with LPG is just a lot easier. 
And-the consideration to drive on LPG is also made from environmental considerations, next to ease of use.
By means of a well regulated LPG installation preferably WITH use of a  lambda probe, the emission of harmful substances is reduced considerably.
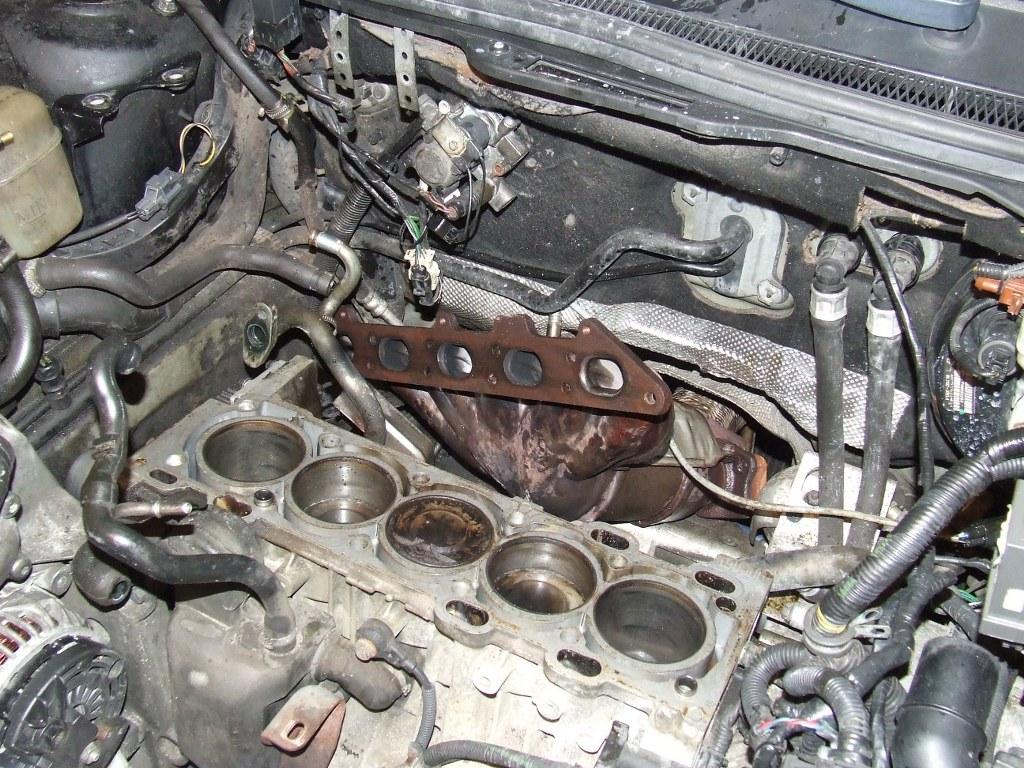
Why not do a gasoline injection with lambda sensor and controller?  This solution was preferred but did not fit easily on the ID19D cylinder head. To fit the petrol and/or GPL injectors properly you need to be able to use individual inlet ports and with this cylinder head only 1 external inlet point is available.

The distribution to the intake ports is all hidden inside the cylinder head.

Drilling-in channels for any petrol or LPG injectors is therefore not possible (at least not easily for me).

An after market valve lubrication system has been installed.

The evaporator and gas tank are of traditional origin.

The entire electrical system as well as the valves and pipes were simply purchased over the Internet from an authorized LPG supplier.

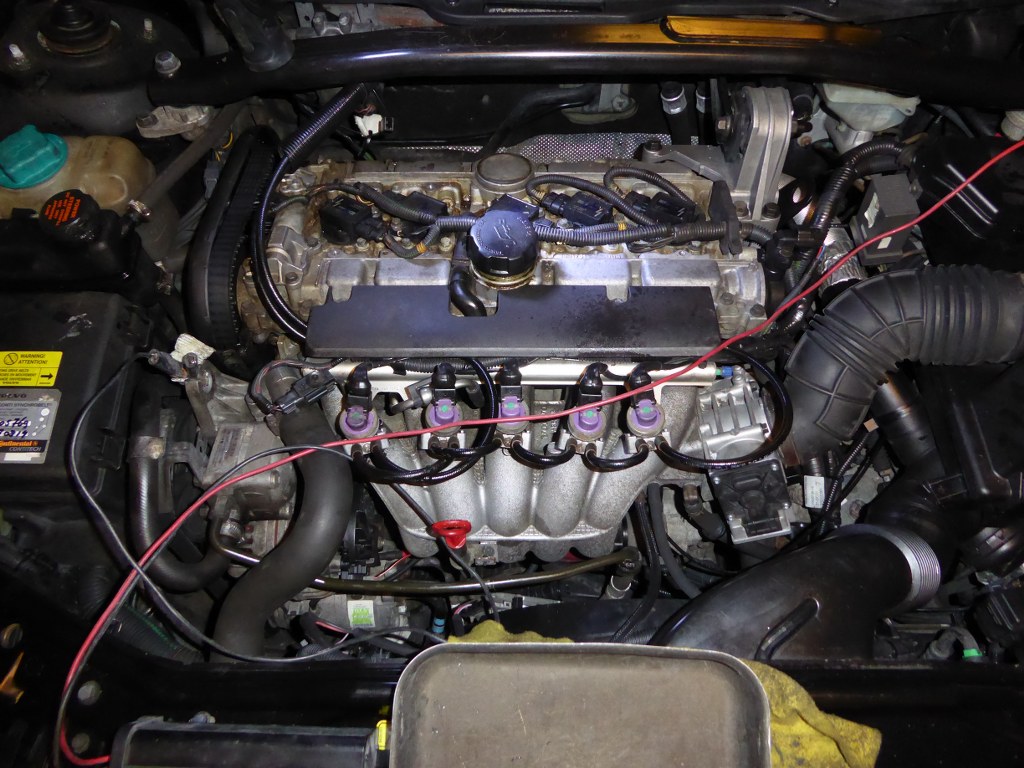
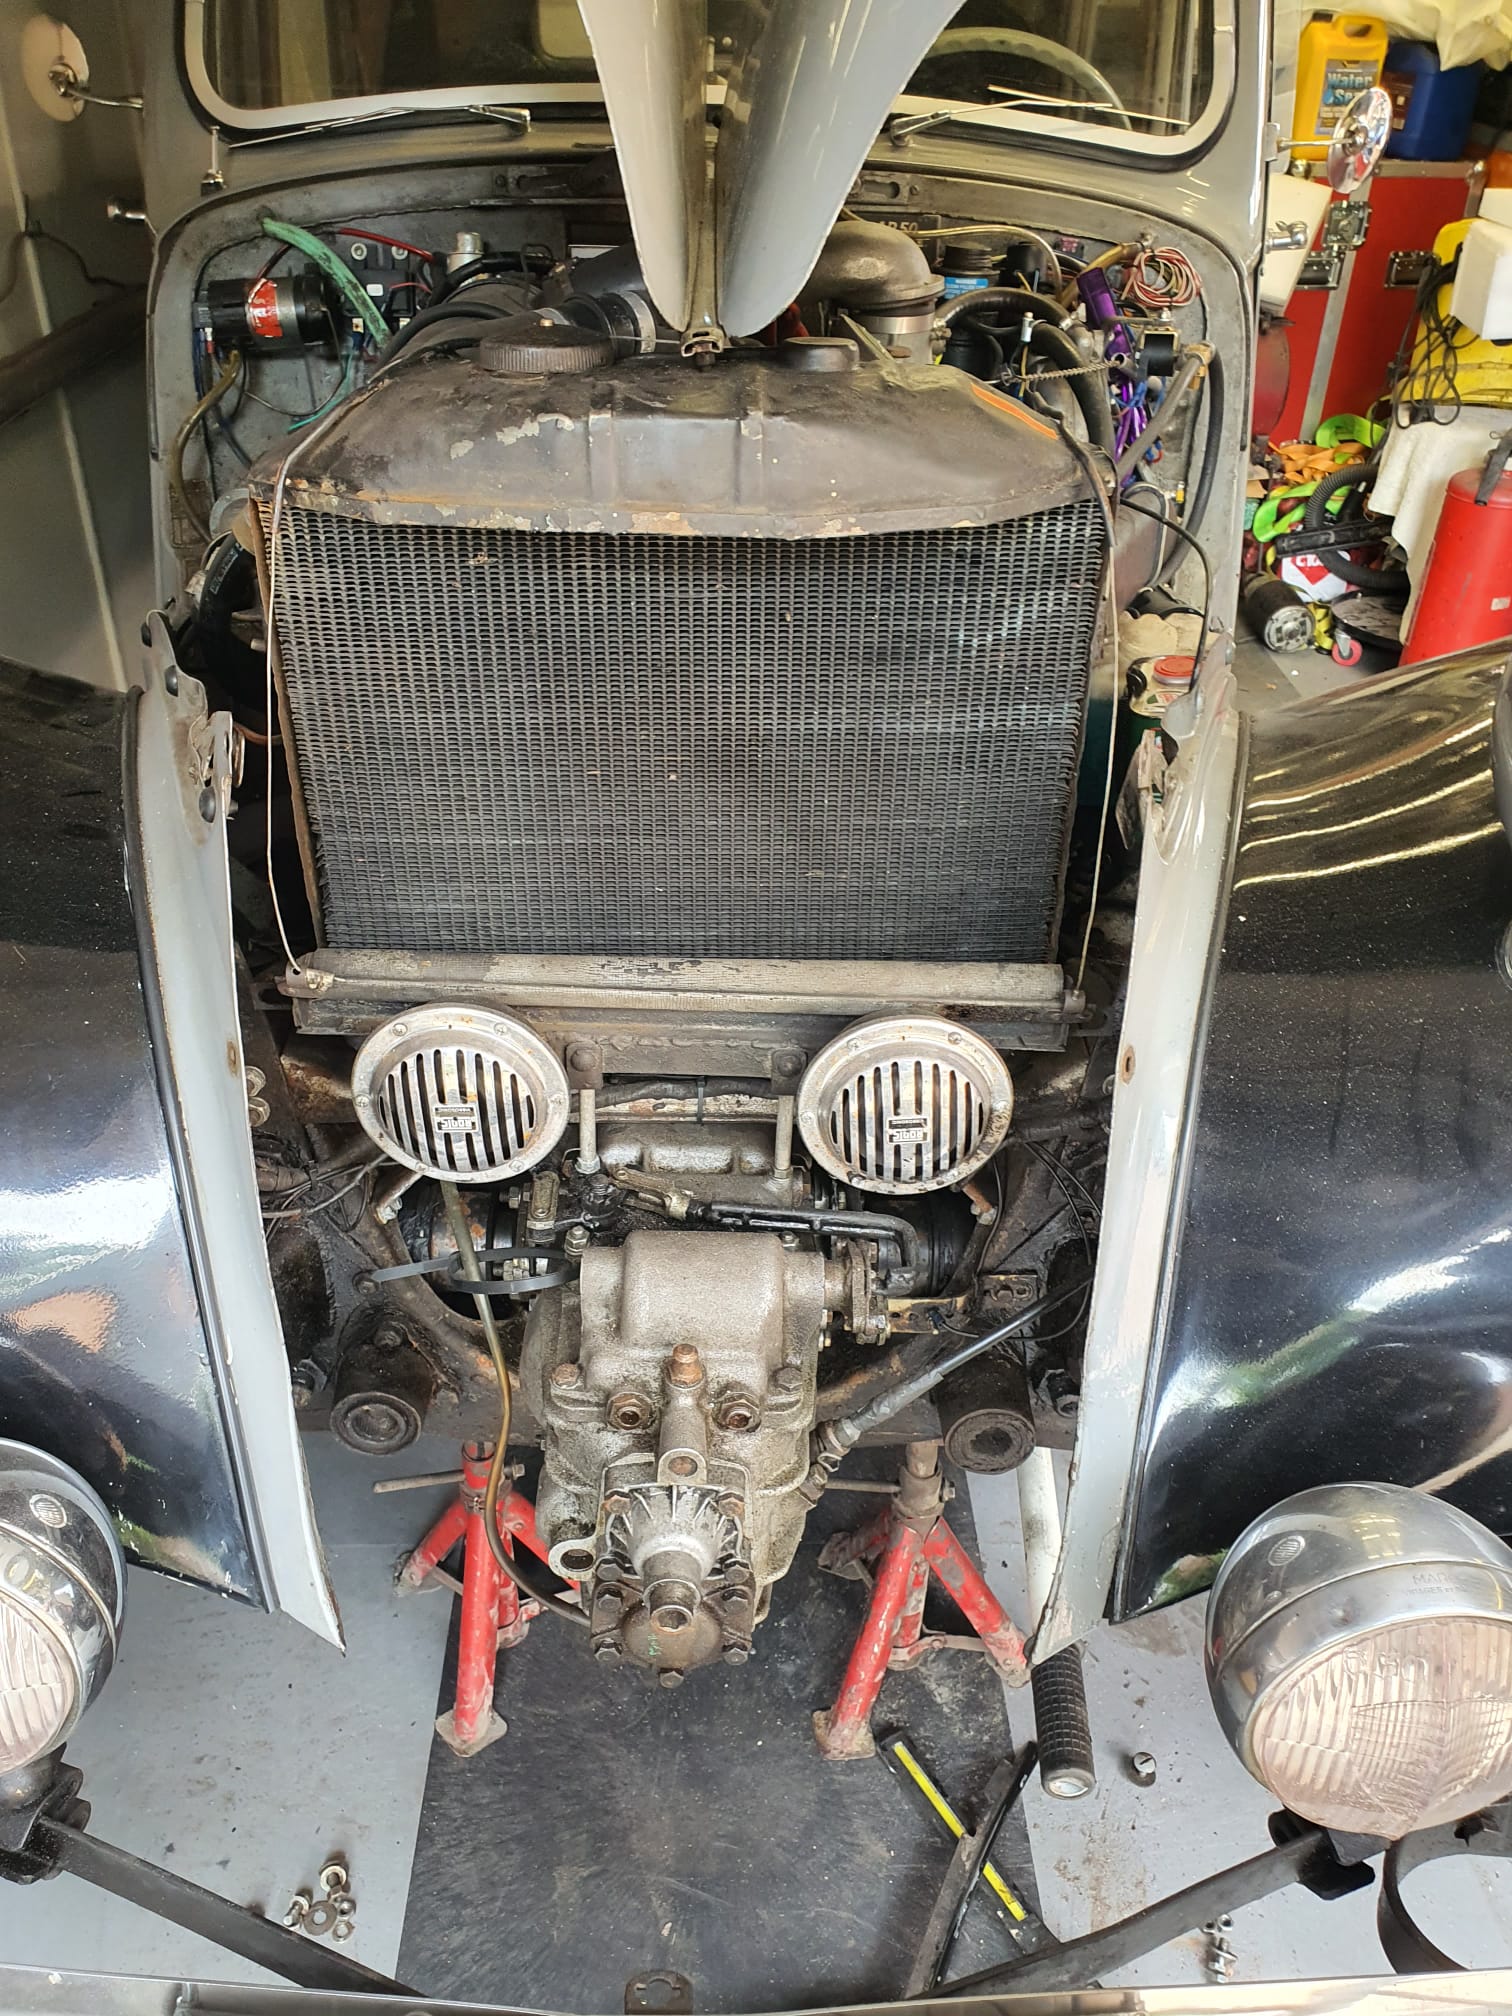
The LPG injection was not done with a traditional intake manifold but with SPUDS, directly into the intake venturis of the double Weber carburetor, due to space constraints.

This was done both for the LPG intake, with large spuds and for the lube intake but with small spuds.

The photos show some of this in detail.

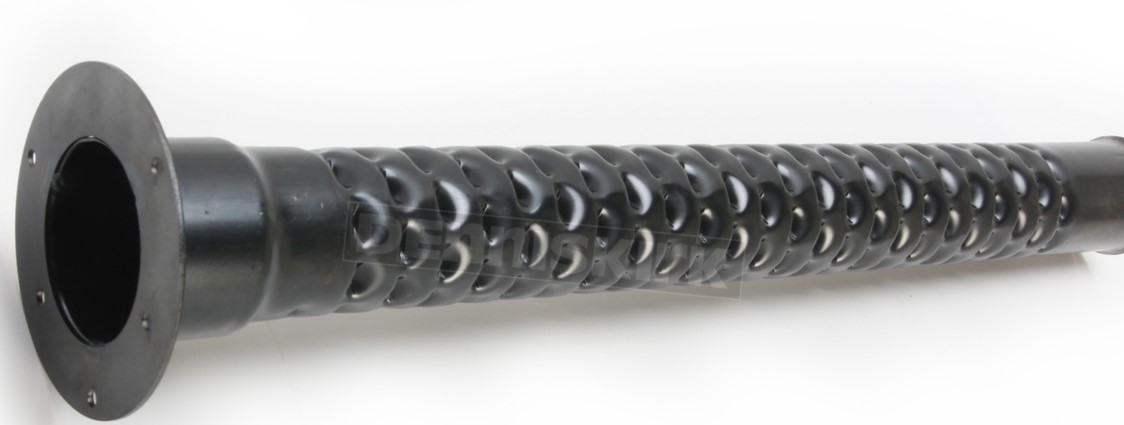
The LPG spuds are screwed into the side of the carburetor, and come from a donor evaporator where they were used as water inlet and outlet adapters.

These adapters are the right size and have a nice kink on 1 side that allows the LPG to get into the flow of the venturis properly.

The Traction has 2 venturis because the engine upgrade to a Citroen ID19dD including cylinder head, carburetor and air filter was done.

To do everything neatly I applied the latest governmental inspection requirements to the entire installation.

An interesting detail was that a number of requirements do not apply to the traction because the date of admission of the car is already very far in the past.

As far as I understand, the valves and evaporator may be used without a new inspection mark but must at least bear the old inspection mark, whereby age should not be a problem.

As with new cars, the tank must be less than 10 years old, and the filler hose less than 1 year old.

The LPG hoses that are used must have an approval mark, the line for supply between tank and valve and between valve and vaporizer must be properly secured and may not protrude under the car, etc.

Traction avant 1955 big trunk conversion to wheel

Recently (9-2021) I was able to buy me a tailgate and wheel cover from a wheeled TA version.  This was the start of my project to convert my 1955 Citroën Traction Avant into a wheeled version.

It’s a matter of taste of course, and I just think a wheeled version is much nicer than such an imposed trunk.

Below you can see what my car would look like with a wheel instead of a trunk:

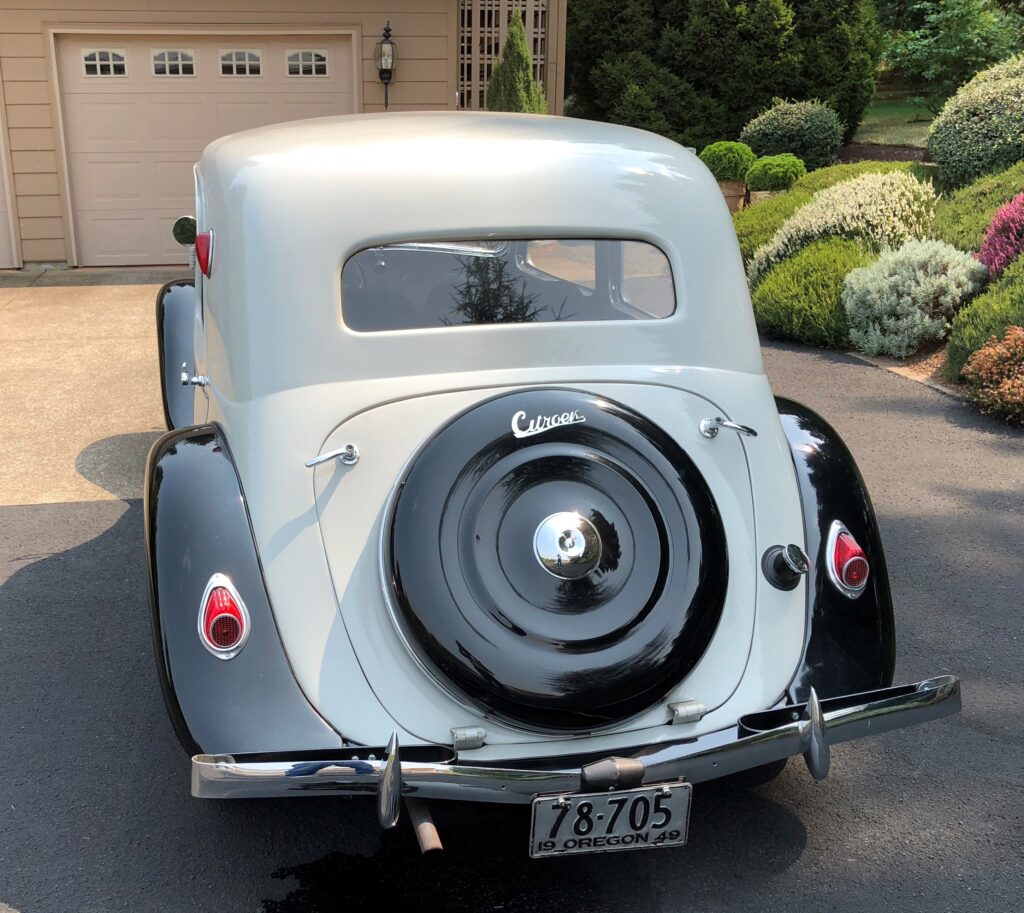
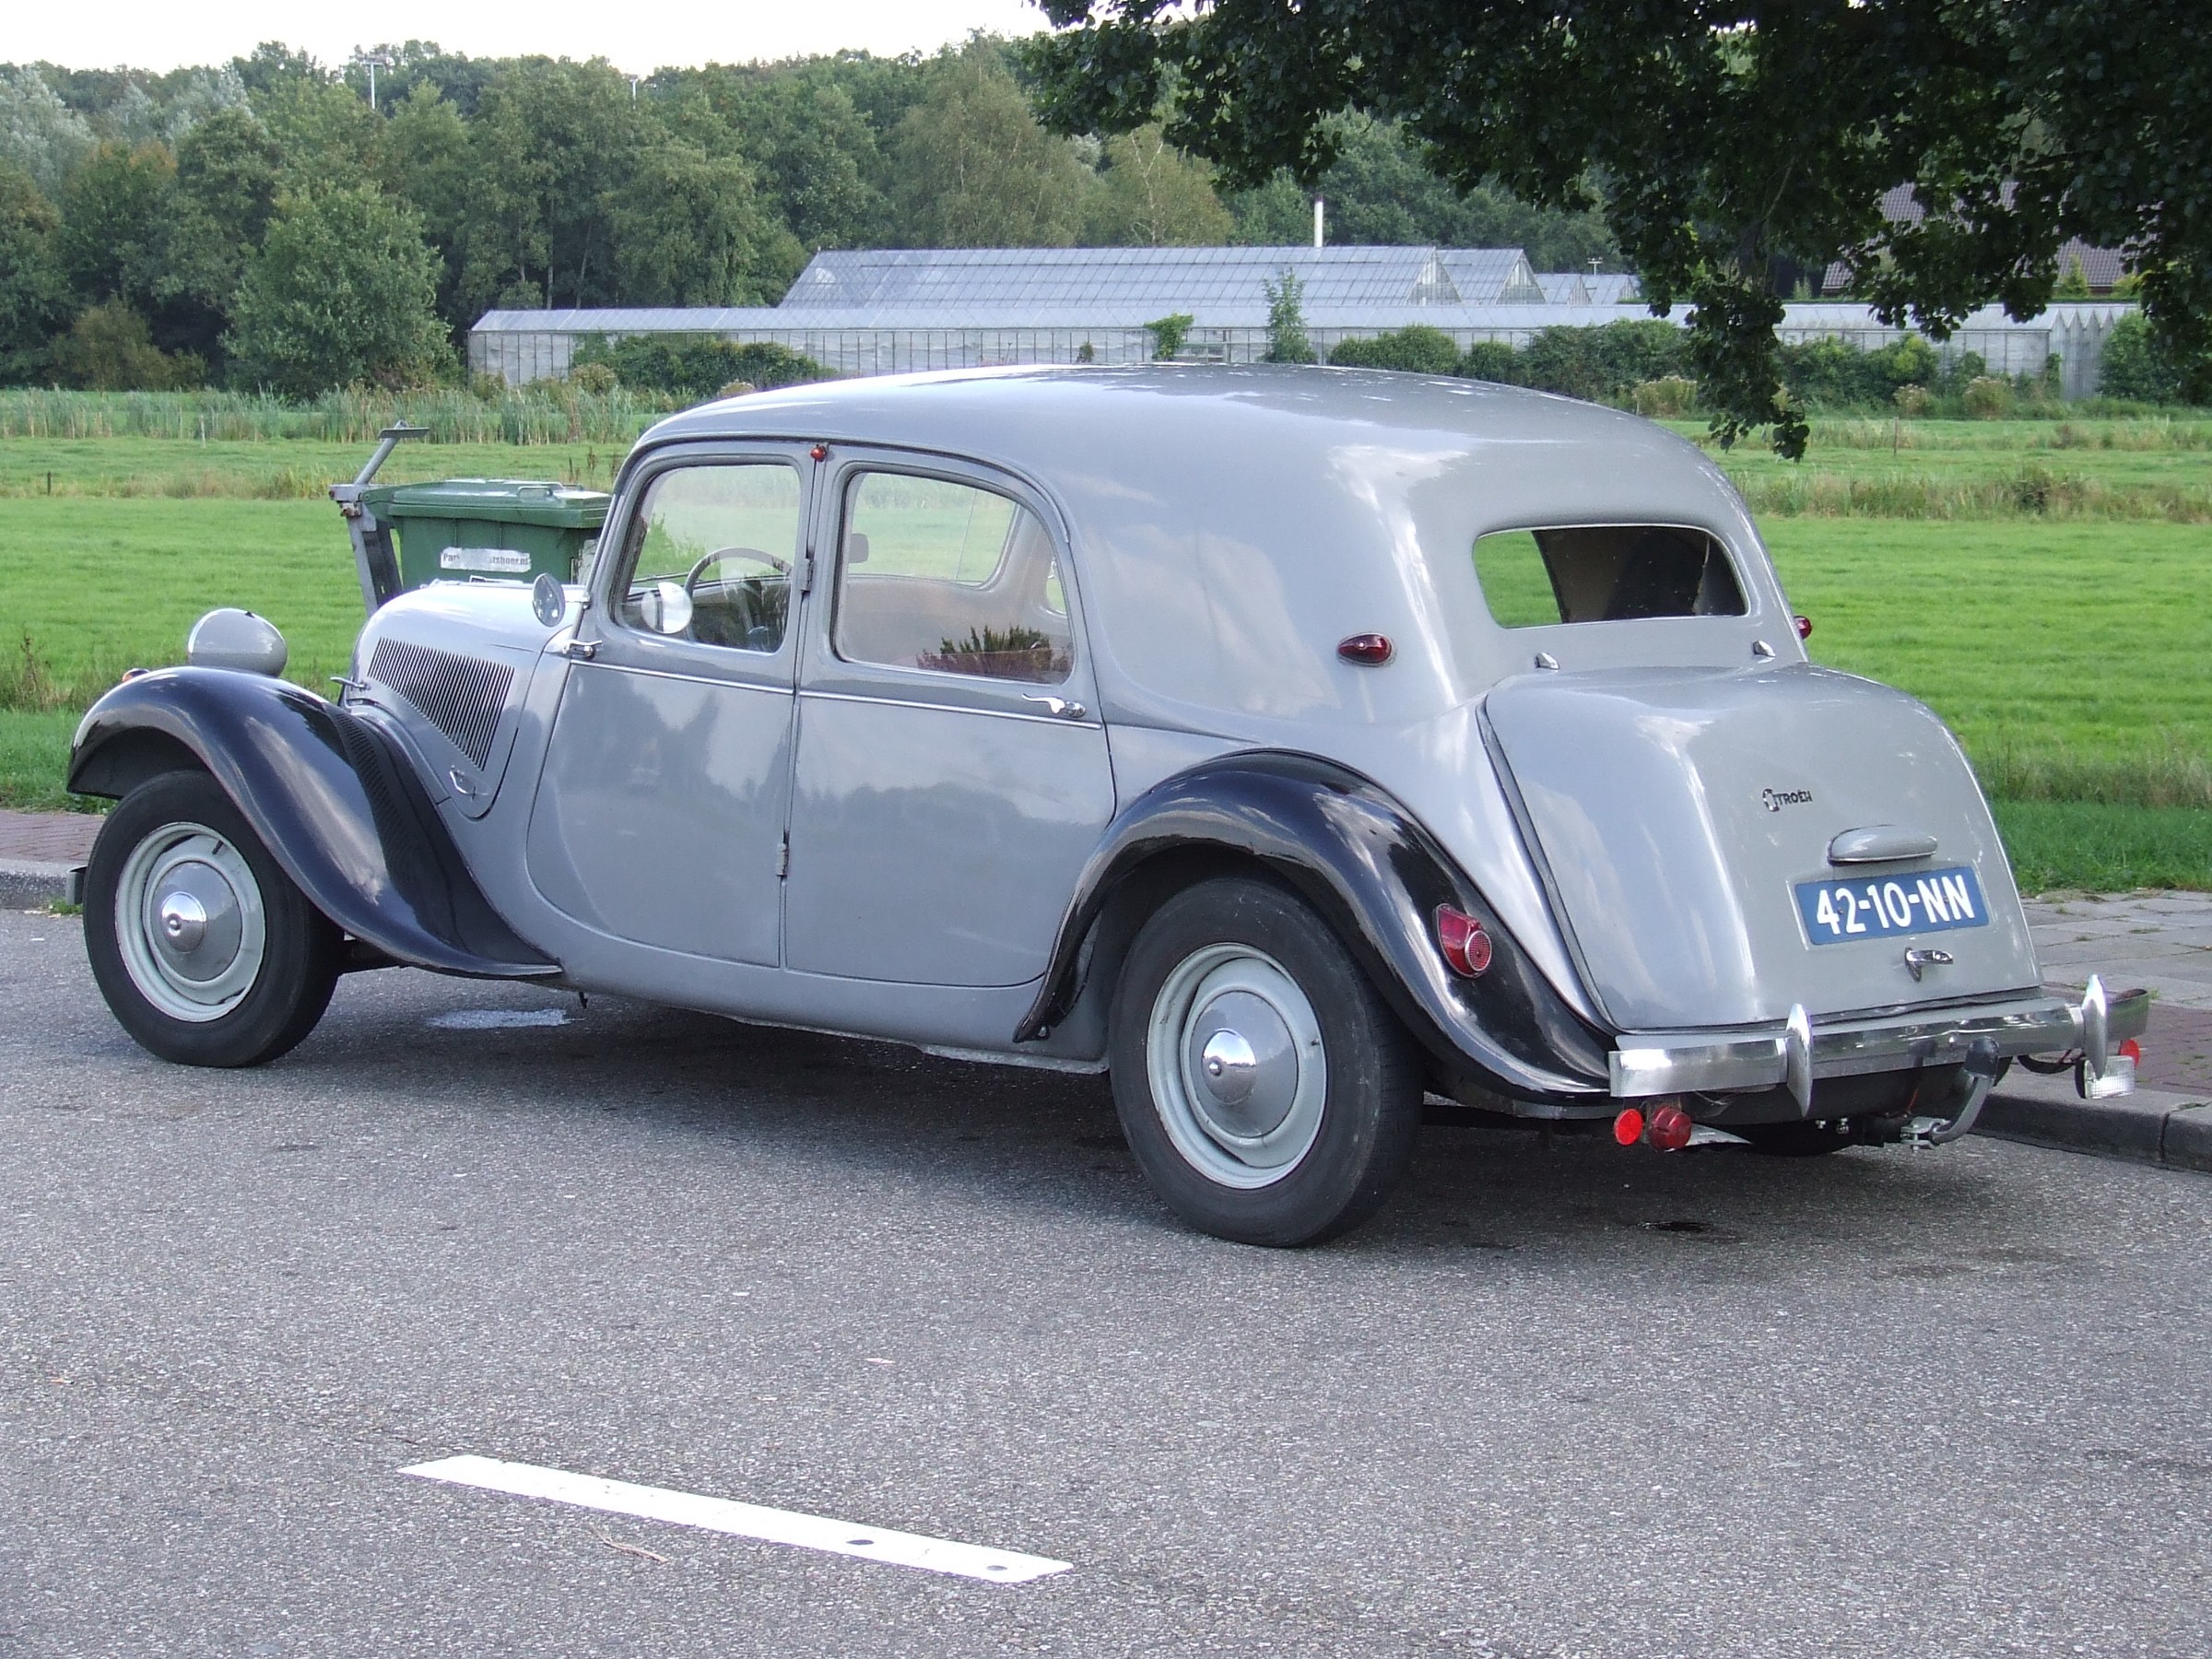
And, for comparison what my car looks like BEFORE the conversion to wheel:

Picture  dates from 2007

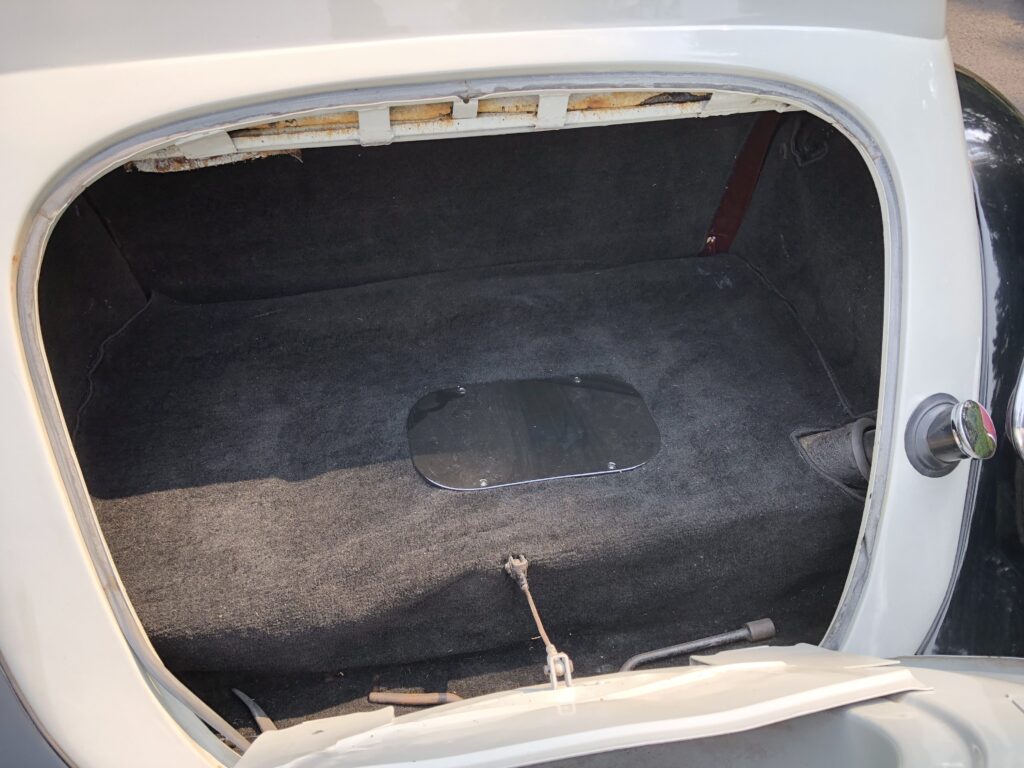
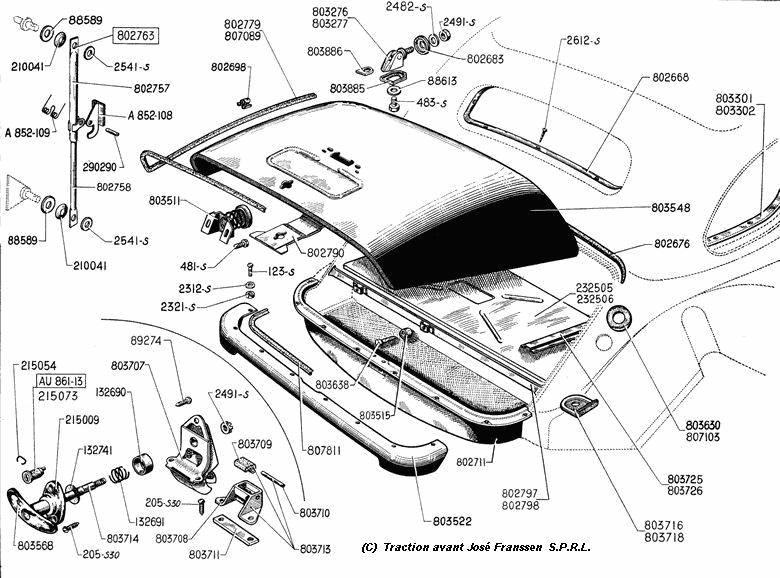
The trunk hangs from the part of the body directly under the rear window.

On a wheel version, there is still a section of sheet metal under the “kink” in the sheet metal that is under the window.  That is completely missing from the trunk model.

And the underside in terms of sheet metal runs all the way through (gray) , including under the trunk lid (gray lid with black wheel cover).  This should be constructed anyway, and connected to the existing trunk floor plate. Everything under and behind it has to be removed so also the spare wheel well and the existing extra extension of bumper brackets and the ‘standard’ extra bolted-on sheet metal.

The fender points L and R are connected with a piece of sheet metal, under the fixed body (grey). This sheet metal part is still readily available as an aftermarket part.

THE APPROACH – is planned for mid 2022, after finishing the ID20 –

LPG tank out, gasoline tank out from under it.

OUTSIDE THE CAR:

First, a fender edge is made that follows the exact shape of the trunk lid of the wheeled version.   Then a sheet metal edge is made that fits in the hole created when removing the existing boot lid.  After that, it’s going to be a lot of fitting and measuring.  Temporarily the new sheet metal part with sheet metal edge for the lid is fixed with U-strips instead of the lid.  This makes everything a lot easier to handle.

ON THE CAR:

Next, the new sheet metal part is fixed in place and secured with small MIG dots.
Then mark where the excess material needs to be removed.
Grinding off the new sheet metal, and
everything to size, strip the edges and reposition the new part
Welding the new part in place, measurements and dots.
Weld in the 2nd round of dots.
Then fit the valve.
Mount the valve and fix it (by MIG welding the dots to the edge of the plate).
Then weld the plate to the body with a few spots at a time, and keep cooling with air.
Weld in further and further until everything is welded in, and wait and cool with compressed air.
Then without heating grind flat with flapper wheel and
Then use fiber 2-K waterproof filler to seal the weld and immediate area.
Then bondo over the whole, and
flush with 60 grid.
Filler primer over it,
spray contrast on,
manually level with 200,
then spray again contracts
and flatten with 400 etc.
Remove pinholes and again after
Contrast spray and sand with 800.
Waterproof sanding with 1200 and
then to the painter.

CAUTION to use light gray filler, bondo etc. of the same hue/color, this will save possible misery afterwards when spraying.

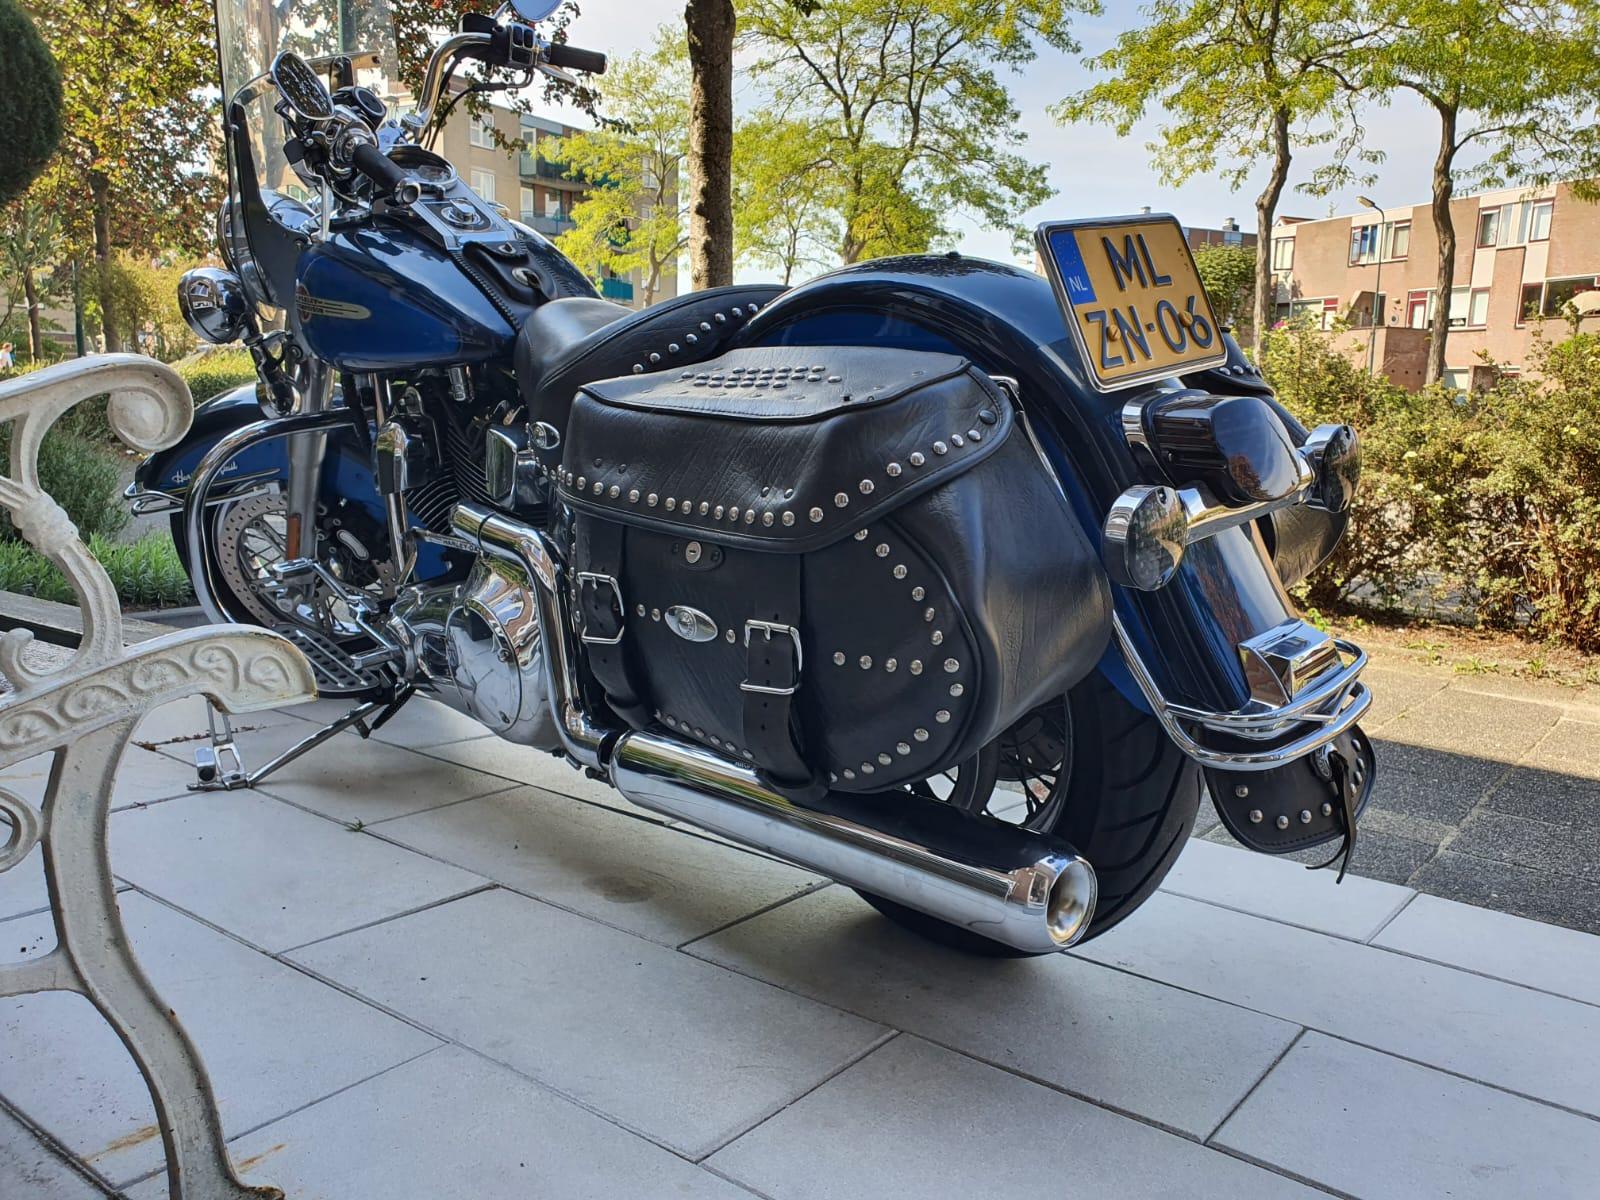
Silencing my HD Heritage

If you look at the current rules for noise and noise pollution from motorcycles, it seems like a jungle that you can’t get through.

What is clear is: If you do not meet the noise standard, there is a chance that your motorcycle will get impounded OR your registration of the bike gets invalidated and you will no longer be allowed to drive on public roads.

Noise and older engines
For older engines it is in usually not known what the maximum noise allowance in dB(A) is.

This does not mean that you can produce an unlimited level of noise.

Therefore, general guidelines for this type of vehicles  have been drawn up  y the Dutch government.

The cylinder capacity of the motorcycle is leading in those guidelines.

These sound values are of course always dependent on engine revvs.

For example, in the Netherlands the sound of engines built before 1960 should be measured at 2000 rpm (4-stroke) or 2250 rpm (2-stroke). For motorcycles built after 1960, these rpm’s are respectively 4000 and 4500. For a Harley, at 4000 rpm it is actually only possible to stay under the standard of 106dB(A) with well damped exhausts.

Measuring motorcycle noise by the police
The Dutch police measures sound output stationary.

The microphone is placed at 50 cm from the exhaust mouth at an angle of 45 degrees (may deviate 10 degrees).

The rpm sensor is placed on the spark plug wire. If that is not possible the police measures the pulses of the ignition coil.

The RPM is entered into the measuring equipment.

The law-enforcer then turns up the gas three times and the highest noise level counts.

Just to average: If you get above 110 dB(A) with a heavy engine at 4000 RPM, it costs money.

An after market exhaust may (according to the rules) not produce more sound than the original exhaust.

But in practice, especially in the past, many open exhausts were sold and mounted.

And with such exhausts it is impossible to get below the legal noise standard with any kind of dB-killer.


And now what?

If you want to avoid all this misery, it is better to make your exhaust system meet the required test standard or at least the standard that applies to your bike.

This can be done in various ways:

  • Either you mount on your motorcycle an original exhaust system, as present at the original delivery and stay within the license plate related standard;
  • Or you make sure that exhausts are mounted with the E4-Dutch approval standard, appropriate to the year and type of motorcycle and stay within the vehicle’s registered standard;
  • Or if there is no testing standard for your motorcycle: Make sure the exhaust meets the ‘general’ Dutch testing standard of 106 dB(A) at 4000RPM (for engines of more than 1000cc).


My solution for less noise:

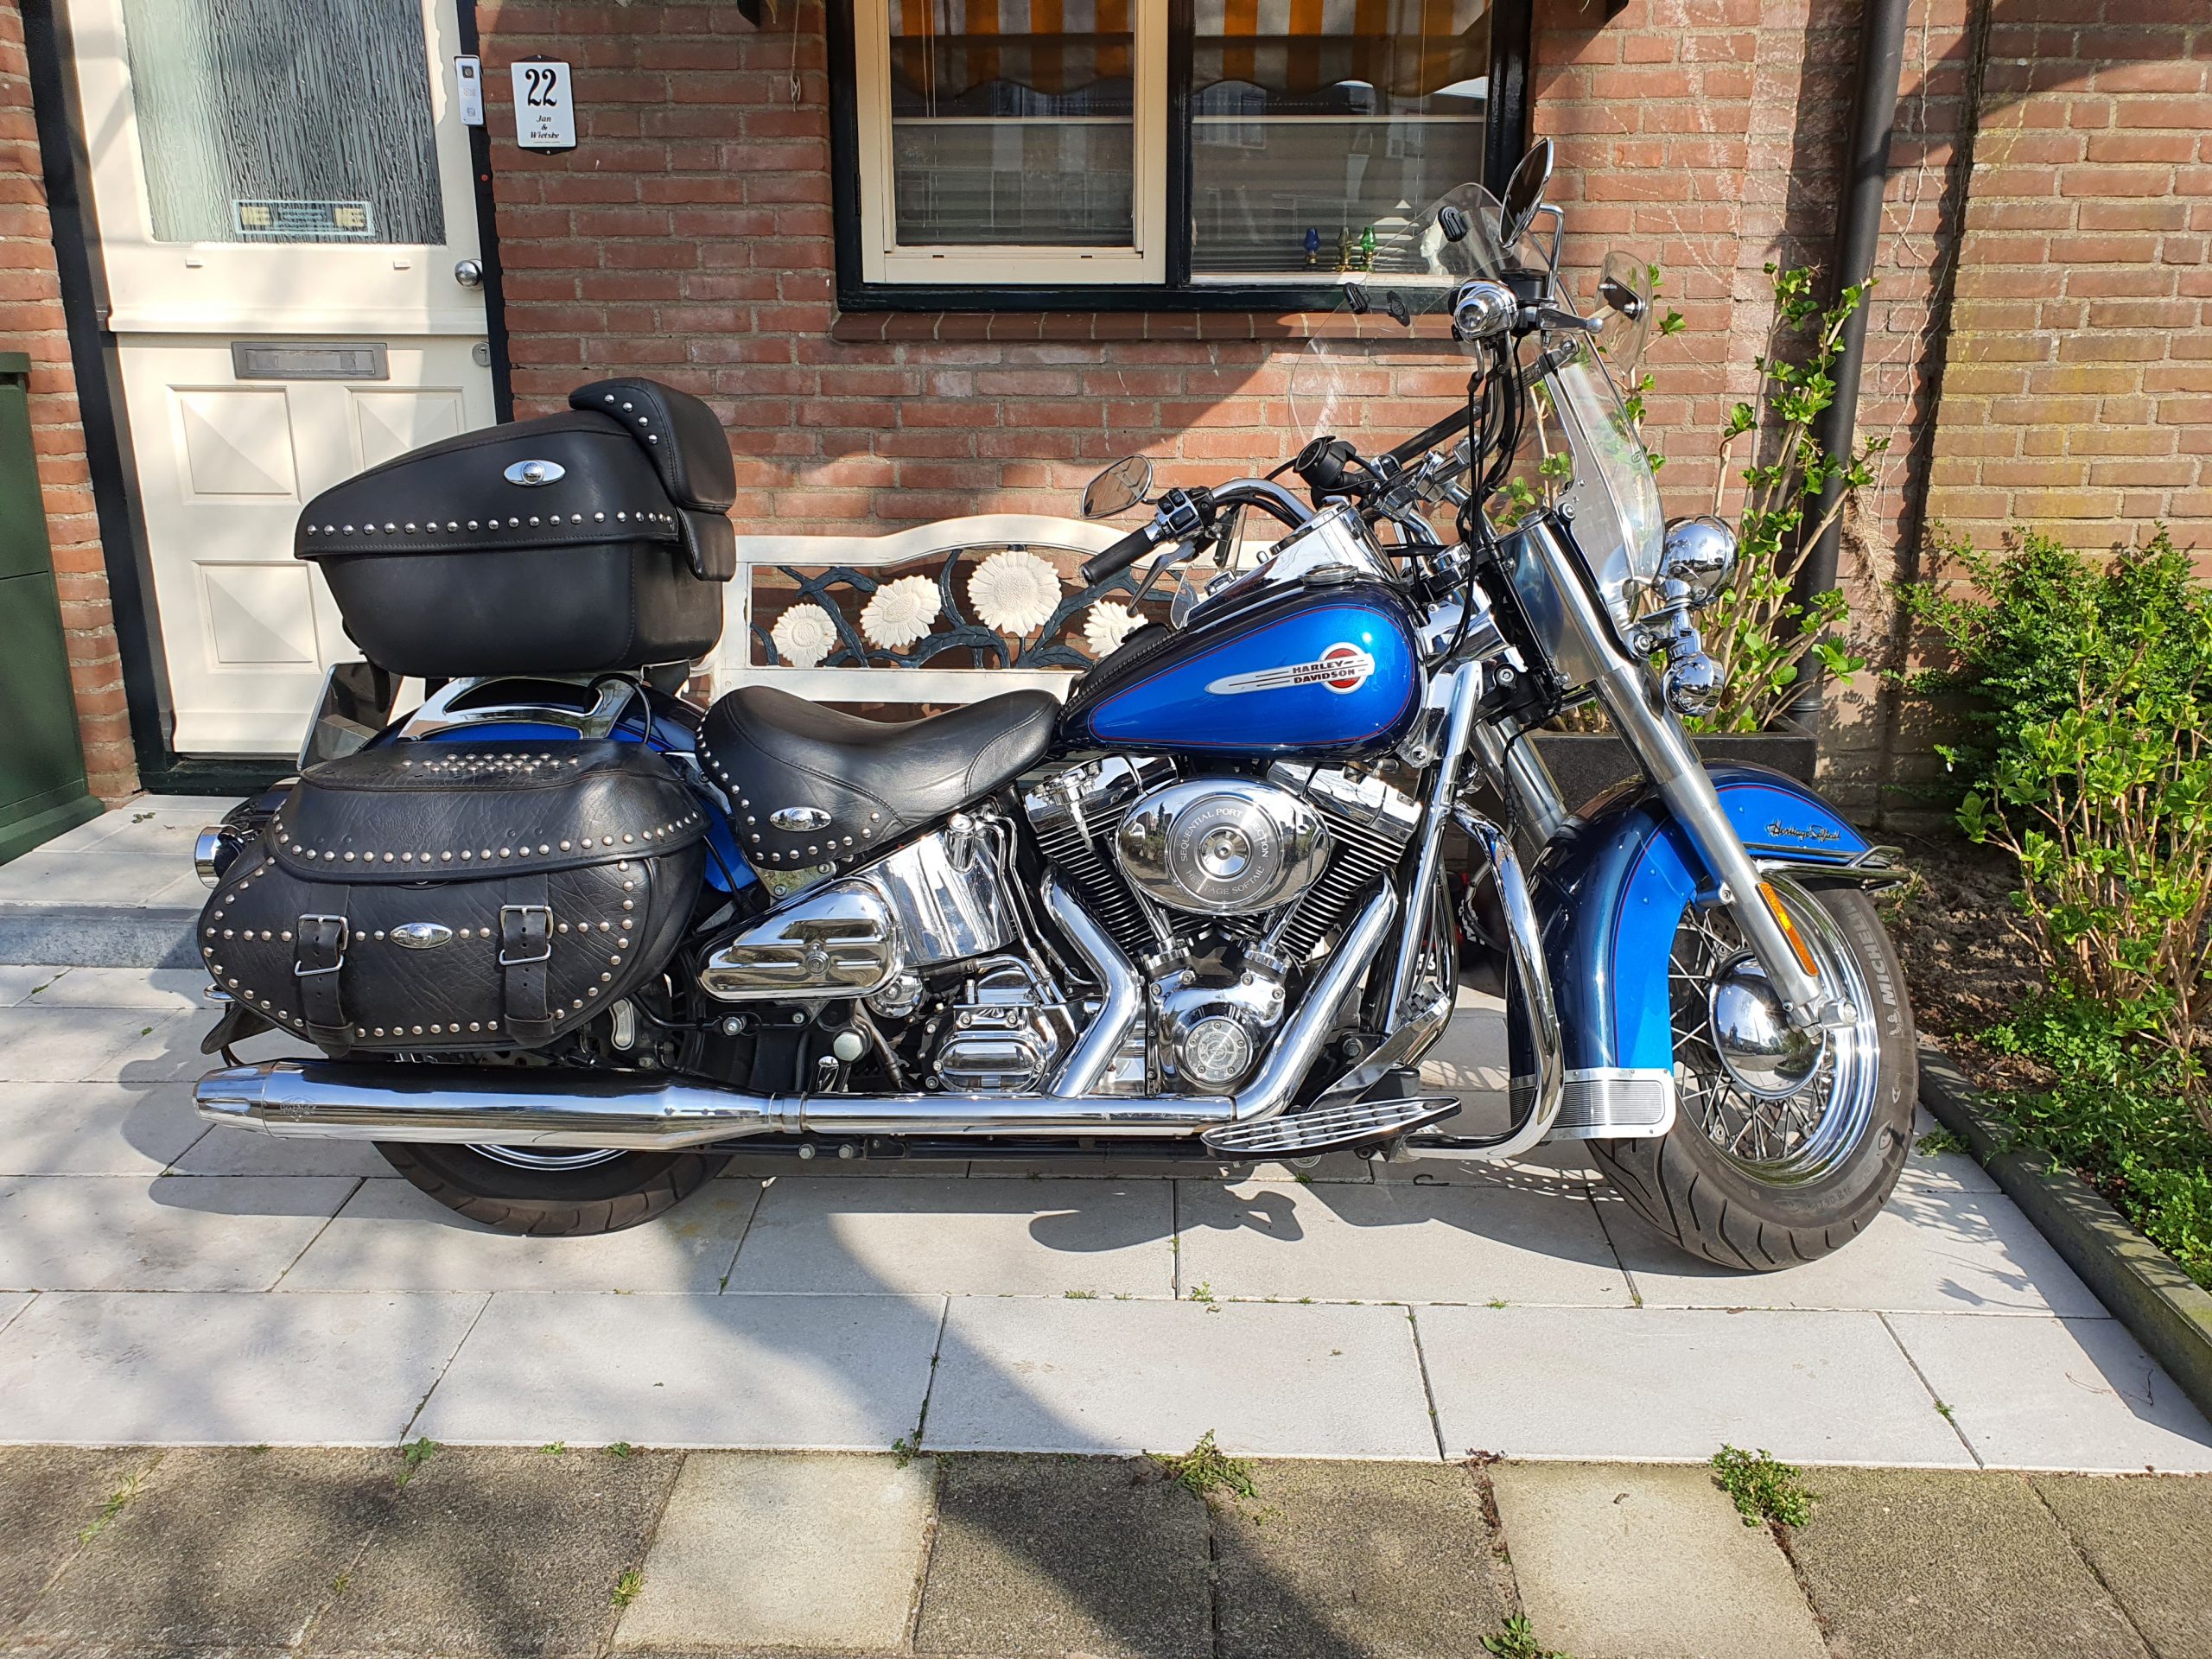
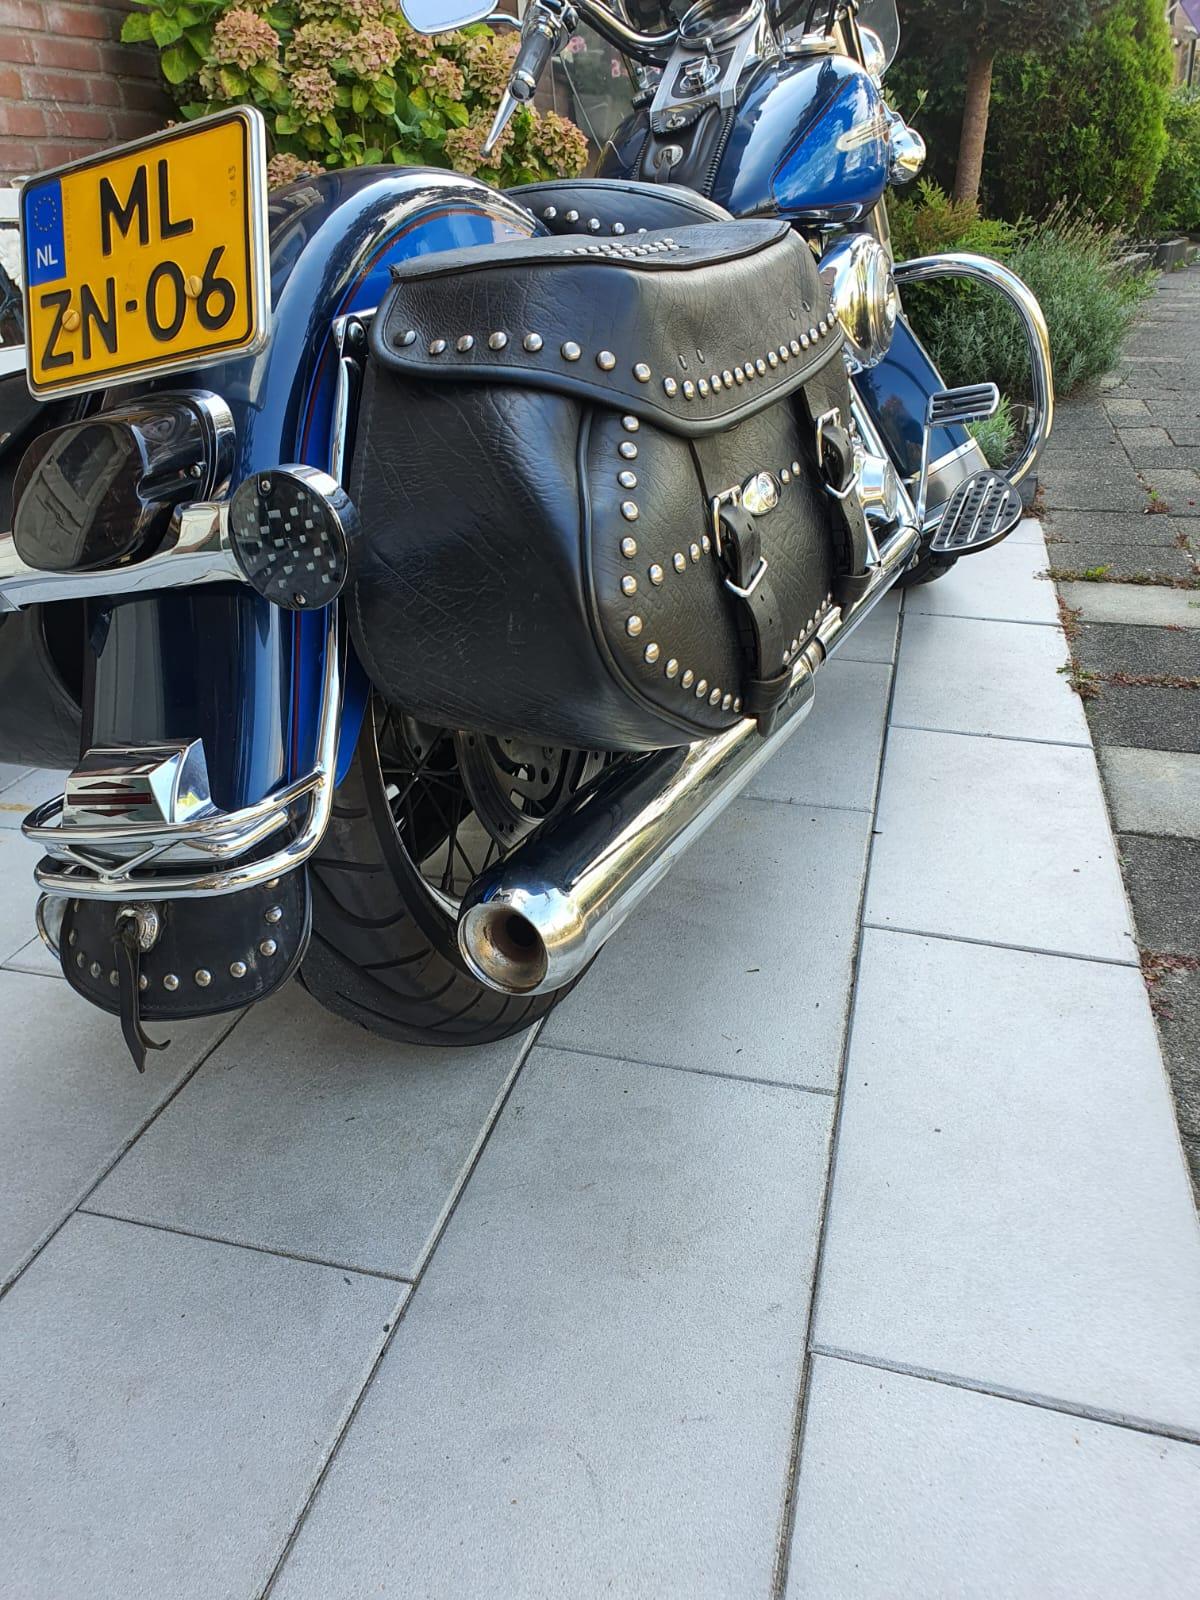
My 2004 HD Heritage FLSTCI originally had European approved exhausts  with E4(NL) approval when delivered.

But when I bought it in 2019 it had an aftermarket ‘real dual’ V&H eliminator 400 open exhaust system mounted without baffles:

I tried reducing the noise by mounting an original baffle set from V&H with silenced baffles, including a damping pack with fiberglass mat, rolled up around the baffles.

Then I mounted everything and indeed much less noise, but above 1000 RPM still much more noise than the allowed 106 dB(A) as stated in the licence papers of the bike.

So, this did not solve the noise level in the end.

Final solution

Finally I was able to get my hands on a used set of original HD cruiser exhaust silencers, one of E1 (German origin)  and one E4 (Dutch).

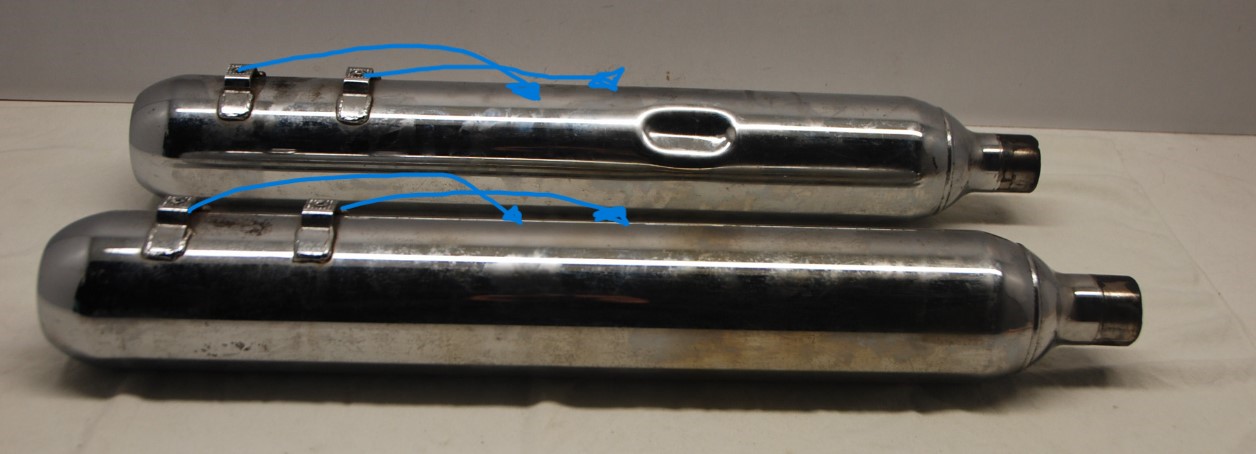
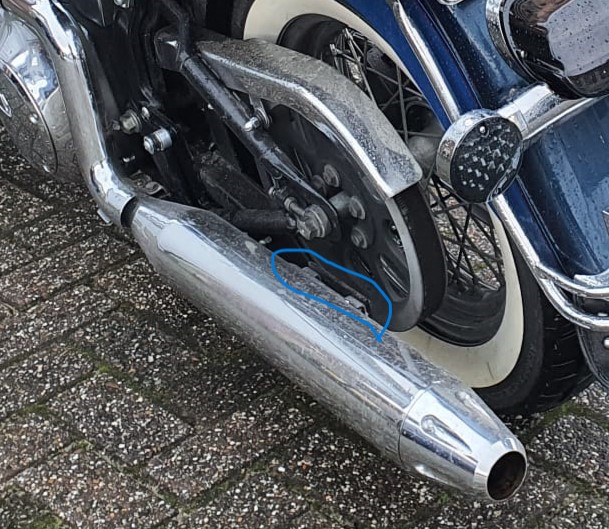
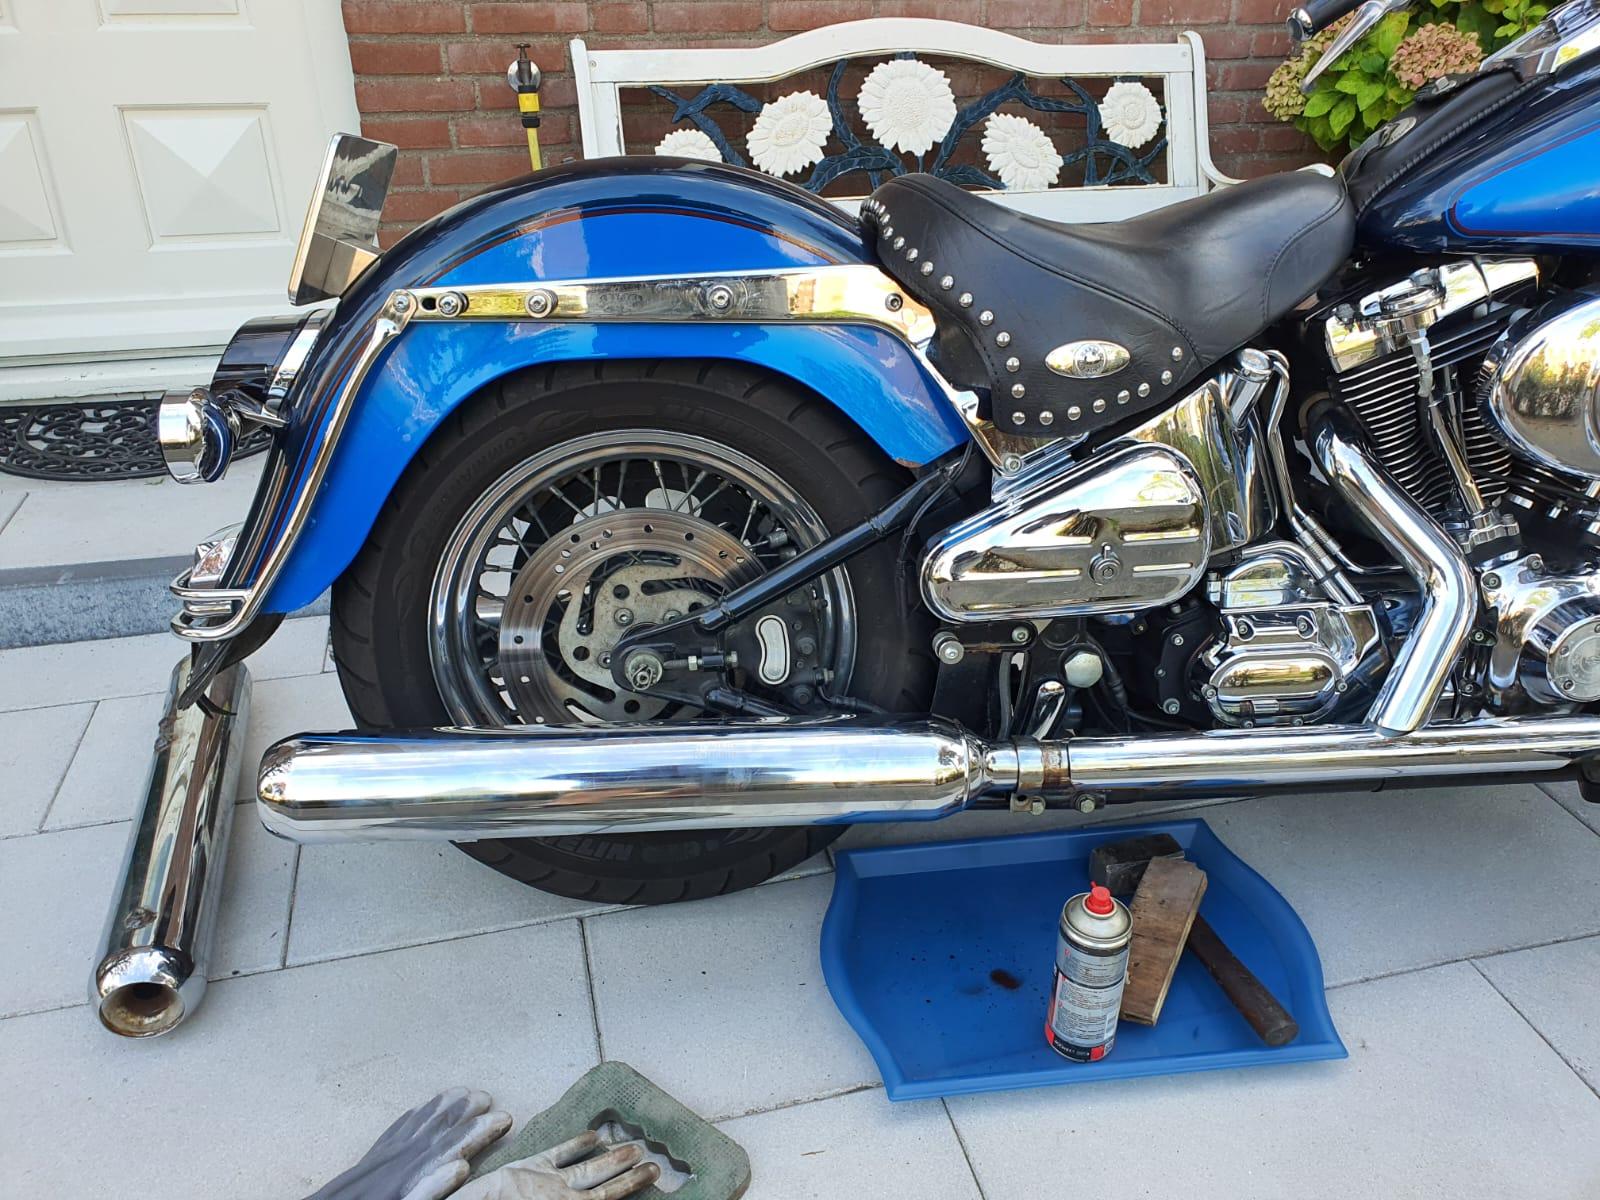
These I will mount, even though the mounting brackets have to be moved on the silencers.

Many of these silencers have been intentionally demolished internally, so you should be careful what to buy!

The bike, still with the V&H silencers mounted.

Below the existing mounting points of the Vance&Hines Eliminator 400 brackets and mufflers are shown:

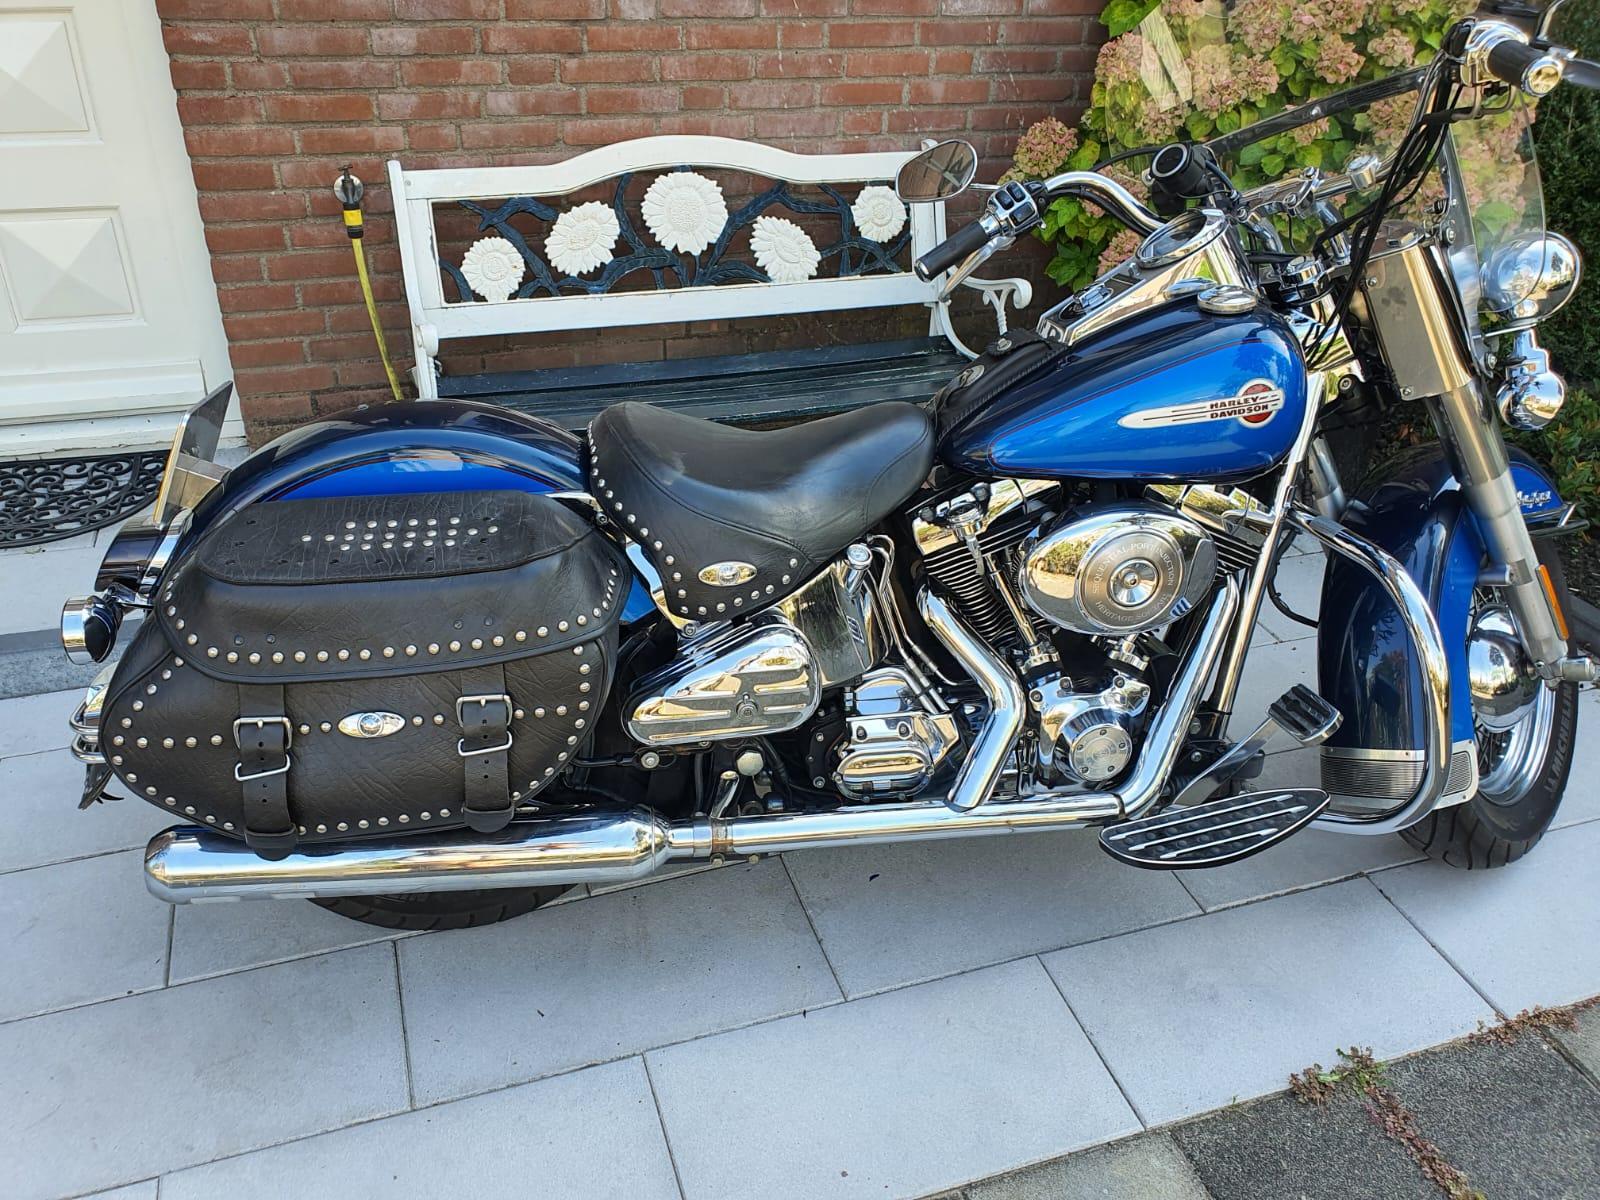
With these HD Catalist E1 marked exhausts I am now in whisper mode, which is very much appreciated when driving through big cities

Raise the HD Heritage FLSTCI (2004) 2 inches for improved ground clearance

Whenever I drive off something higher than 4 inches,, I crash into the ledge that I drive off with the frame of the bike. Also, When driving on- and off the small typically Dutch roundabouts I often crashj both the Left- and the Right hand sided floorboards and also the jiffy on the pavement.

Coming from my previous bikes (HD-FXRS and my last was a Buell Ulysses), I never experienced these problems with those older bikes.

Therefore, I decided to raise the Heritage a bit and see whether this solves my problems. If not, I’ll sell the bike and buy me something else.

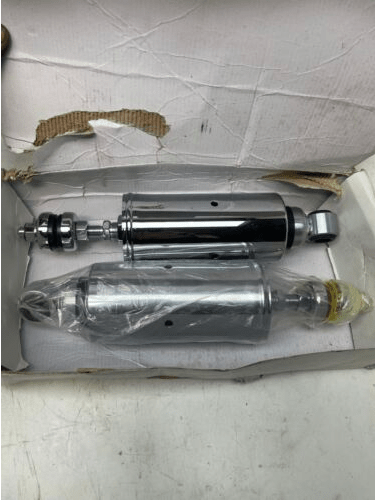
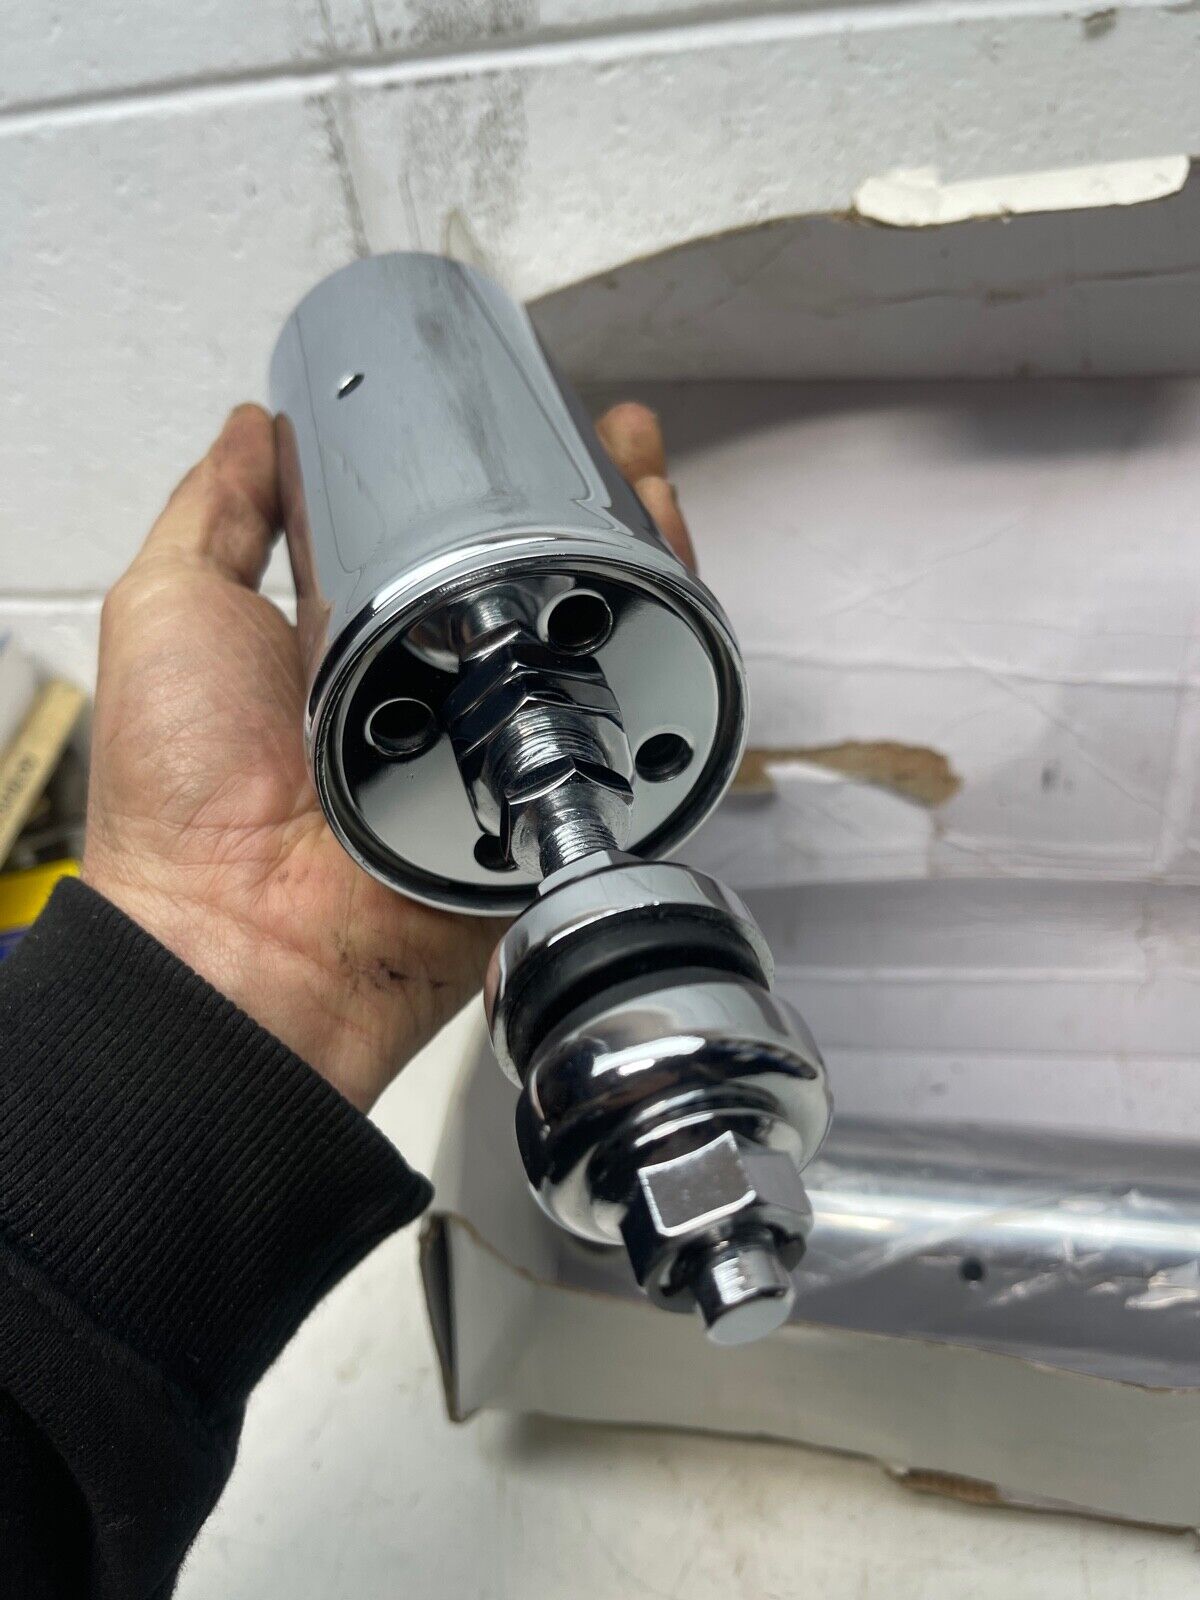
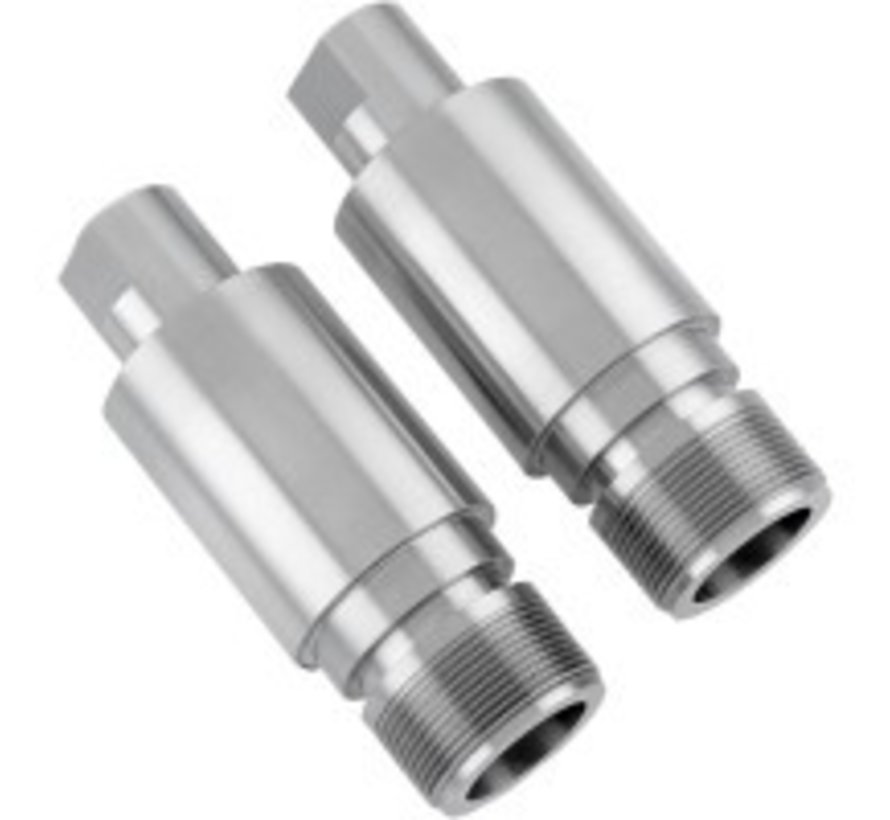
For the rear opf the bike I bought me a pair of adjustable “Ultima softail 2000-UP 116=233” shocks that I hope can be adjusted to be a bit shorter than the standard shocks.

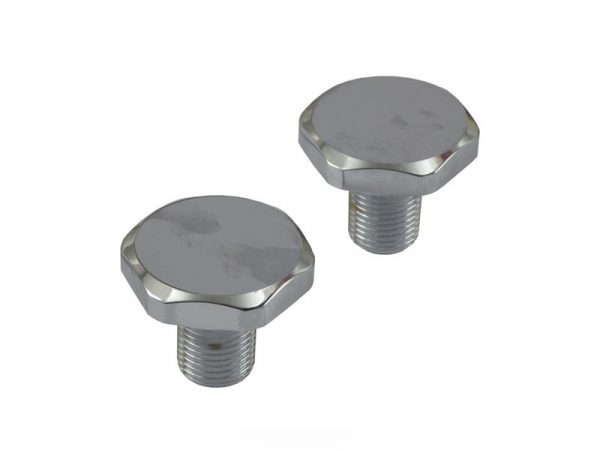
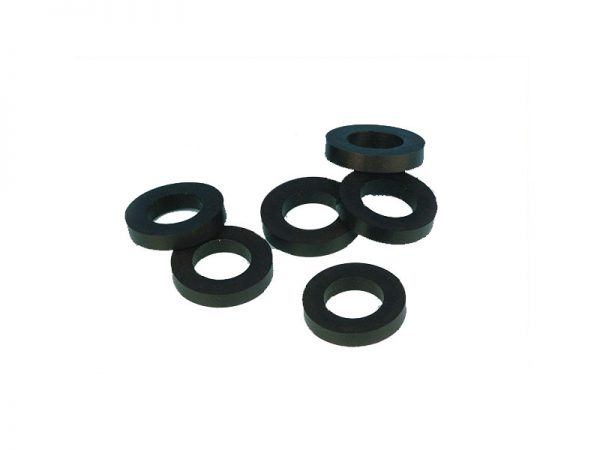
For the front, I bought me a set of Zodiac 2 inch 41mm front forks lengtheners.  See the attached photo’s:


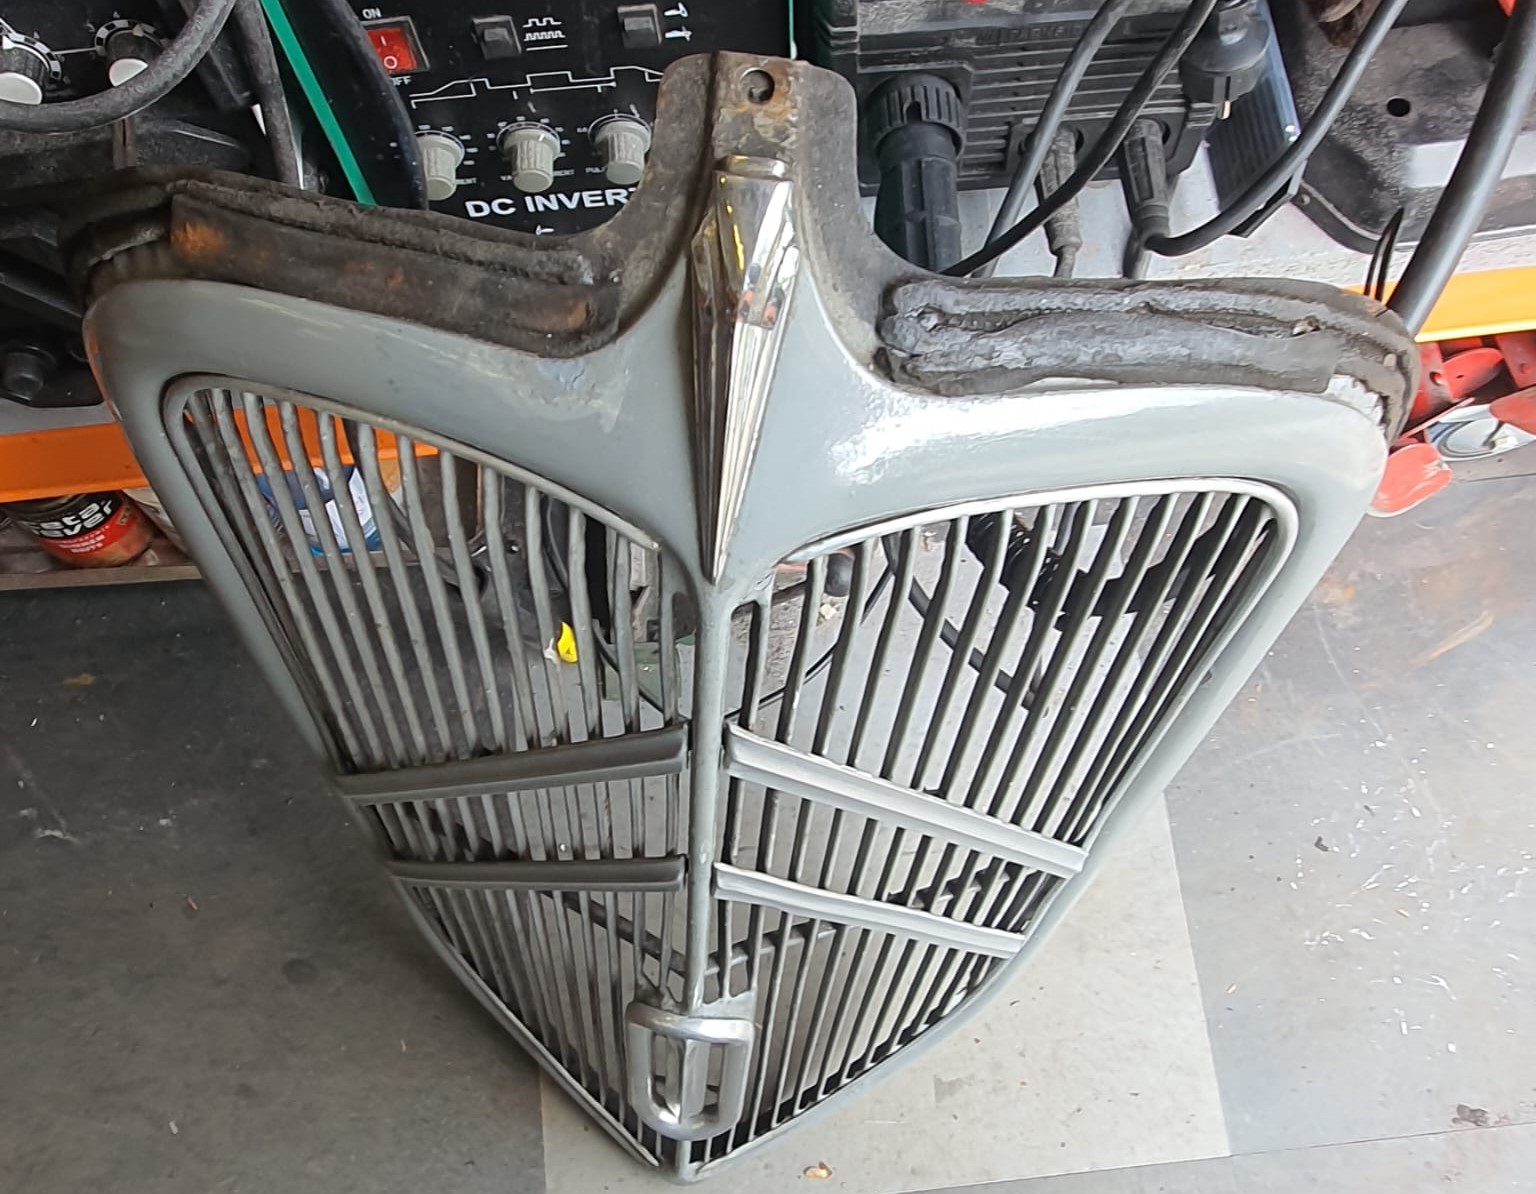
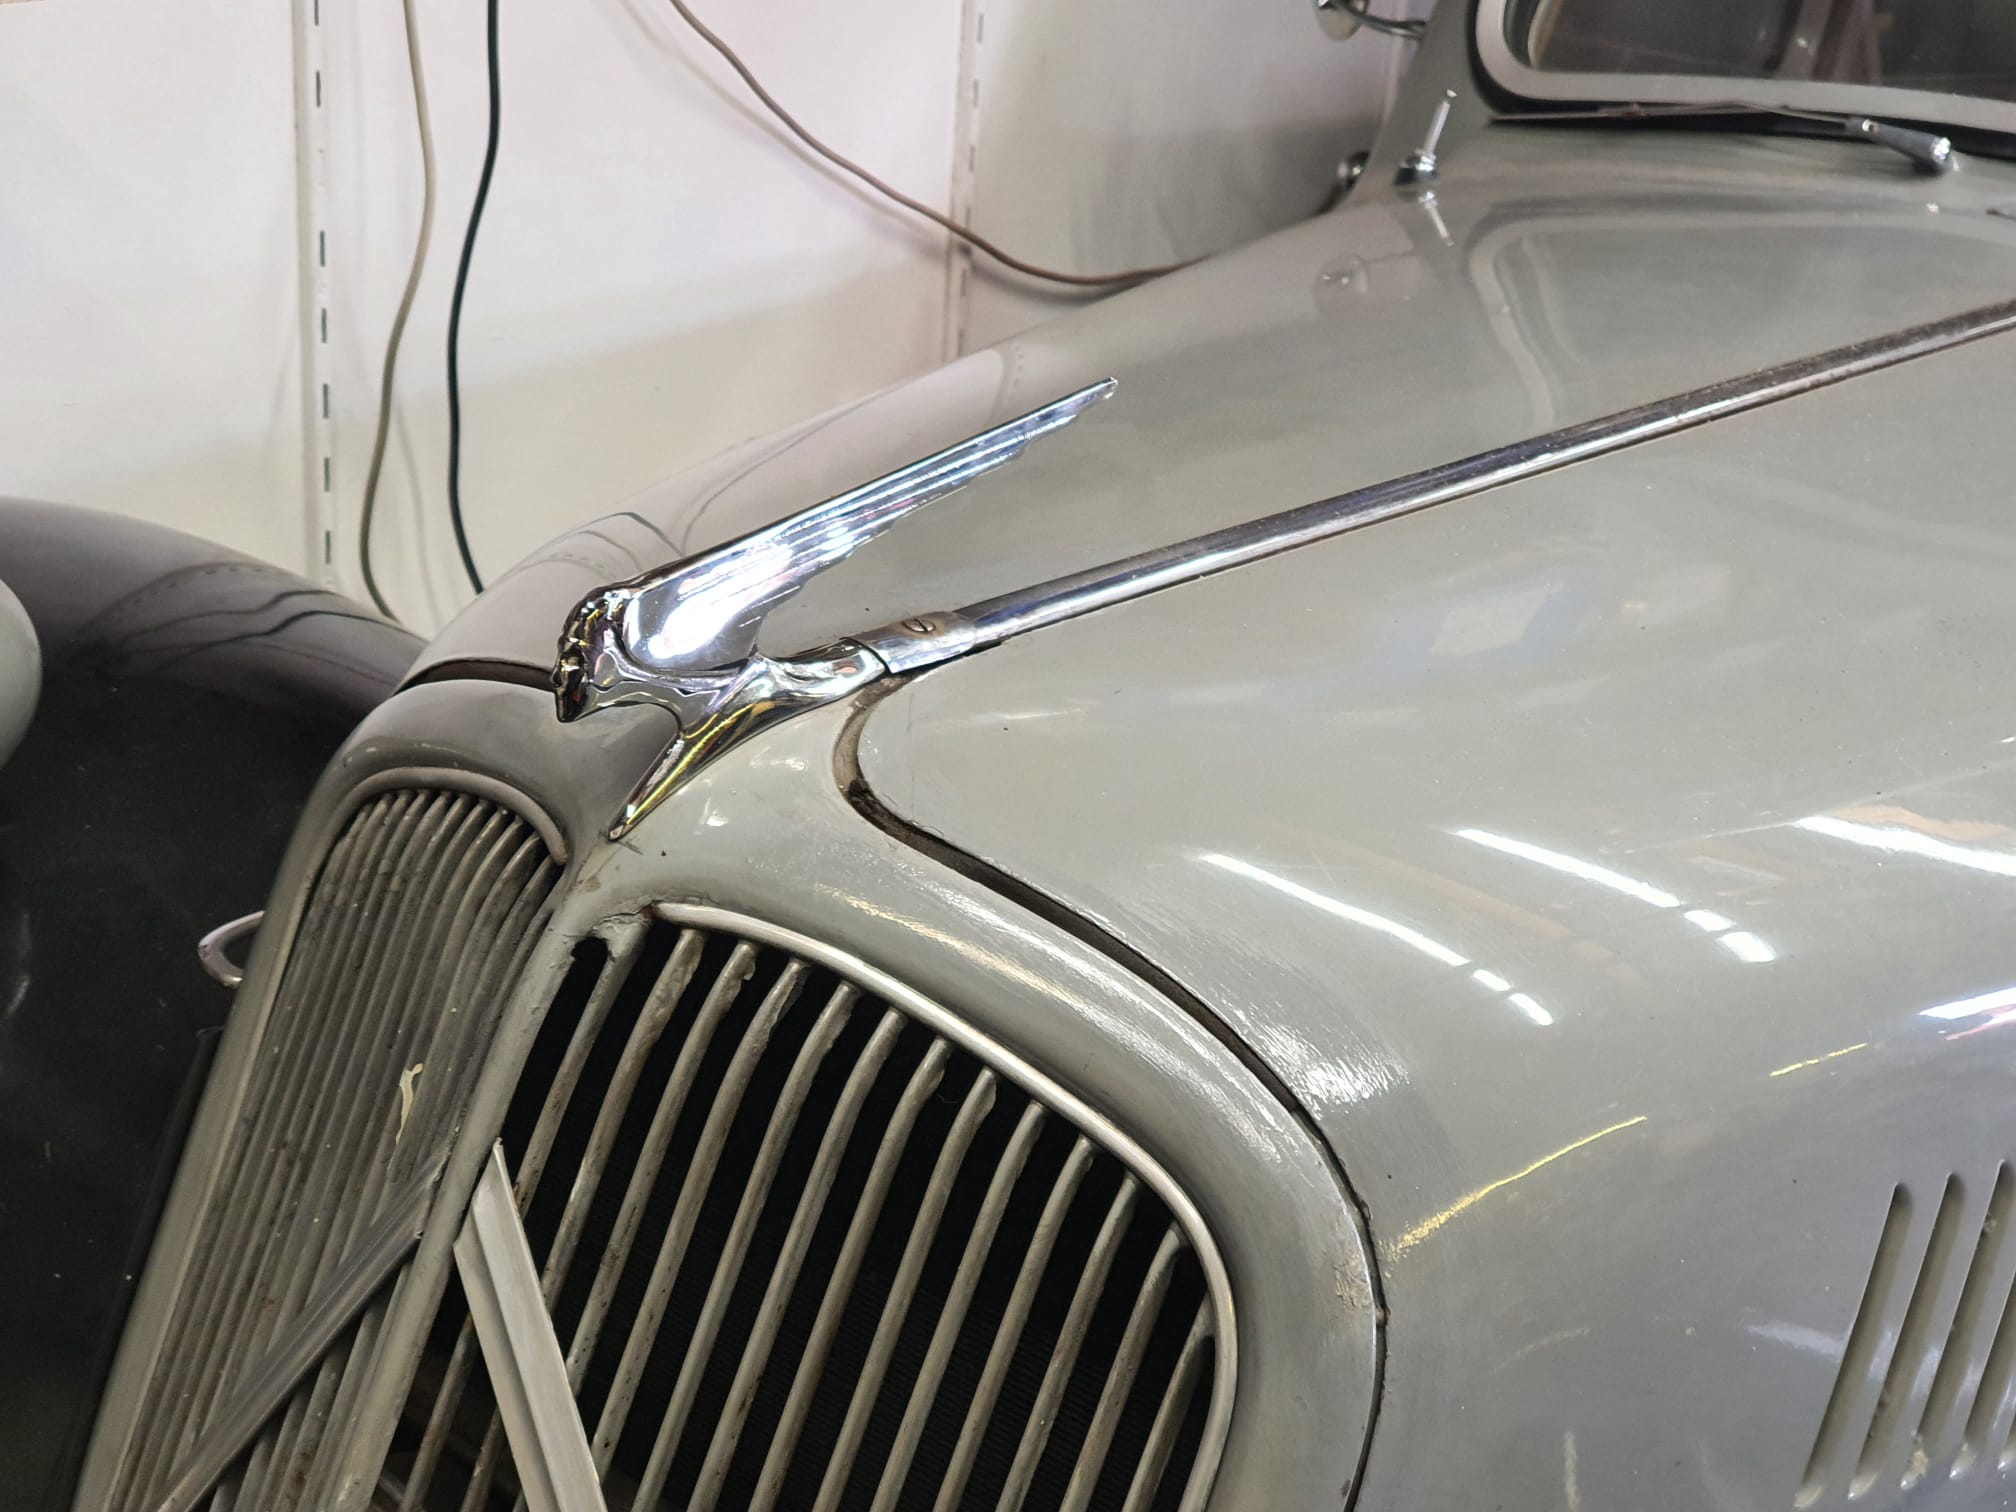
Traction Avant 11BN art deco hood mascotte install selecteuse

Now and then I check my preferred suppliers for the availability of a so-called Selecteuse, in French.

This is a hood mascotte, originally fabricated by ROBI for a.o. Traction Avant 11BN and BL.

To my surprise, Franssen in Belgium had a new stock of these for my BN and I ordered me  one, it got delivered very fast and today I installed it.

It does only fit in 1 existing hole, so I needed to drill the front hole new.

The radiator grill needs to be removed to do this.

Behold: The Traction Avant 11BN with a Citroën ID19 4-speed gearbox!

I am very pleased with it!

It feel it matches my Traction with its repaired paint and original patina overall looks very well.

error: Content is protected !!