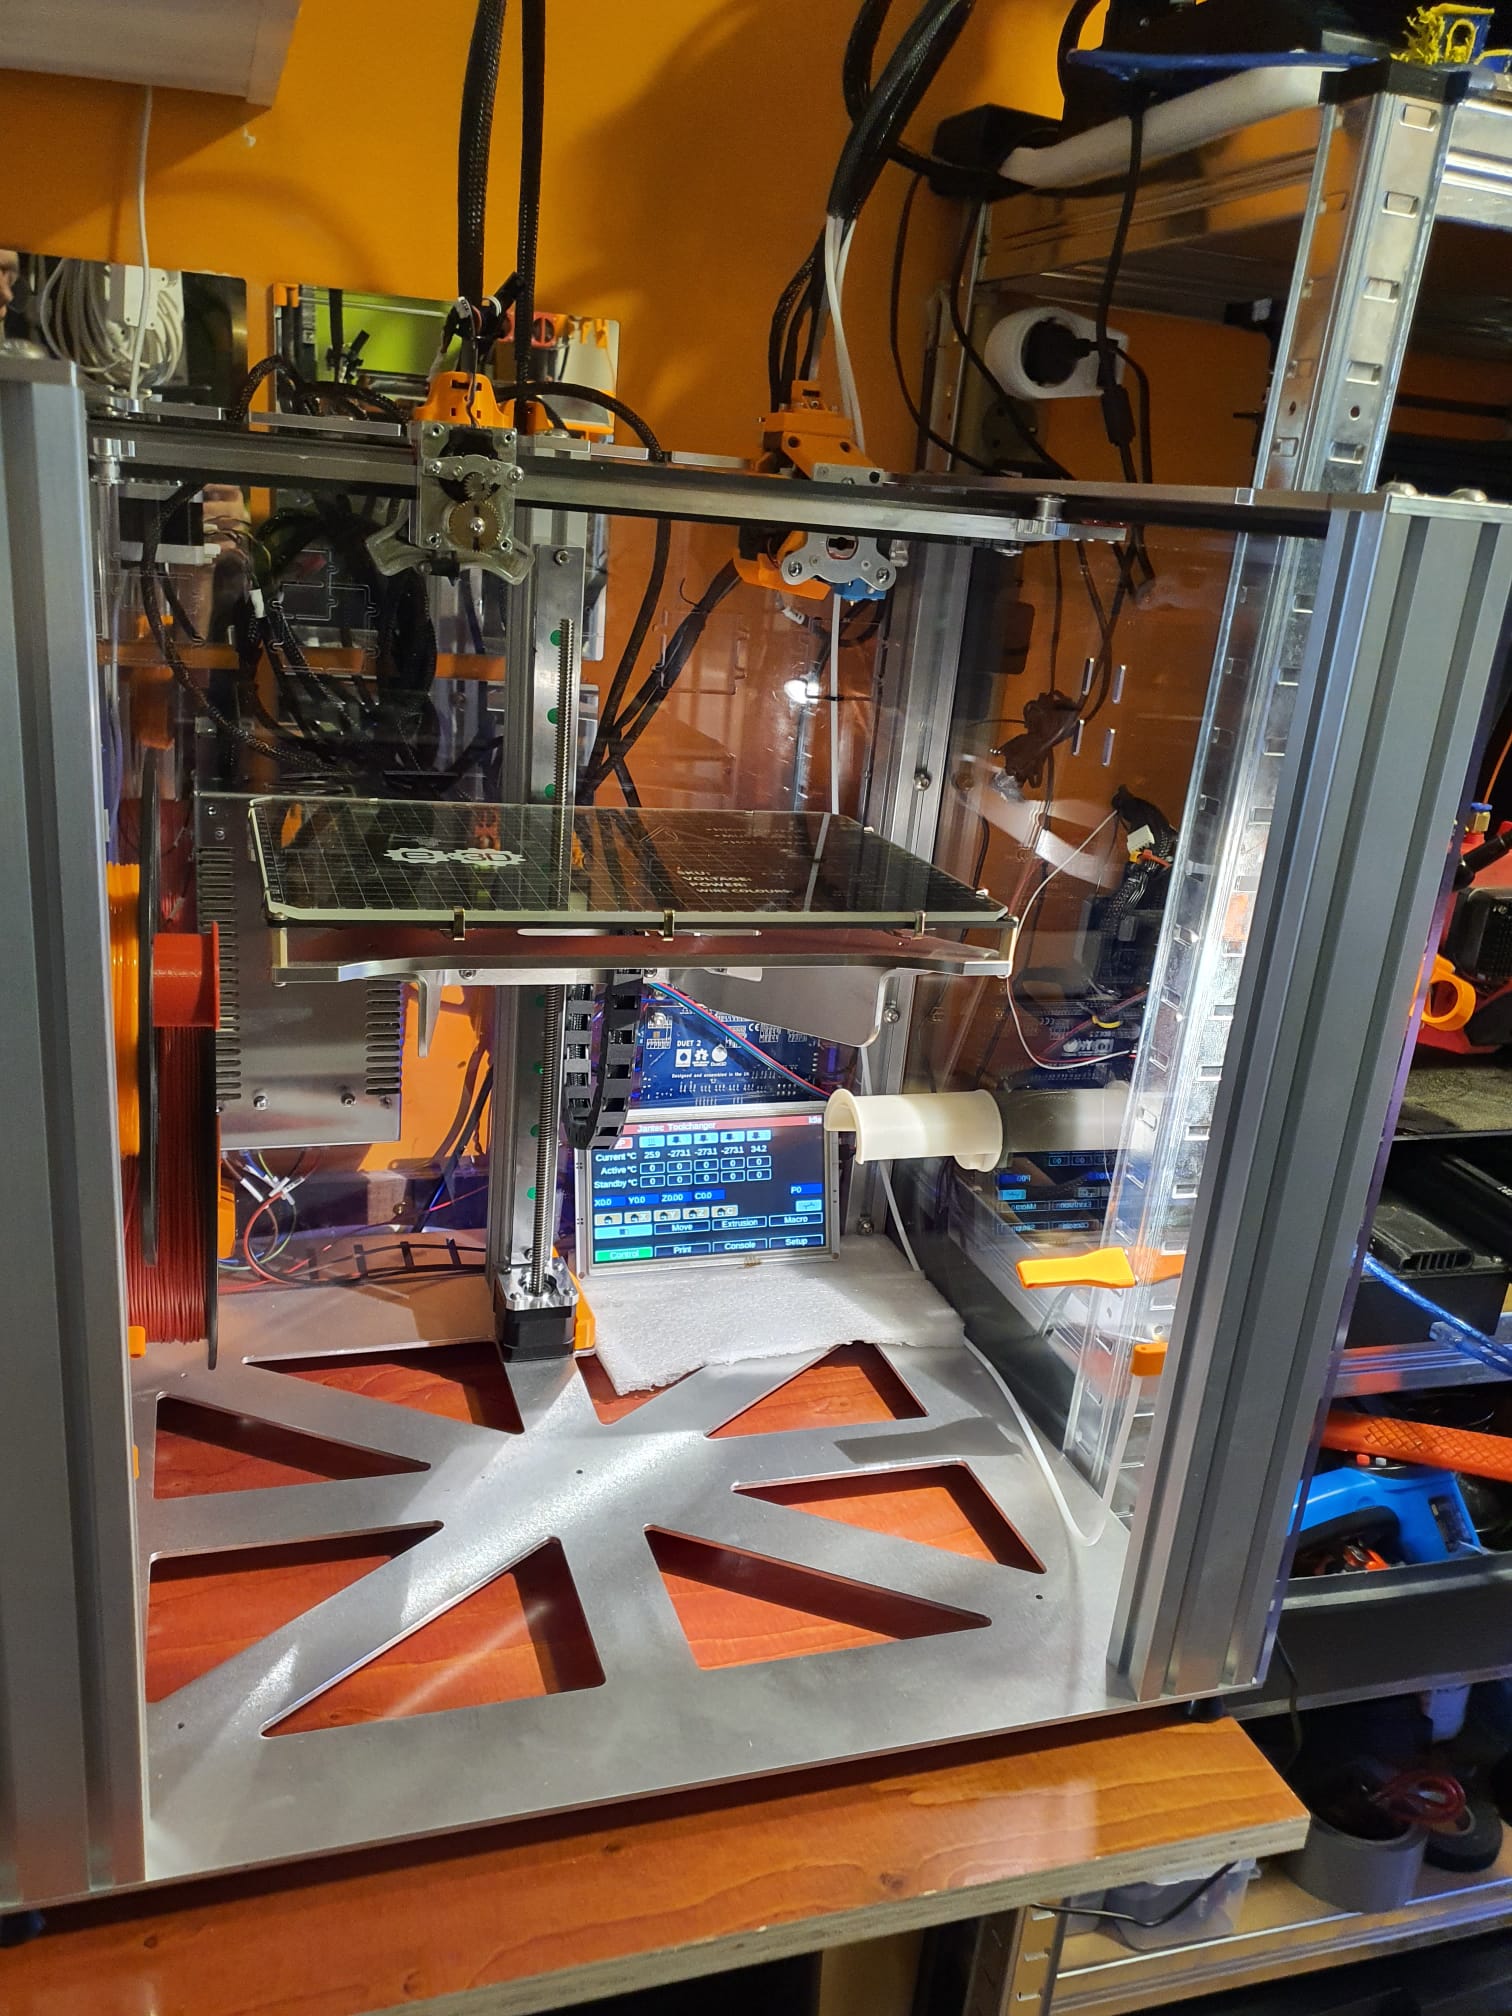
E3D toolchanger upgrade: X-and Y- axis homing switches installing and configuring

My E3D toolchanger appeared to have some small inconsistencies in homing X and Y.

This became apparant after I tried to tune the exact positions of the tools pickup, after having homed.

Every time it was tuned, it worked well and the next day it was just a bit off. Then I retuned it again, and after a day it was off again.  Not a lot, but just 0.1 mm or a bit more.  But it did cause problems with the toolchanges.

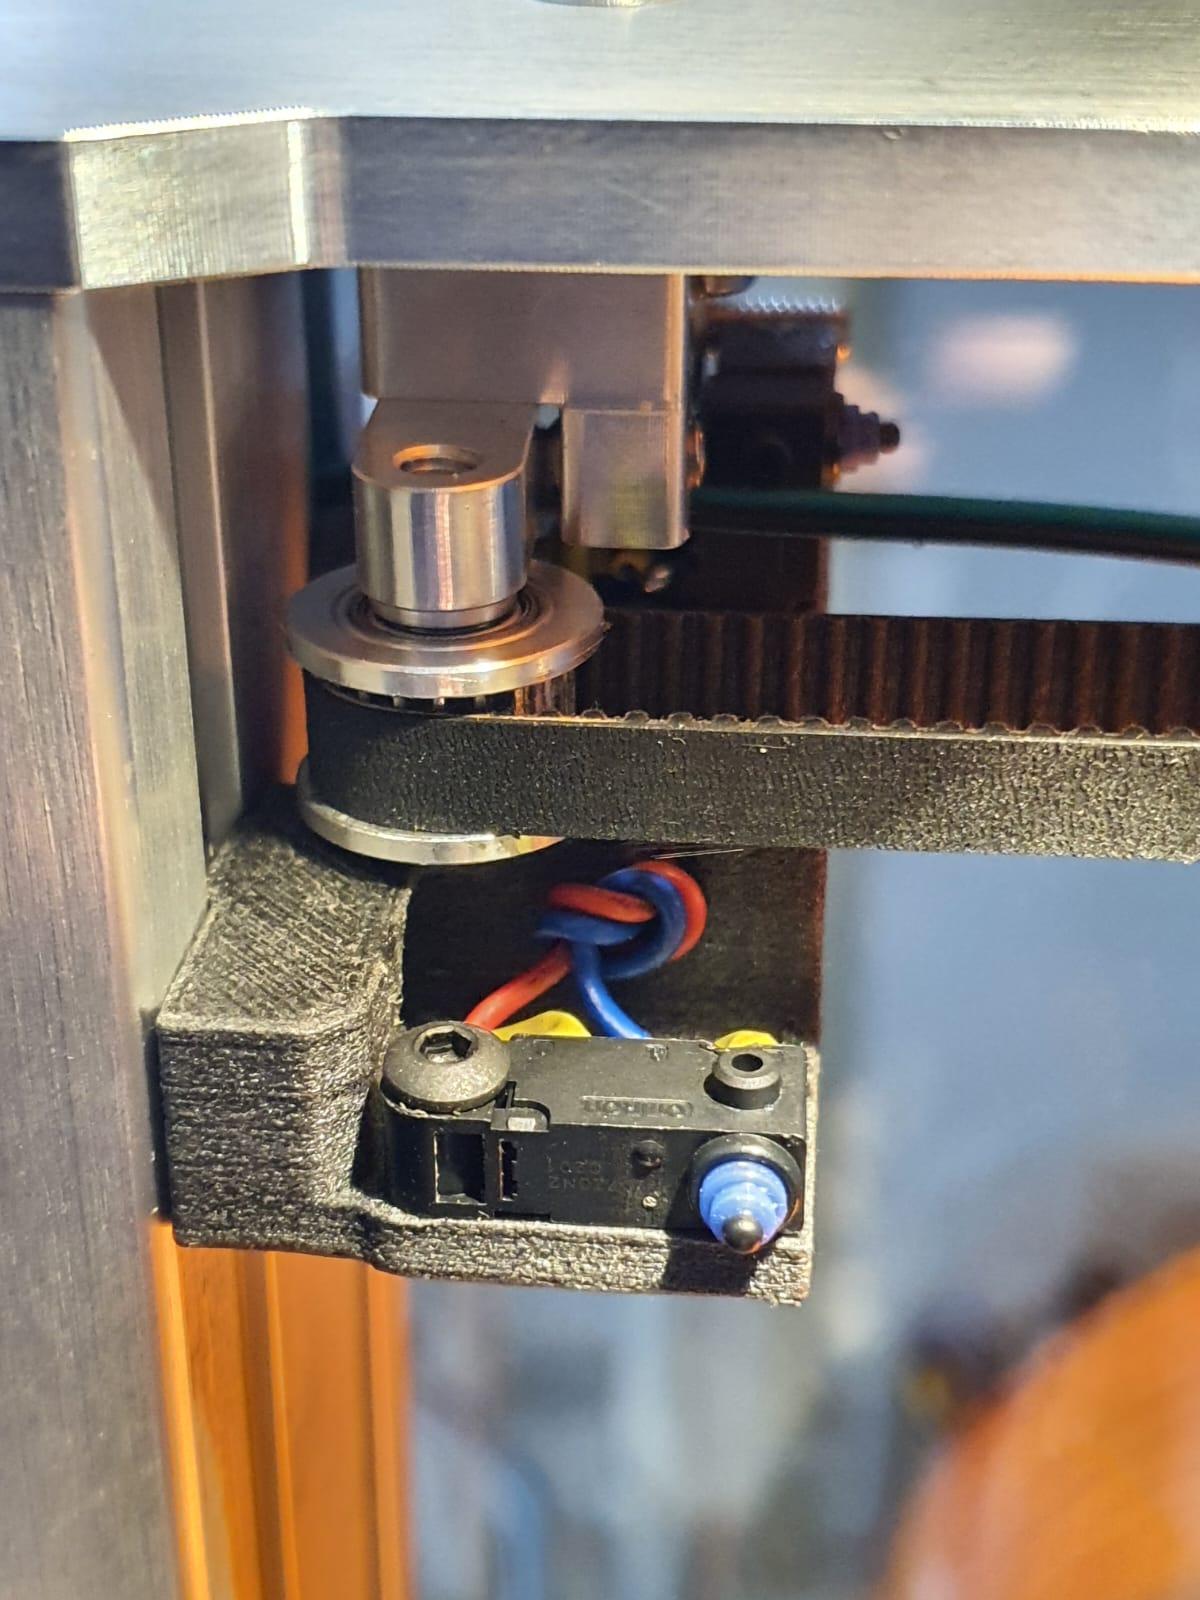
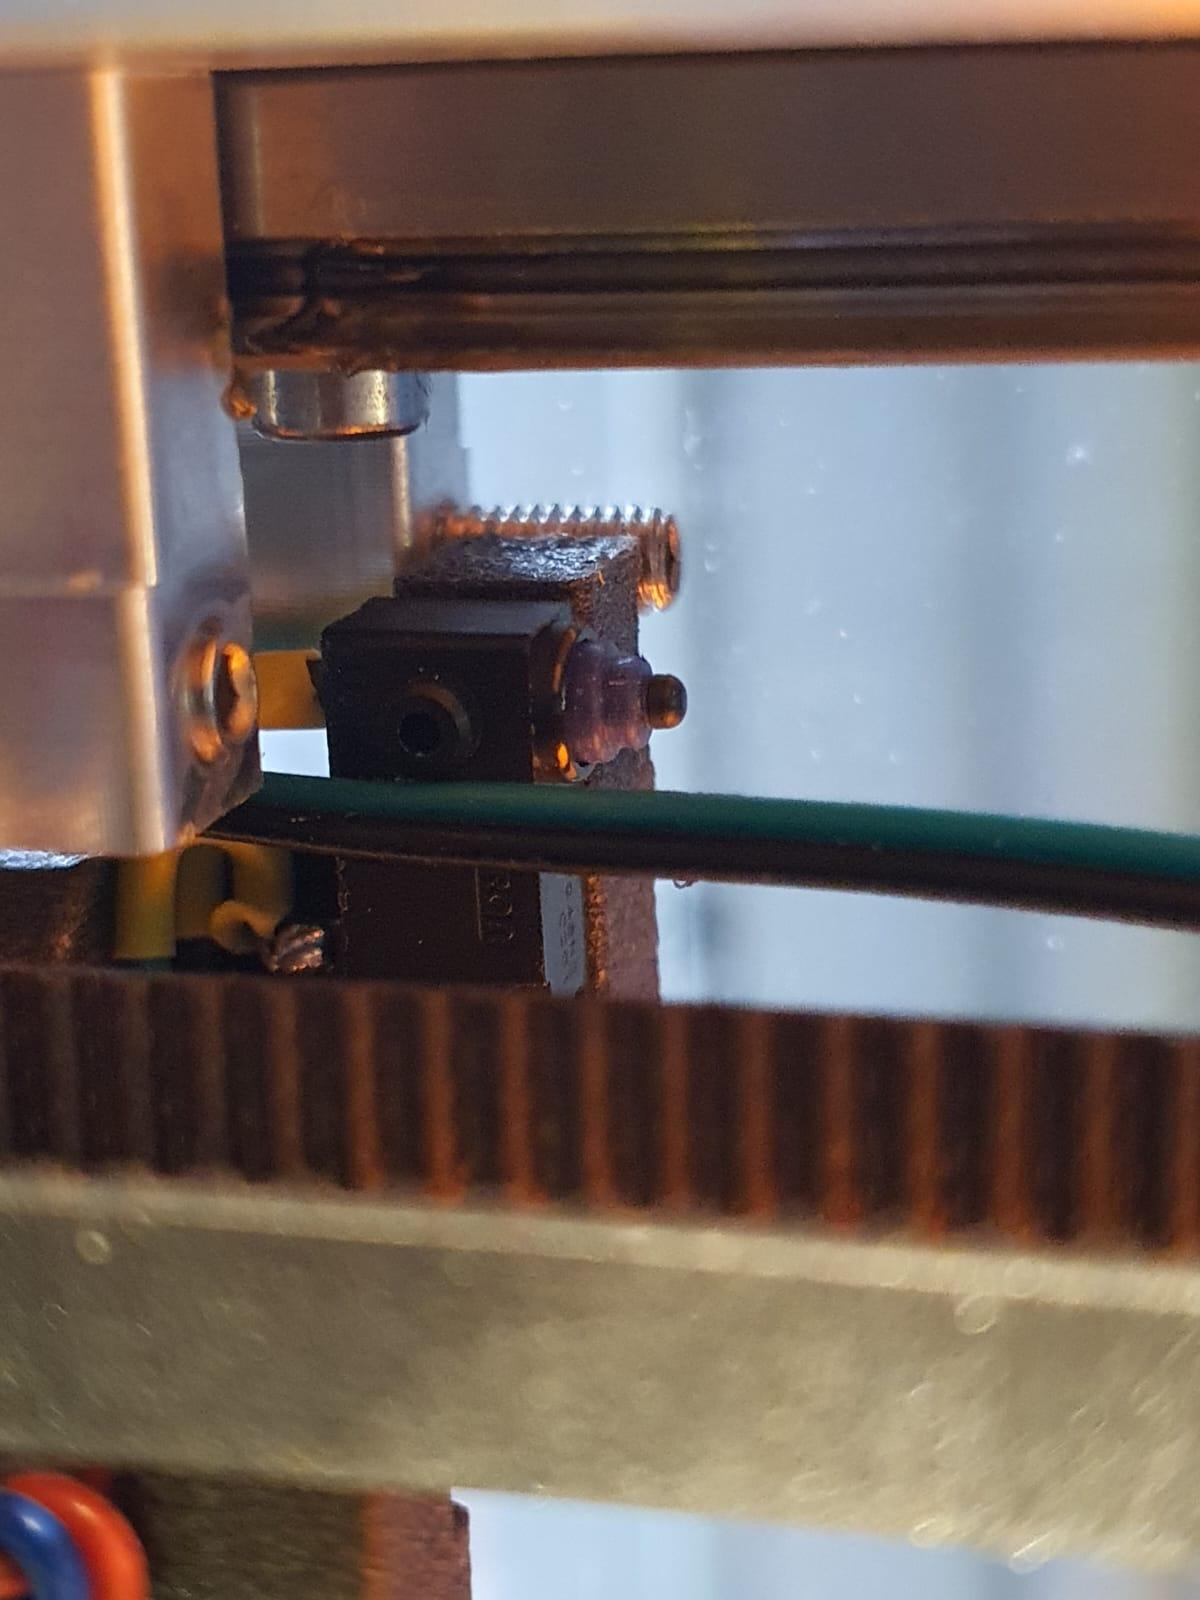
So- after reading a bit I found that others had this problem as well and produced a solution: Just put in a couple of good X- and Y homing switches!

I even found the to be printed 3d-parts for mounting these switches. Thanx for this, folks!

The switches are the same type as for the Z-switch.

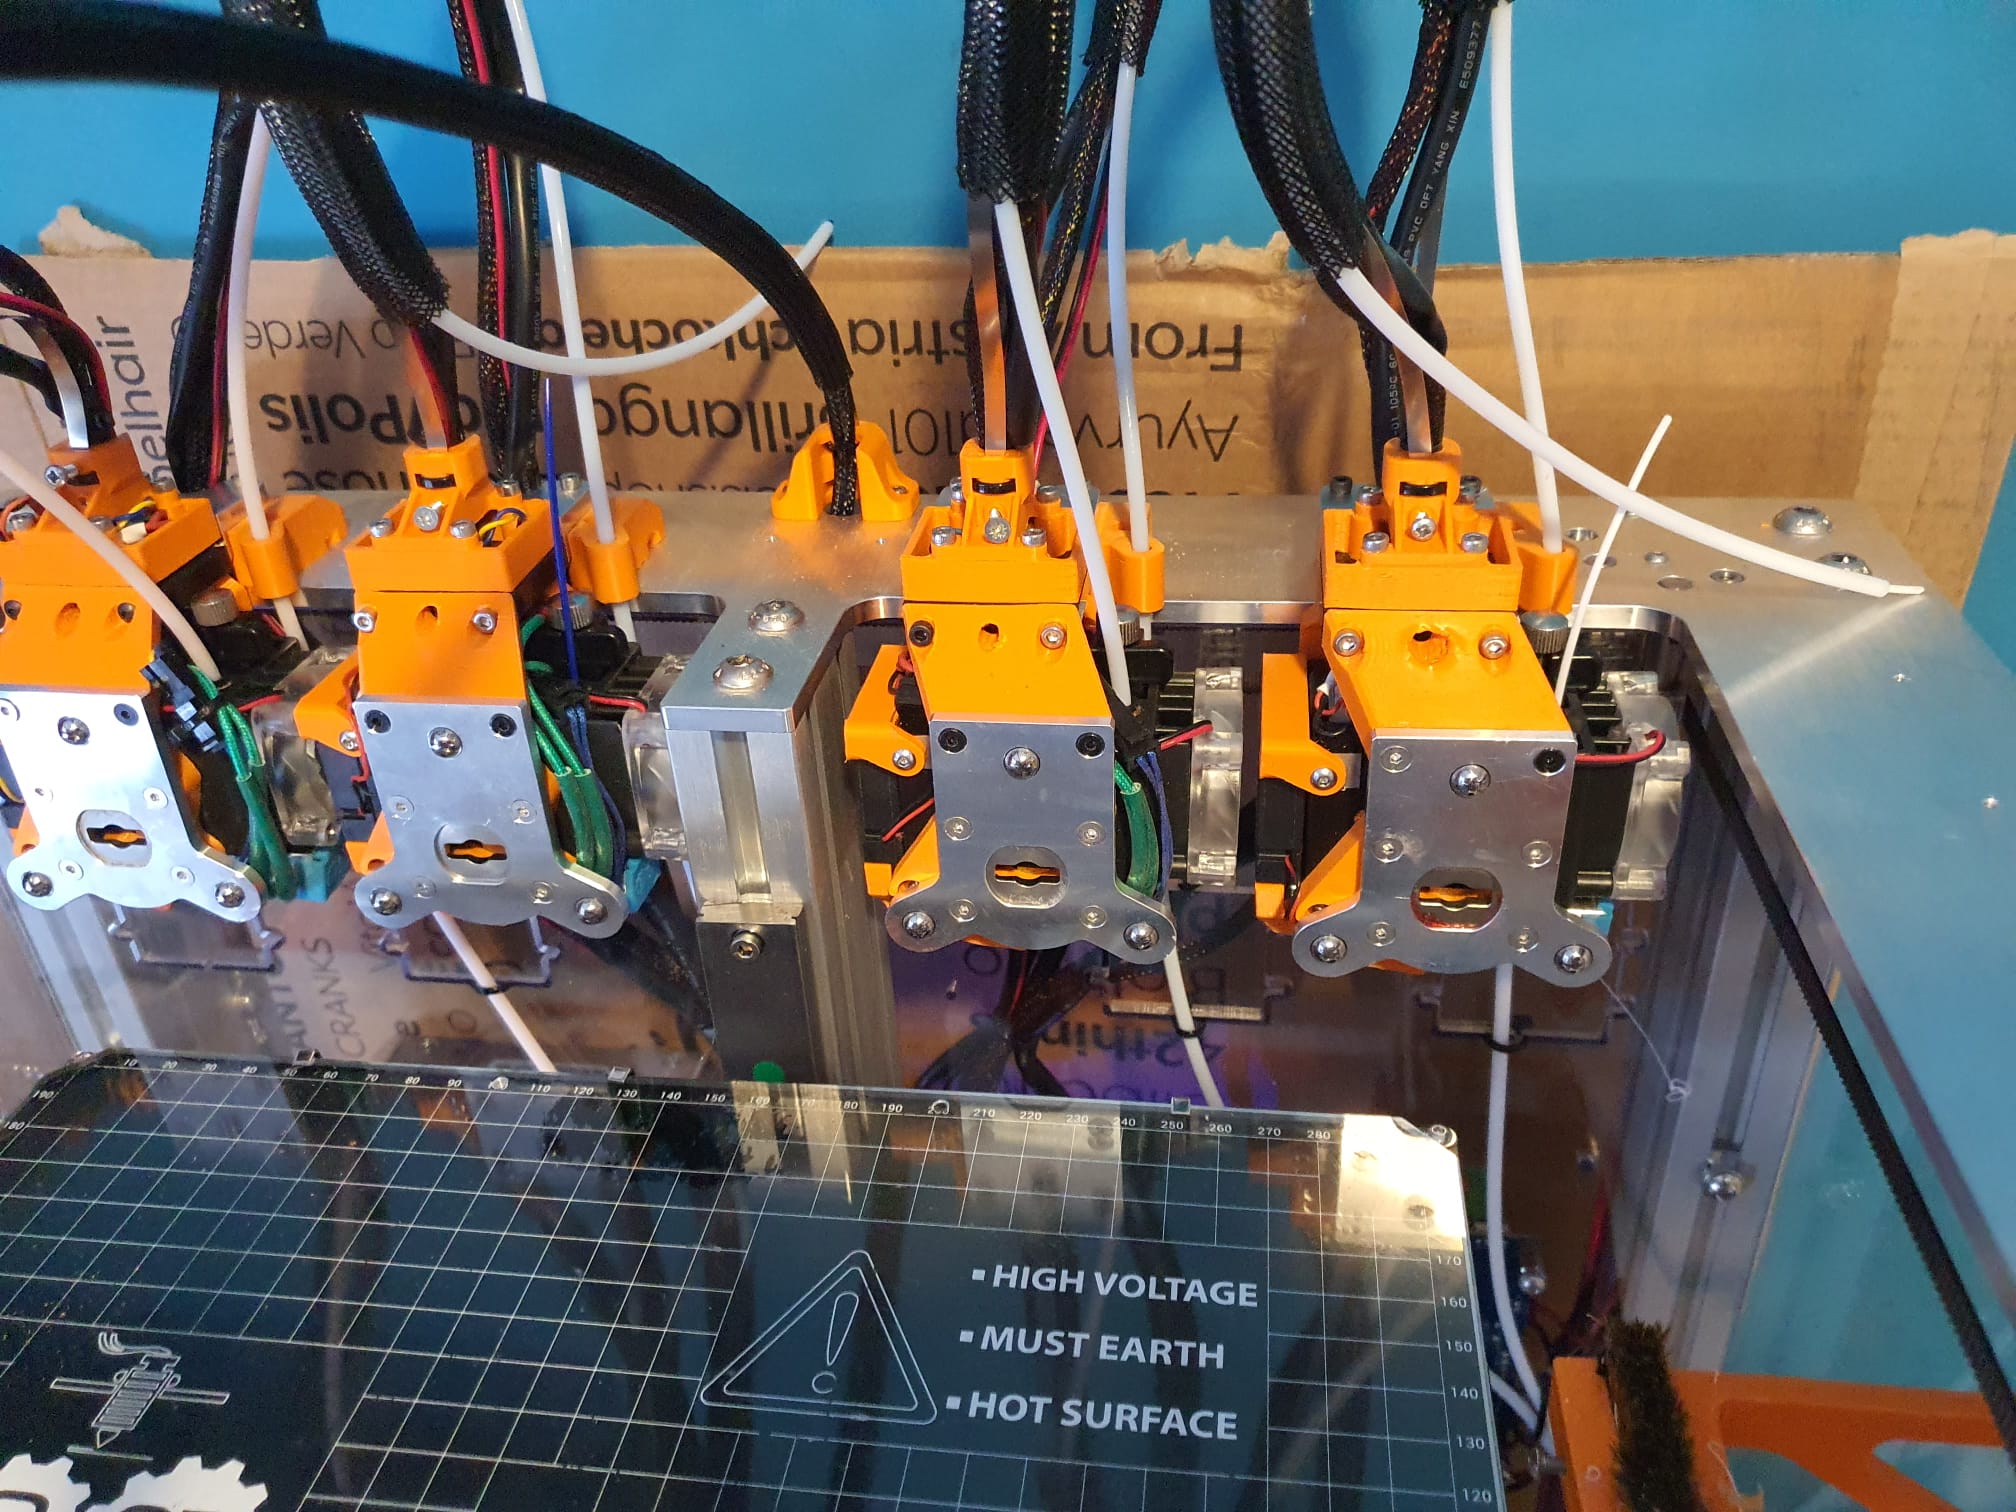
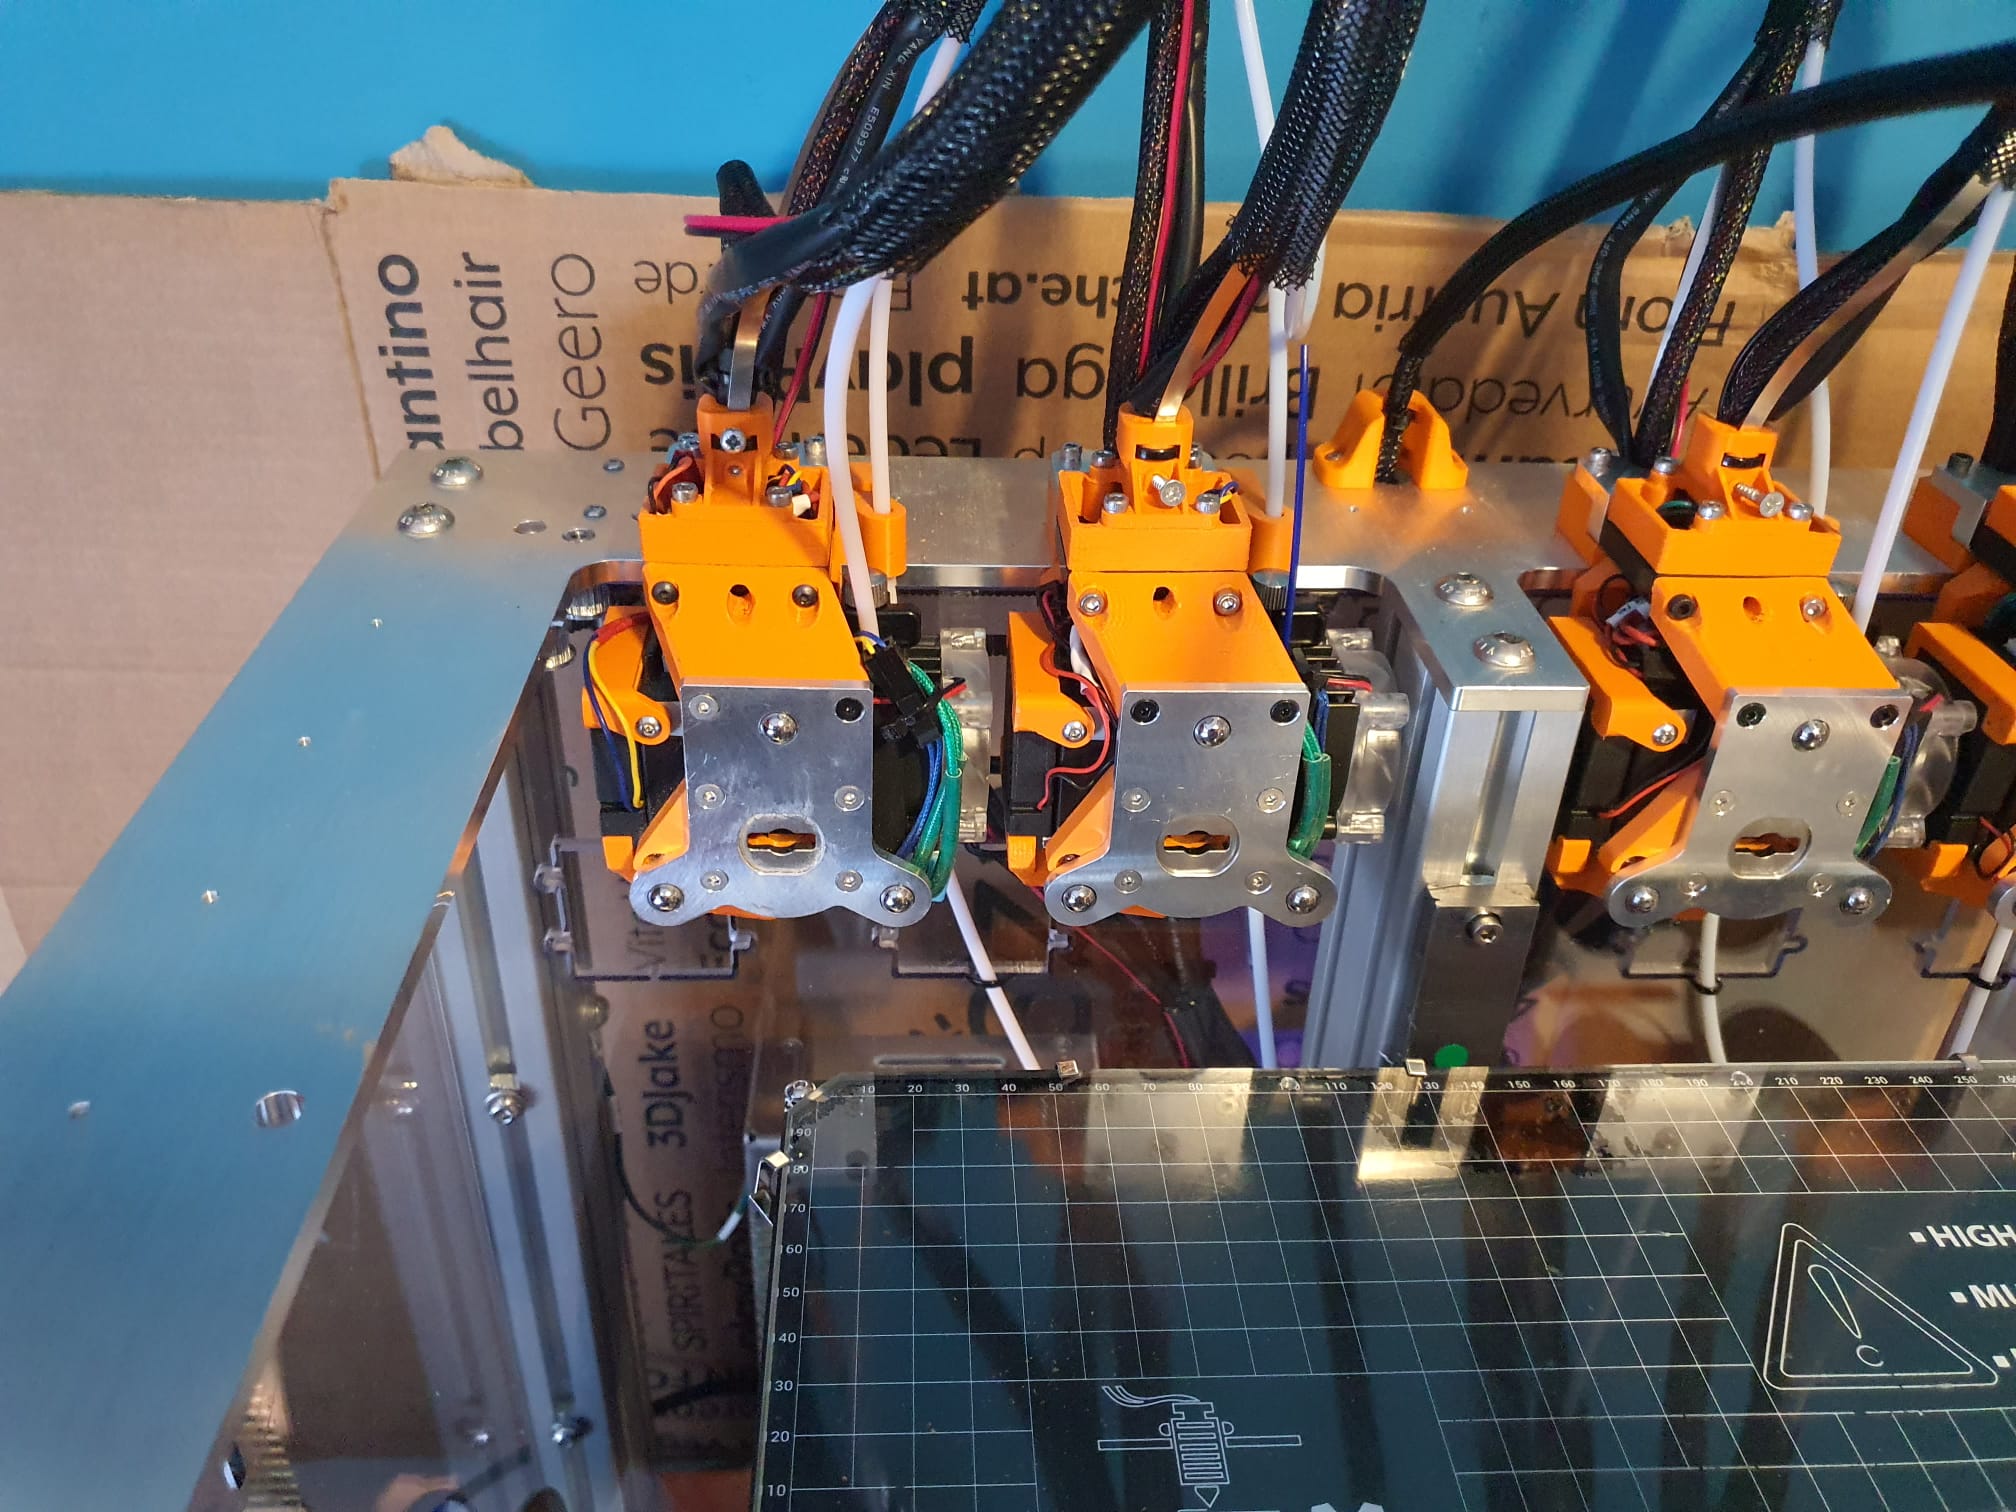
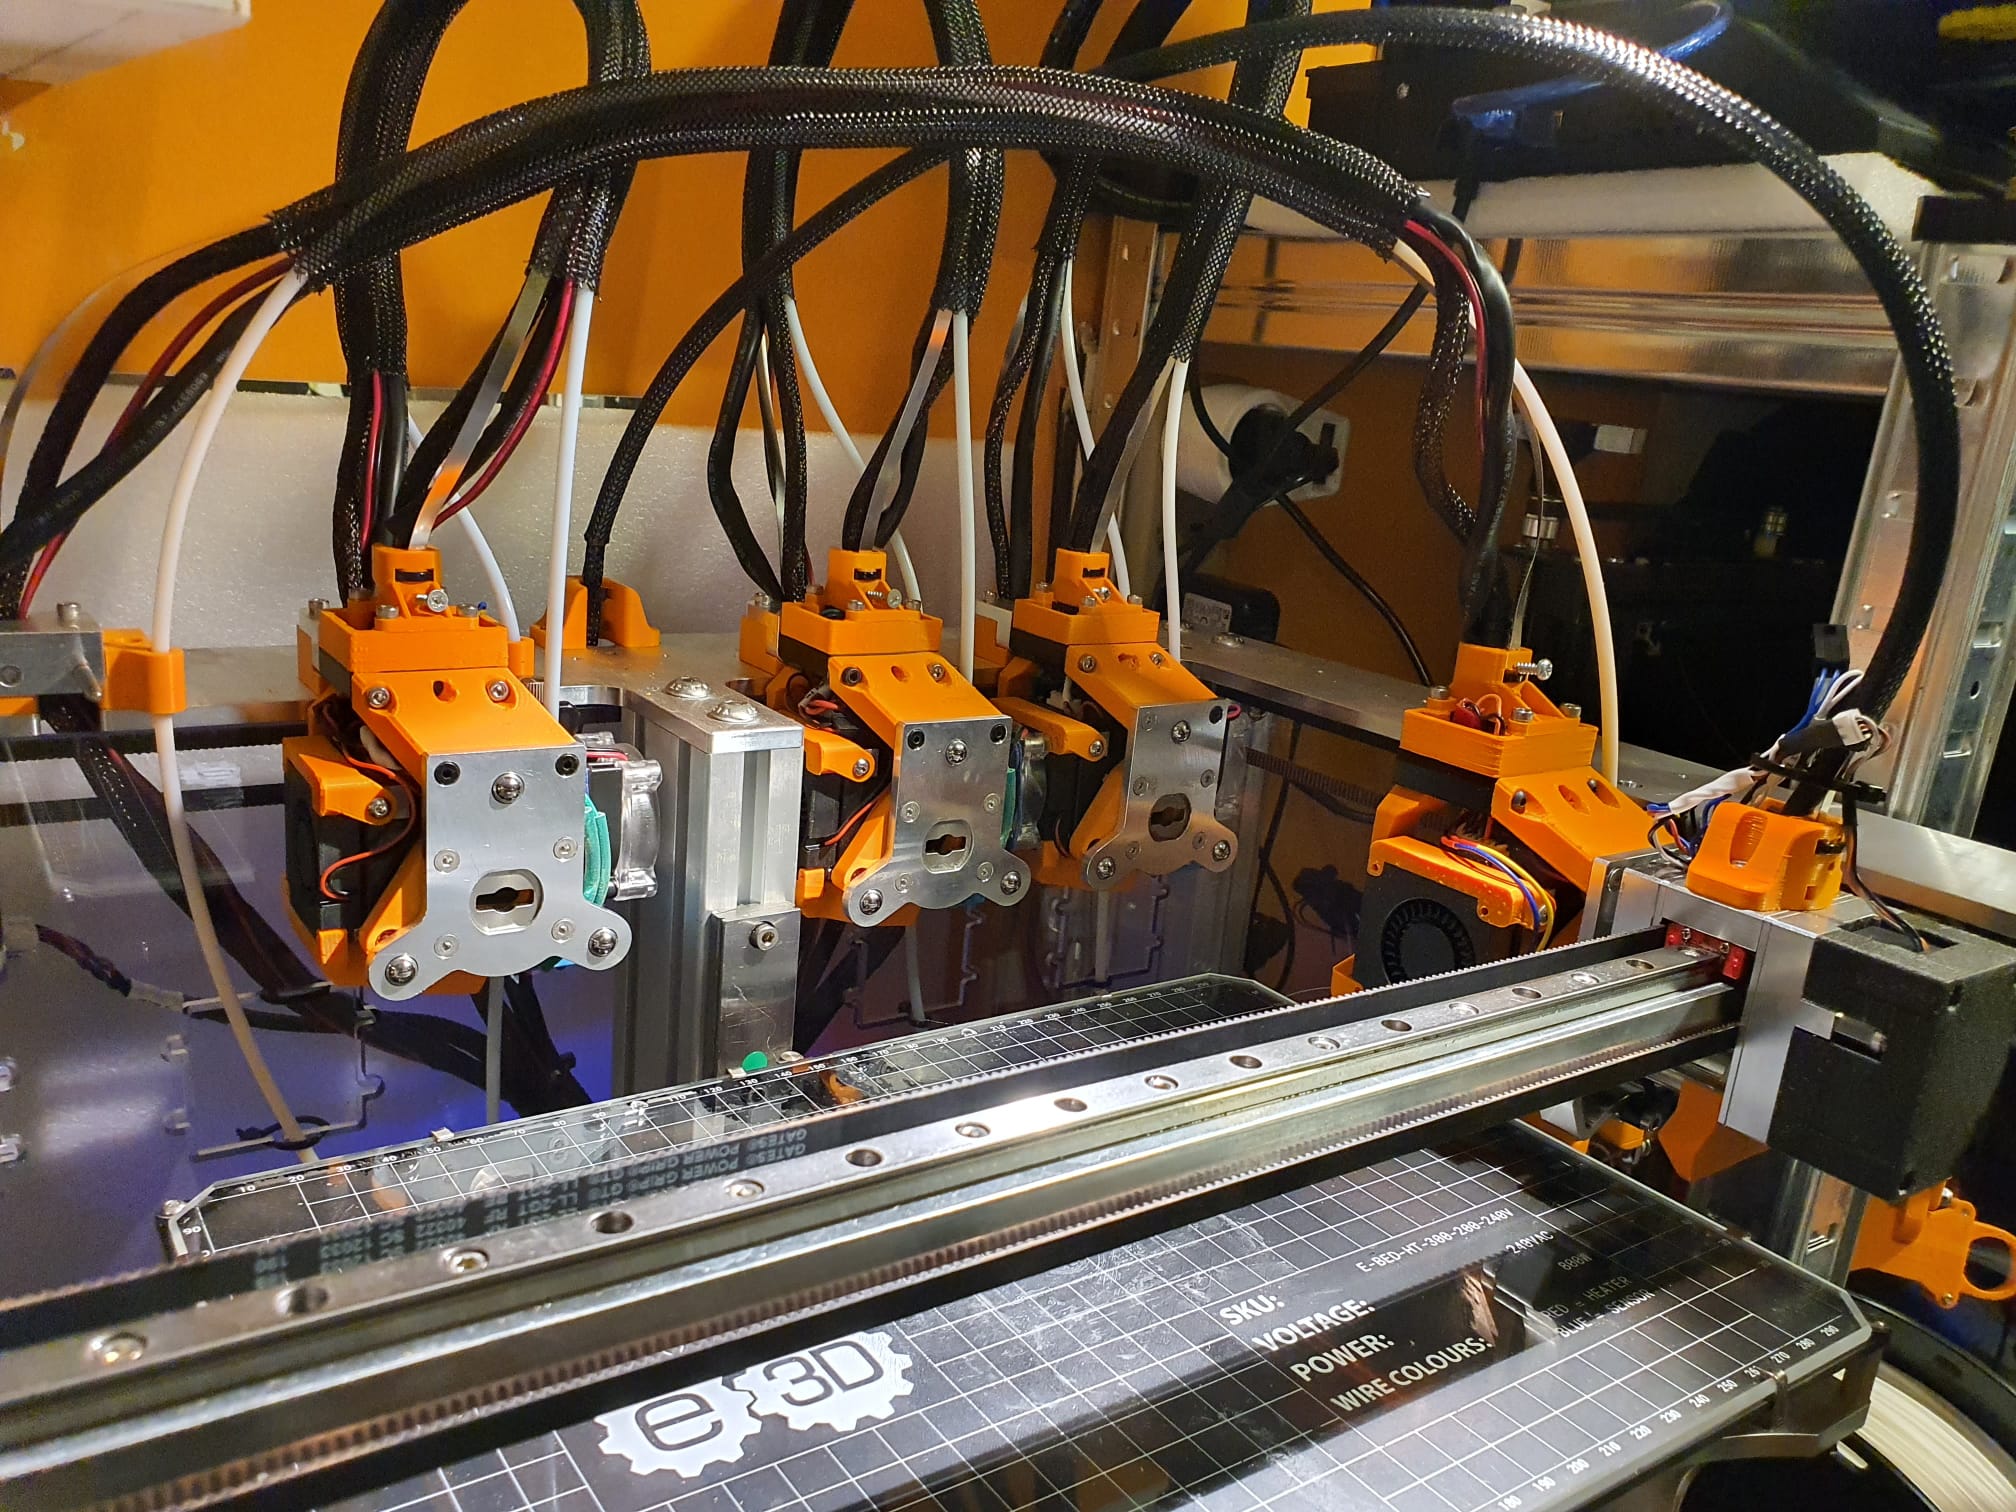
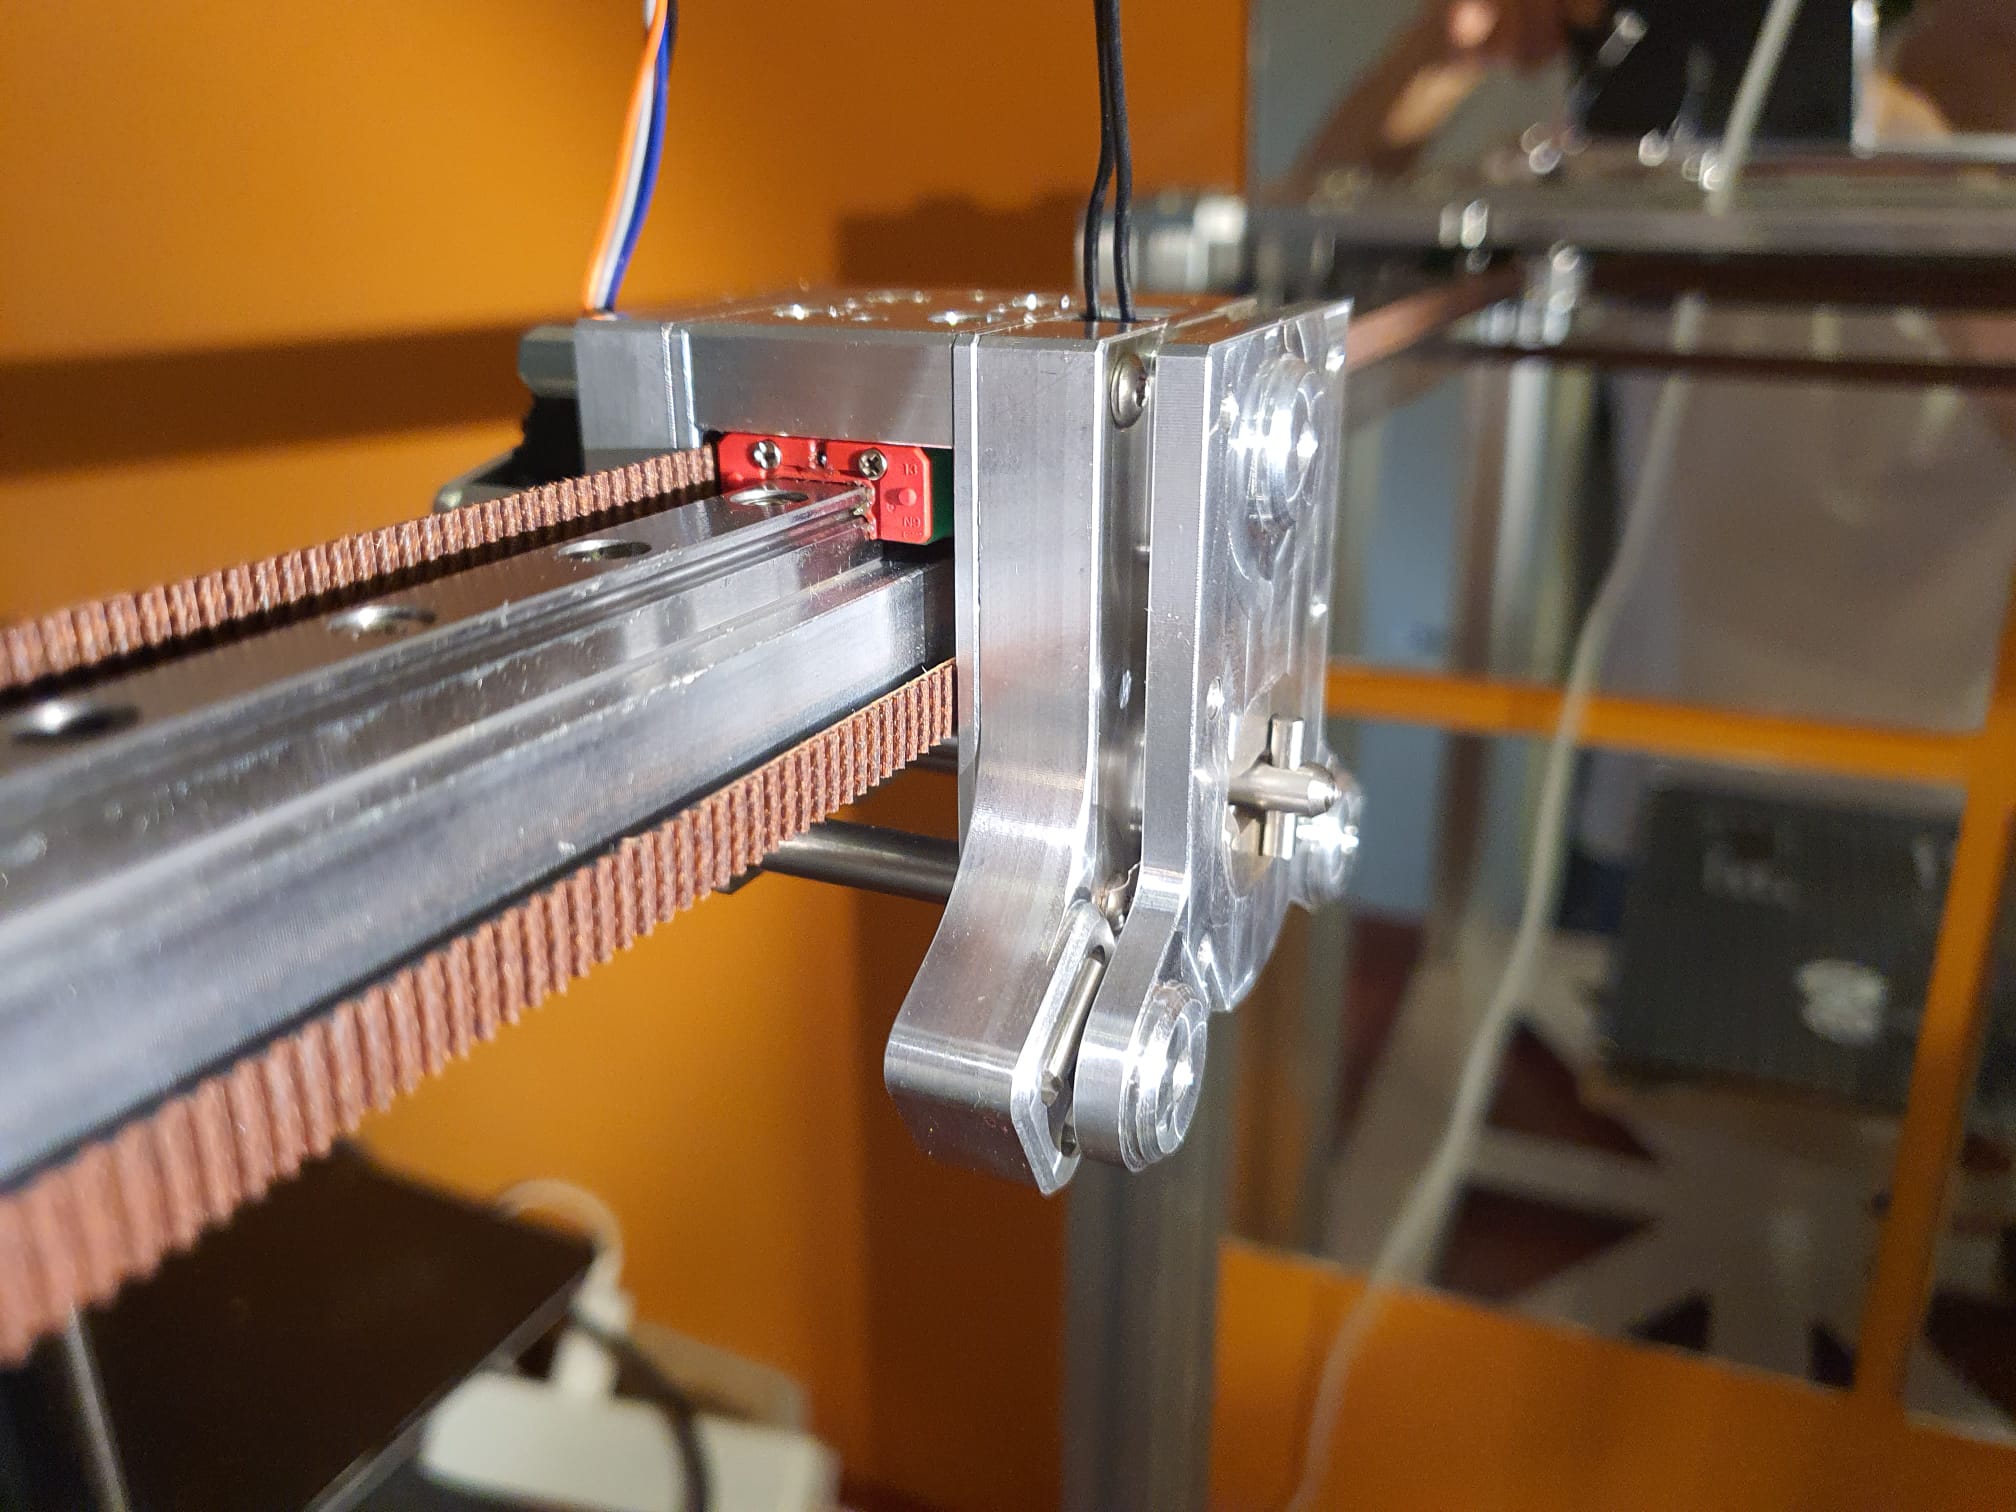
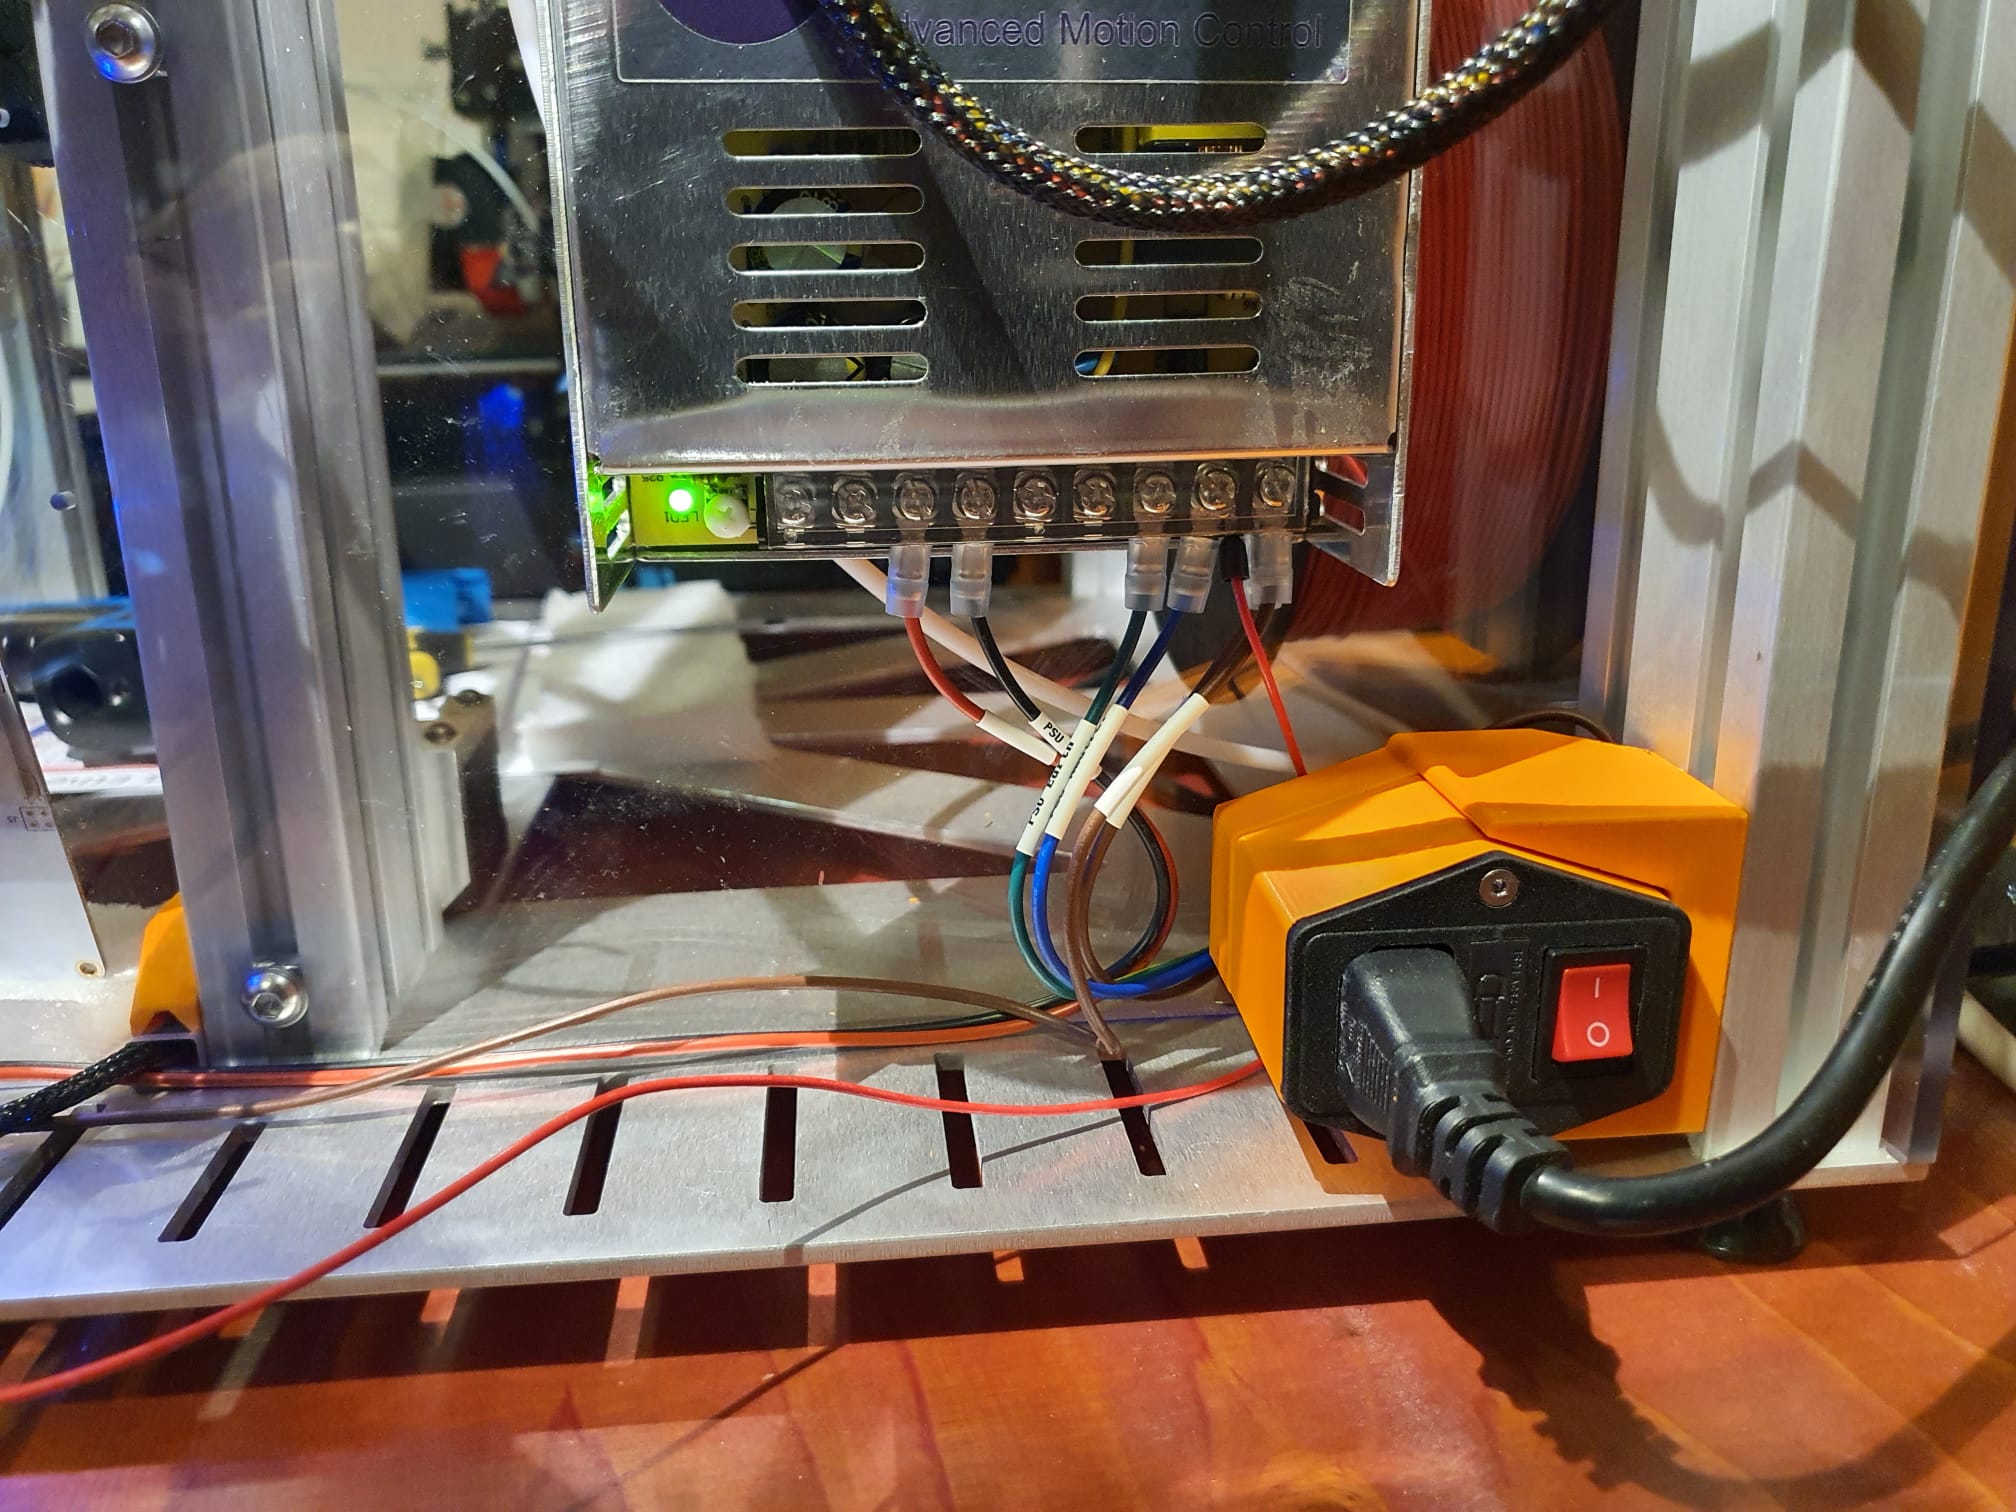
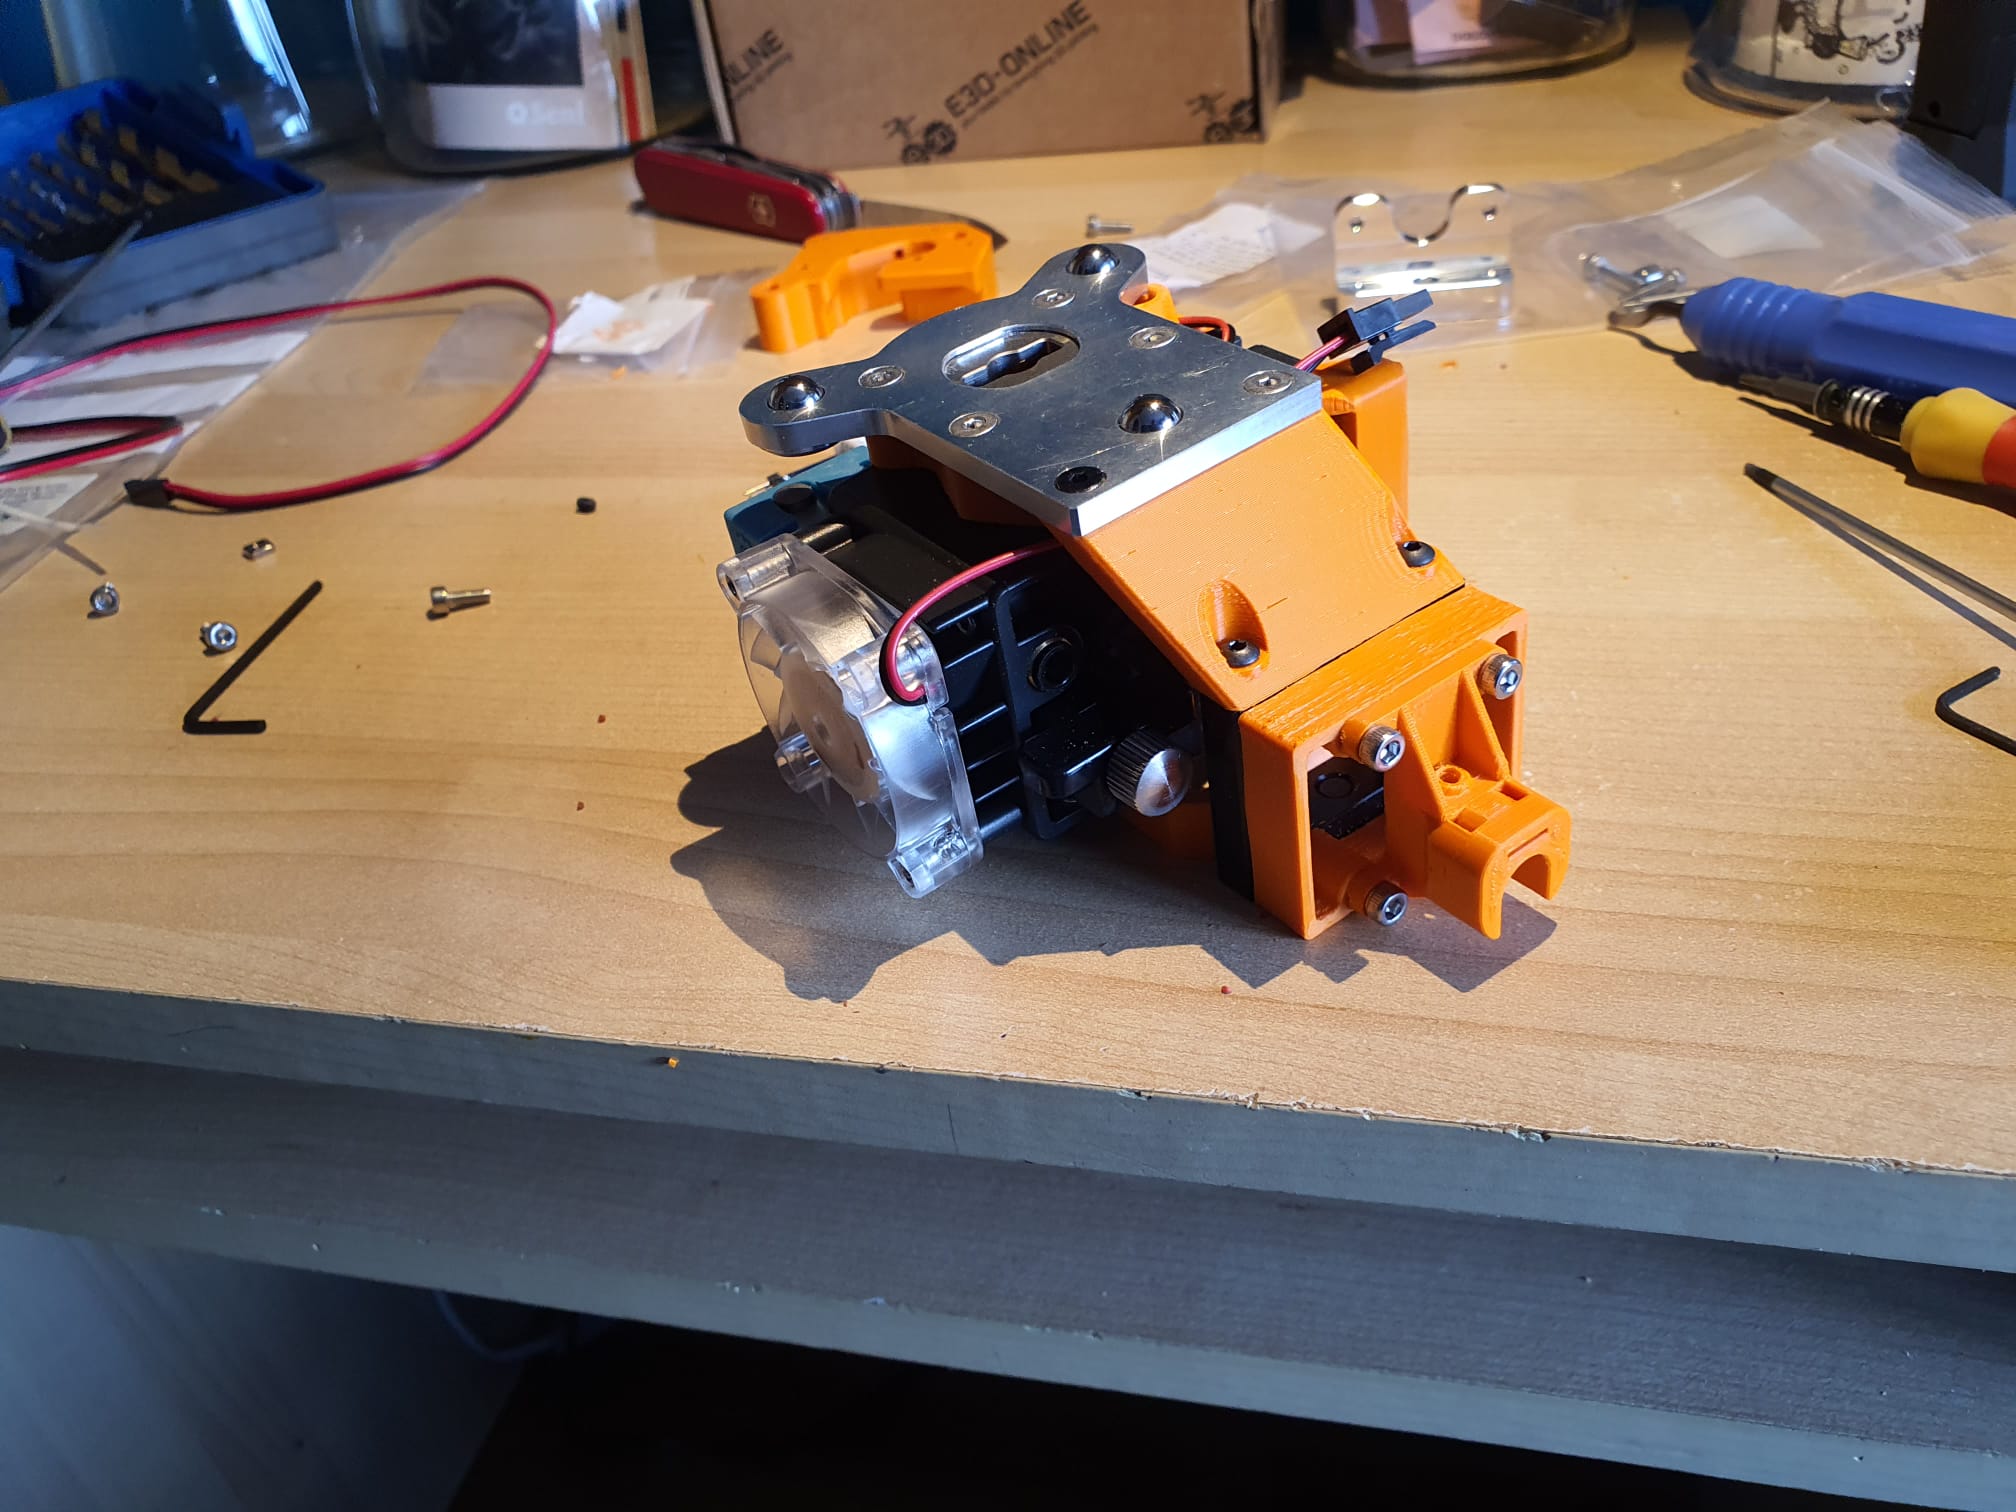
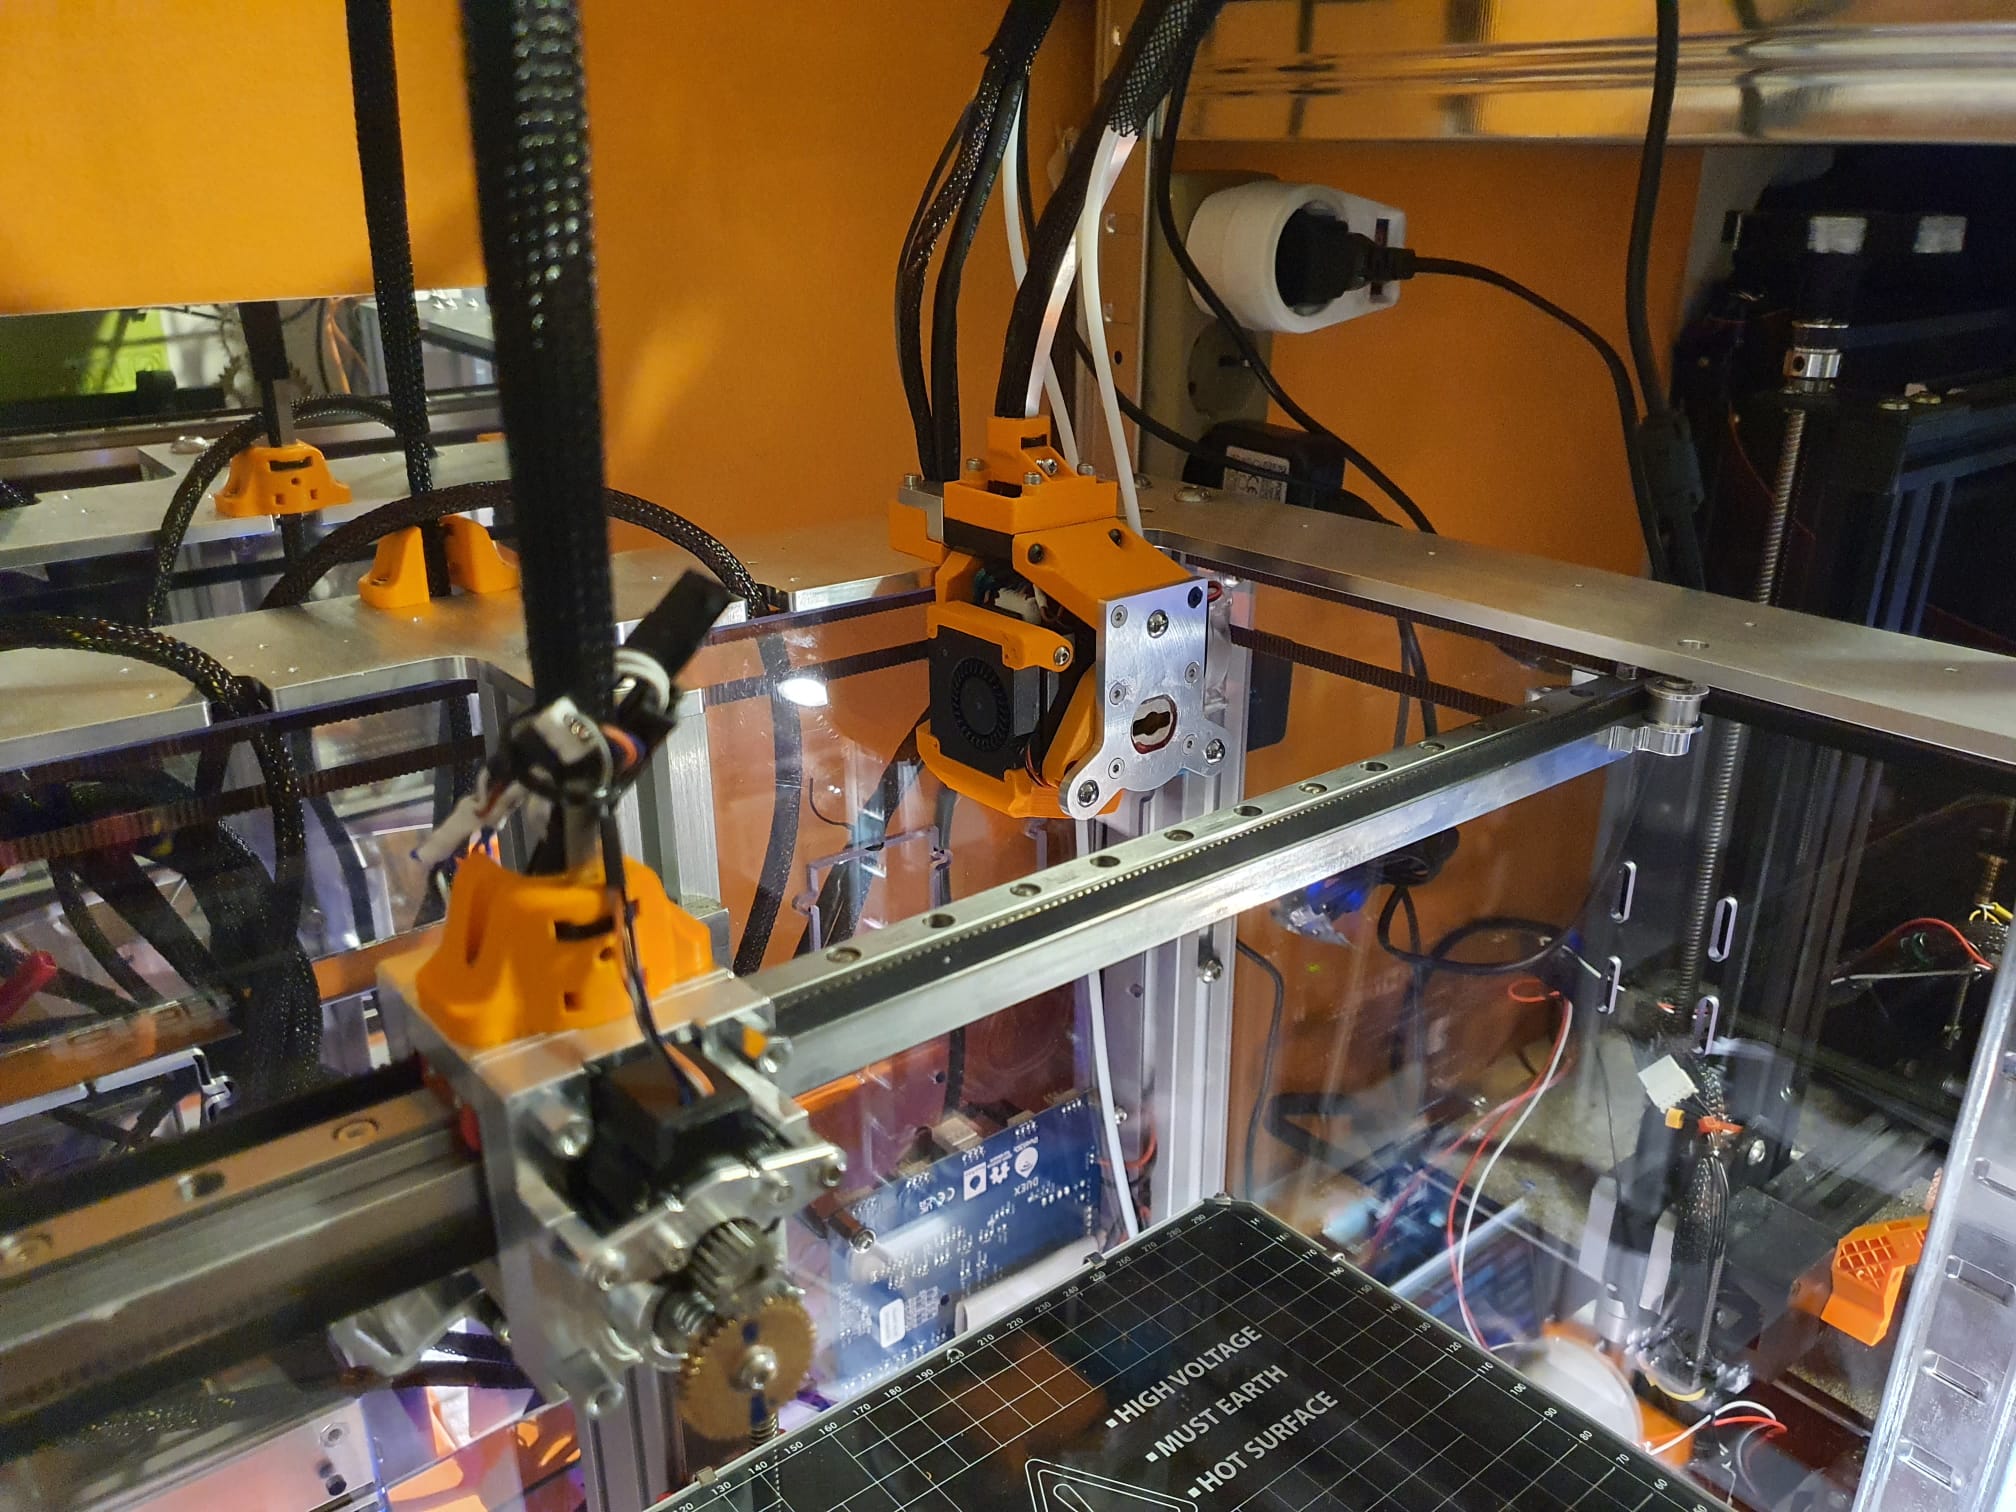
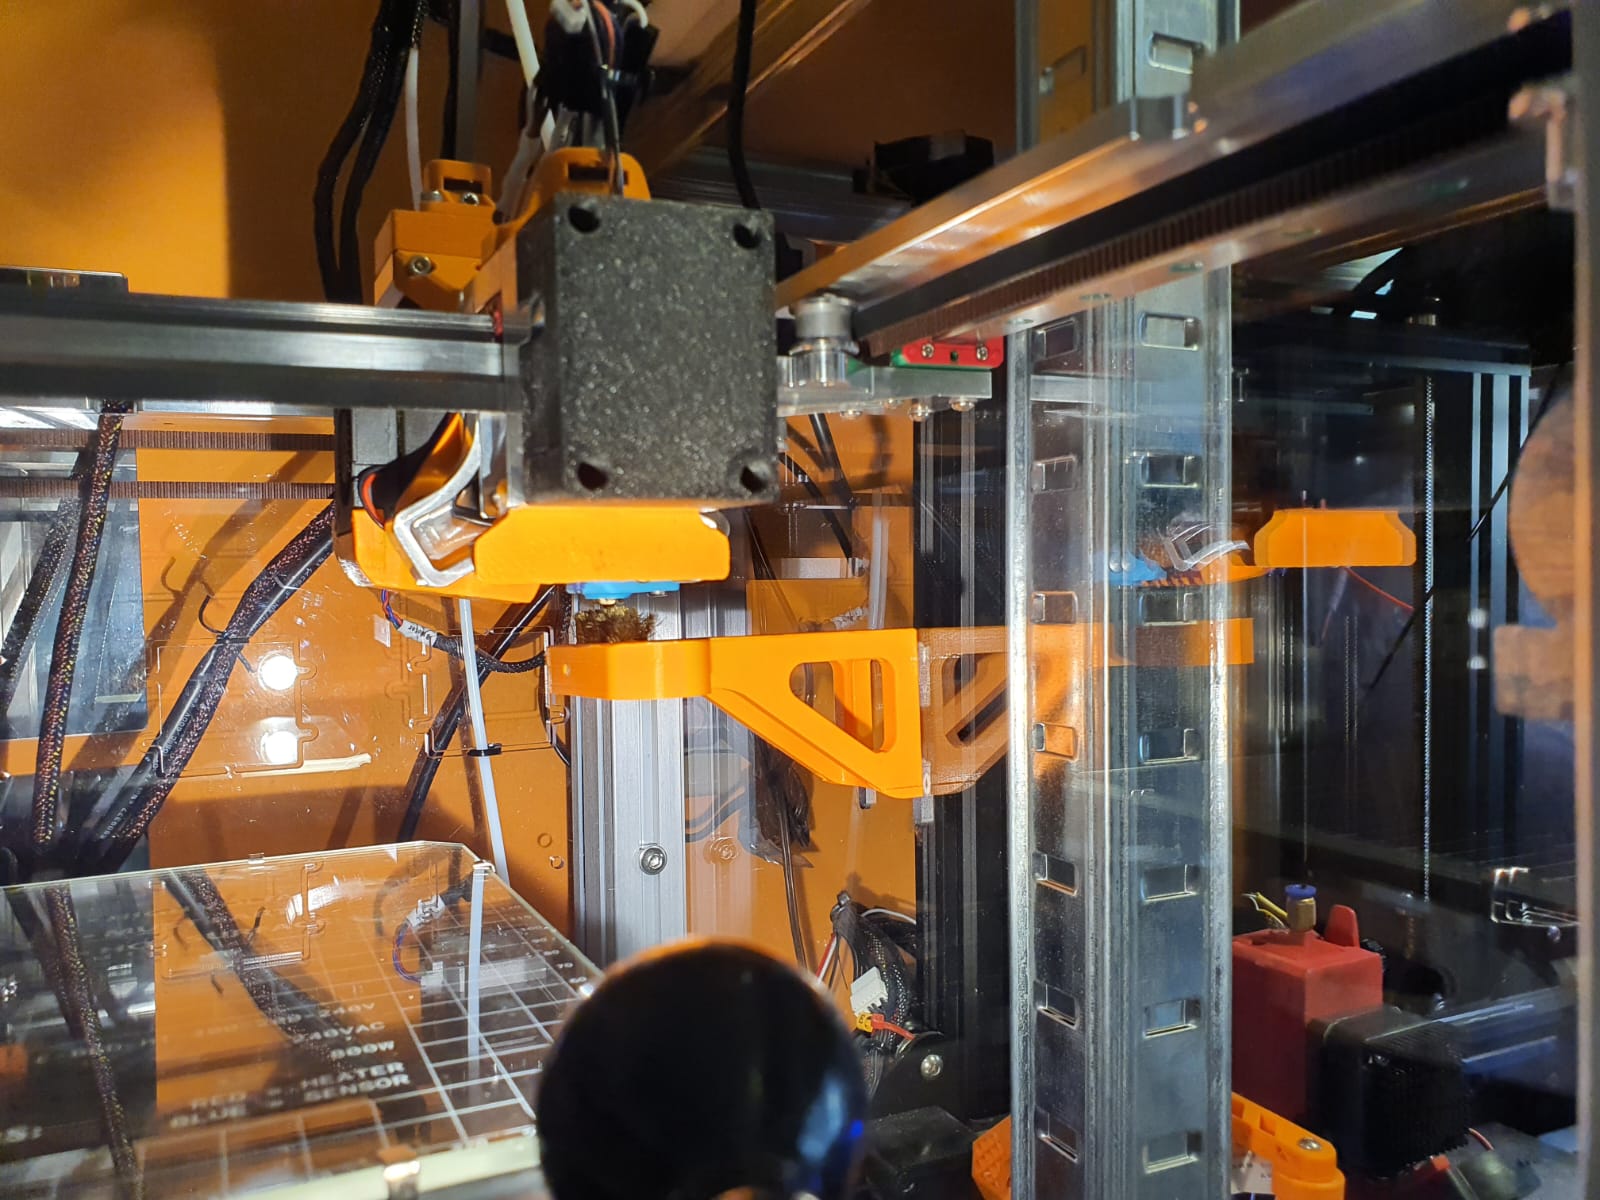
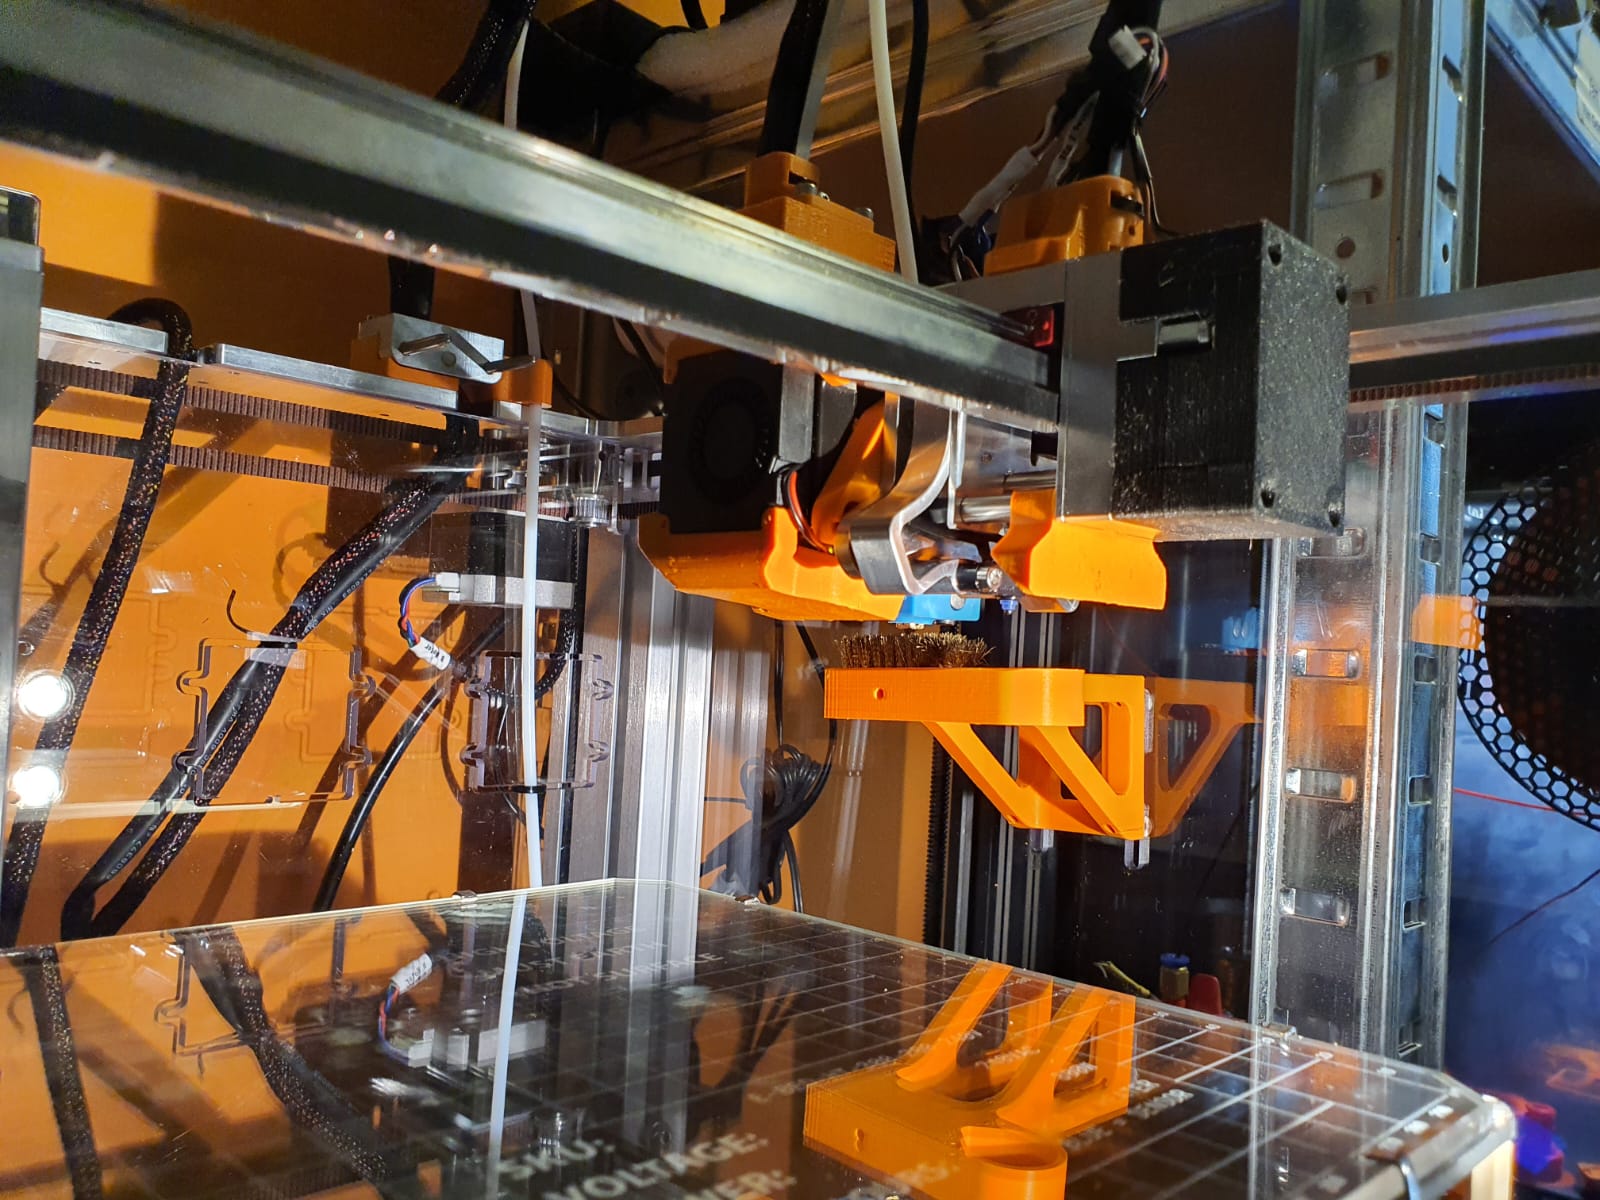
X-axis end switch
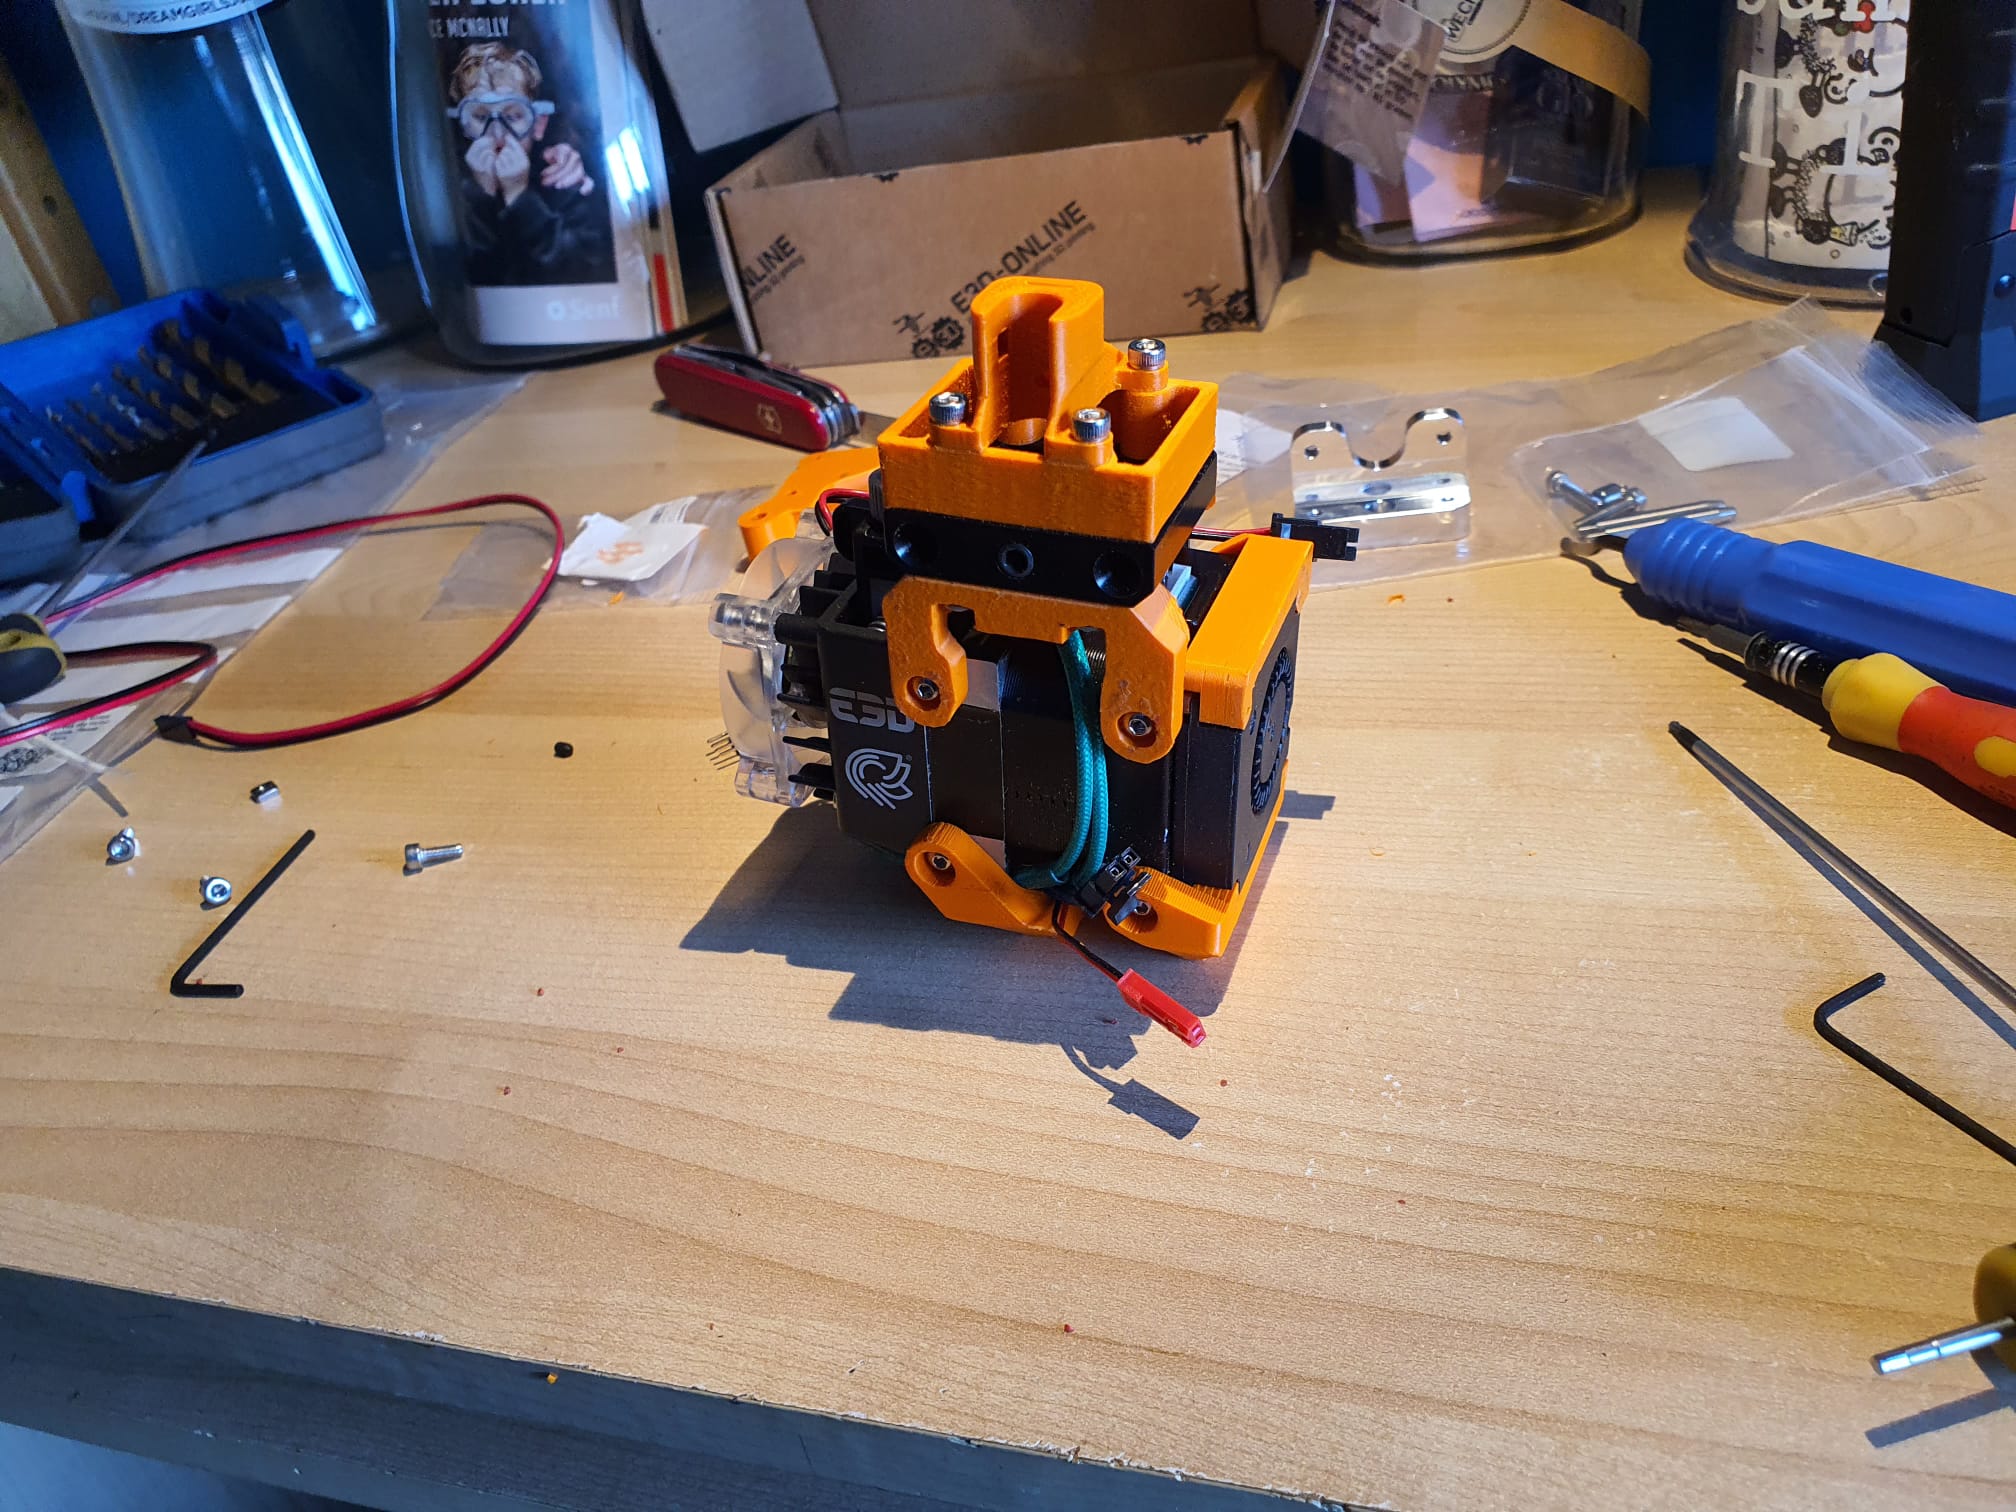
Y-axis end switch

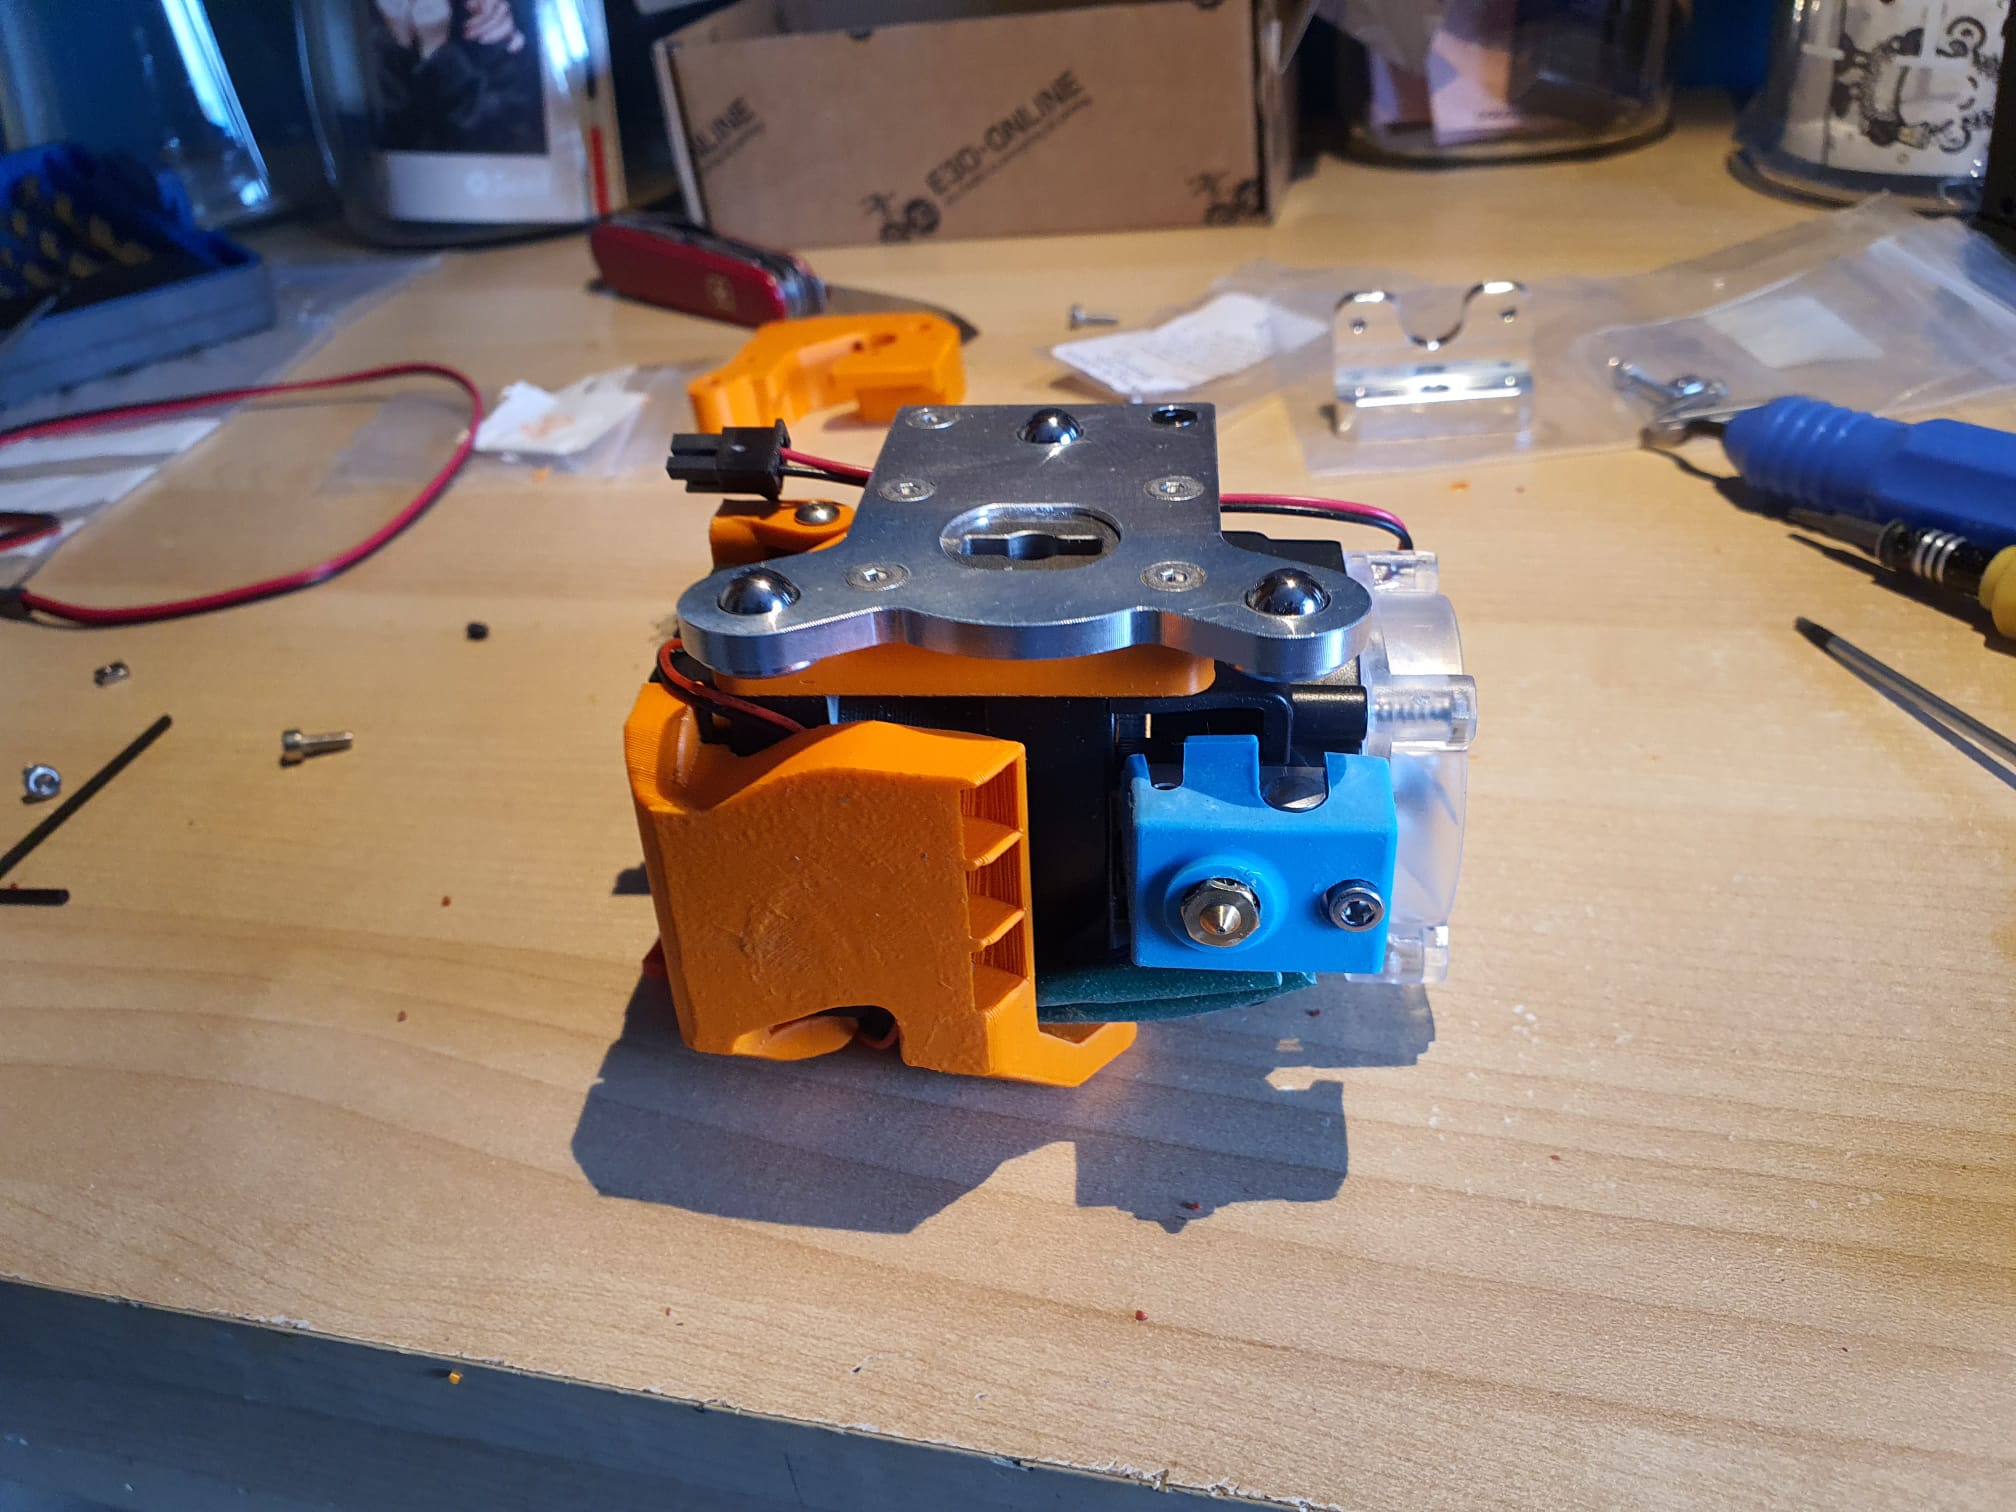
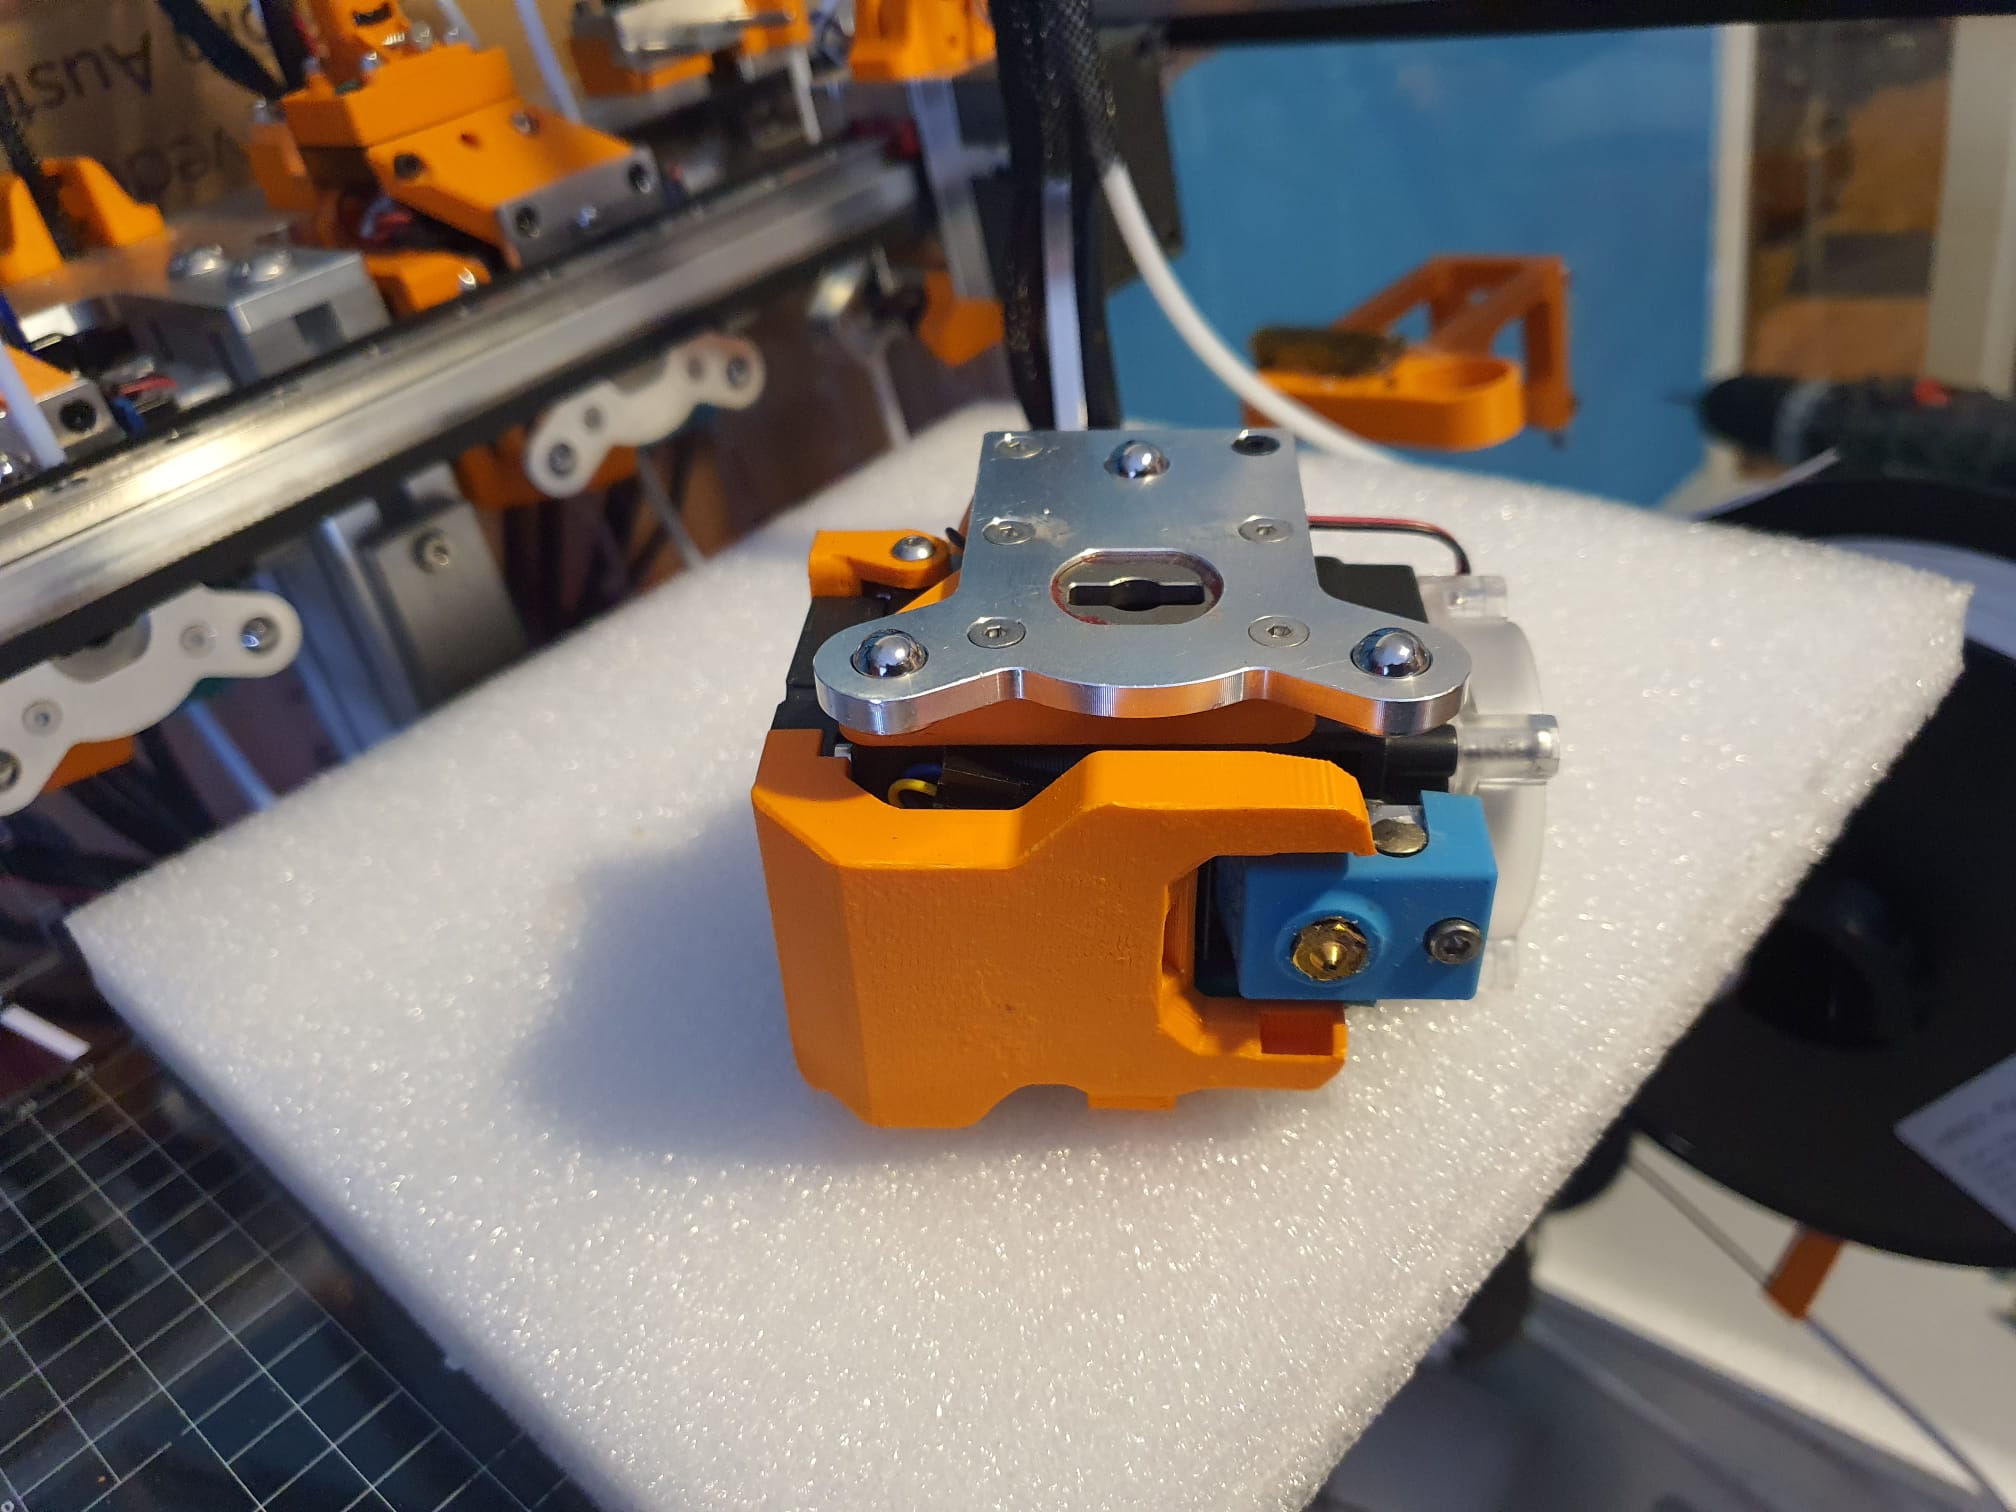
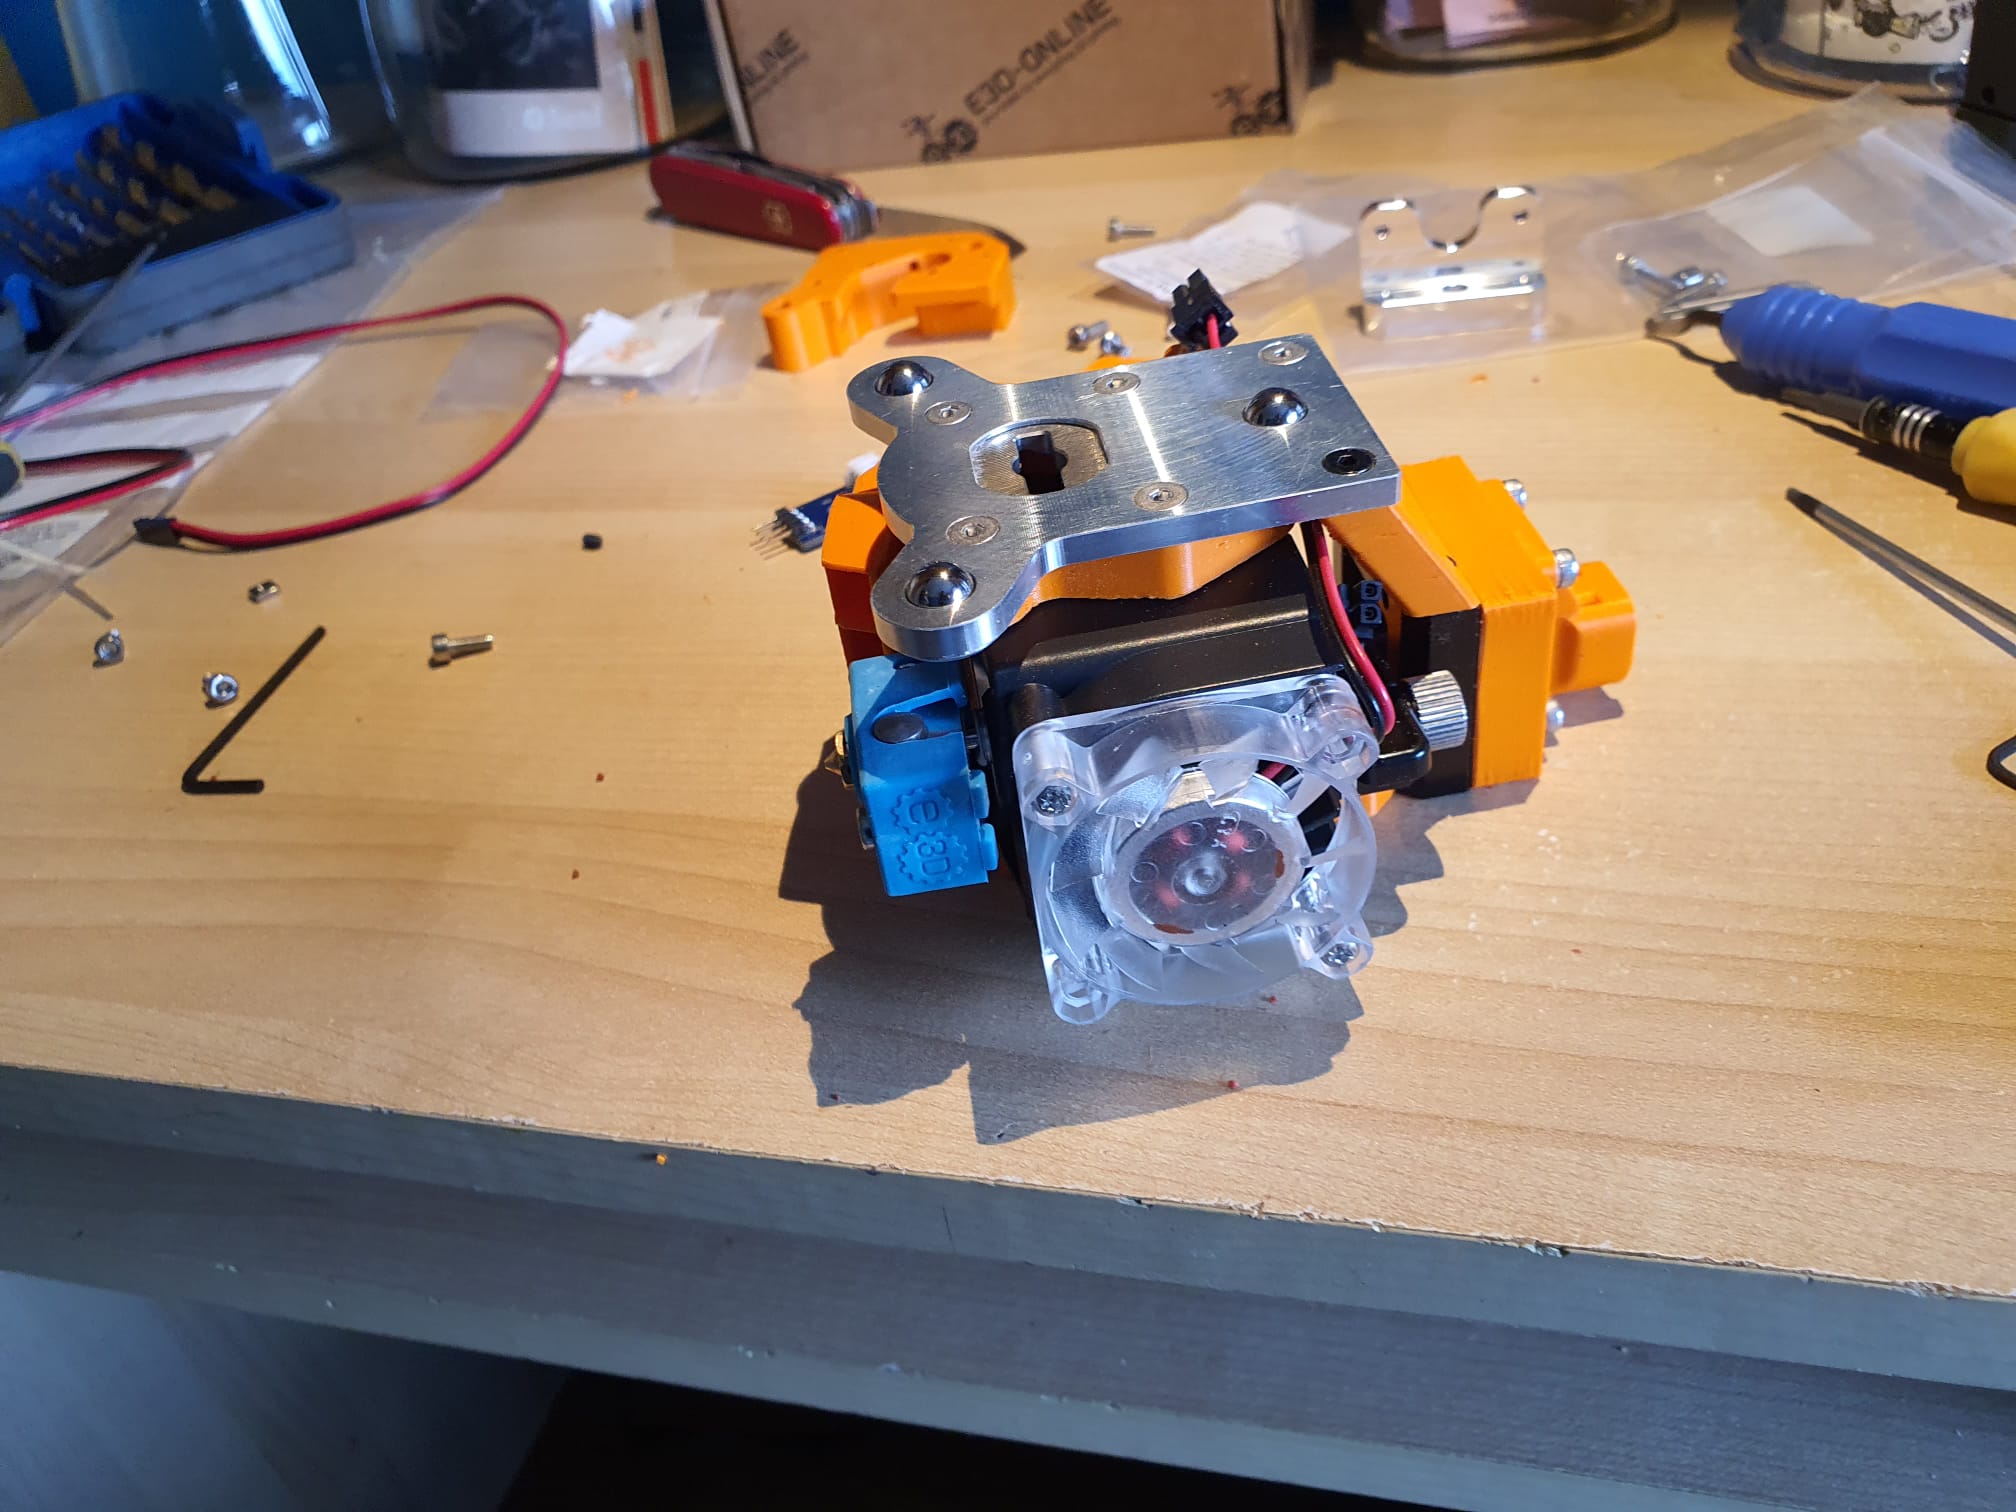
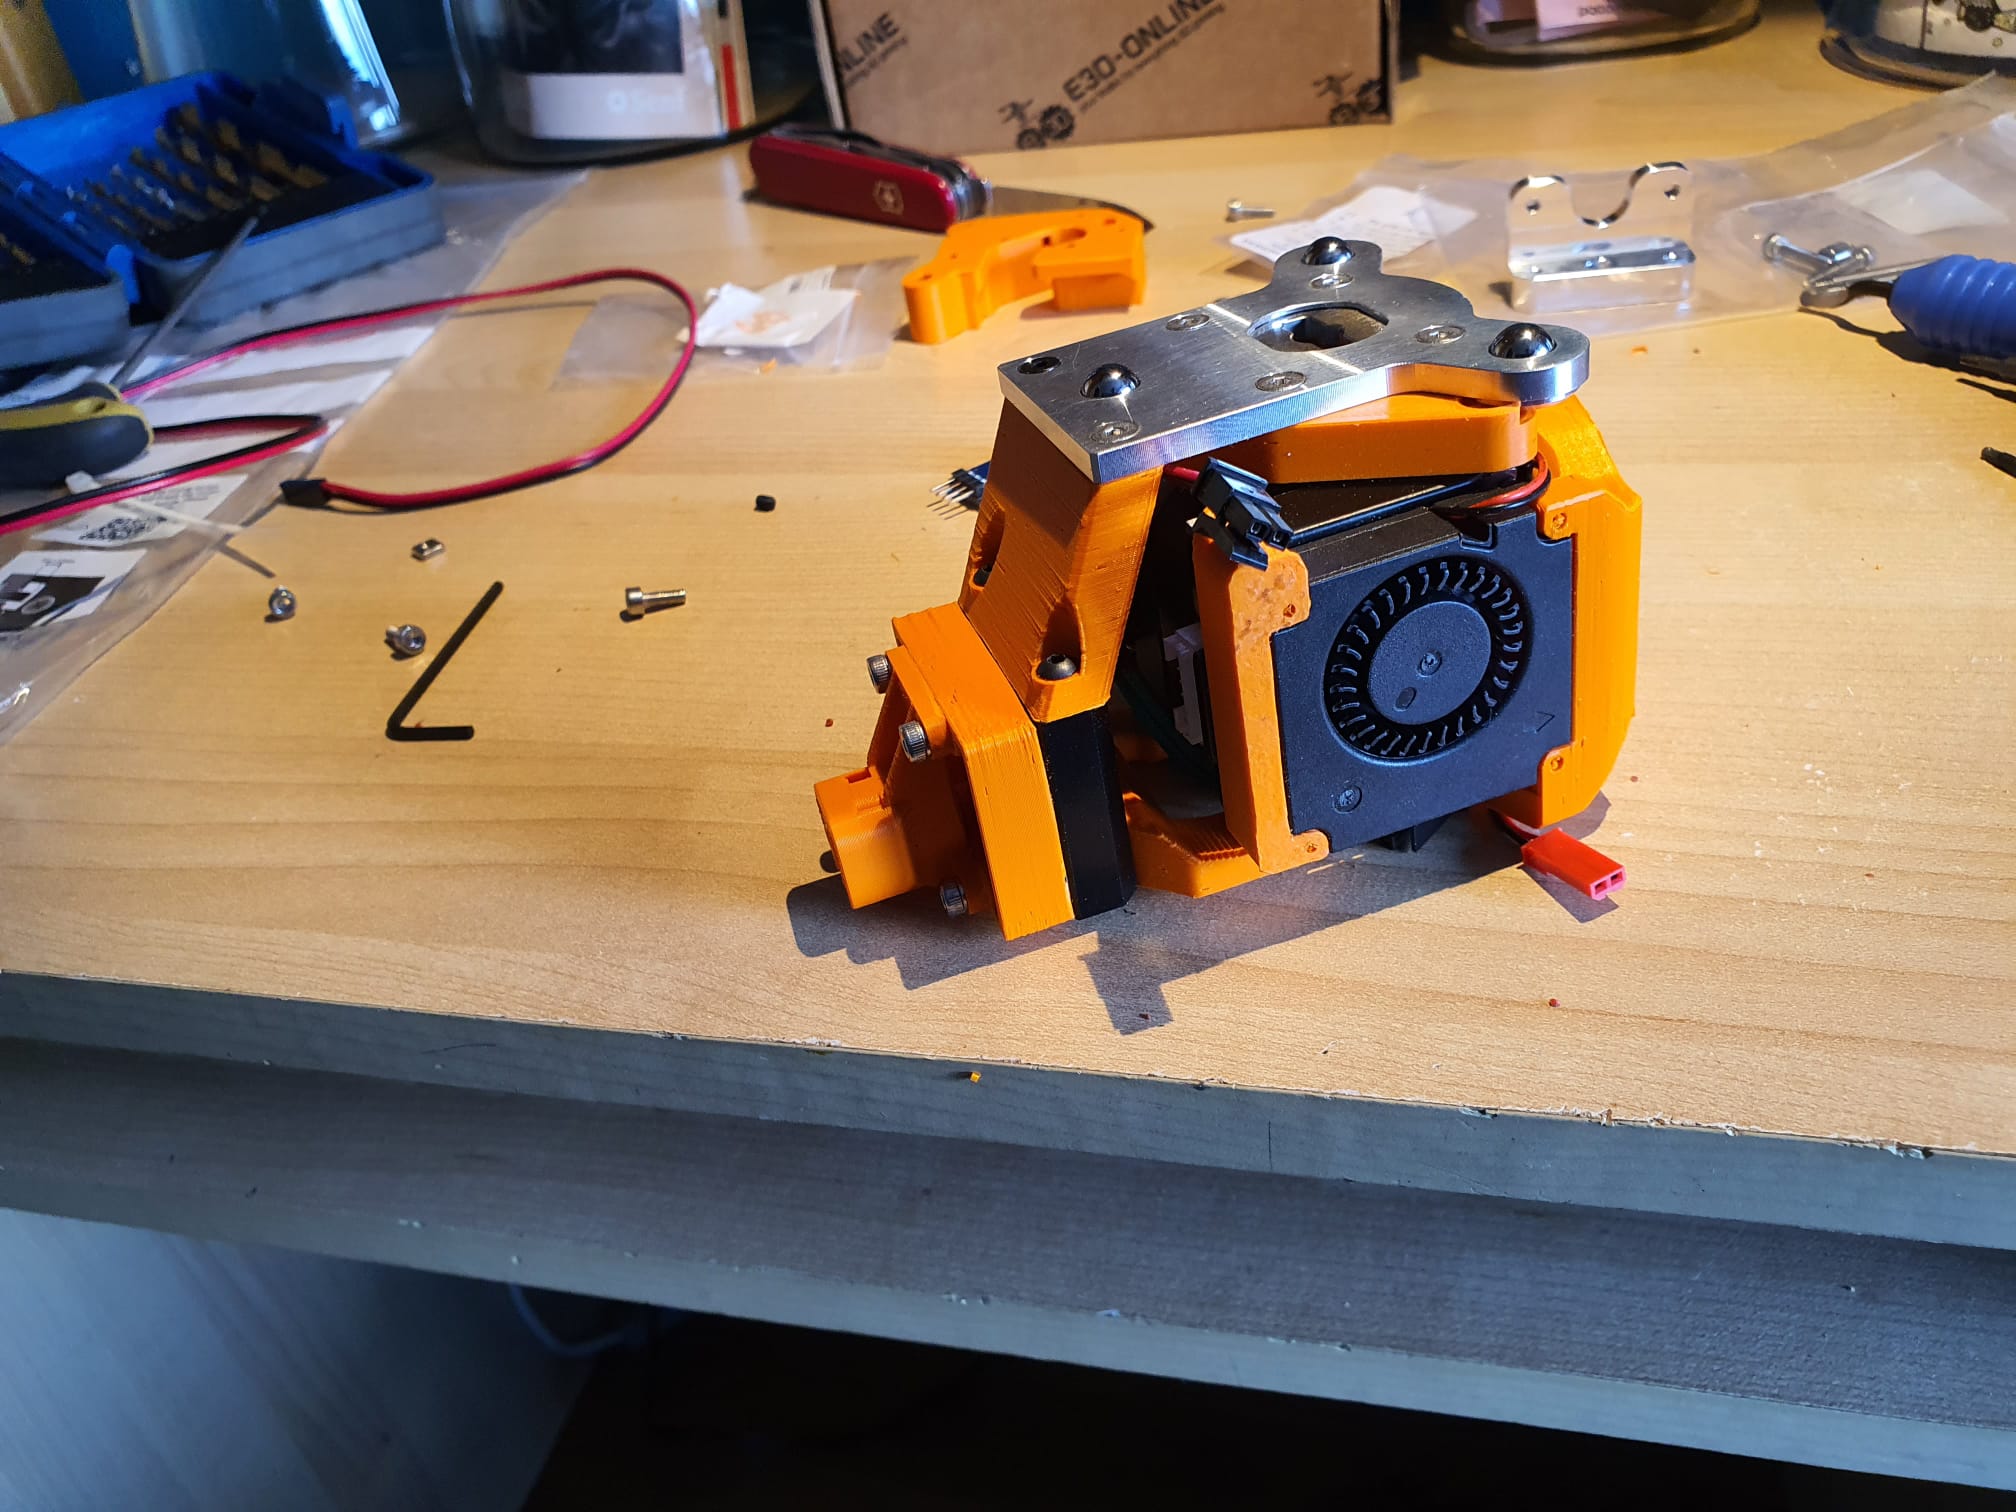
I printed the mounts in PETG carbon on my Prusa mini and mounted  both switches on the E3D toolchanger.

After this, I amended config. g and the homing files, please see the rest of my post for this:

CONFIG.G CHANGES

; Endstops
M574 X1 S1 P”xstop” ; X min active high endstop switch
M574 Y1 S1 P”ystop” ; Y min active high endstop switch
M574 C0 ; no C endstop
M574 Z0 P”nil” ; no Z endstop switch, free up Z endstop input as Z endstop switch. (I changed  this part for correct working with RRF3.3+)

NEW HOMING FILES:

; homex.g
; called to home the x axis

M98 P”homey.g” ; Home Y always before homing X

G91 ; use relative positioning

G1 H2 Z3 F5000 ; lift Z 3mm
G1 H1 X-400 F15000 ; move left 400mm, stopping at the endstop
G1 X5 F15000 ; move away from end
G1 H1 X-400 F2000 ; move left 400mm, stopping at the endstop
G1 X2 F2000 ; move away from end
G1 H2 Z-3 F1200 ; lower Z

G90 ; back to absolute positioning

; homeall.g
; called to home all axes;

M98 P”homec.g” ; Home C (ToolHead)

M98 P”homex.g” ; Home X

M98 P”homez.g” ; Home Z

G1 X150 Y-49 Z20 F15000 ; Park

; homey.g
; called to home the Y axis

G91 ; use relative positioning

G1 H2 Z3 F5000 ; lift Z 3mm BED DOWN
G1 H1 Y-400 F15000 ; move to the front 400mm, stopping at the endstop
G1 Y5 F15000 ; move away from end
G1 H1 Y-400 F2000 ; move to the front 400mm, stopping at the endstop
G1 Y2 F2000 ; move away from end
G1 H2 Z-3 F1200 ; move Z BED UP

G90 ; back to absolute positioning

Z homing did not change and remains as is:

; homez.g
; called to home the Z axis
M98 P”Coupler – Unlock.g” ; Open Coupler
G91 ; Relative mode
G1 H2 Z5 F5000 ; Lower the bed
G90 ; back to absolute positioning
G1 X150 Y100 F50000 ; Position the endstop above the bed centre
M558 F1000 ; speed to 1000
G30 ; probe x 1
M558 F300 ; speed to 300
G30 ; probe x 1

Toolhead stepper fault and solution

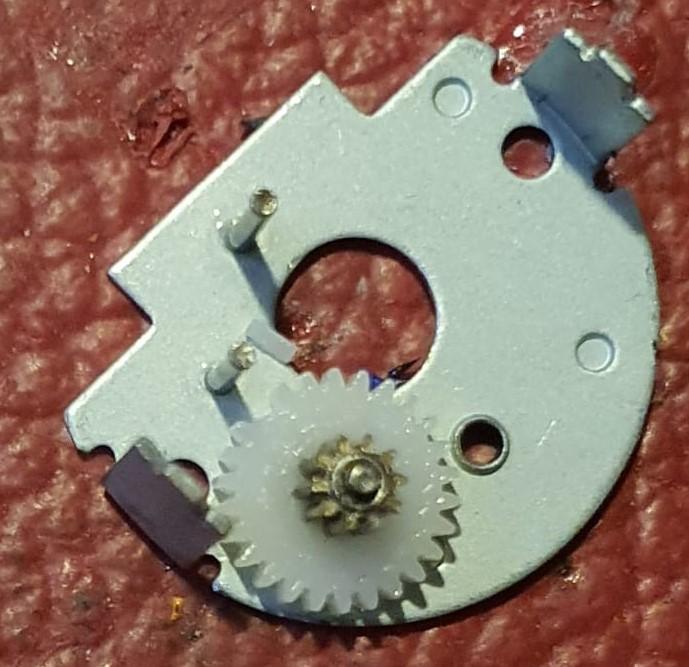
The toolhead stepper of my E3D toolchanger system suddenly broke down.

The cause was a failed tool pickup move,  due to which the rotating axle of the toolhead pickup system got blocked.

After exchanging the stepper I changed the Duet’s settings so the C-drive will not be able to generate too much torque.

This will prevent the last teethed wheel to break whenever the driven pickup axle gets blocked under extreme circumstances.

After opening the case of the failed reduction box, I discovered 1 broken tooth of the final gear.

I ordered me a new one, and mounted this.  And I changed the C-drive’s settings to make use of the stall mechanism.  It took some tweaking to get this to work properly.  After all, picking up a tool must still work as this is the base intention.

All is OK again!

E3D toolchanger Hymera fans 2, 4, 6 and 8 intermittent problem solved

In the end, the solution to my intermittent on/off problem with my toolfans on the Hymera direct drives was extremely simple.

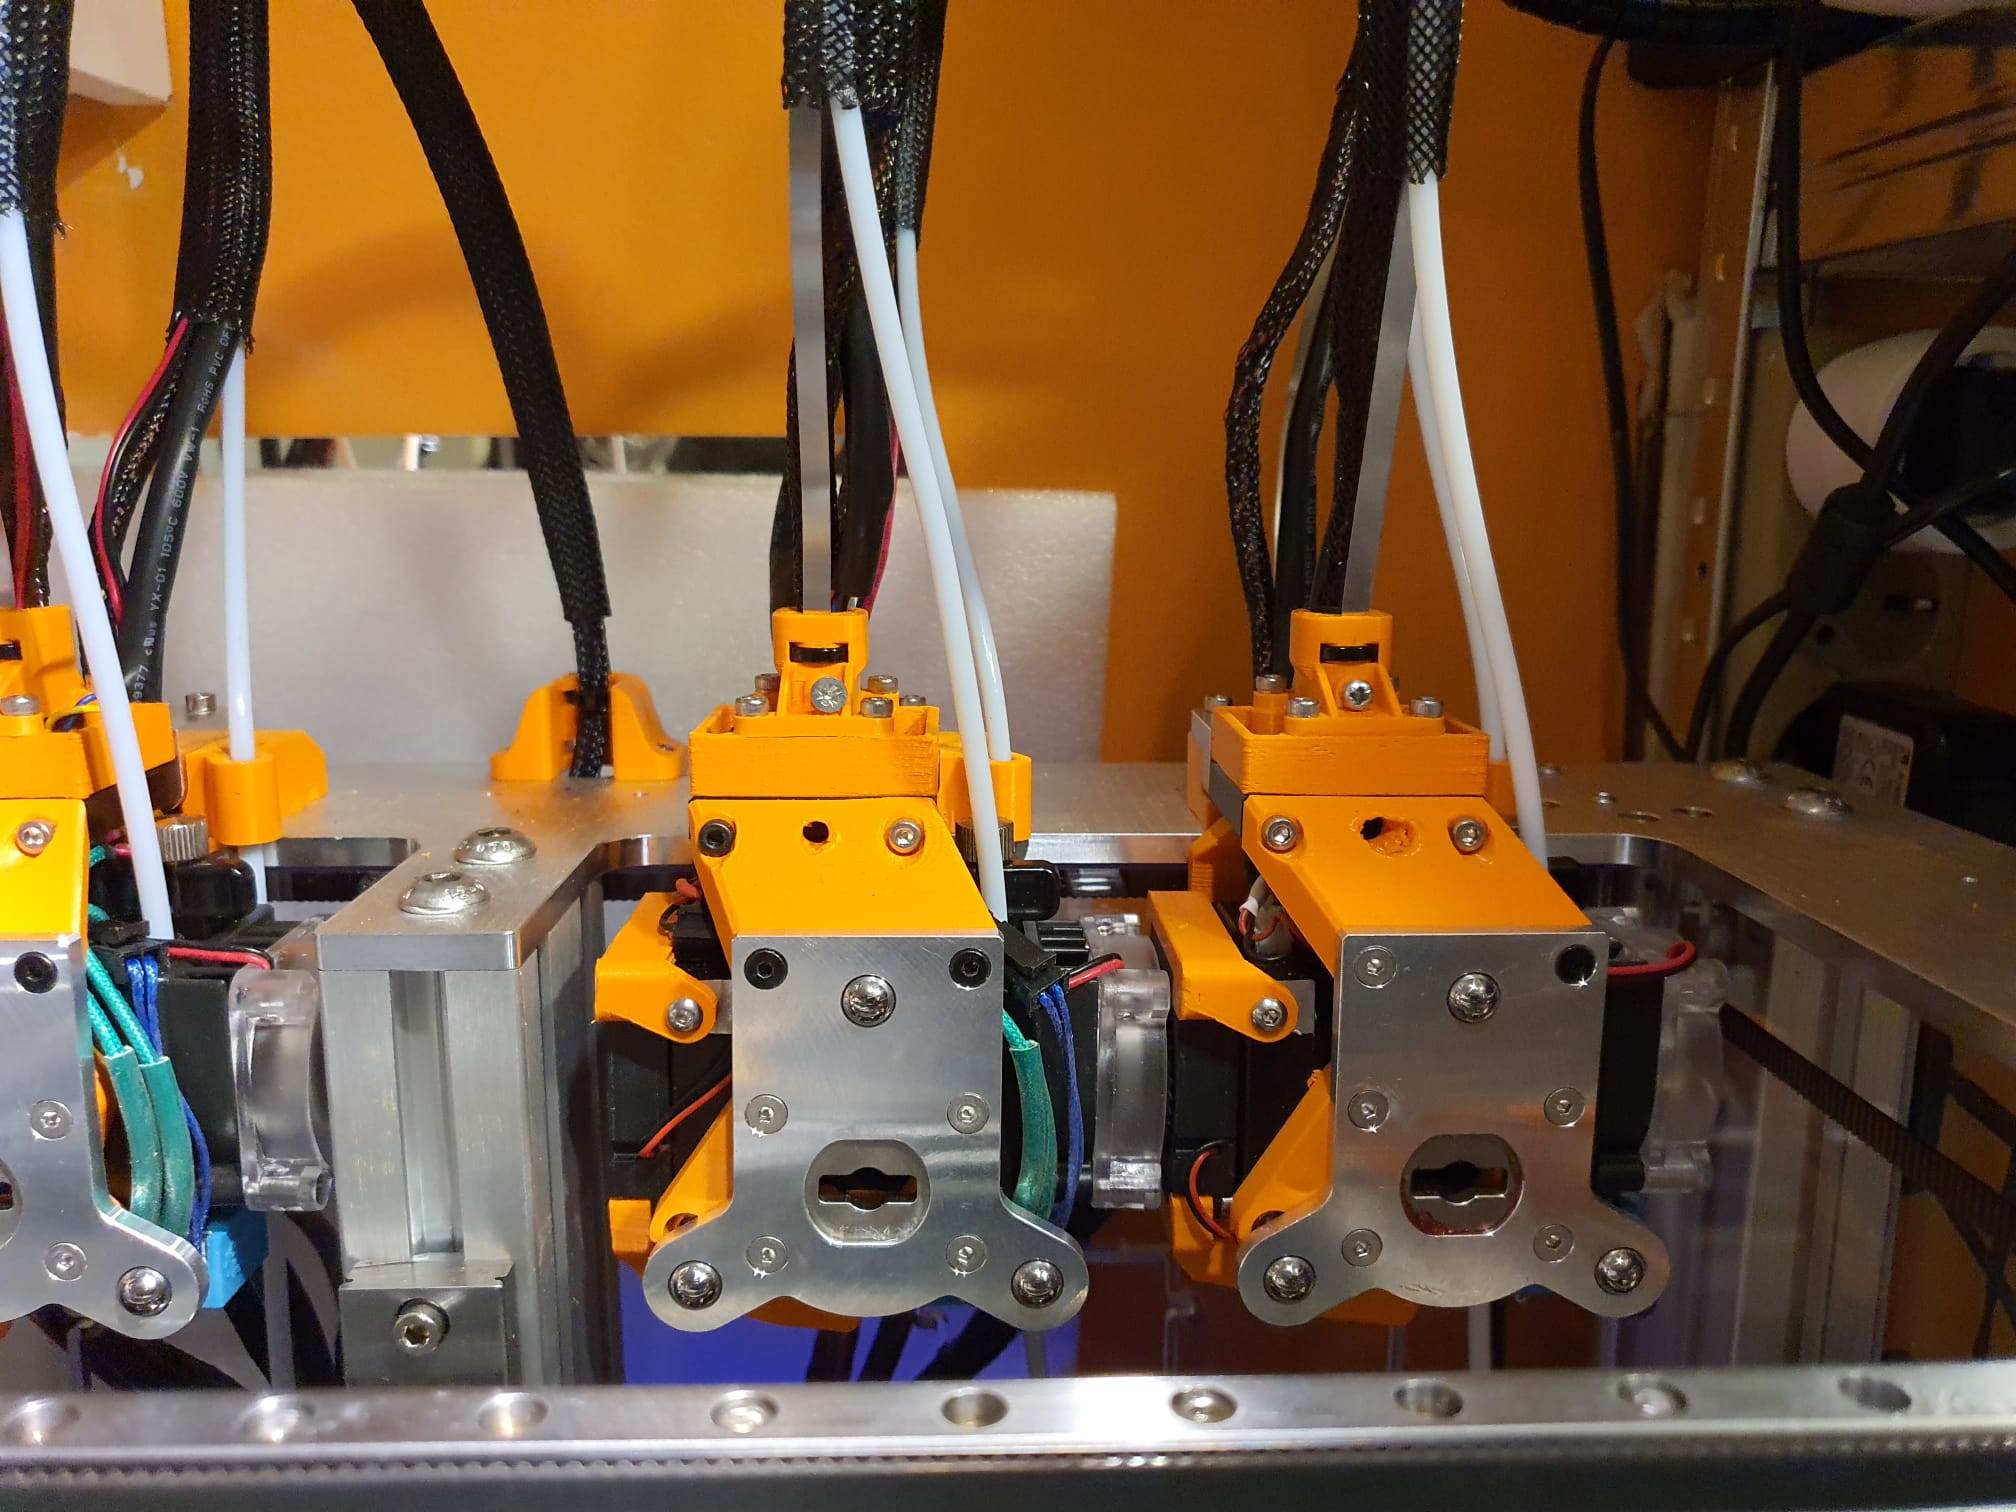
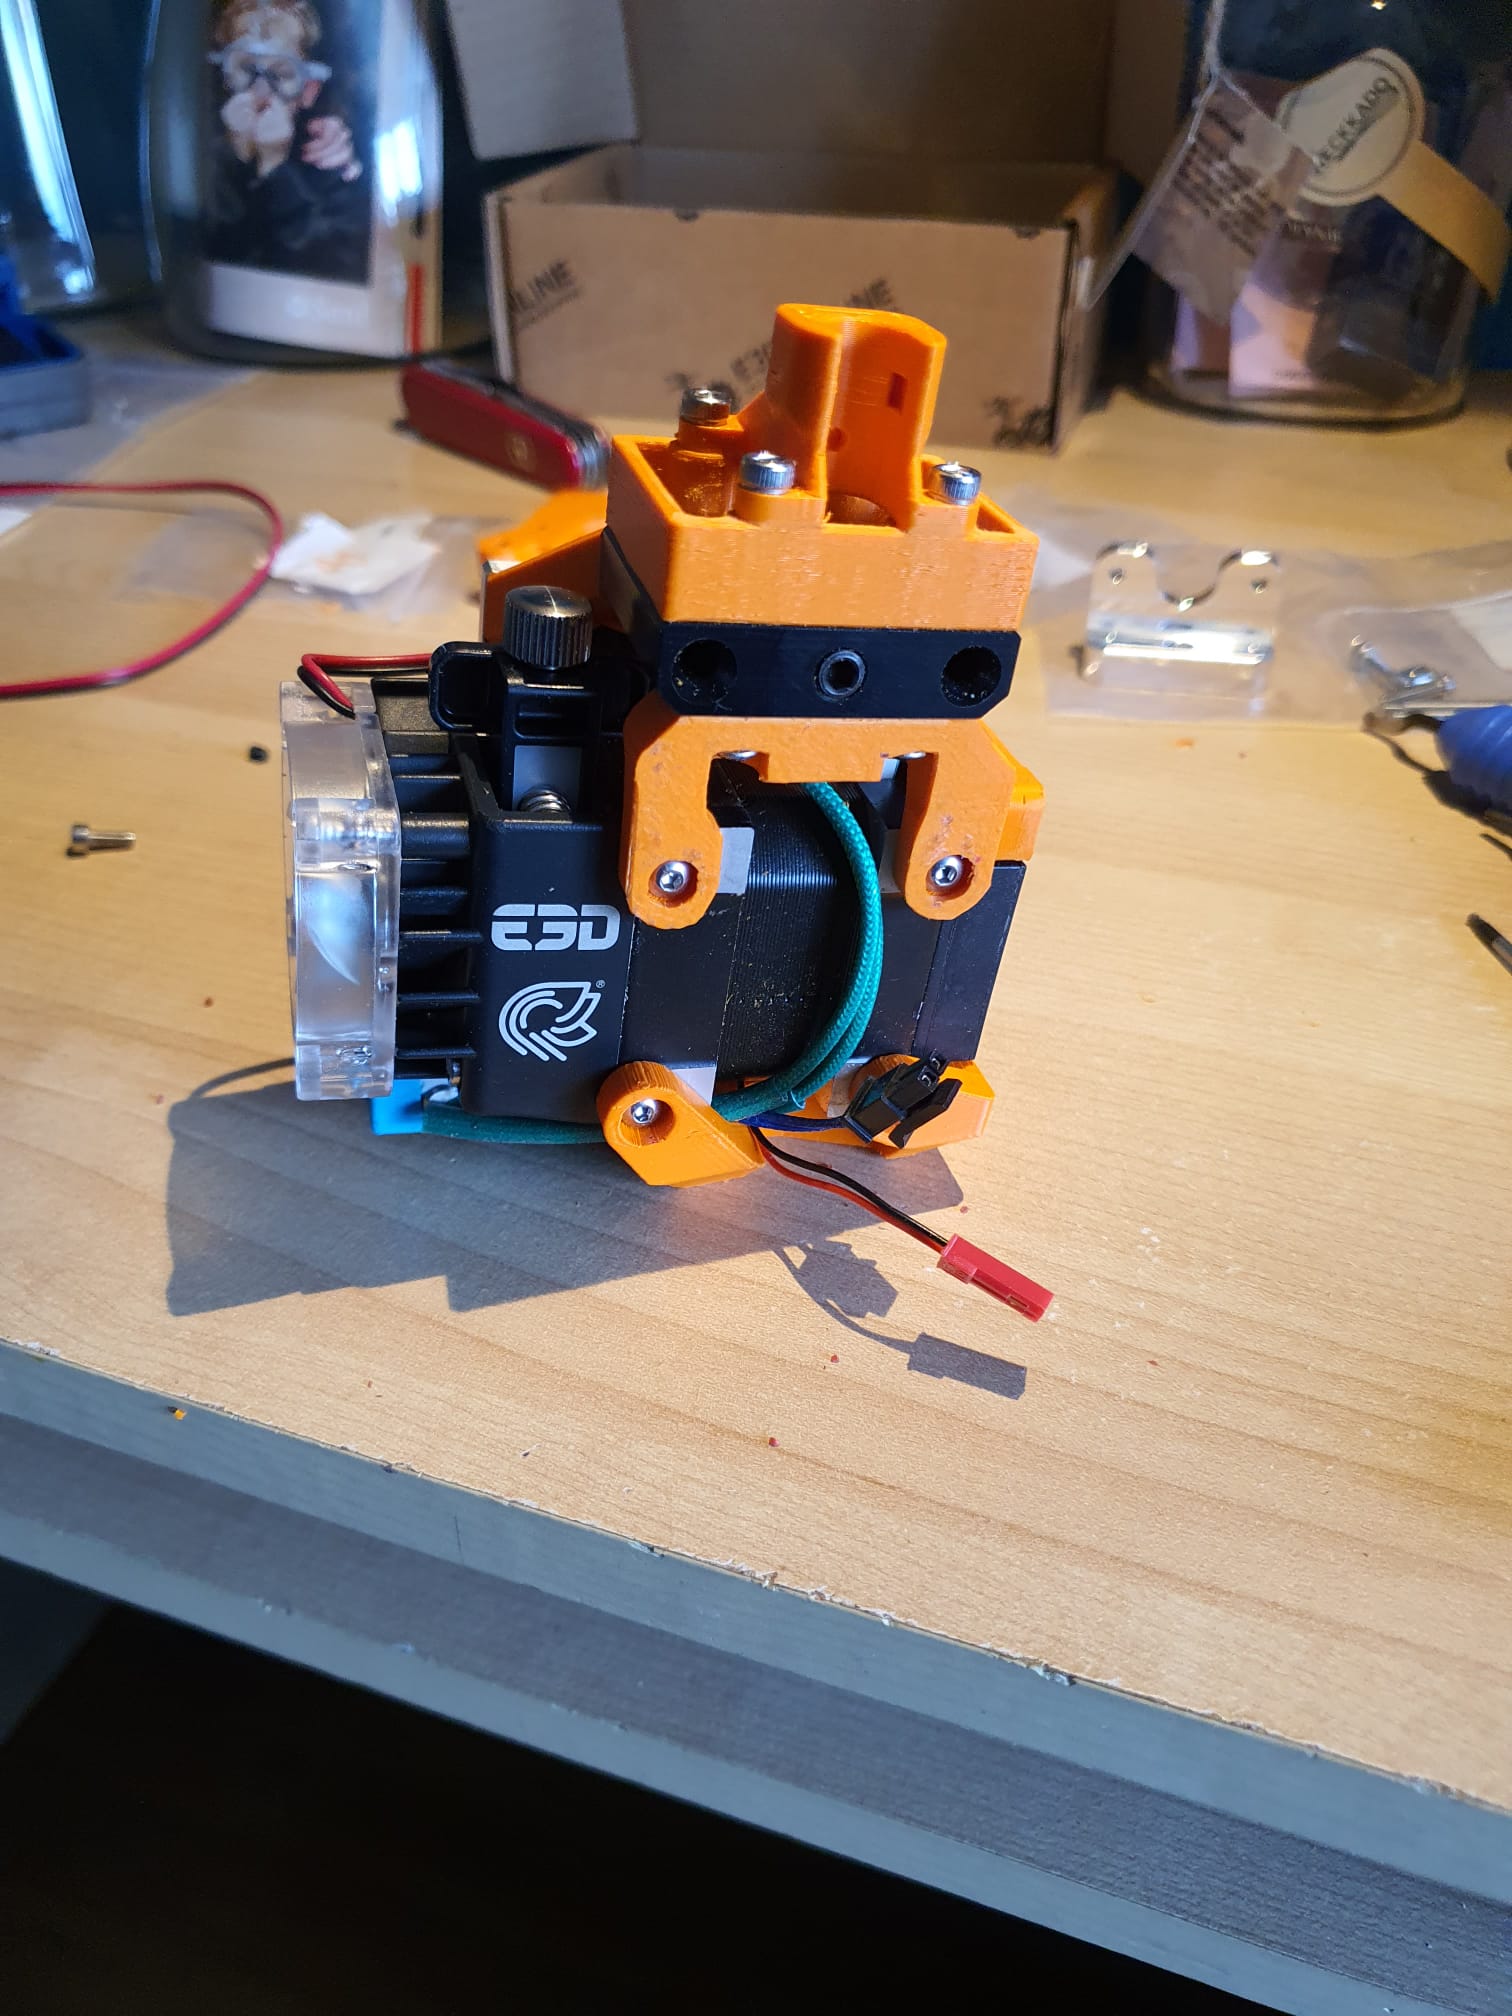
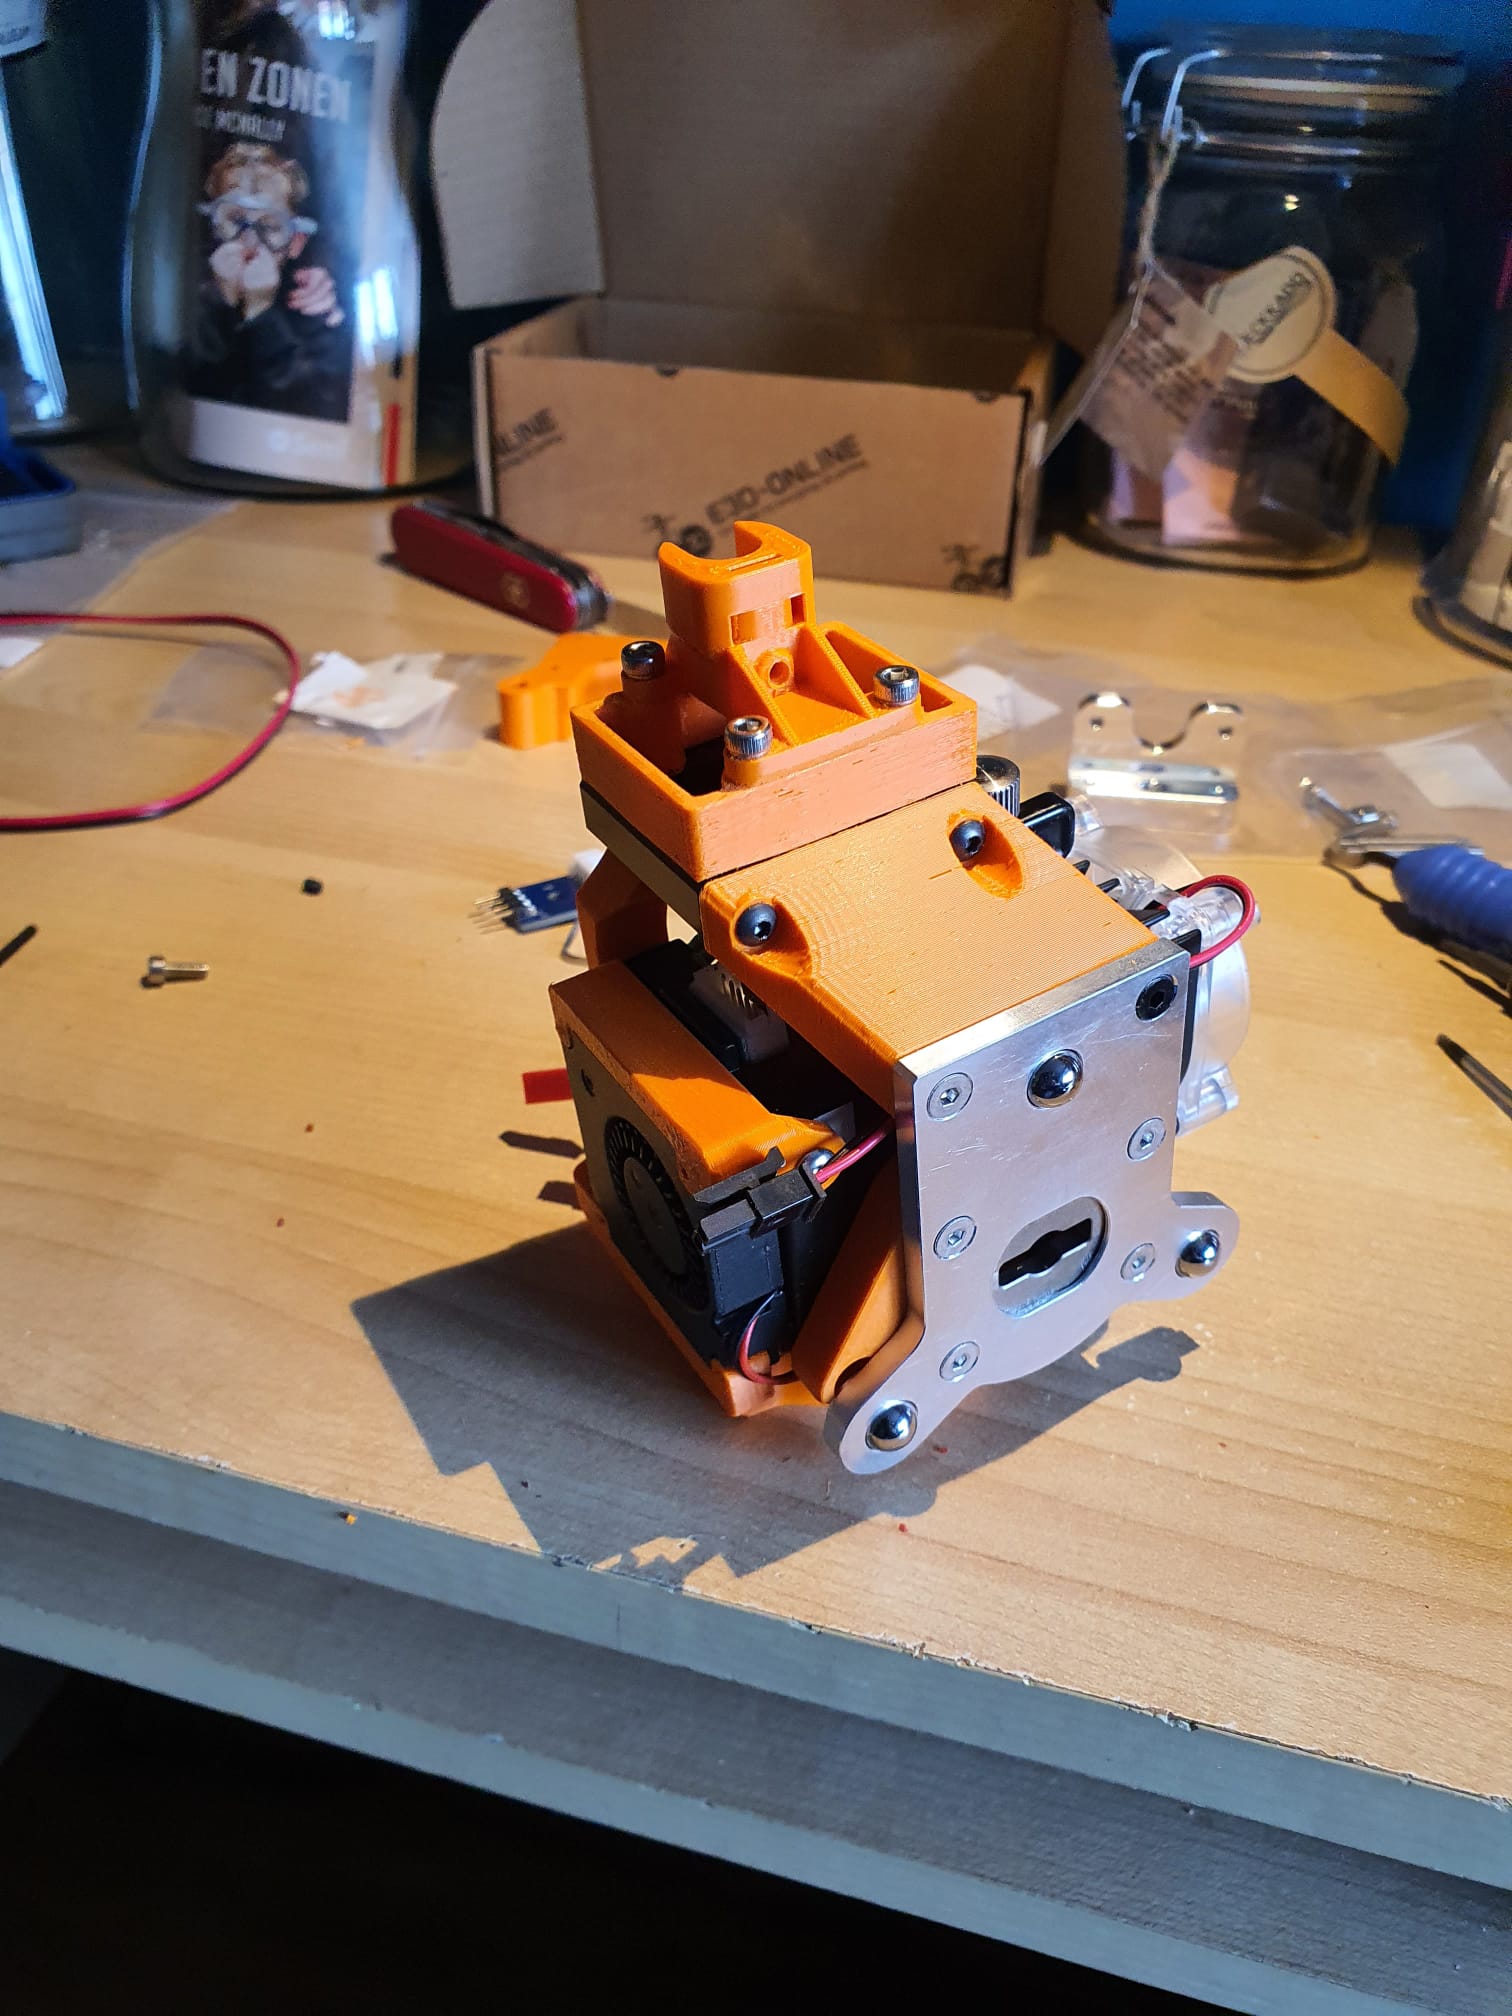
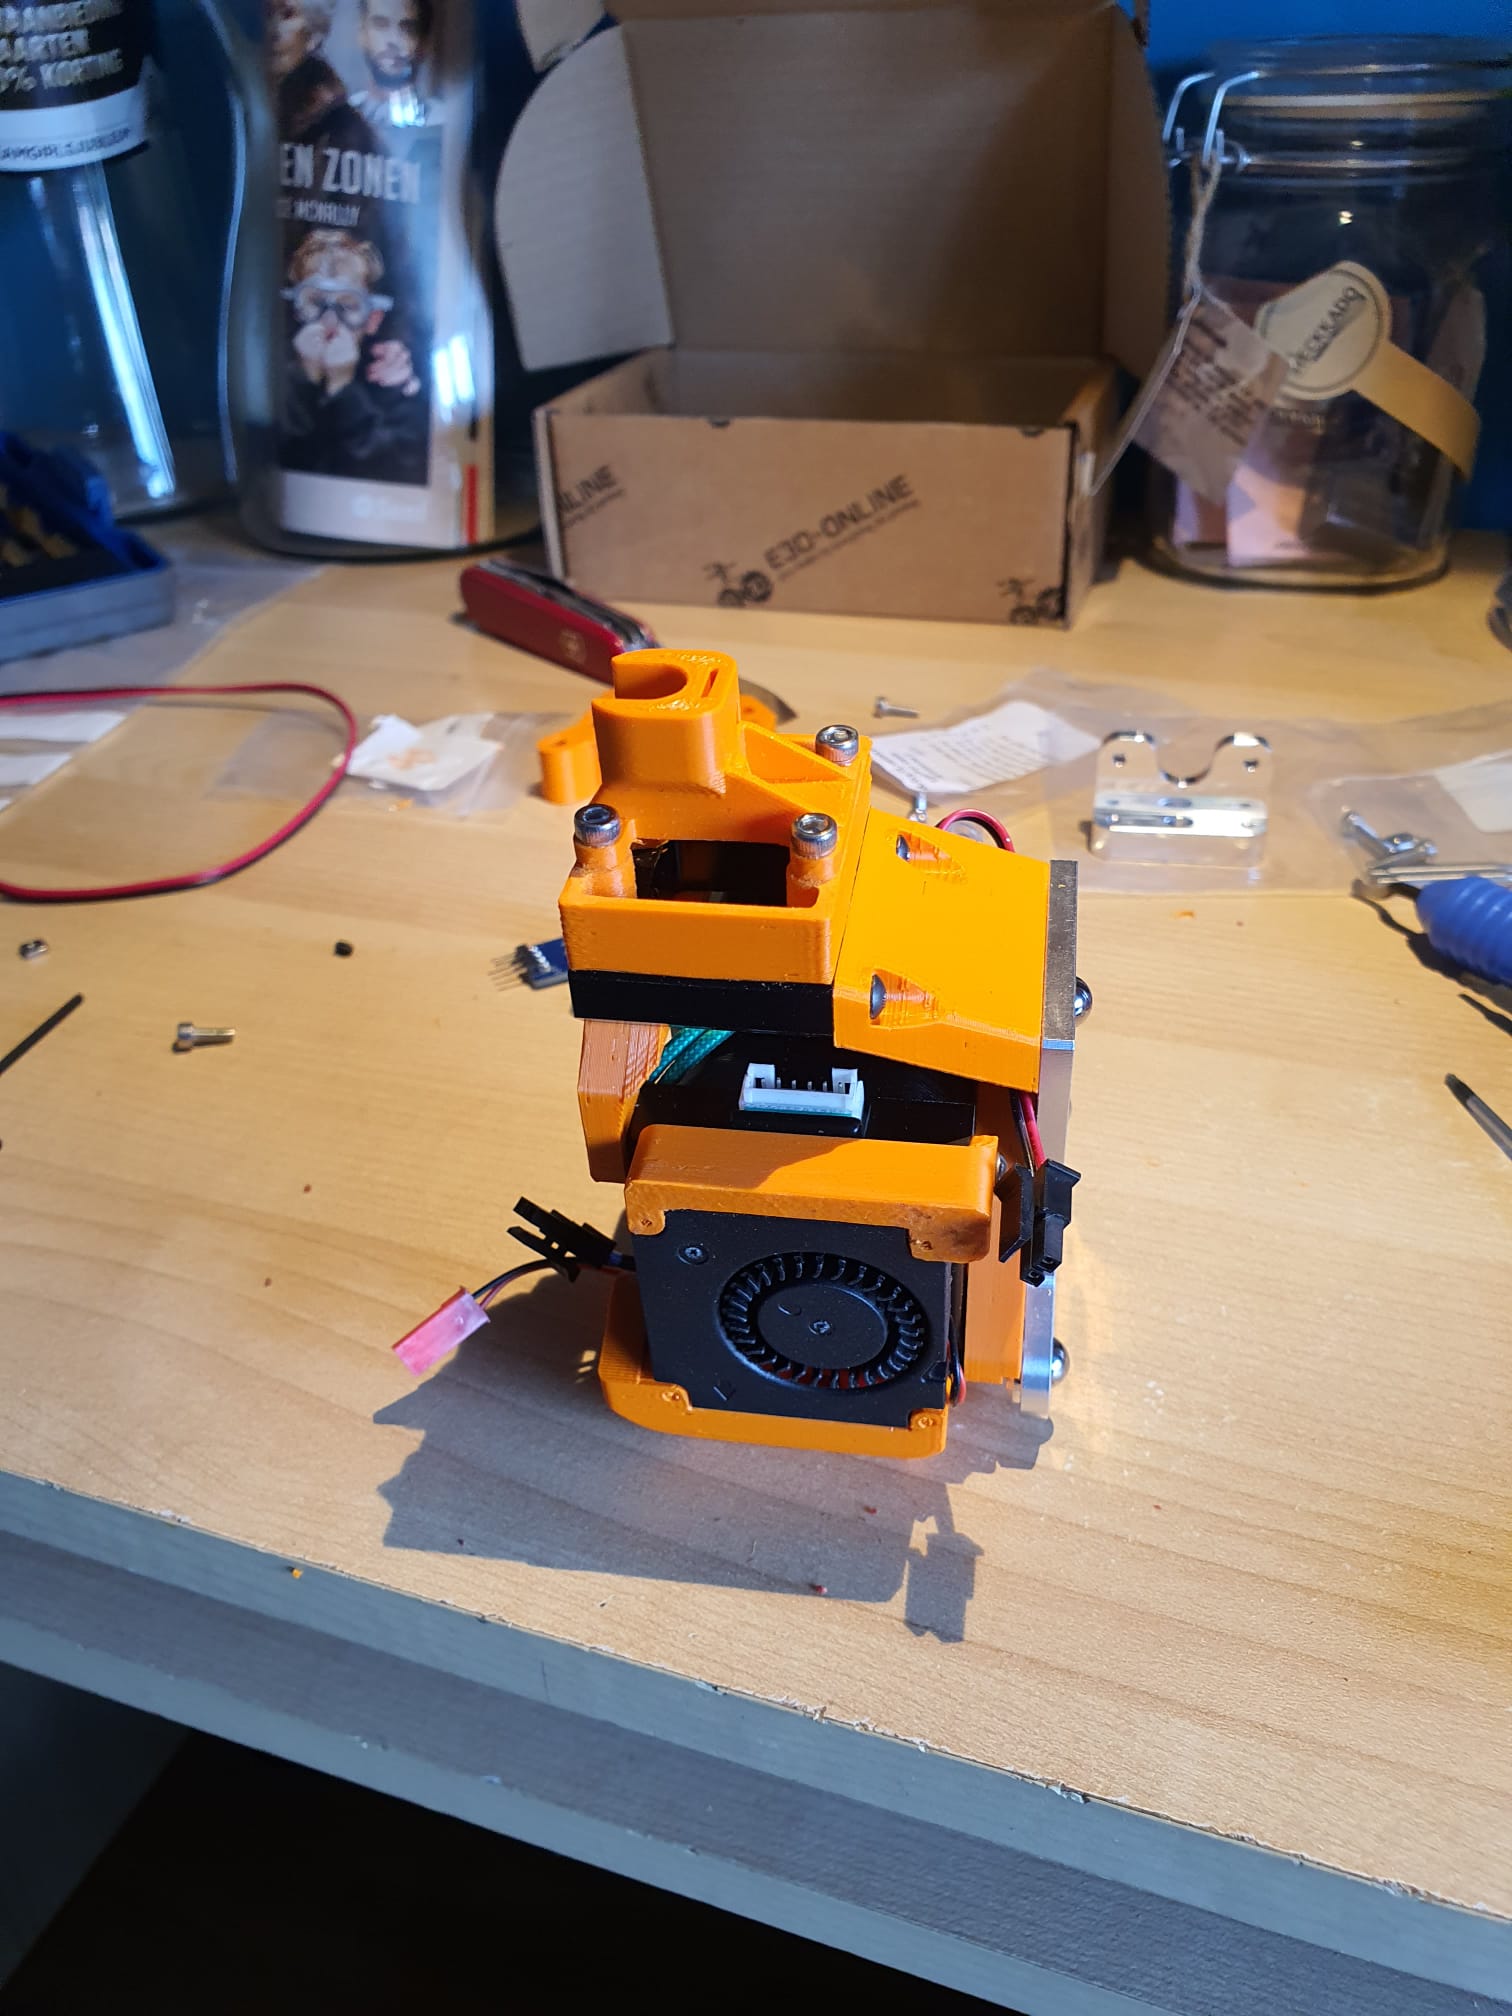
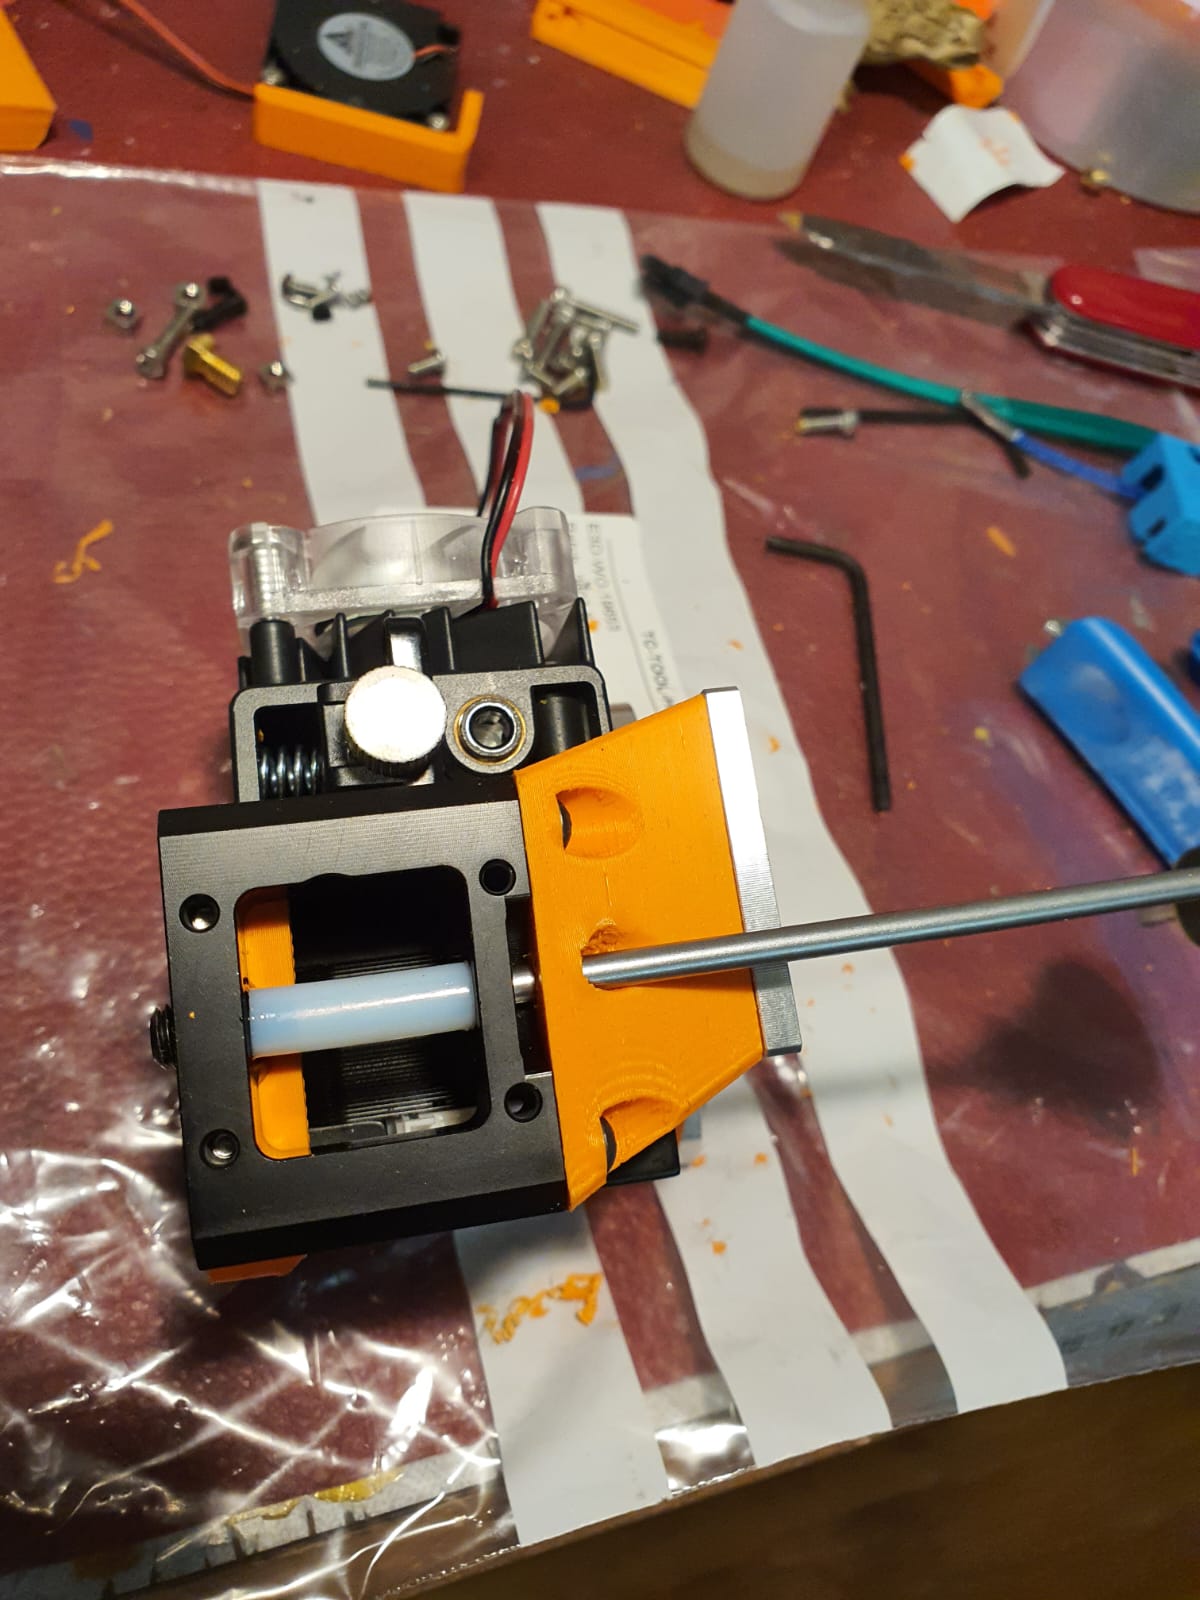
The picture shows the solution, as the Hymera stepper driver obviously interferes with the 40mm fans.  The problem was that these fans 2,4,6 and 8 not always started spinning.

I tried to exchange the fans which did not help, tested the Voltage, current , settings and so on.  Everything appeared to be OK.

Strangely enough, when testing the fan off the Hymera tool, even including the duct attached, everything woked fine.  Just did not work when mounted on the Hymera.

Finally, Just trying some things, I pushed a thin steel plate (NOT RVS) in between the fan and the stepper motor, and now it always works, even at 5% PWM!   Problem solved!

After testing at all tools, I made 4 better fitting thin plates and mounted these at the 4 tools and no problem exists anymore, ever since!

Custom E3D toolchanger Dock adapter plate

Jantec.nl E3D toolchanger Hymera DD DOCK adapter and 3mm shifted adapter download

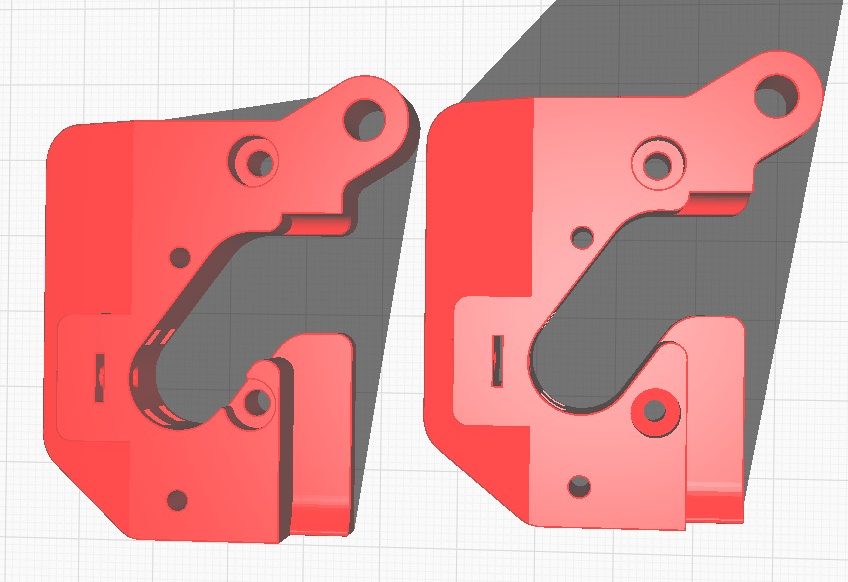
Tool T2 and T3 (3rd and 4th from left) are about 1.5 mm apart in the standard build, which means that T2’s tool fan can draw almost no air. With the new custom adapter, the right tool T3 moves 3 mm to the right, allowing the left tool T2 to once again draw air with the clear fan and cool T2’s heatsink from the Hymera Direct Drive extruder.

With this custom adapter, the respective tool moves up 3 mm, giving you an extra 3 mm of space compared to the left tool.

This makes just enough room for the tool fan of the left adjacent tool to cool the heatsink.

So place this adapter in the 2nd and 4th places with Tool 1 and 3.

This will save the first (T0) and 3rd tool (T2) in terms of cooling!

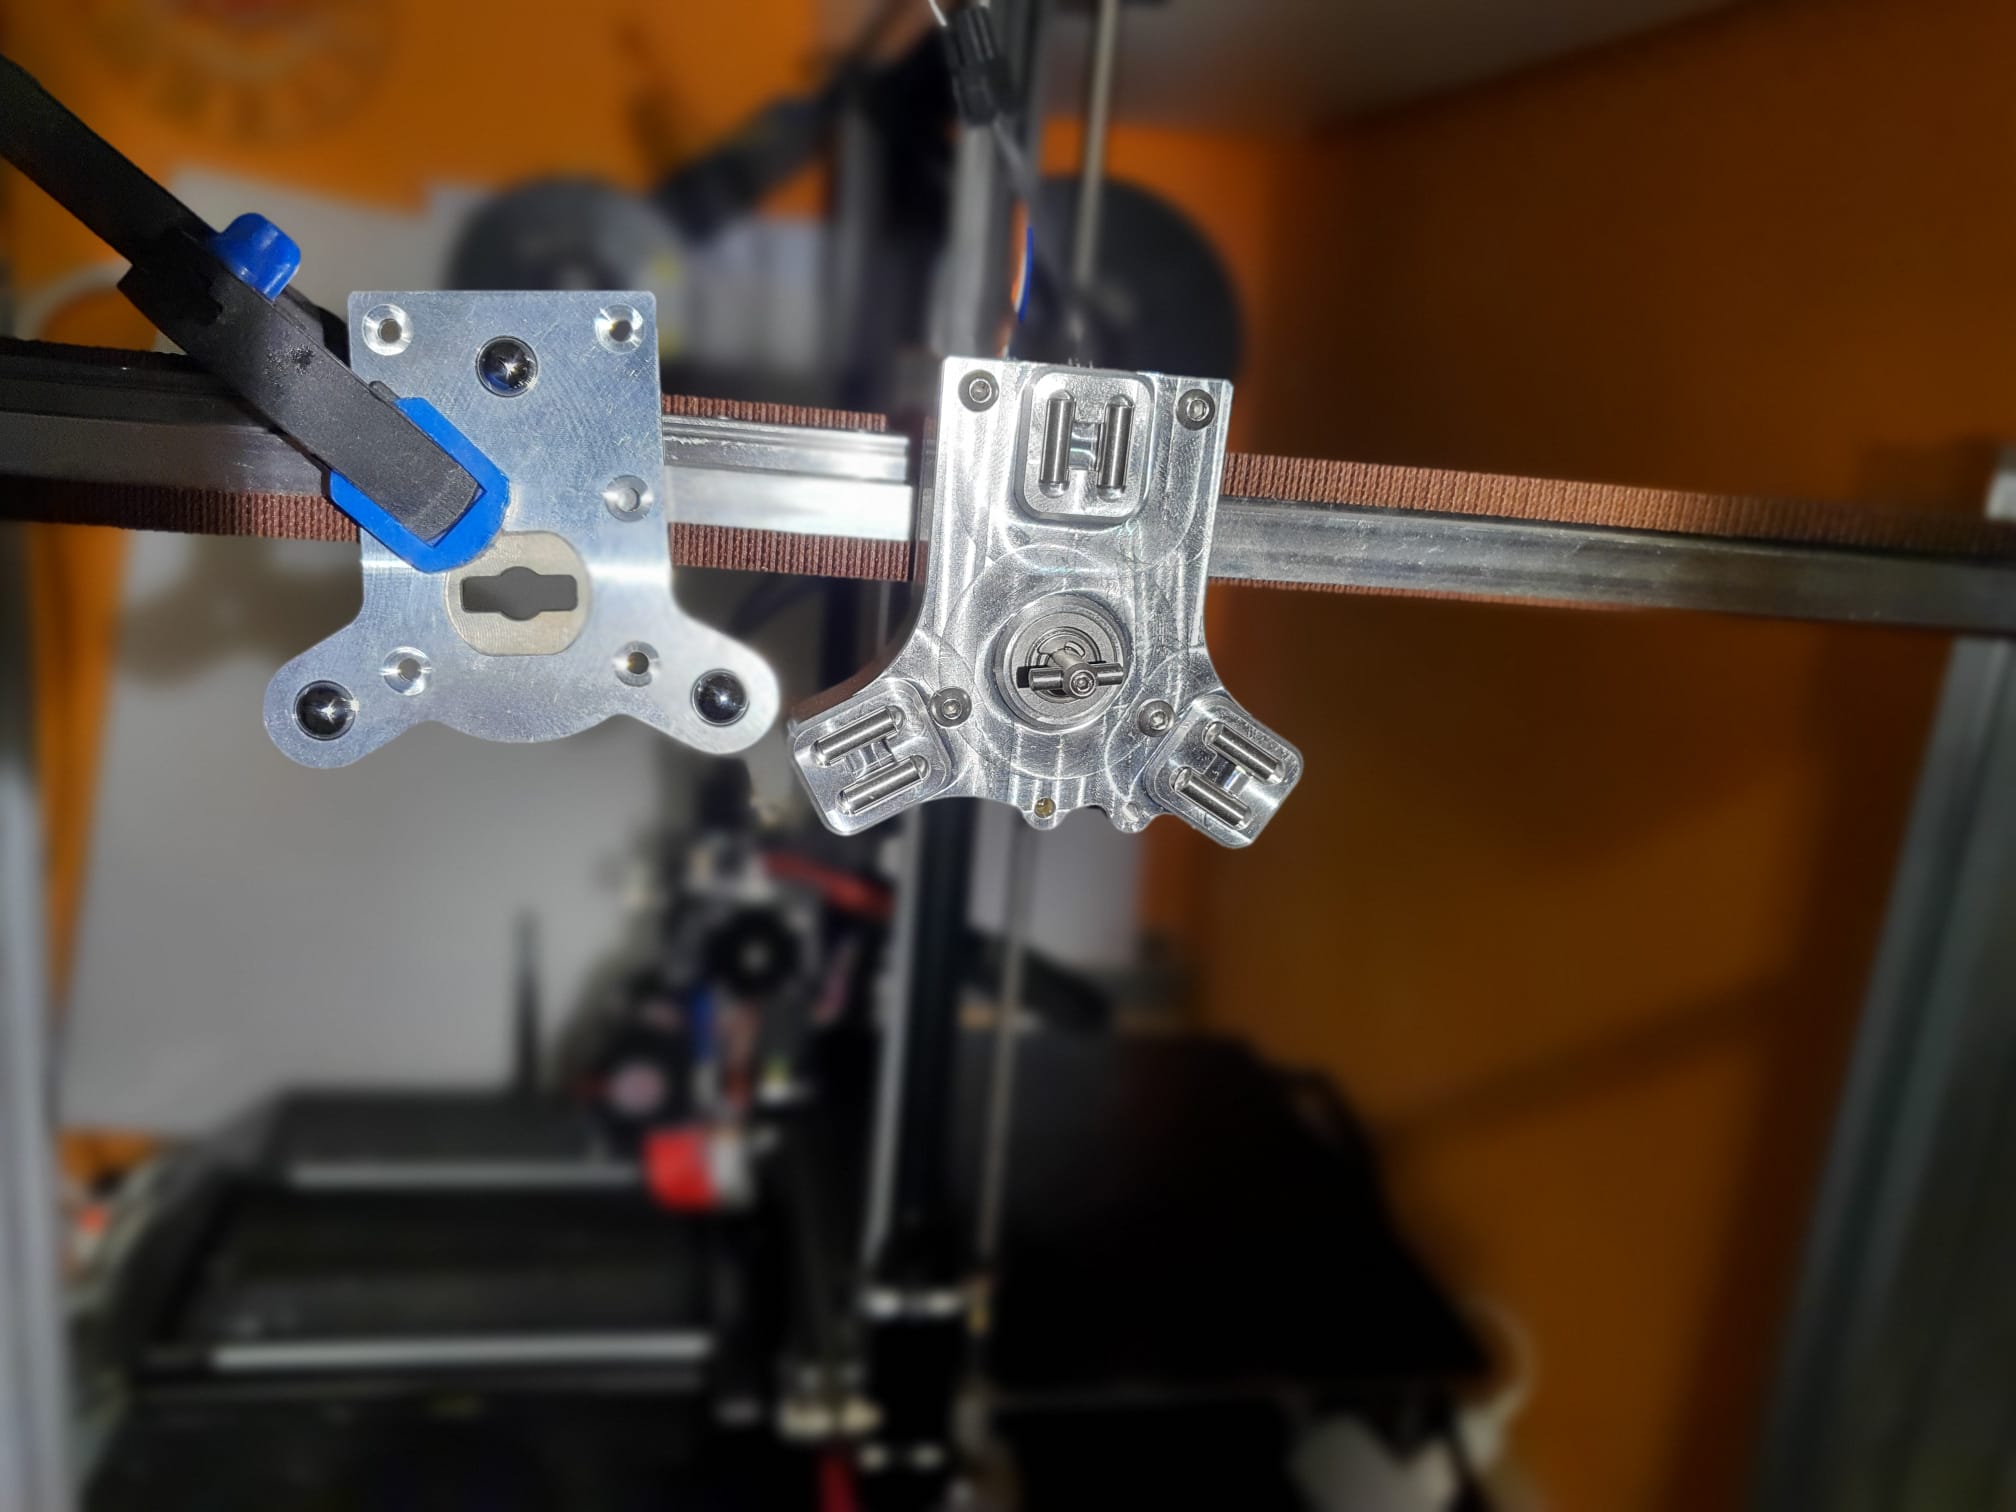
On the left the original version, on the right my version modified in Autodesk Fusion 360 for the tools at position T1 and T3 (2nd and 4th)


Downloads:

Jantec.nl E3D toolchanger Hymera DD DOCK adapter and 3mm shifted adapter

Calibrating E3D coreXY 4-toolchanger 3d printer

I am in the process of calibrating the tools, the overall settings and so on so I can move on with the rest of the tools.

In doing so, I always set all tools to settings that are in comparison to the first tool, T0.

This way, should anything change,  I have a solid reference.

Tomorrow I will build and install the 2 other Hemera direct drive tools and possibly I can finally have my Benchy testpint made with all 4 Tools!


In the end, calibrating did not work very well and the solution is here:E3D toolchanger upgrade: X-and Y- axis homing switches installing and configuring  and E3D toolchanger: Tuning the tool pickups with reprap global variables and macro’s assistance

Building E3D coreXY 4-toolchanger 3d printer

MORE E3D TOOLCHANGER POSTS


4xHemera direct drive first prints 

Tuning the tool pickups with reprap global variables

X-and Y- axis homing switches installing and configuring

Hymera fans 2, 4, 6 and 8 intermittent problem solved

E3D 4-toolchanger 3D printer updates

Custom E3D toolchanger Dock adapter plate

Calibrating E3D coreXY 4-toolchanger 3d printer

multicolor gadget open hollow multicolor 3d printer designs

Toolhead stepper fault and solution

BUILDING MY MULTICOLOR E3D PRINTER

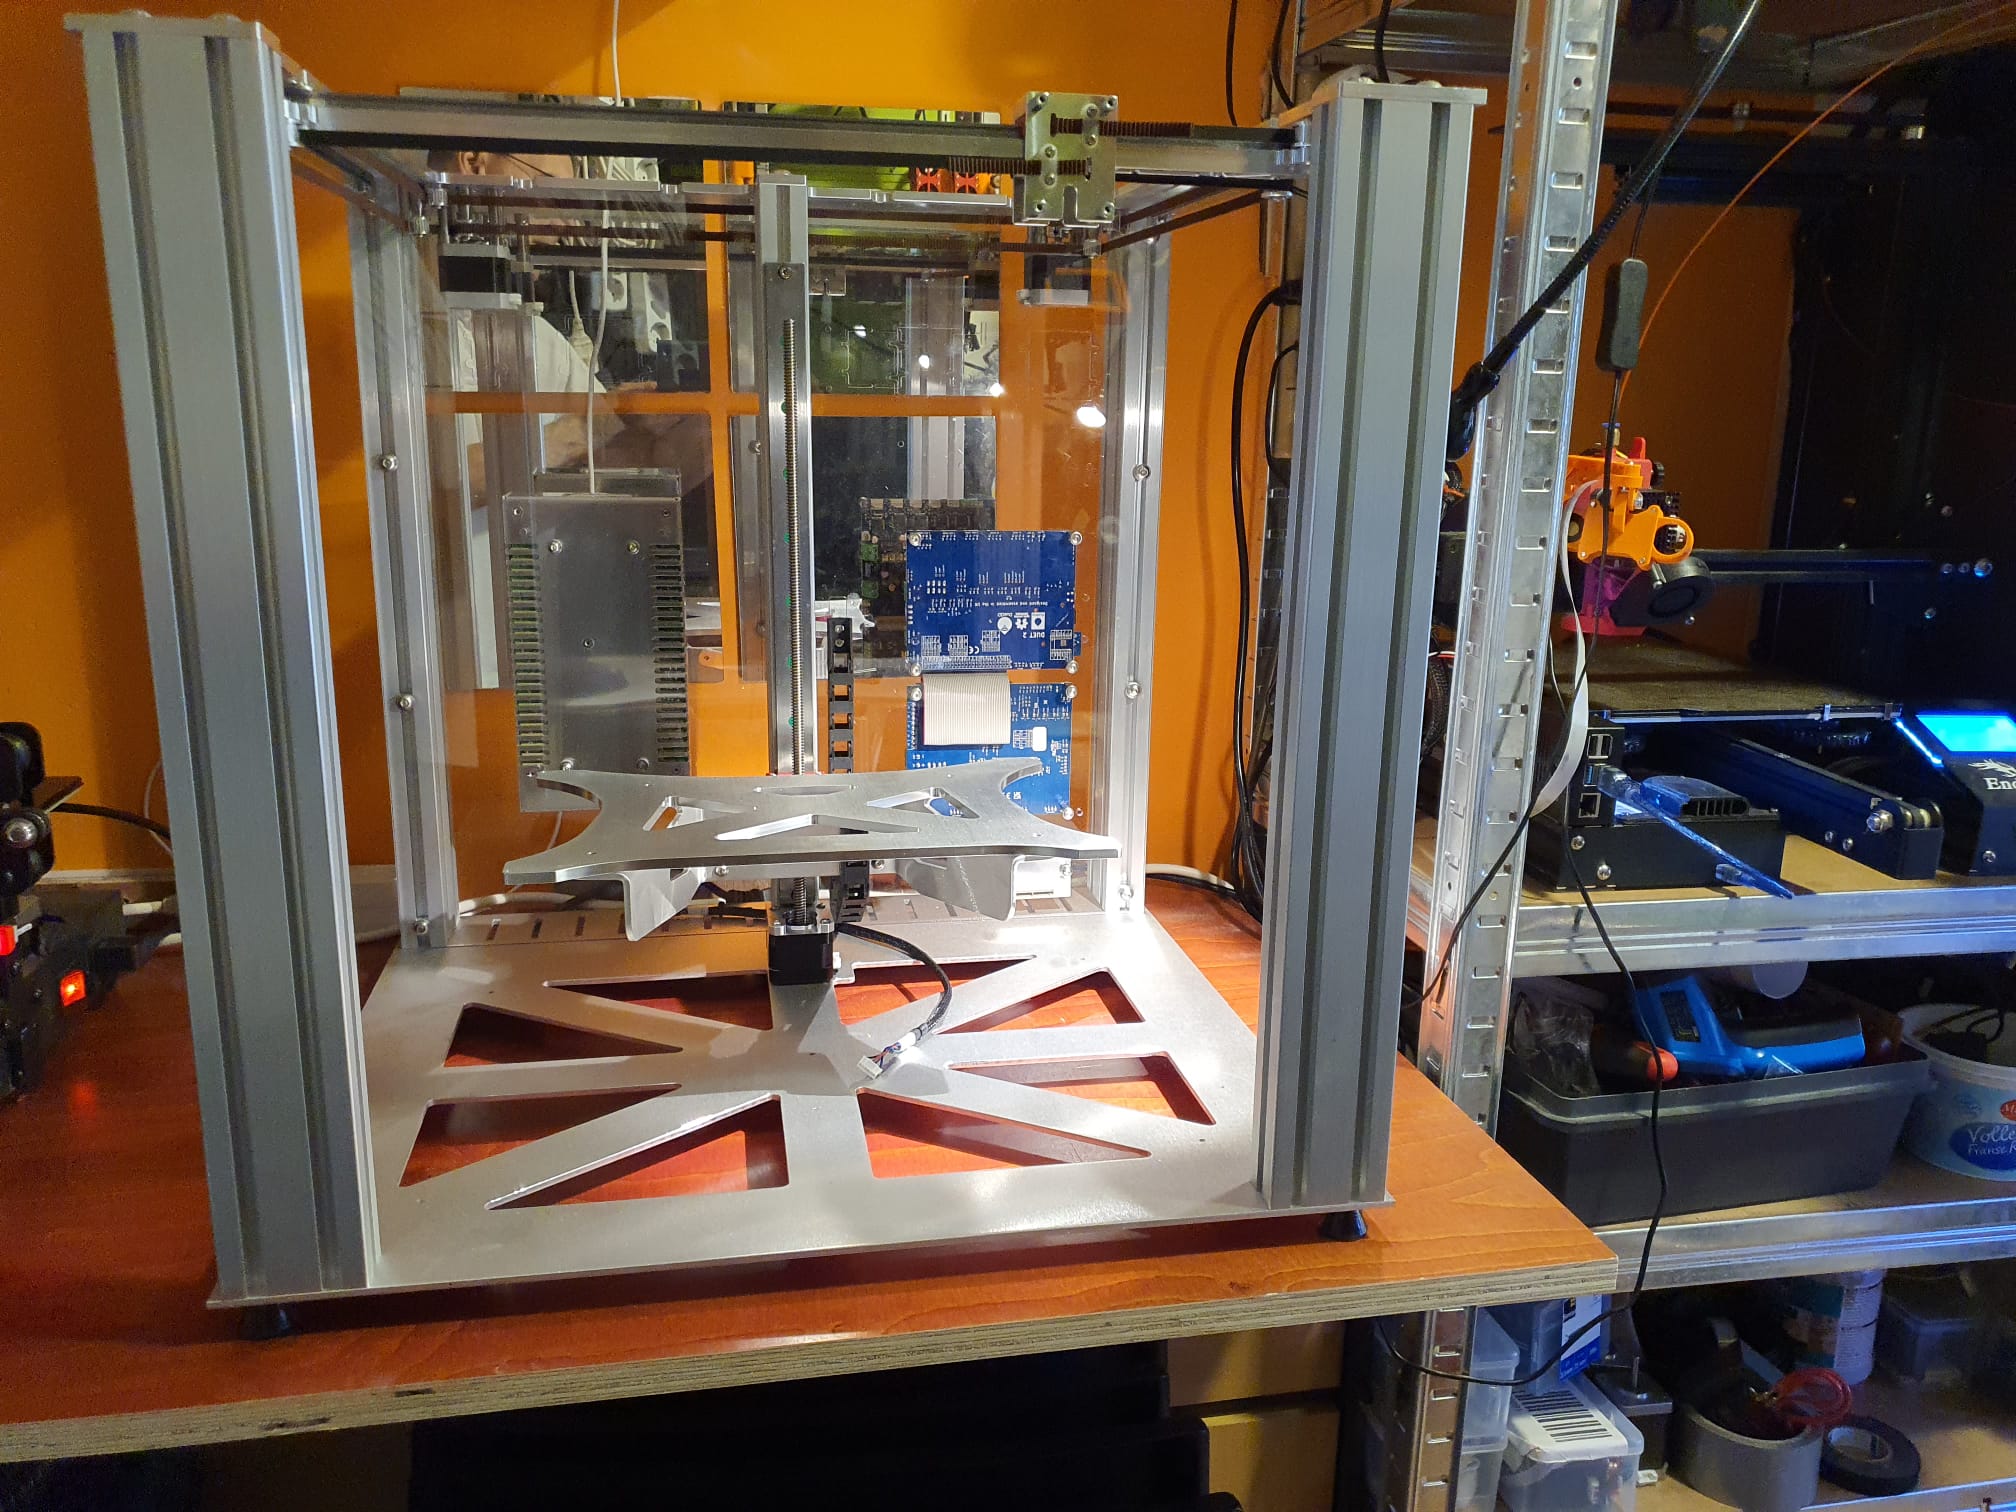
June 2022: Last week I ordered the E3D toolchanger 3d printer kit and today I built it (almost completely).

The delivery went a bit awkward from England, because of the VAT and clearance fees you have to pay in NL.

Because my Voron 2.4 is fast, but could not print everything in one day, I have to assemble 3 more extruders.

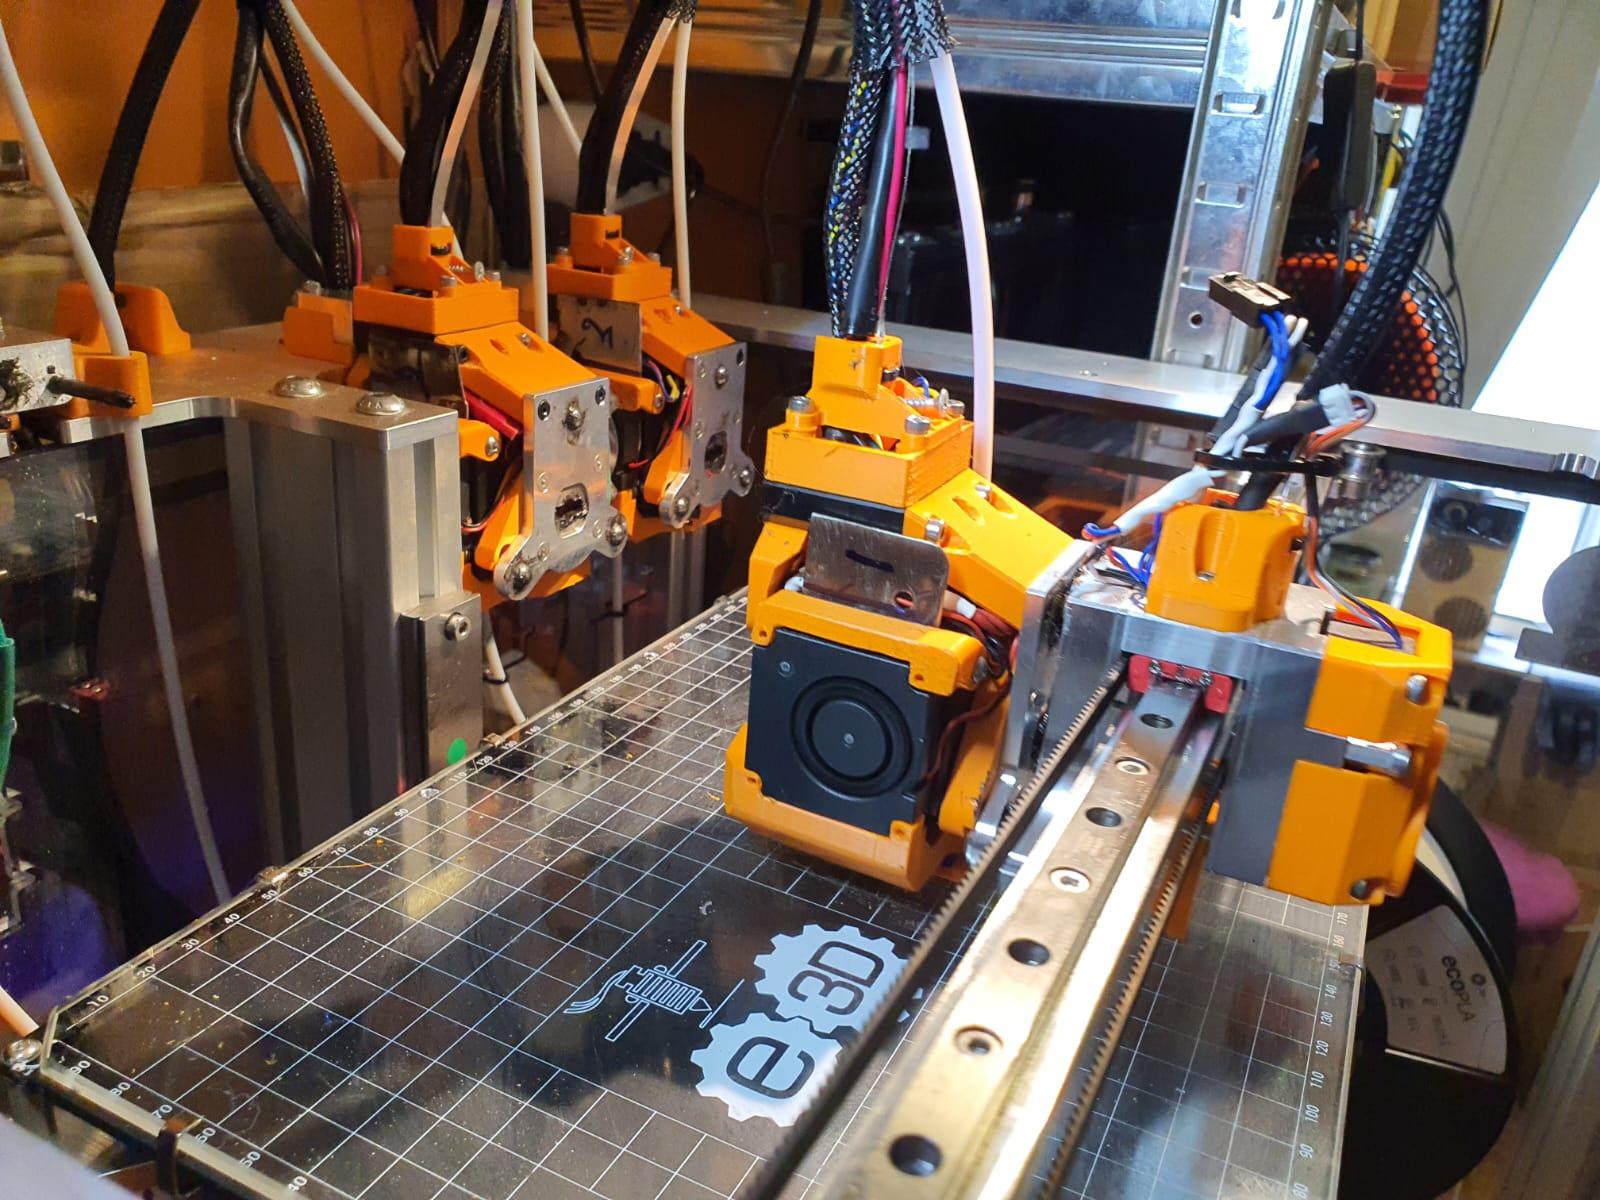
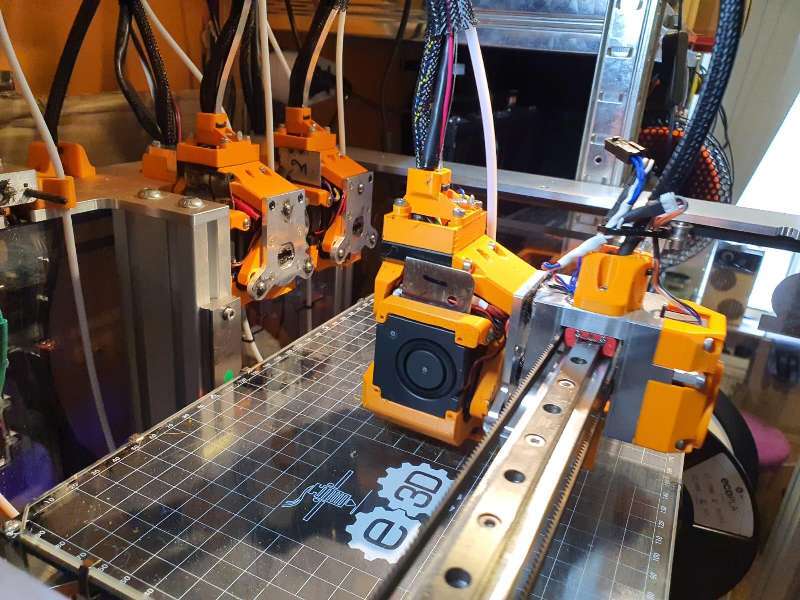
Below you can see my shot with a Hemera direct drive extruder mounted on the right side.

To be able to follow everything on the video, I set all of the tool change speeds to 10x slower for a moment.

After the first day of test runs I swapped the original Duet2wifi board for a Chinese clone.

From the clone the wifi is impeccable, but the new updated wifi module on the original Duet2wifi is also with all the updates not working properly.

Every time I perform a remote reboot after a config change the wifi crashes and the board eventually connects fictitiously to IP address 255.255.255.255.

Searched all sites for help but found nothing.

Lack of experience can hardly be it, I have plenty of printers running fine on duet2wifi.

Just to be sure I have ordered an original Duet ethernet board, then I can convert the original board to duet2ethernet and I can at least still use it.

I ordered the version with 4 tools, the direct drive hemeras.  I also want to work with soft filament.

The nice thing about this experimental printer is that everything works with Duet, and I have quite a bit of experience with that.

The E3D TC will be my first semi-pro multicolor printer.

I have an Ender3 pro with MMU2S, an A30M with Chimera dual nozzle and an I3BearV3 with dual magnetic carriages.

But out of these 3 systems there is no one that really makes perfect prints.  They each have their specific qualities and features.

The Ender3/MMU2S can quickly print PLA and PETG with 5 colors but requires a filament spillage tower on the bed and is very cumbersome and slow to use.

TheA30M with Chimera is nice and fast and large (300x300x400mm) in build volume.  But the print quality is reasonable at best.  The dual nozzle Chimera with the nozzles at the same height hits with each movement just with the unused nozzle the tip of the filament deposited by the active extruder.  This results in smudges and a less beautiful print.  Yet I use this reasonably often, especially for quick test prints and at 0.2 0f even 0.3 mm layer height.  That works fine.

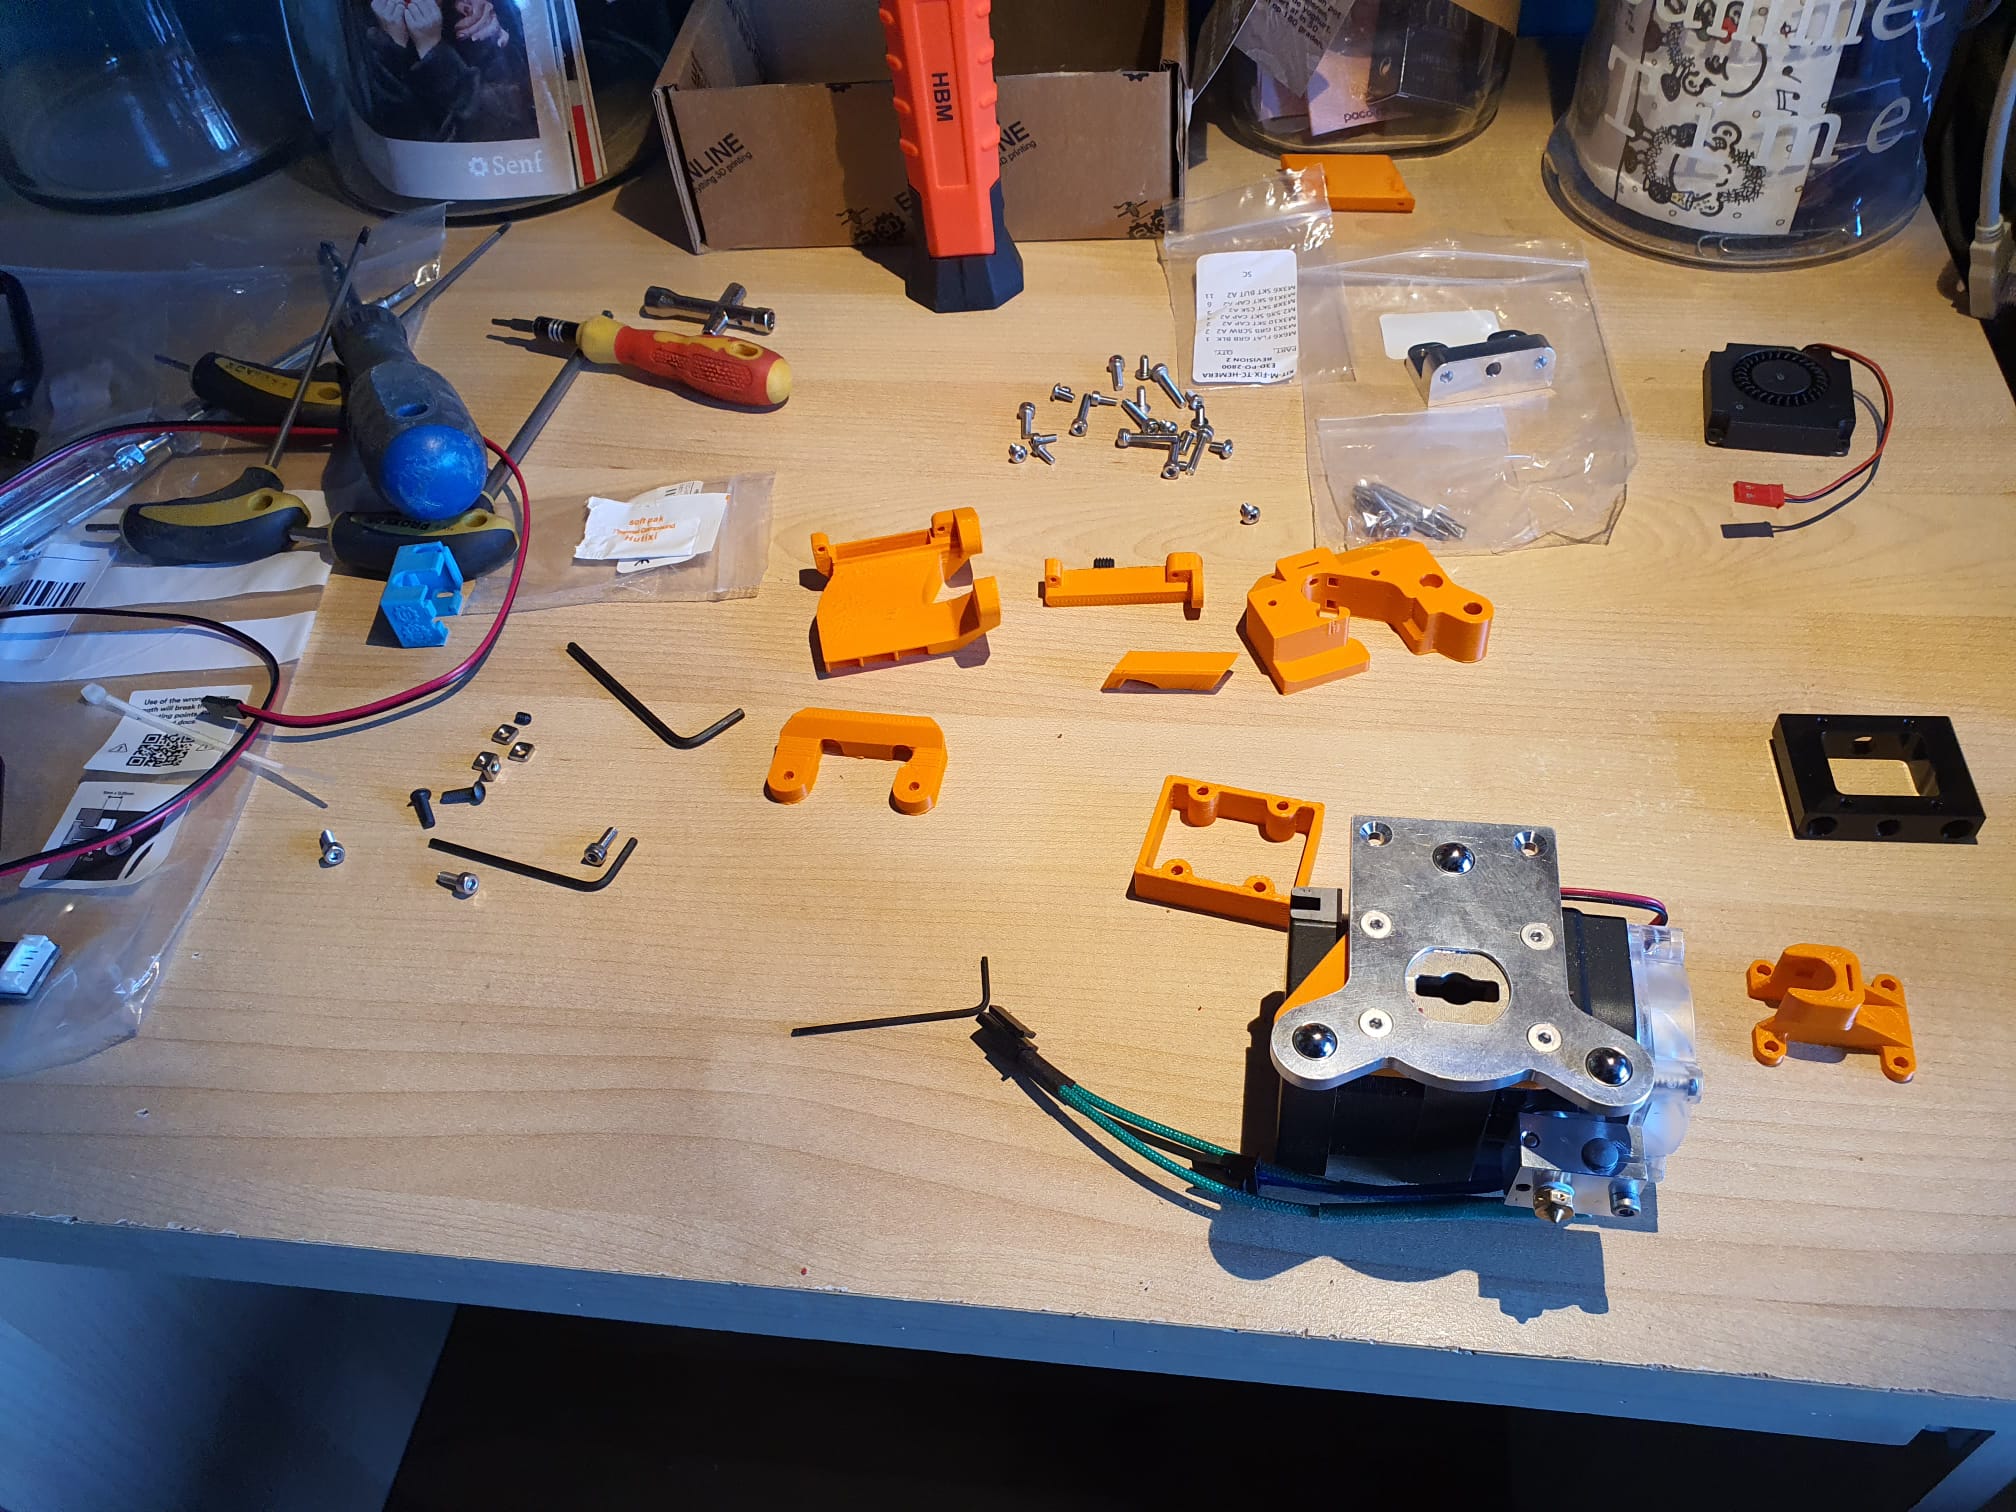
First impressions:

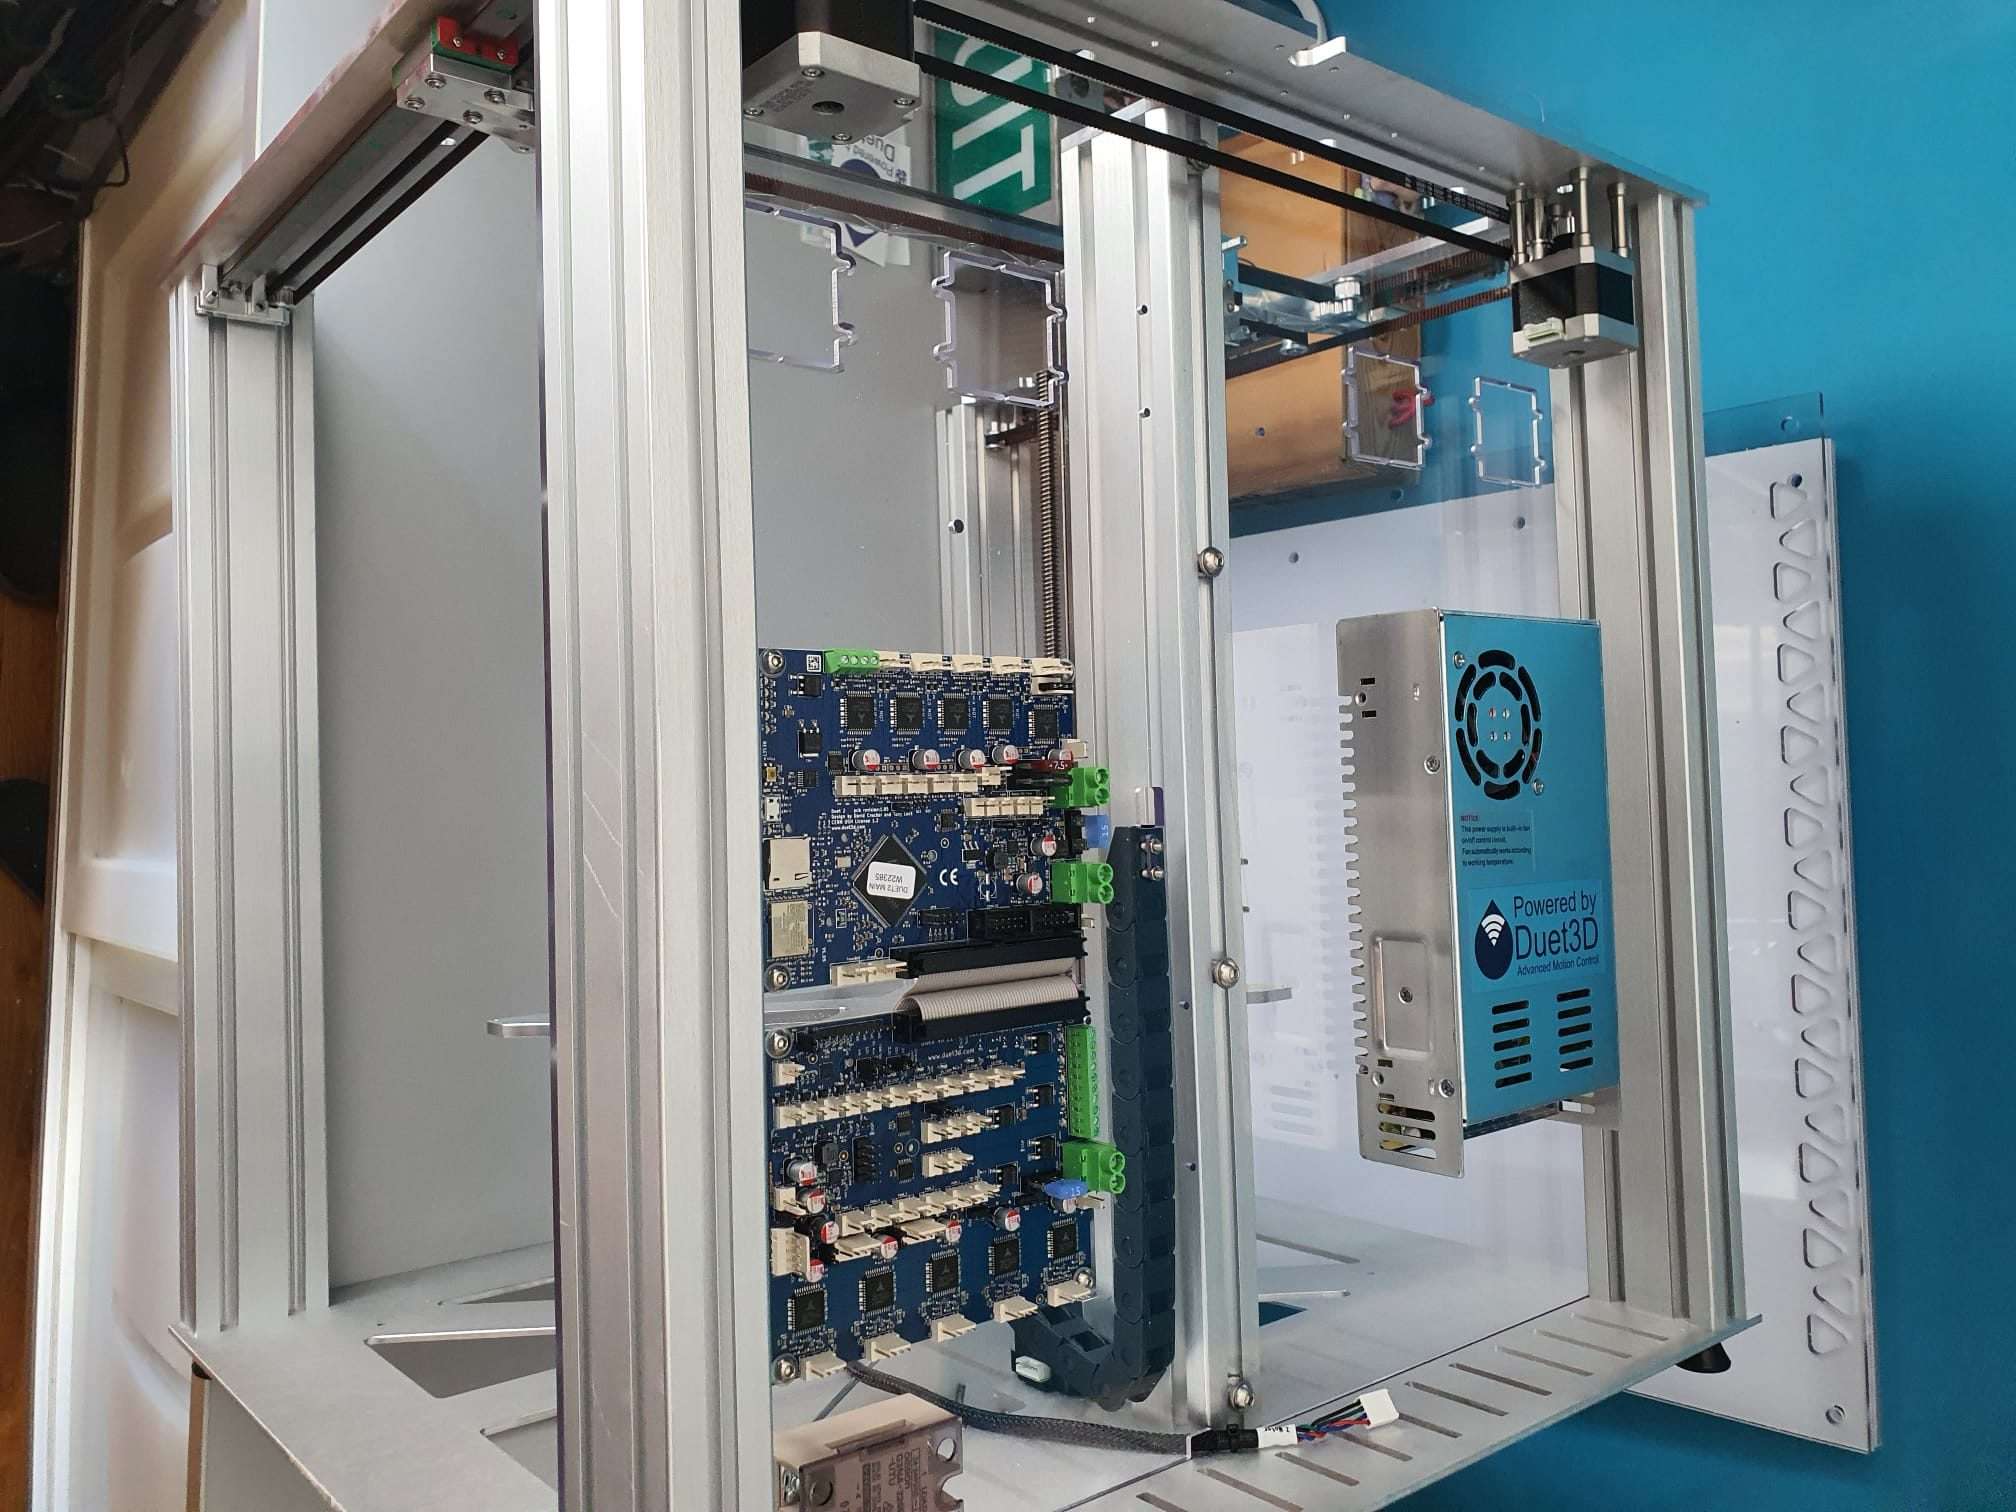
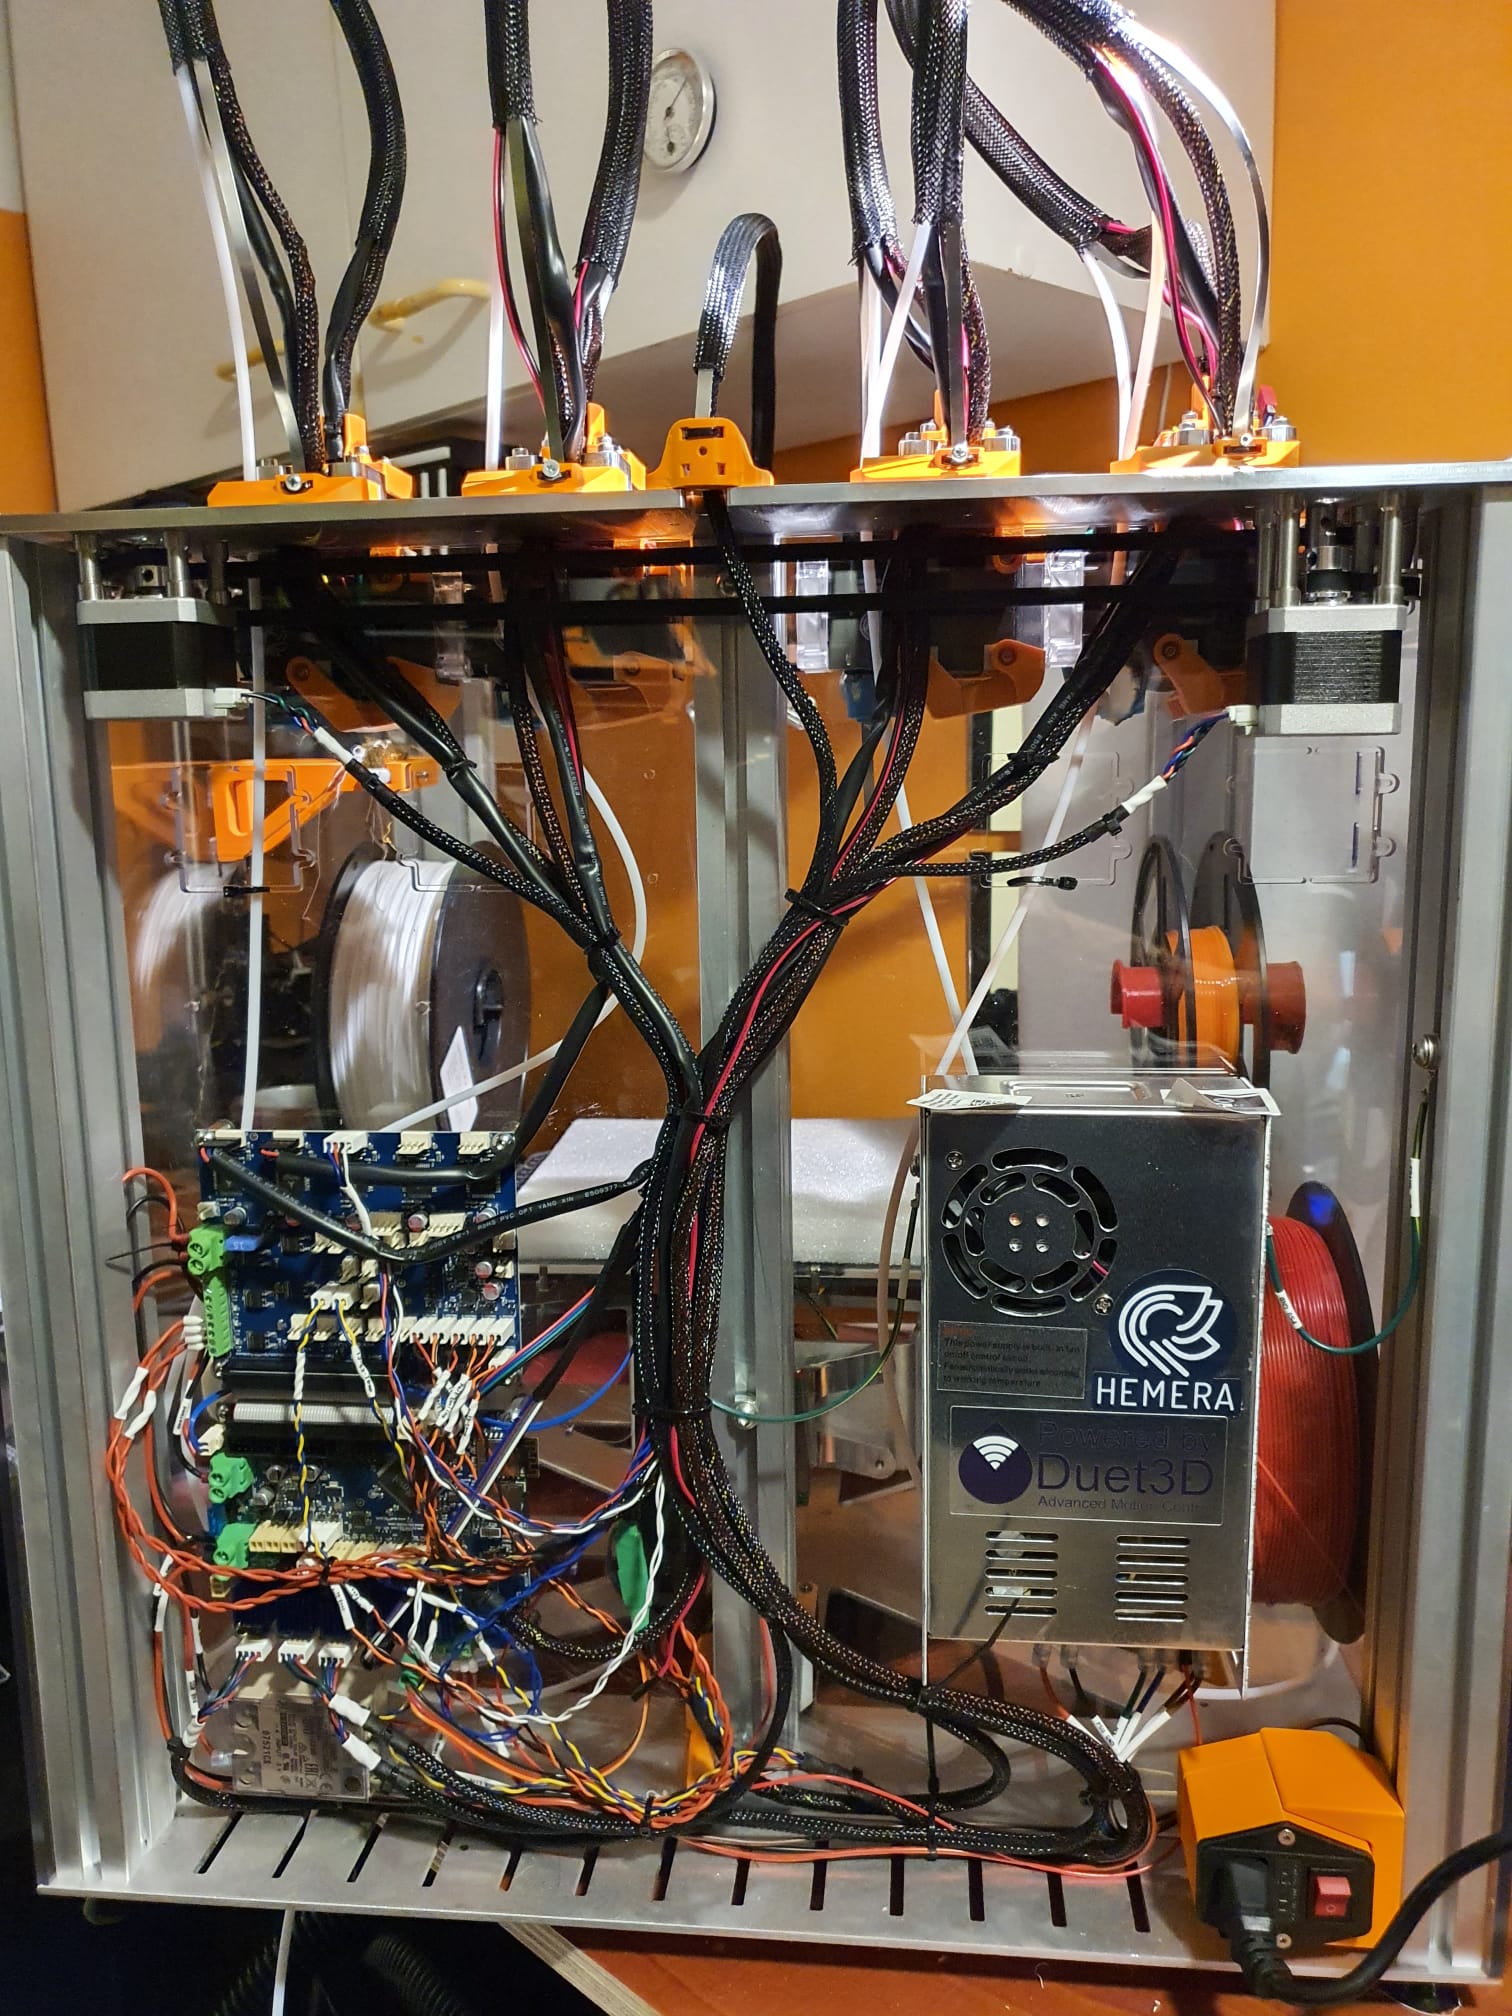
Please note that the Duex5 and Duet2wifi are initially incorrectly mounted here! The Duet must be below the DUEX5!

Here the object fan duct of the original version is used, I will update this later to the new version with the surround air ducts.

I printed everything with orange ASA on the Voron 2.4 at 150mm/s and 0.2mm with the E3DV6 direct drive Voron extruder and a 0.4mm copper nozzle.  Again, that went great!

By the way, there is something to note about this kit.

It is definitely not an ‘out of the box’ working system.

The hardware is outstanding, so are the manuals, better than anything I’ve ever seen.

The Duet and Duex combination is perfect and all the cables and screws, nuts, pins, gears and so on are nicely labeled and of fine quality.

The available config files, macro files and example print files are also great to start with.

And therein lies the problem for non-experts: All values are set to the best possible configuration.

And depending on your choices of extruder, bowden or no bowden and so on you have to make some adjustments here and there.

I had to recalibrate everything in terms of pickup Y values in the tool changer files before the tool was actually picked up and returned nicely.

In addition, it turned out that the tool pickup has to be adjusted very accurately to get the slot in and out of the extruder plates.

You have to understand how this is built, especially in the firmware.

Then you understand that the system has to reset to the start position every time at the start, and then the system makes that the reference point. Then you have to measure where 1) the open position is and 2) the locked position is.  Those values must be entered as C values in the pickup and return macros.

What I also find difficult is that there are no sensors (yet) to check whether the tools are in use or parked.

That means that you can just give a command to do a homeall while there is still a tool hanging on the pickup.

I would like to know that because then you program around that.

And so there are some other things like no filament sensor on the tools, no LED lights on the pickup but I’ve already seen a handy bracket for that.

So a very nice and good system, worth its money and high quality material, design also beautiful and still much to tinker with. Thank goodness!

In any case I’m going to reuse my Z-homing files from the previously built mullti- extruder machines with Duet.

Because this E3D works with a pre-homing without the tools hanging from the pickup, you will have to calibrate a Tool at Z distance relative to the pickup value every now and then.

And also the mutual differences in X and Y of course, relative to Tool0.

I have some nice macro tinkering for that too!

Next week onwards!

hole and pipe placed to adjust the magnetic coupling with the socket screw

error: Content is protected !!