Is E3D tool changer Z-homing with Voron TAP possible?

HOW DOES IT WORK WITH THE E3D TOOLCHANGER?

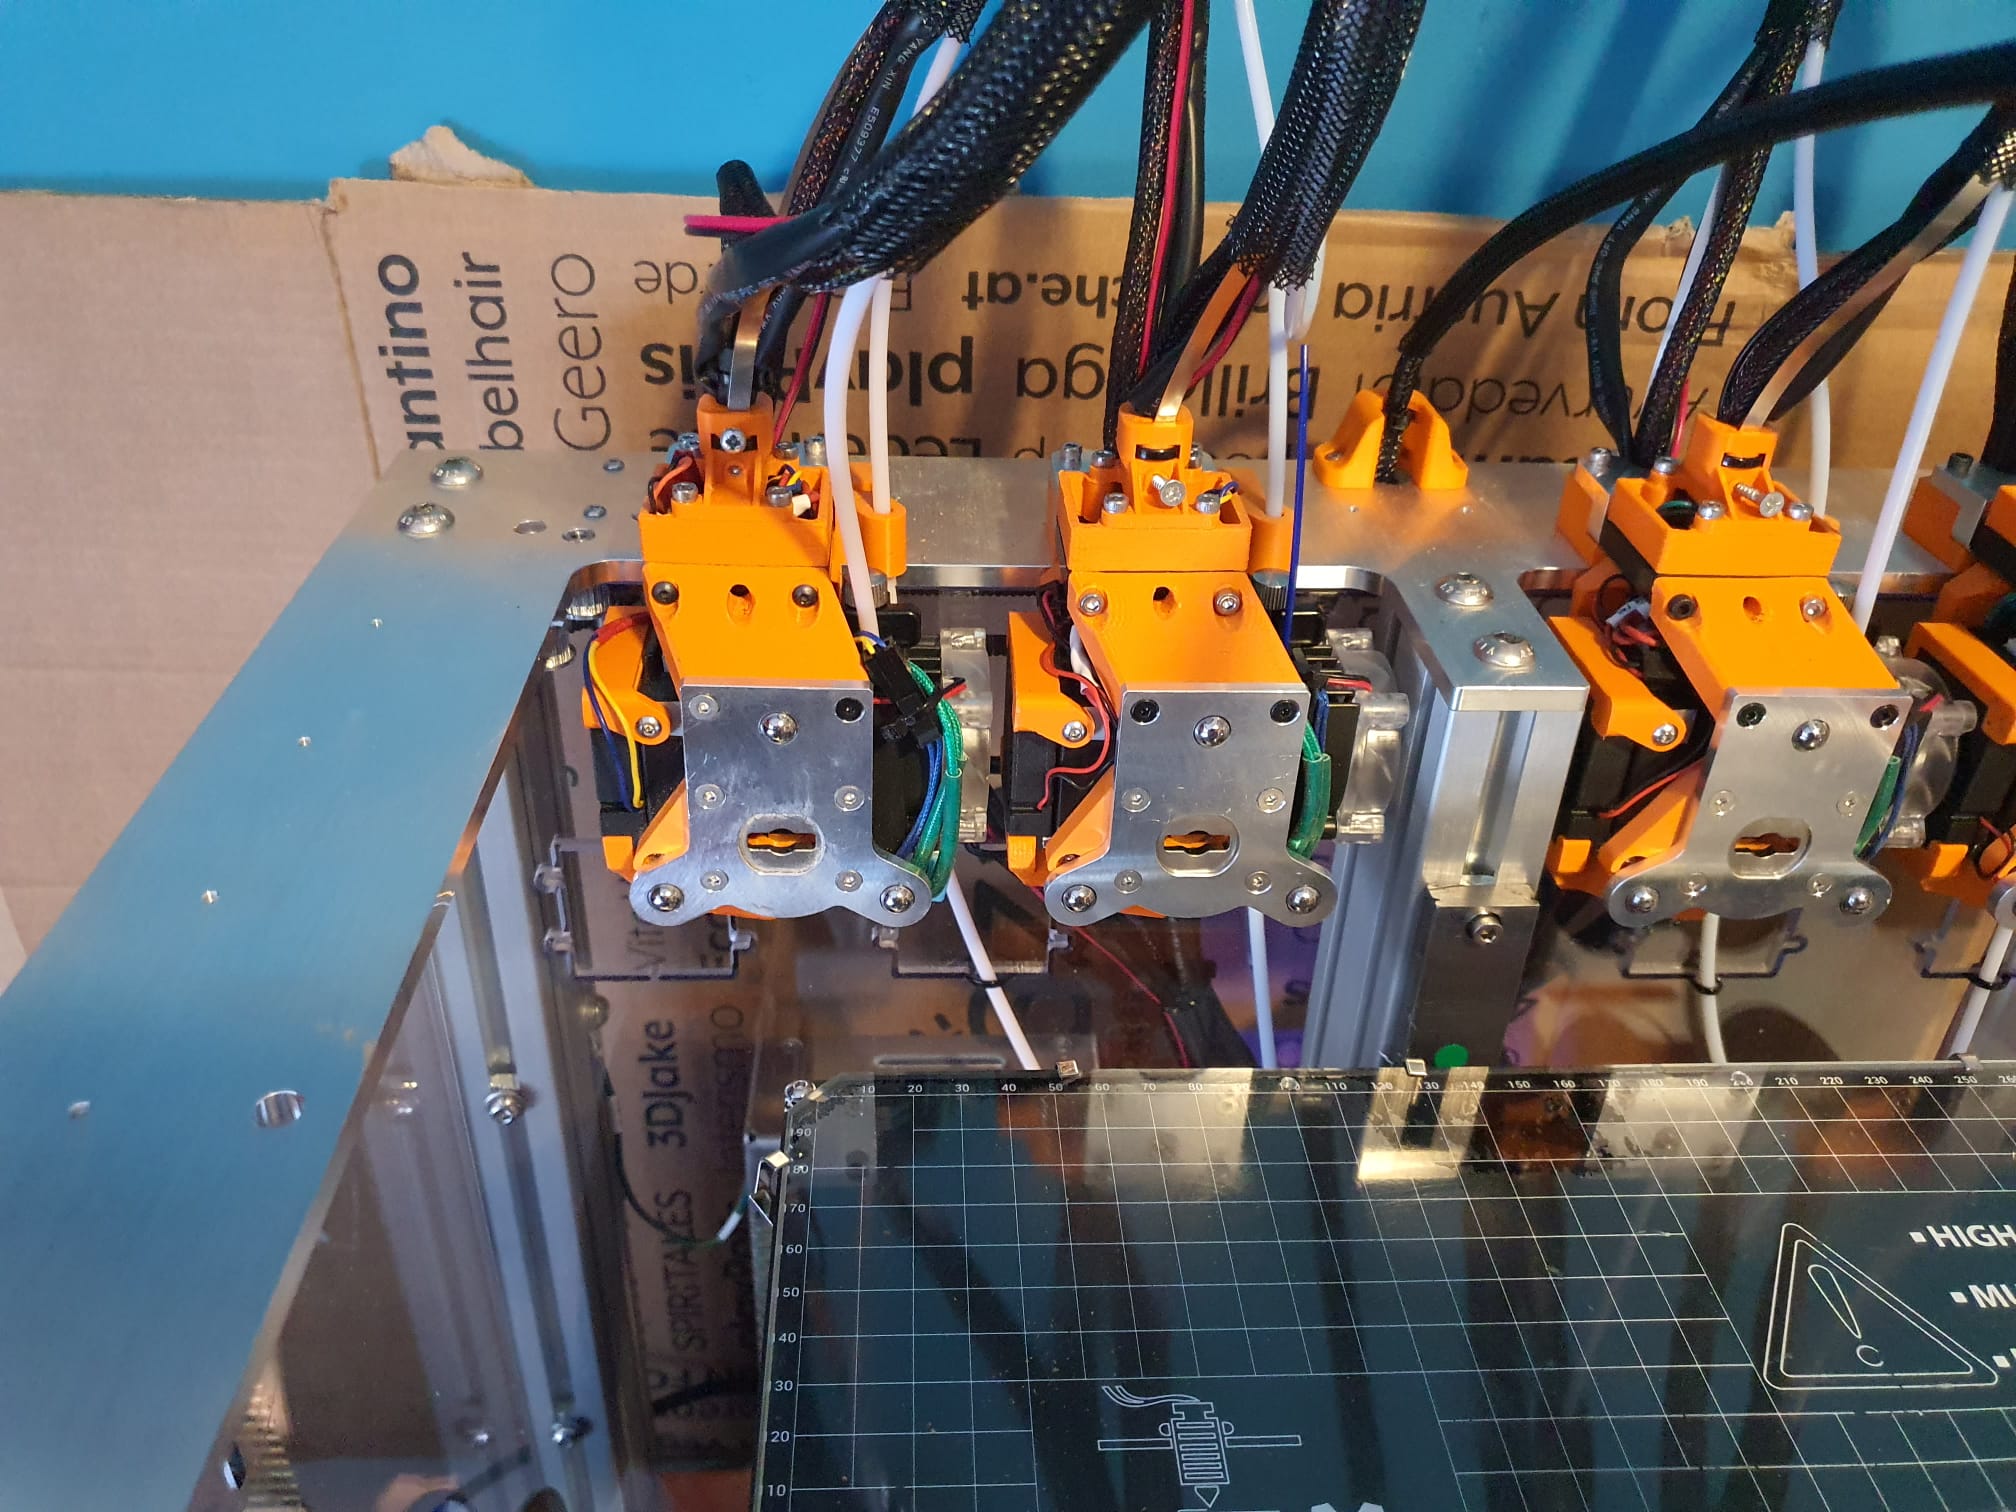
The system whereby the E3D tool changer determines the Z value of the four tools is fixed in the preset system files. This means that you perform a Z homing paper test for each tool to determine the deviation of each tool relative to T0, which is the leftmost tool. You enter the result in the config file as the Z-value for each tool, whereby I usually use “0” for T0 and the general Z-probe value, which I determine as the difference between the manual probe on the carriage and the nozzle height of T0.

First, you need to determine the Z deviation of T0 relative to the Z value of the carriage that picks up the tools. This is done by homing the bare carriage with a Z probe switch under the carriage to Z value = 0 on the bed.

Then you do a tool pickup from T0 and measure the height of T0 as the Z value. You then enter that value as the probe value in your config file. I find all this rather cumbersome, especially because everything changes when you change a nozzle, for example.

Below video: E3D toolchanger homing the carriage and do the tool pickup

DESIRED SITUATION

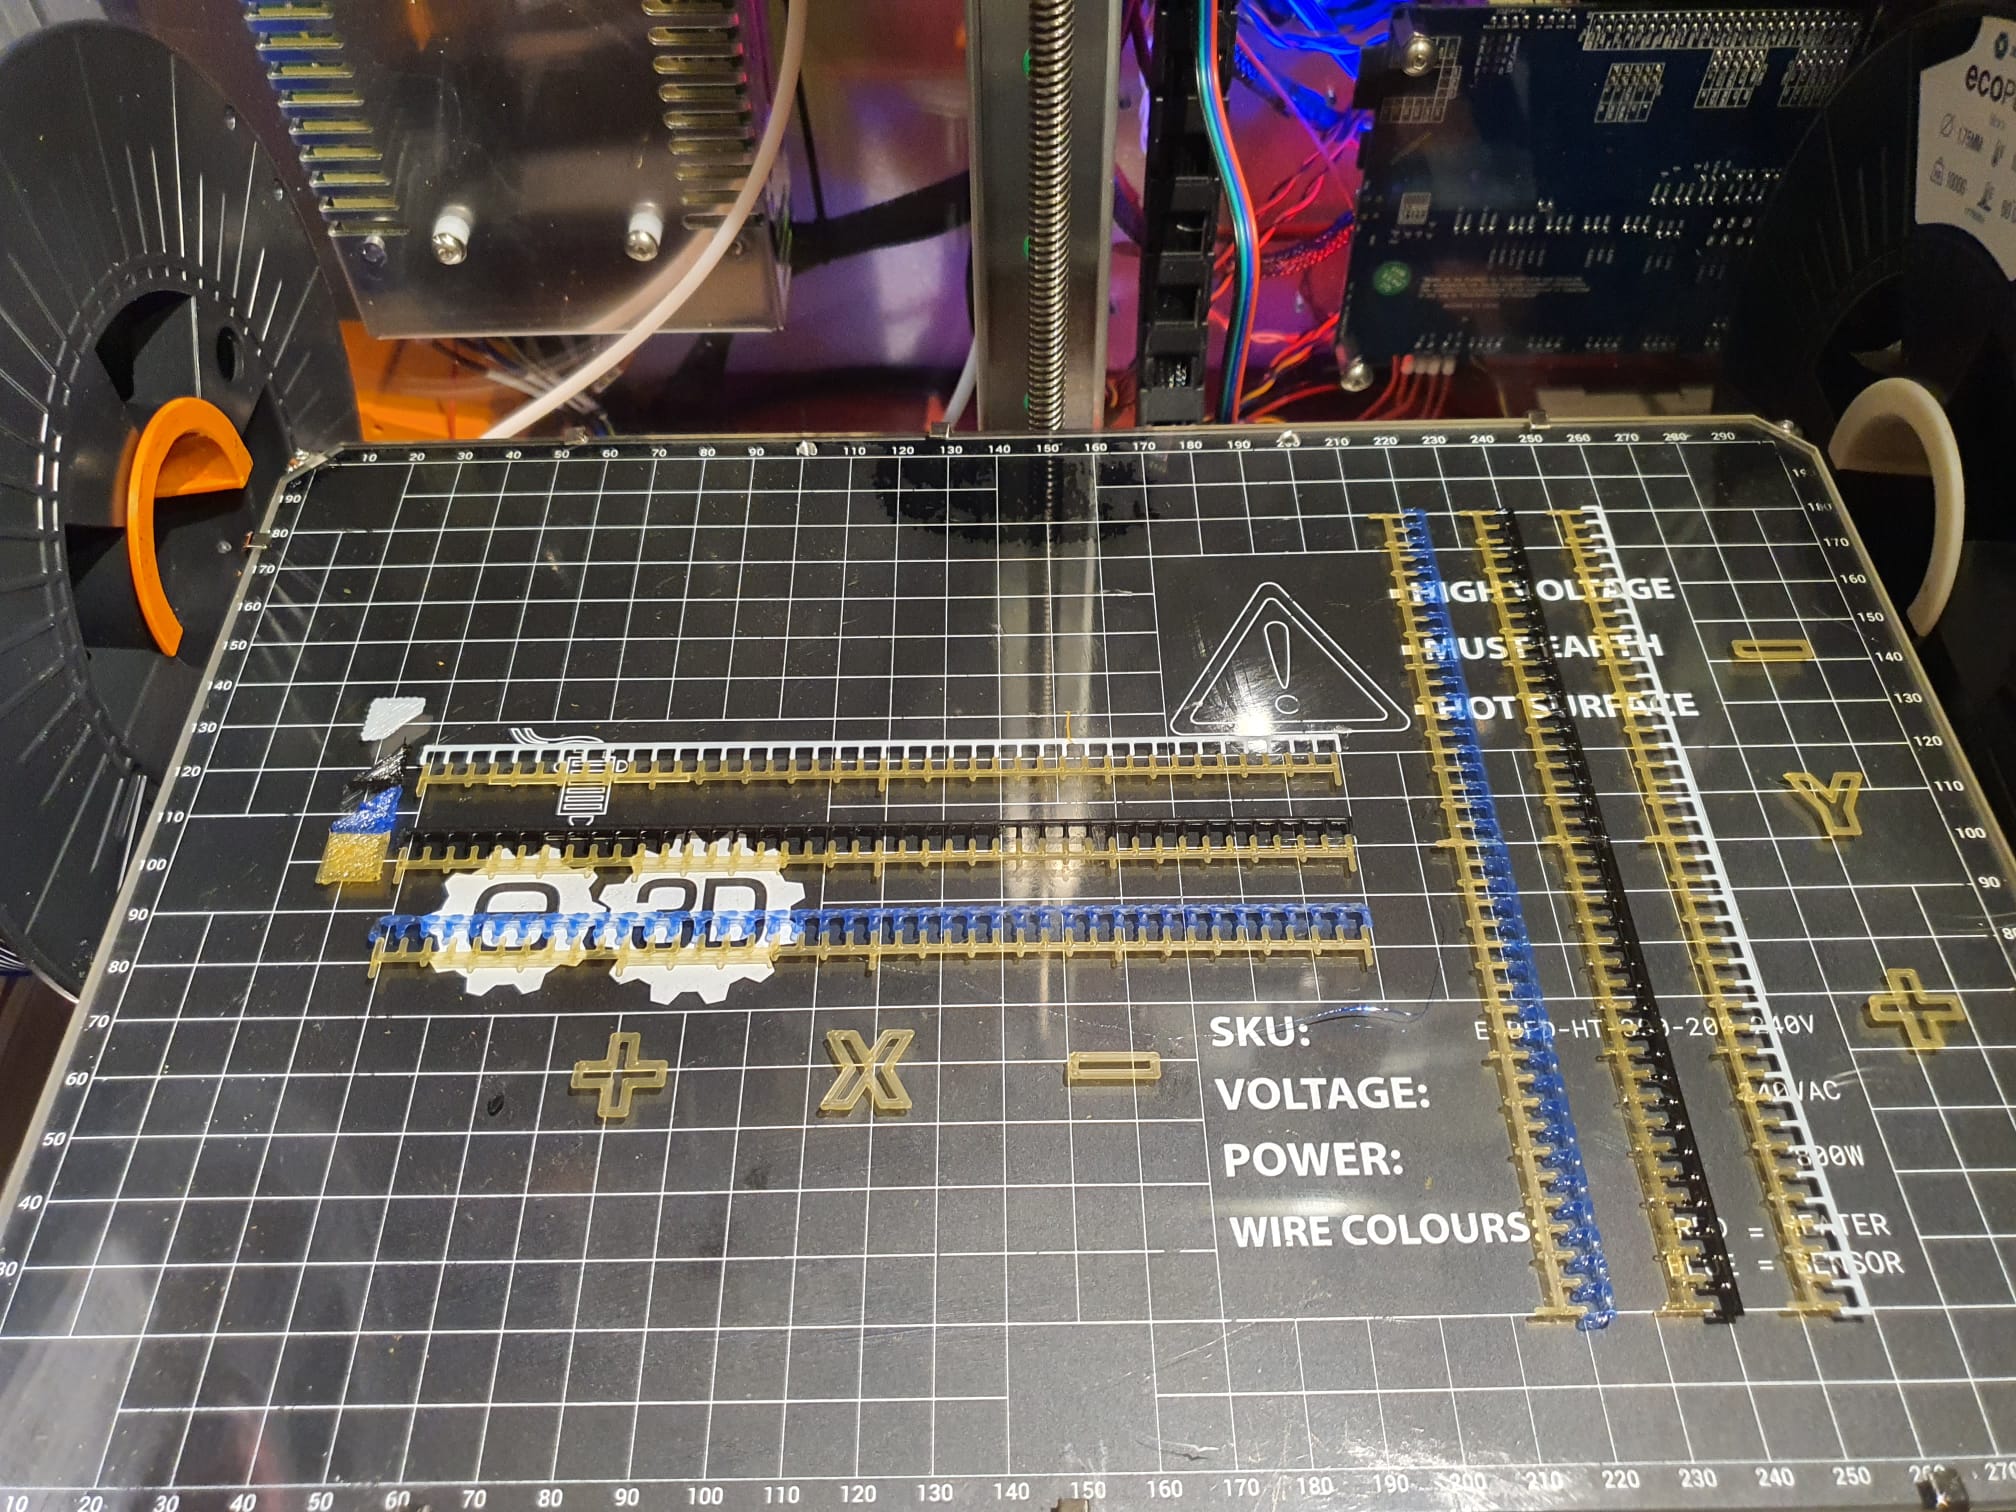
Ideally, I would prefer to have each of the four tools, i.e. T0 to T3, home X, Y and Z every time a new object gets printed, and in this manner you can also just select any tool to do the bed mesh.

You then take those four Z values as the Z=0 value per tool, and you’re done. This works great with the Voron that I run with TAP Z-homing! It doesn’t matter what you do with your bed or your hot end, gantry, etc. It doesn’t matter because the nozzle is used as a mechanical Z-homing tip.
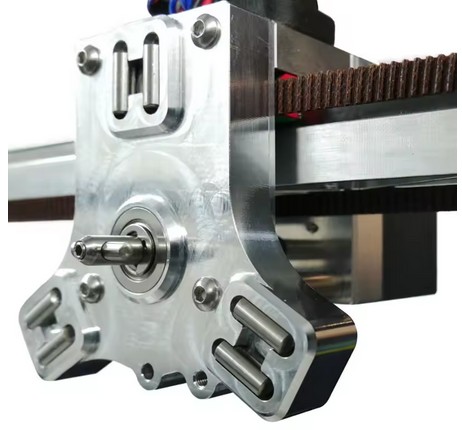
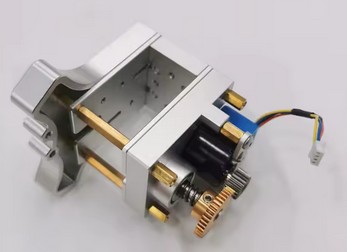
 

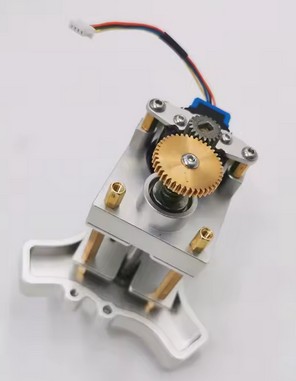
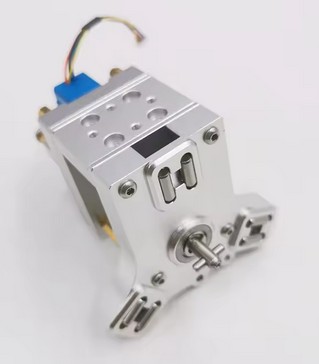
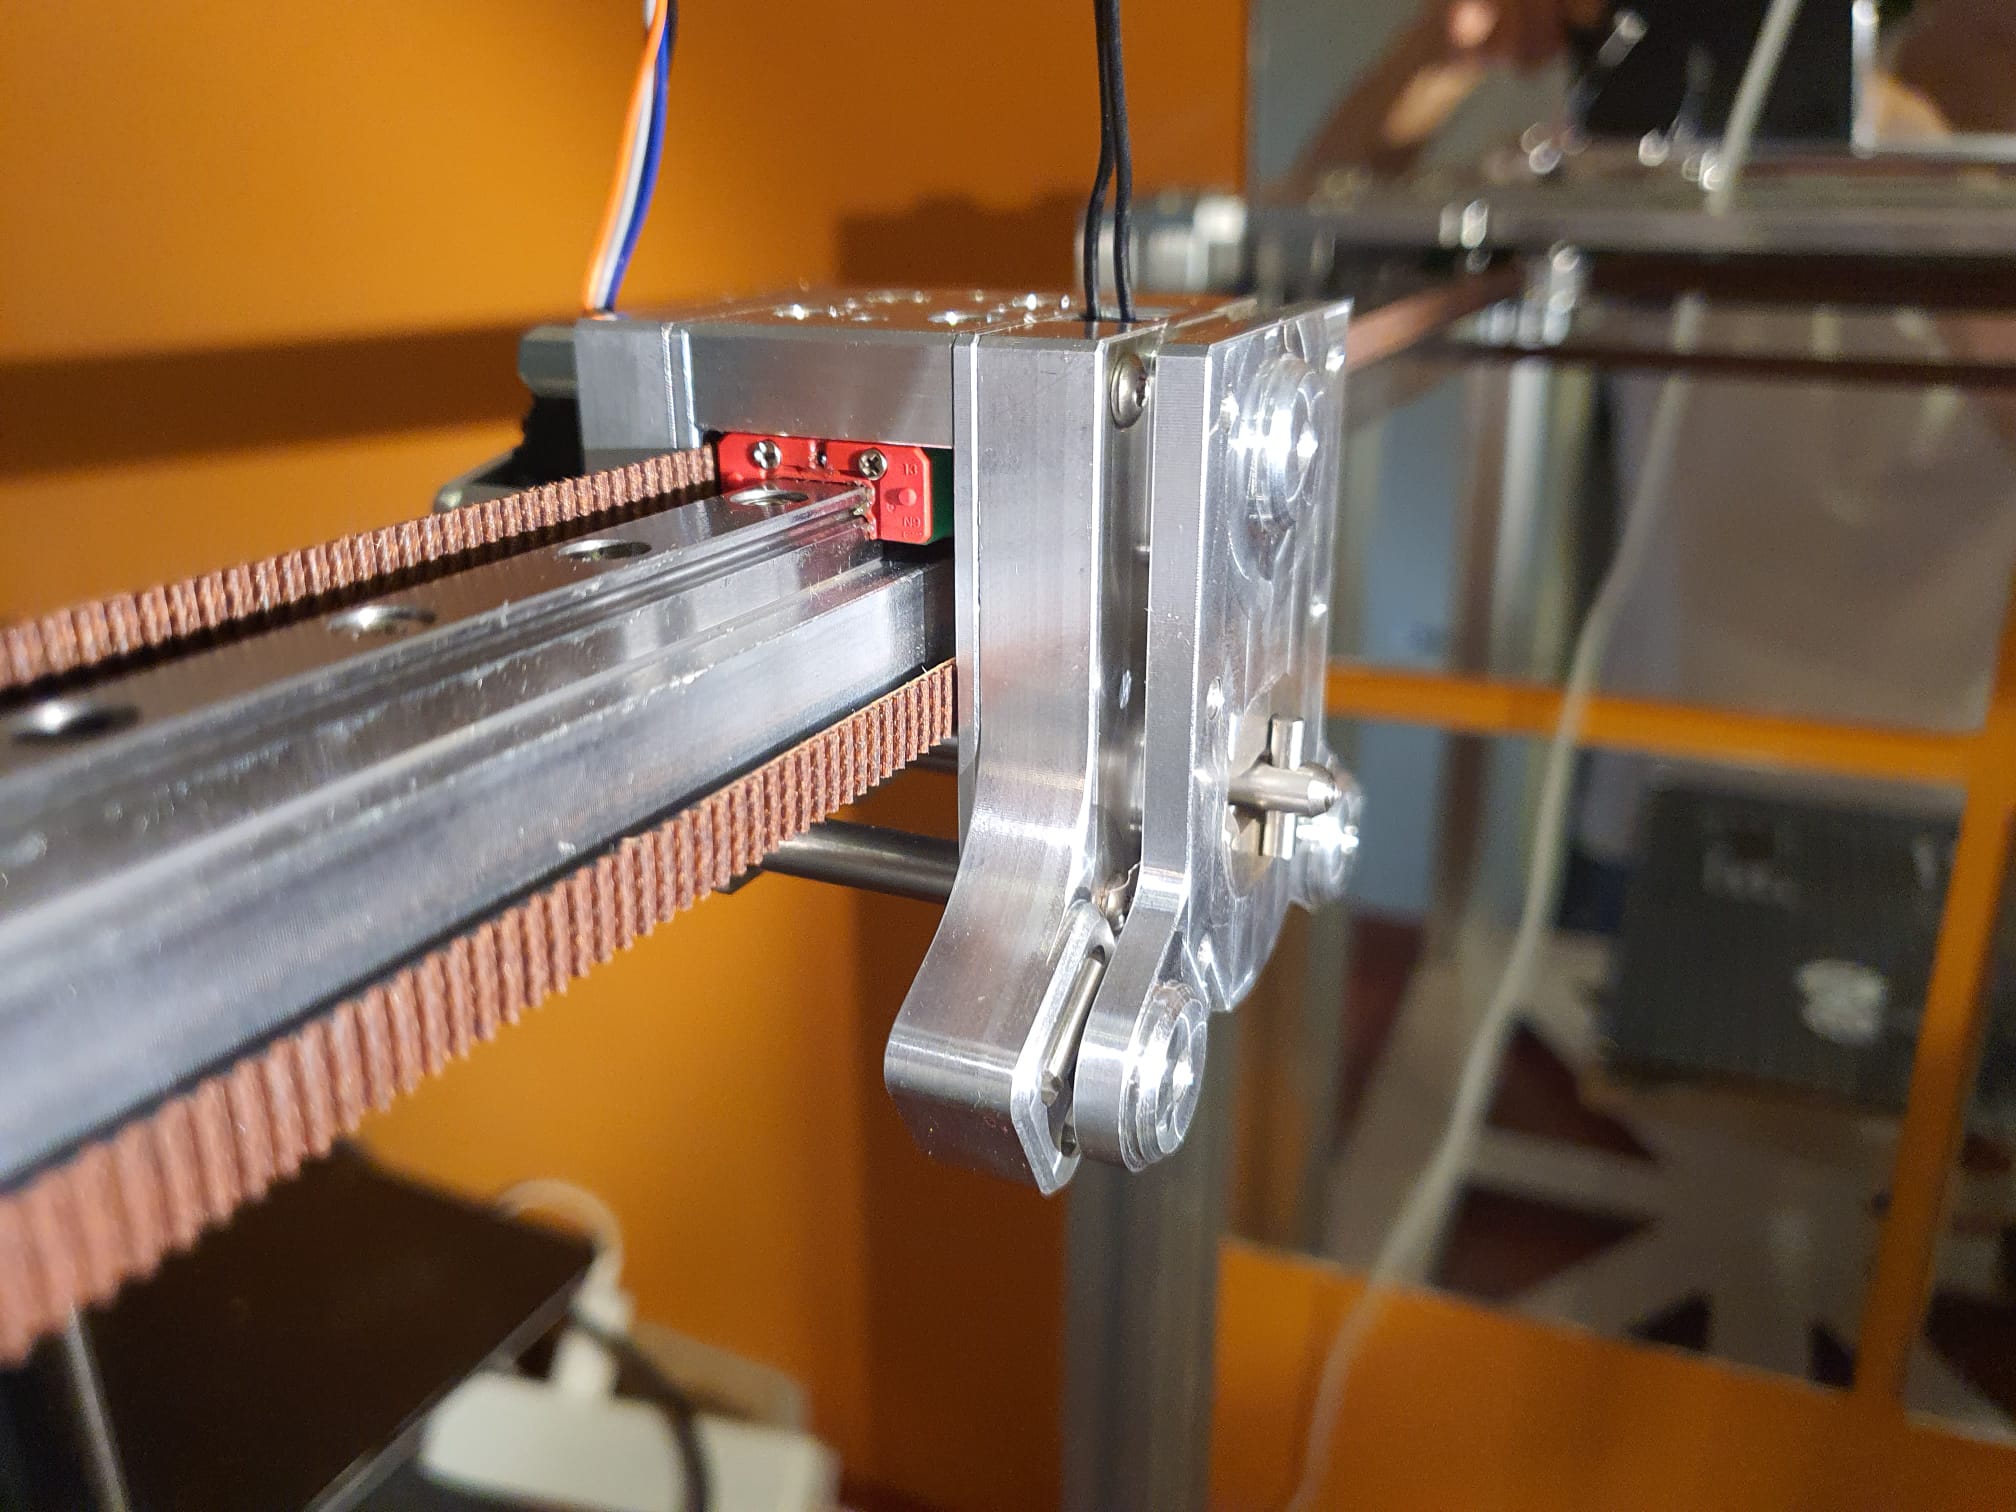
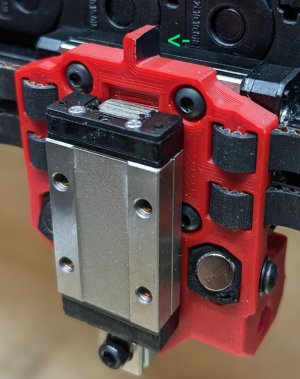
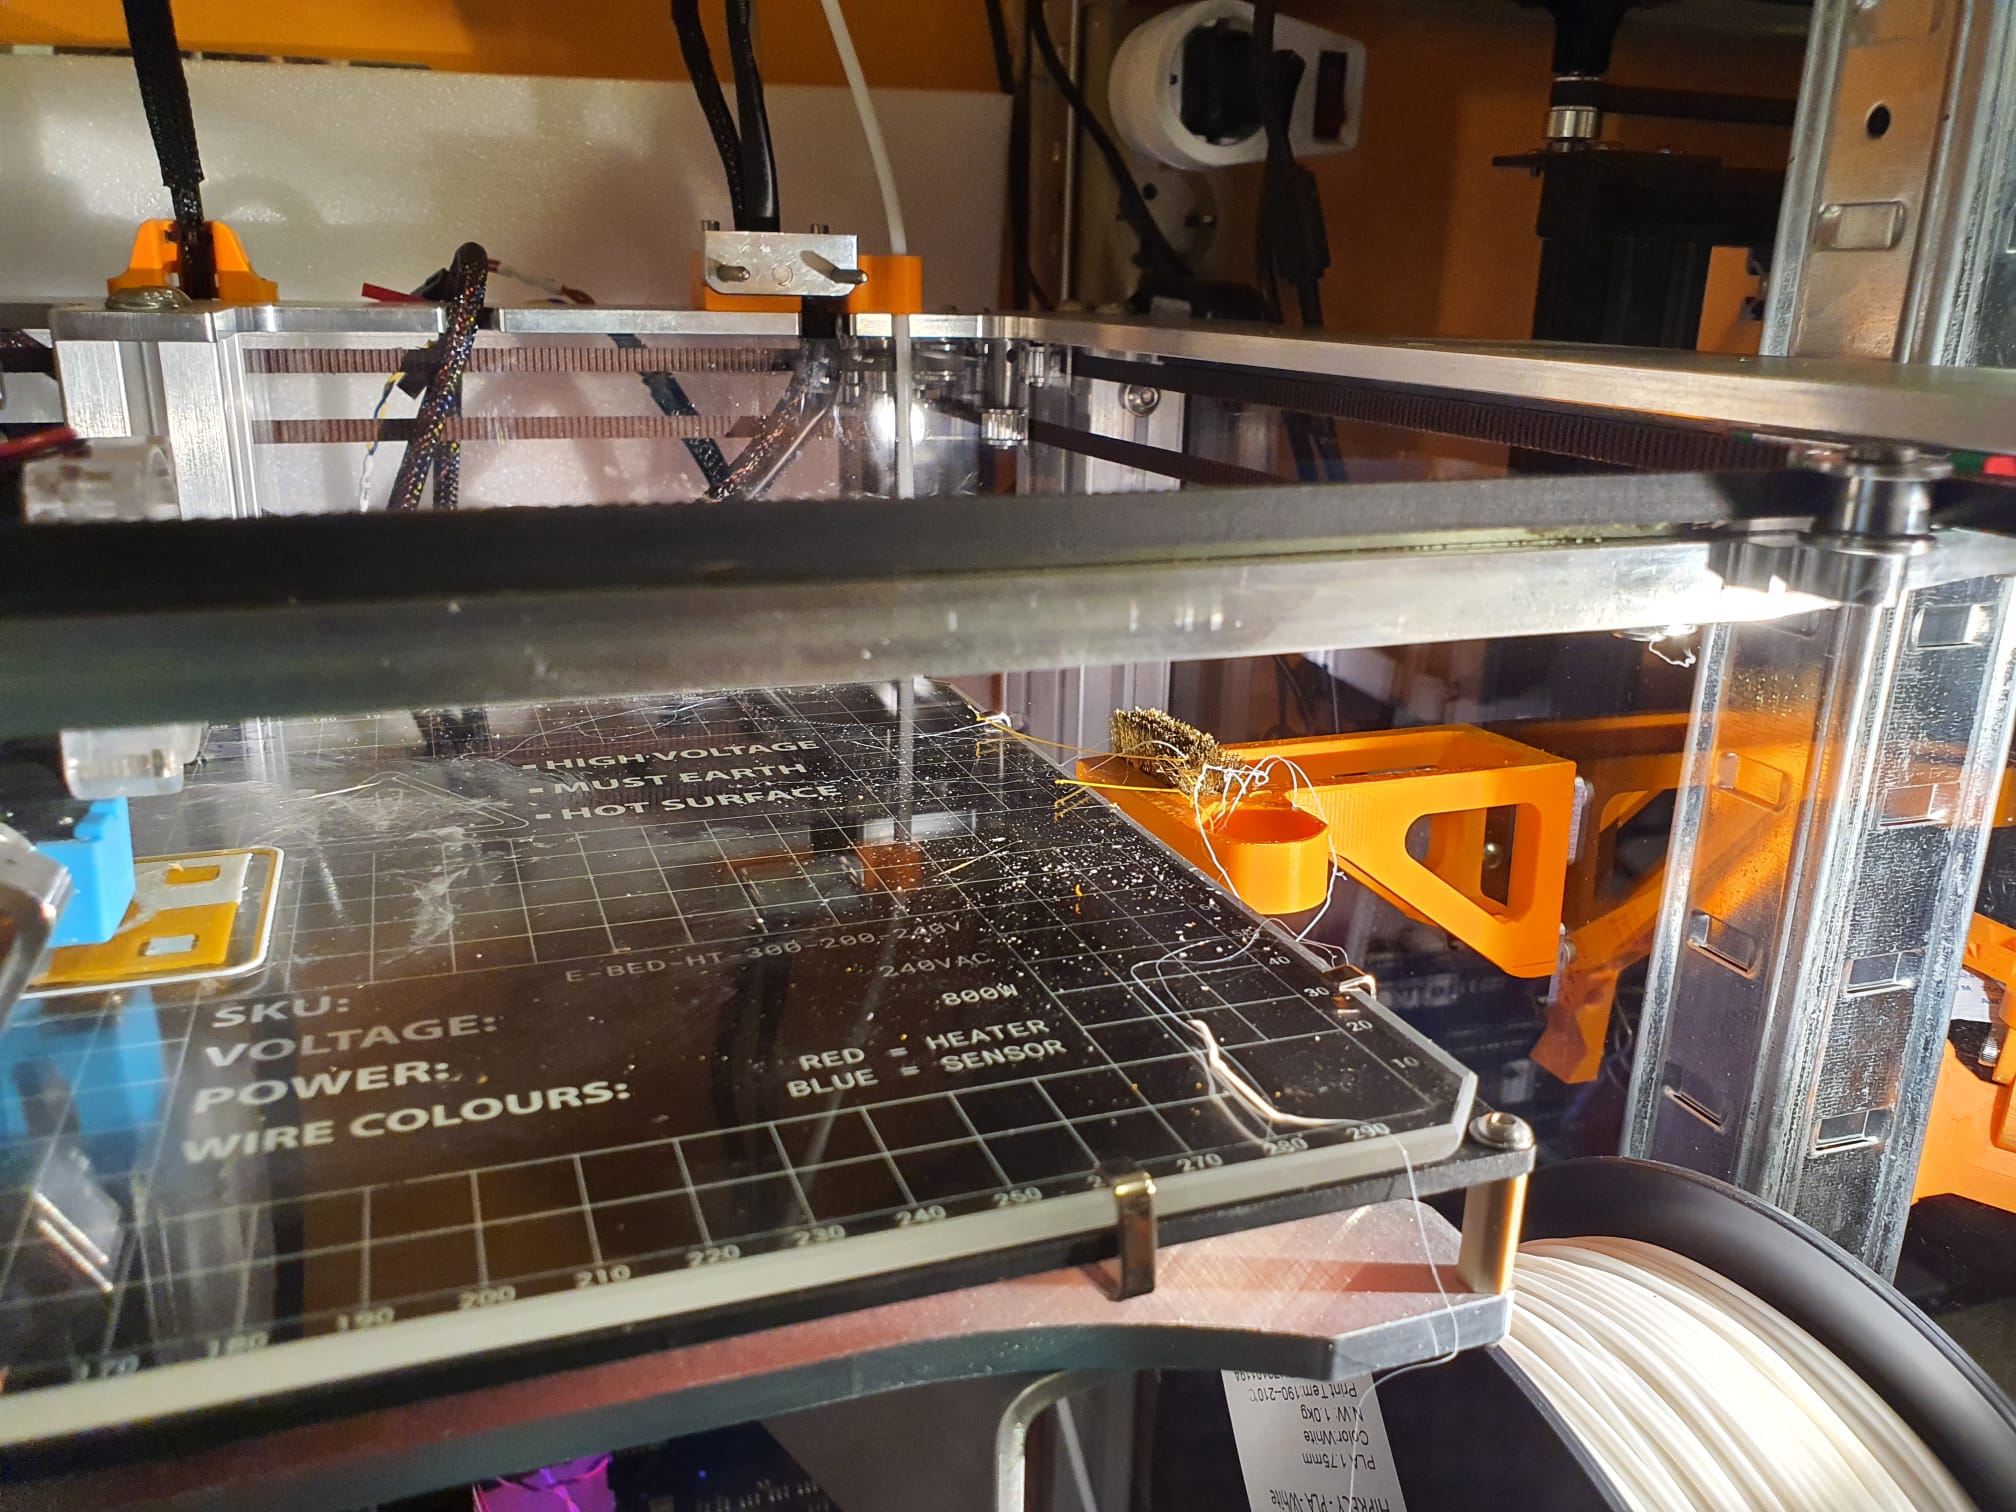
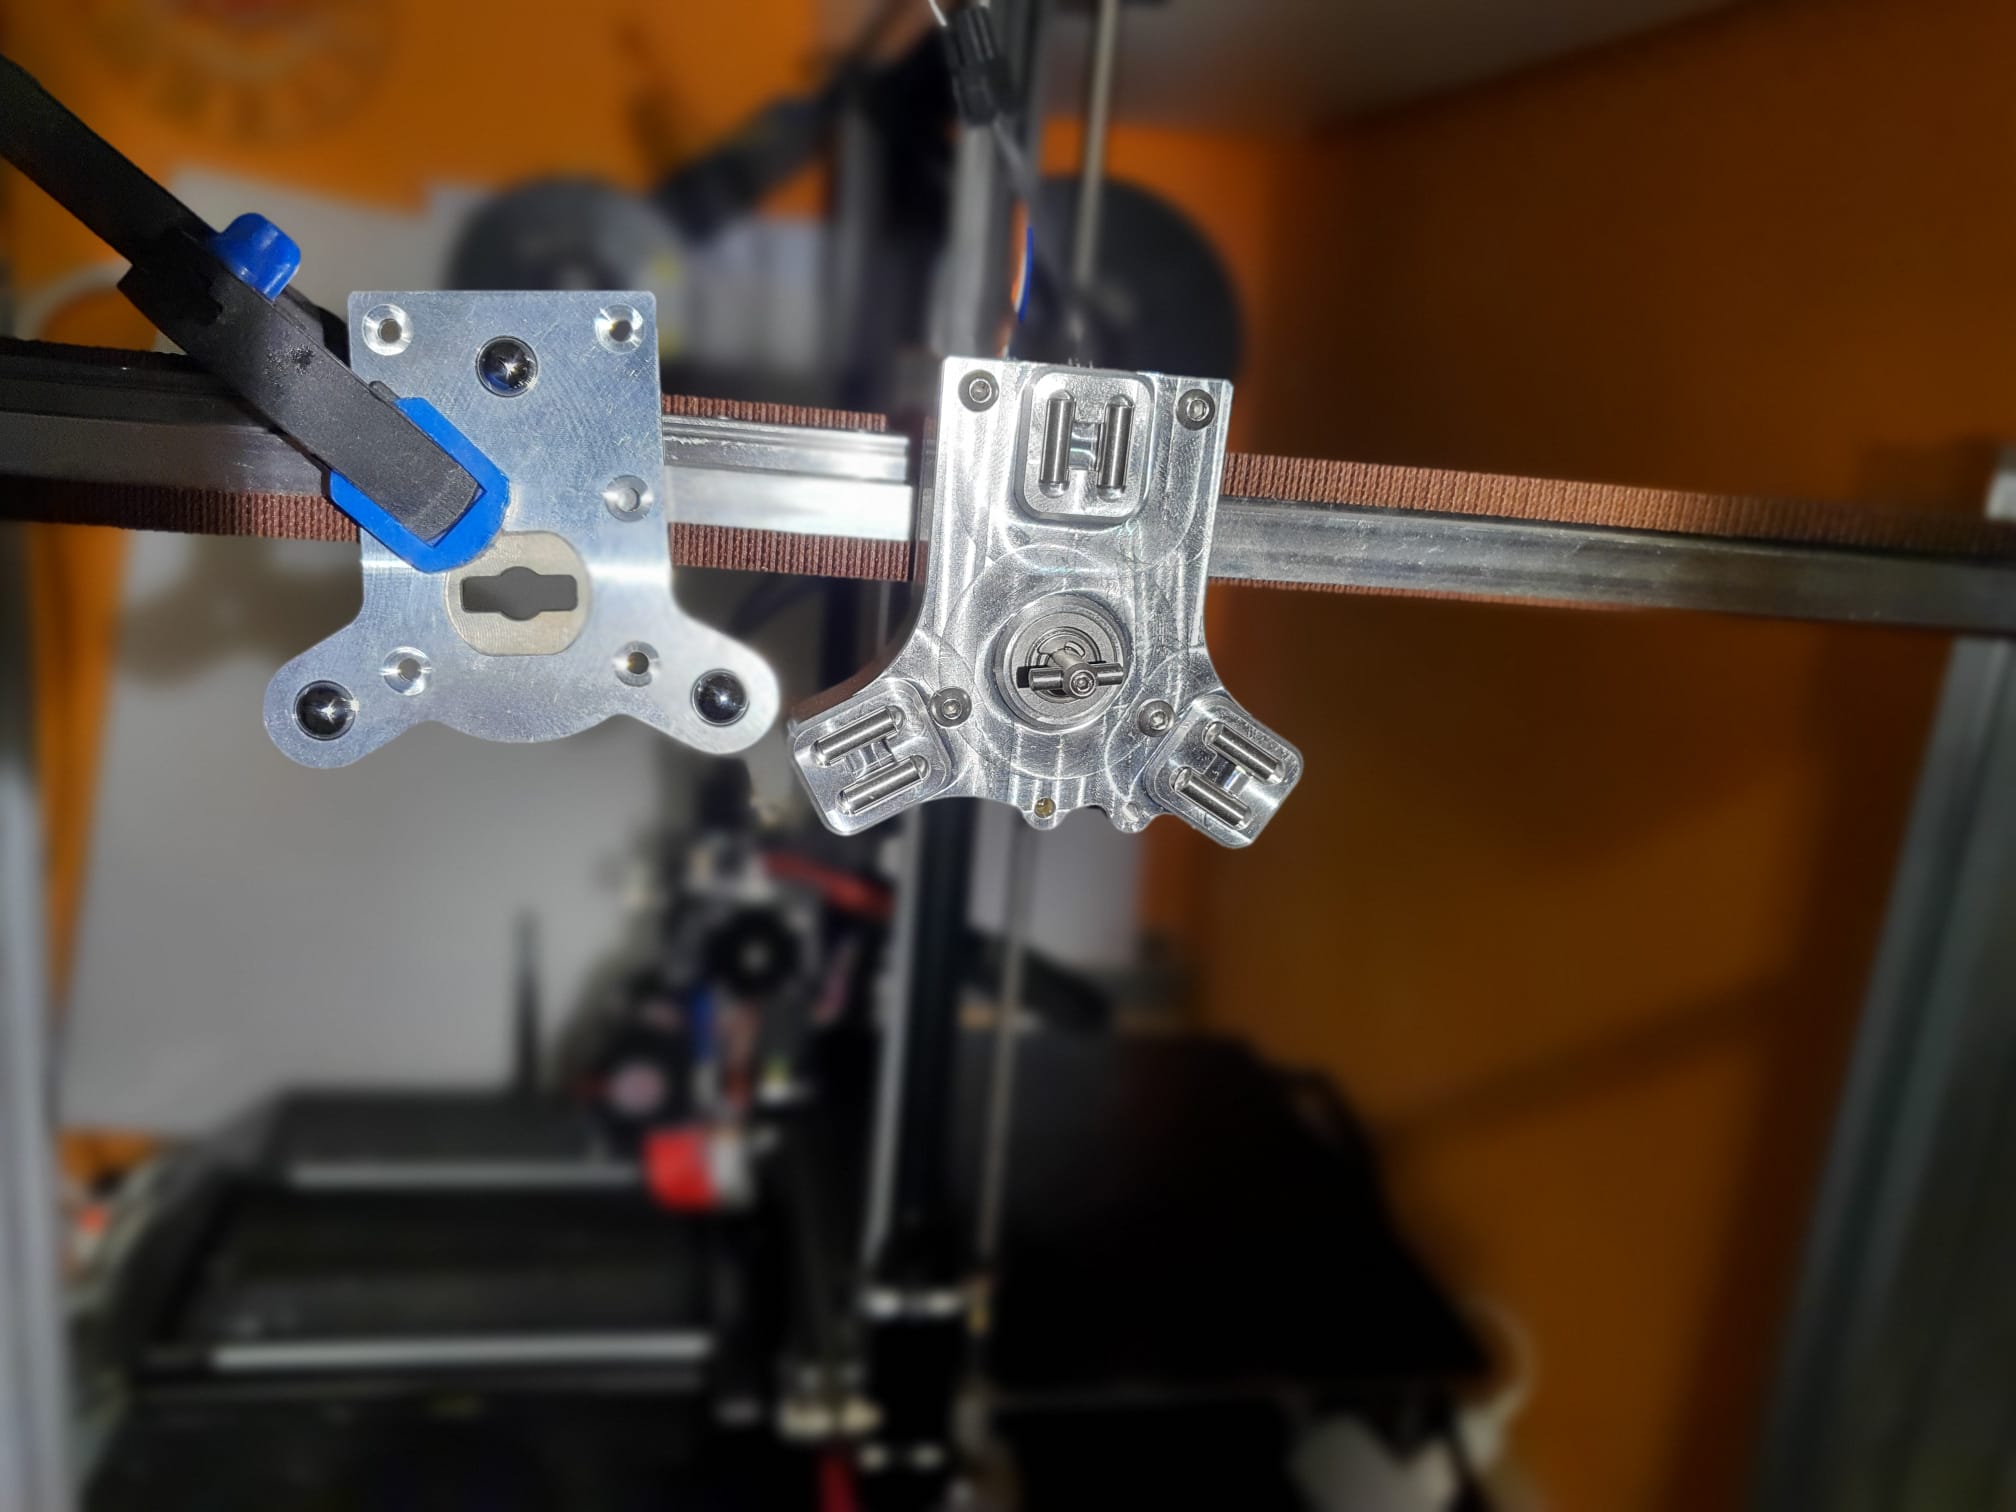
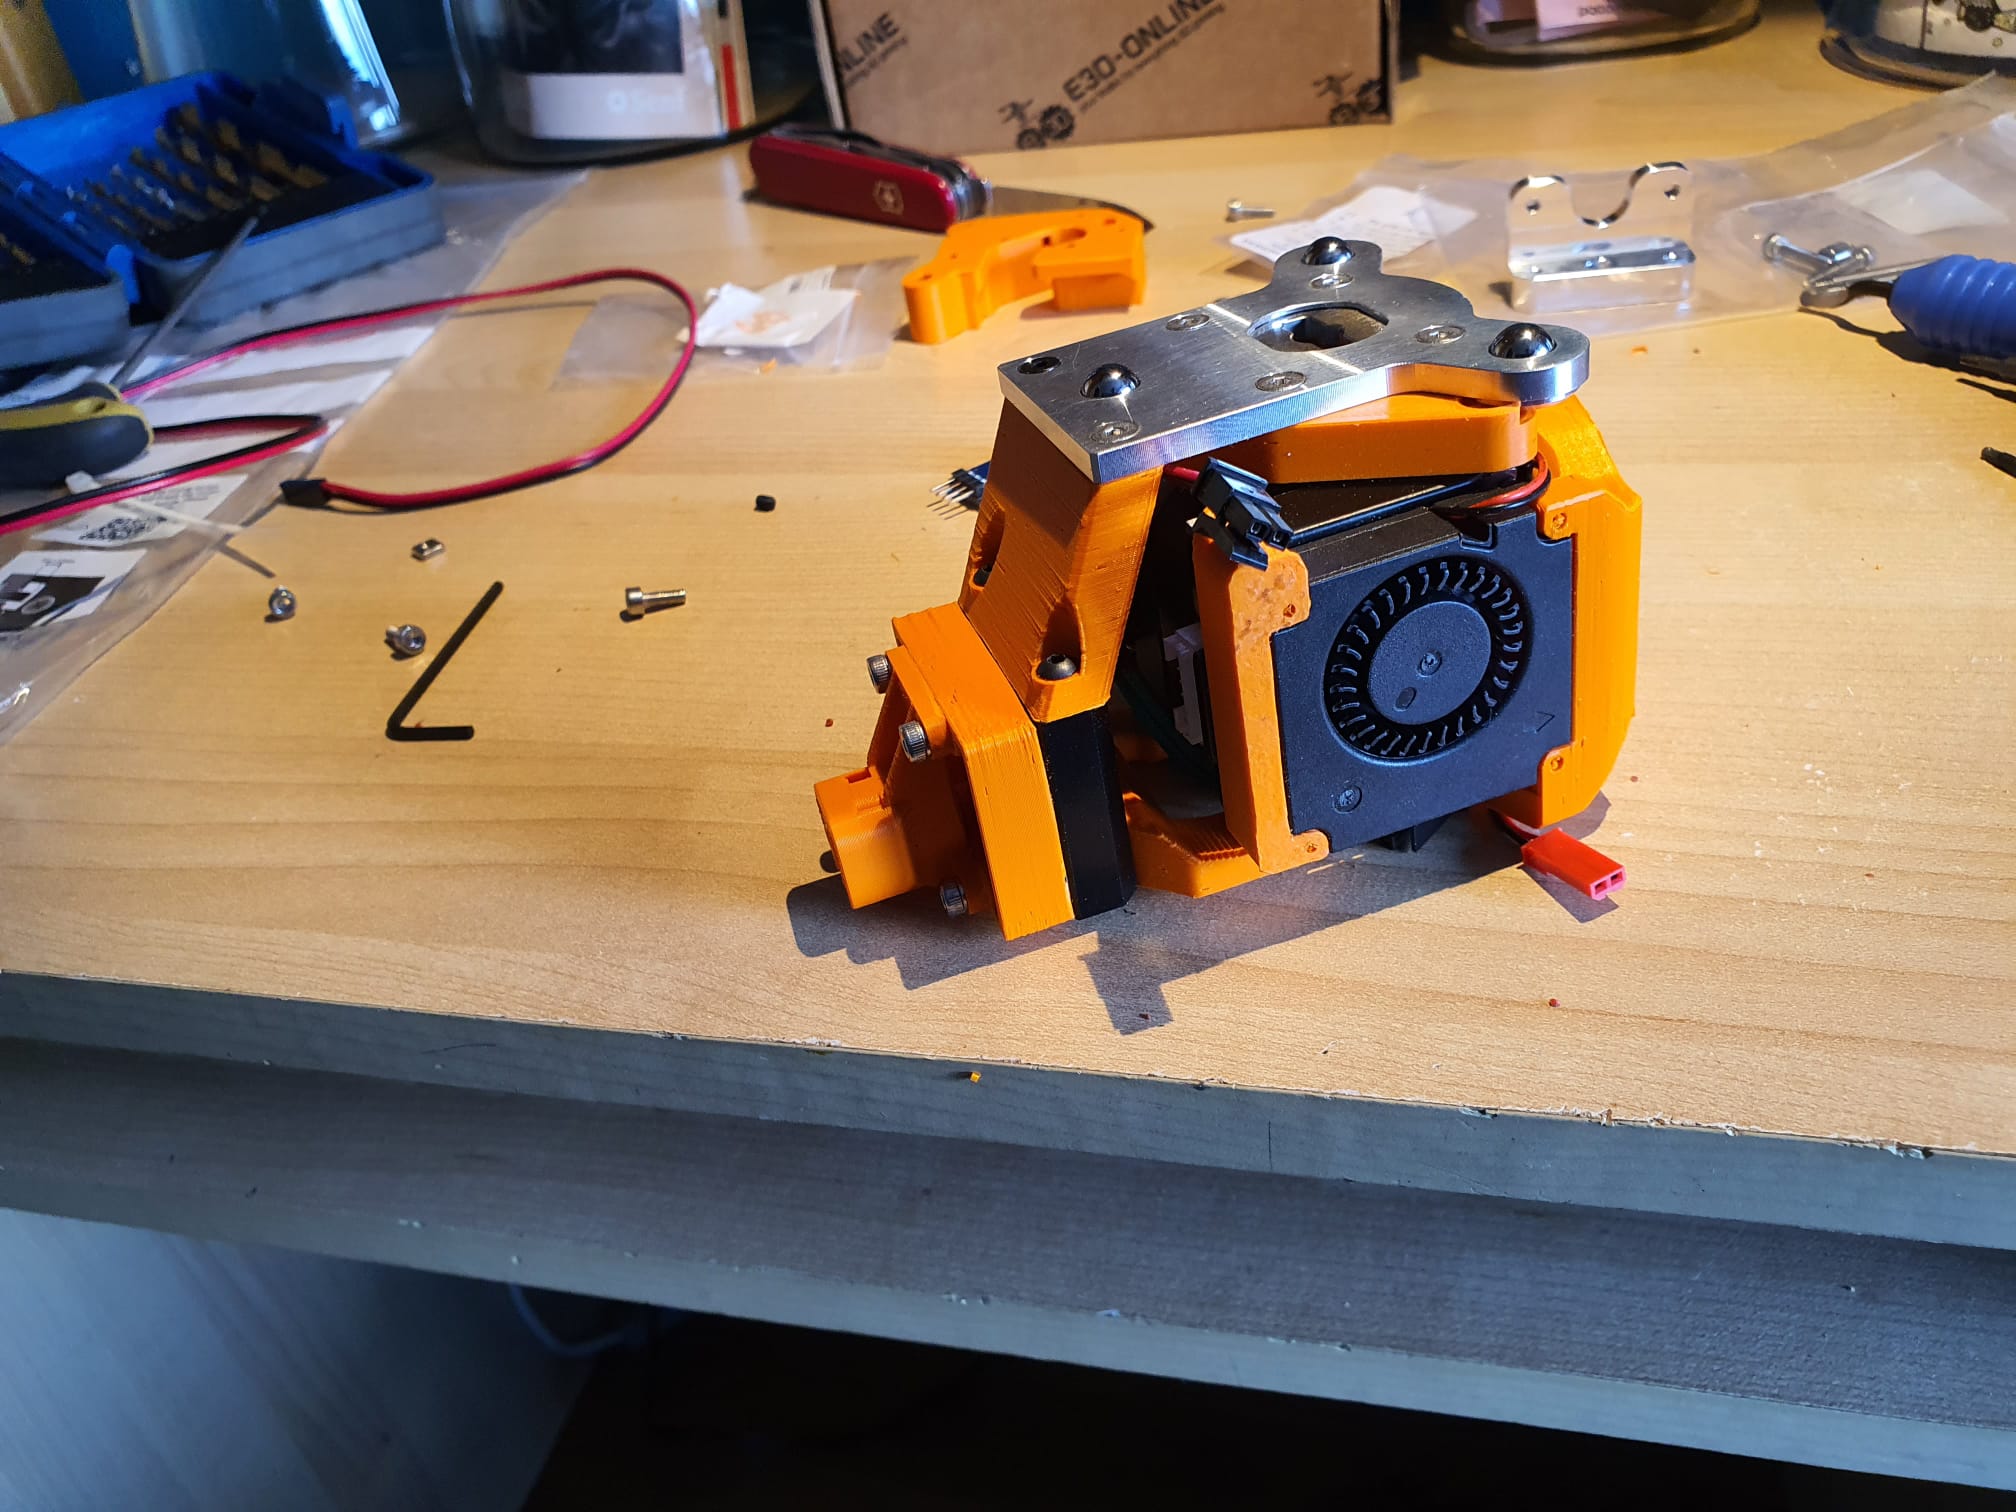
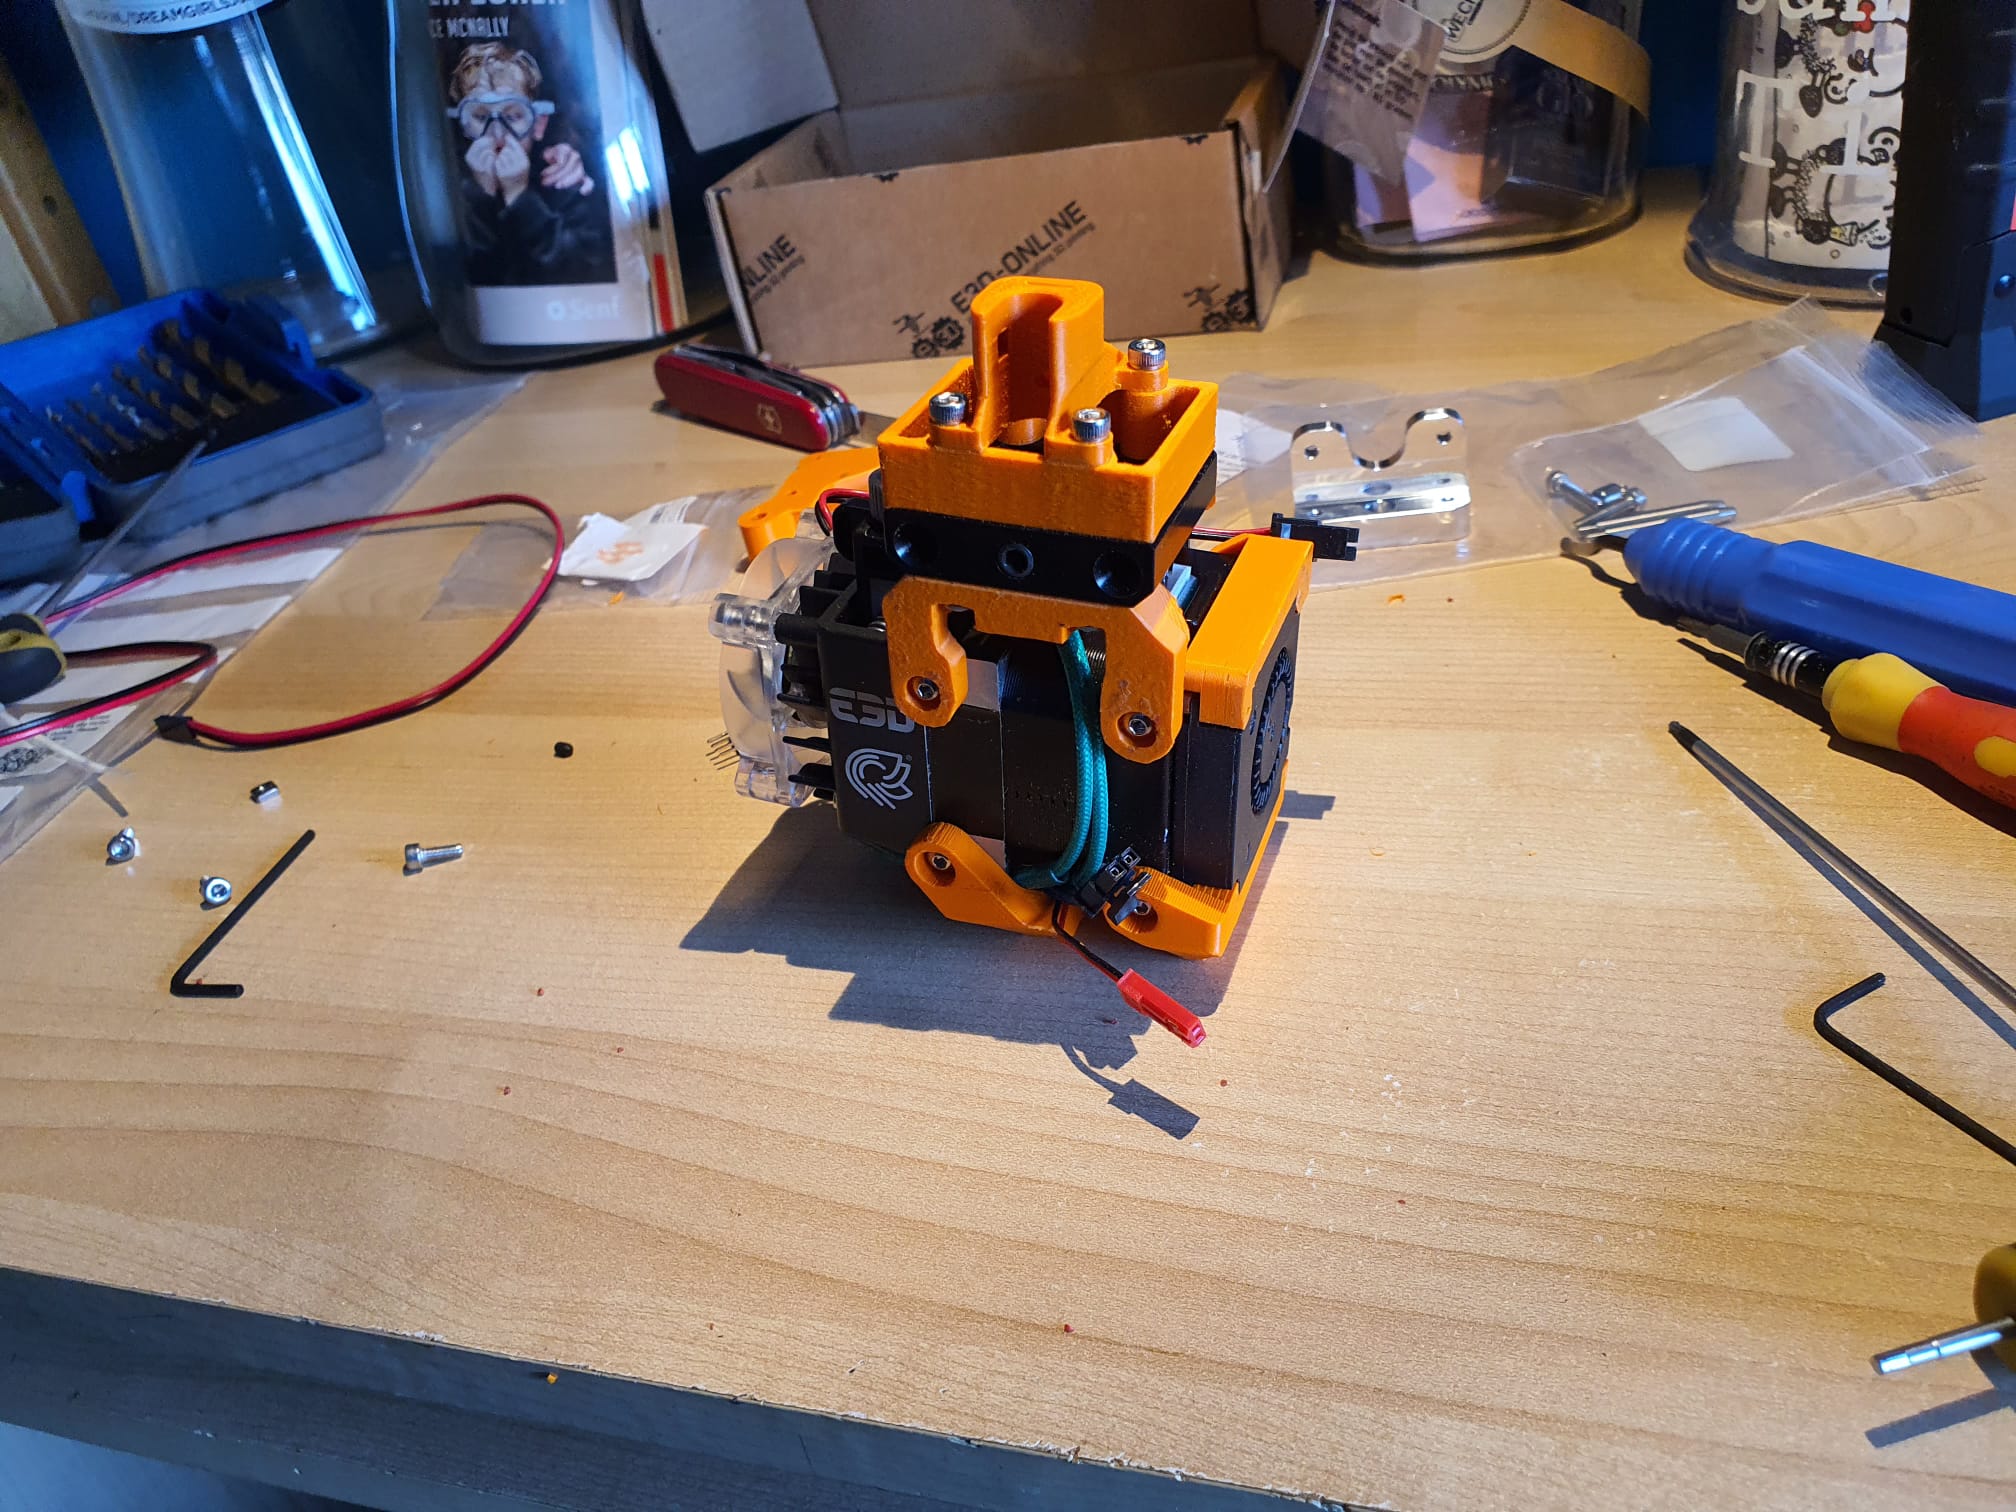
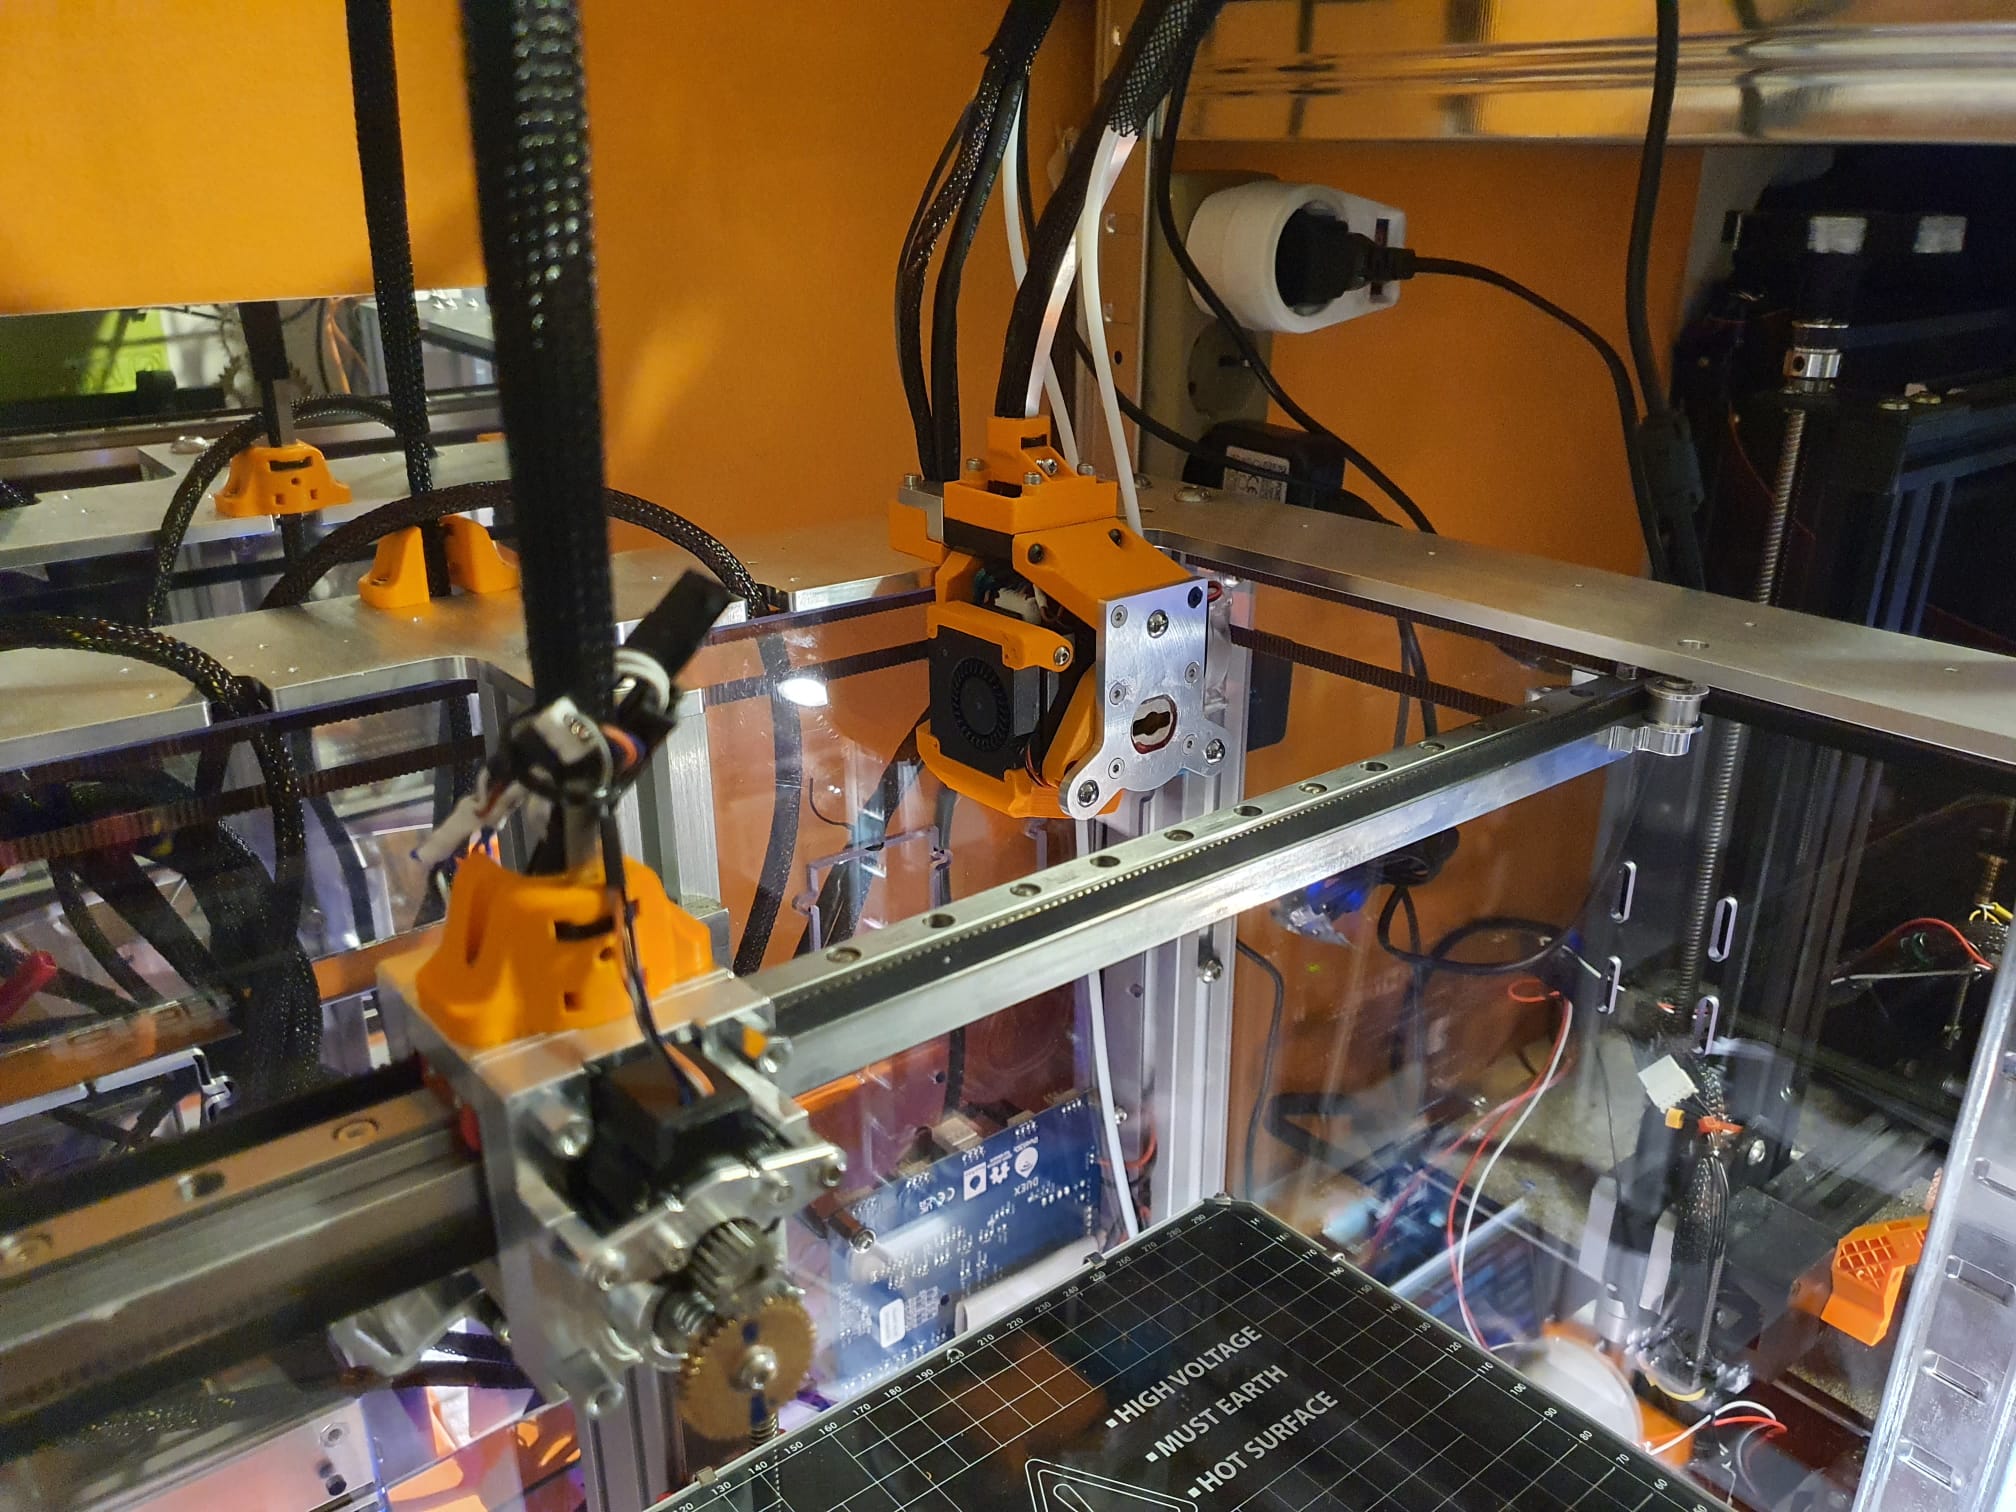
The tool pickup (the trolley) is very securely attached to the X-axis. The best solution would be to allow this entire unit to move vertically in order to enable the TAP function. That is still a challenge, partly because the A and B belts are attached to this trolley. This only seems possible with a new trolley to which the belts are attached and a separate tool changer pickup next to or in front of it. I then still need to create the TAP function between the two parts. And if the tool changer is placed in front, the X-axis must be moved back on the Y-axes. I’m not sure how that will fit….

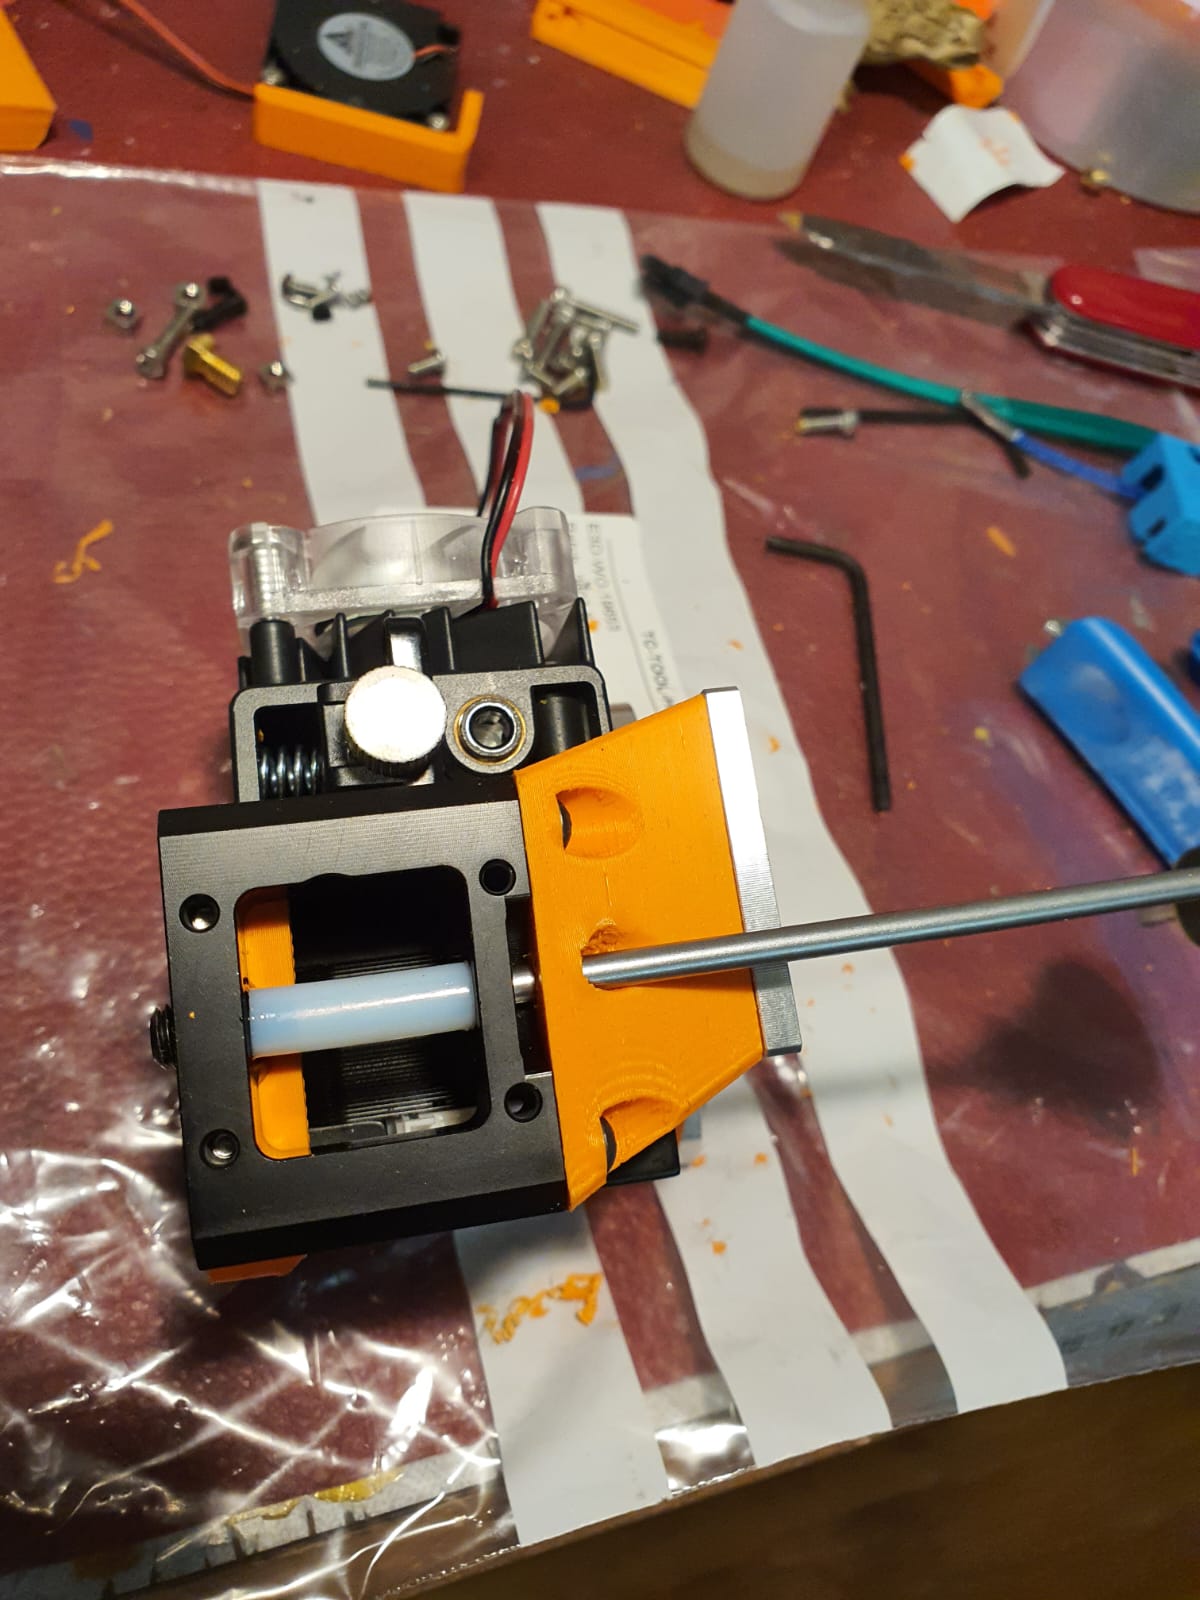
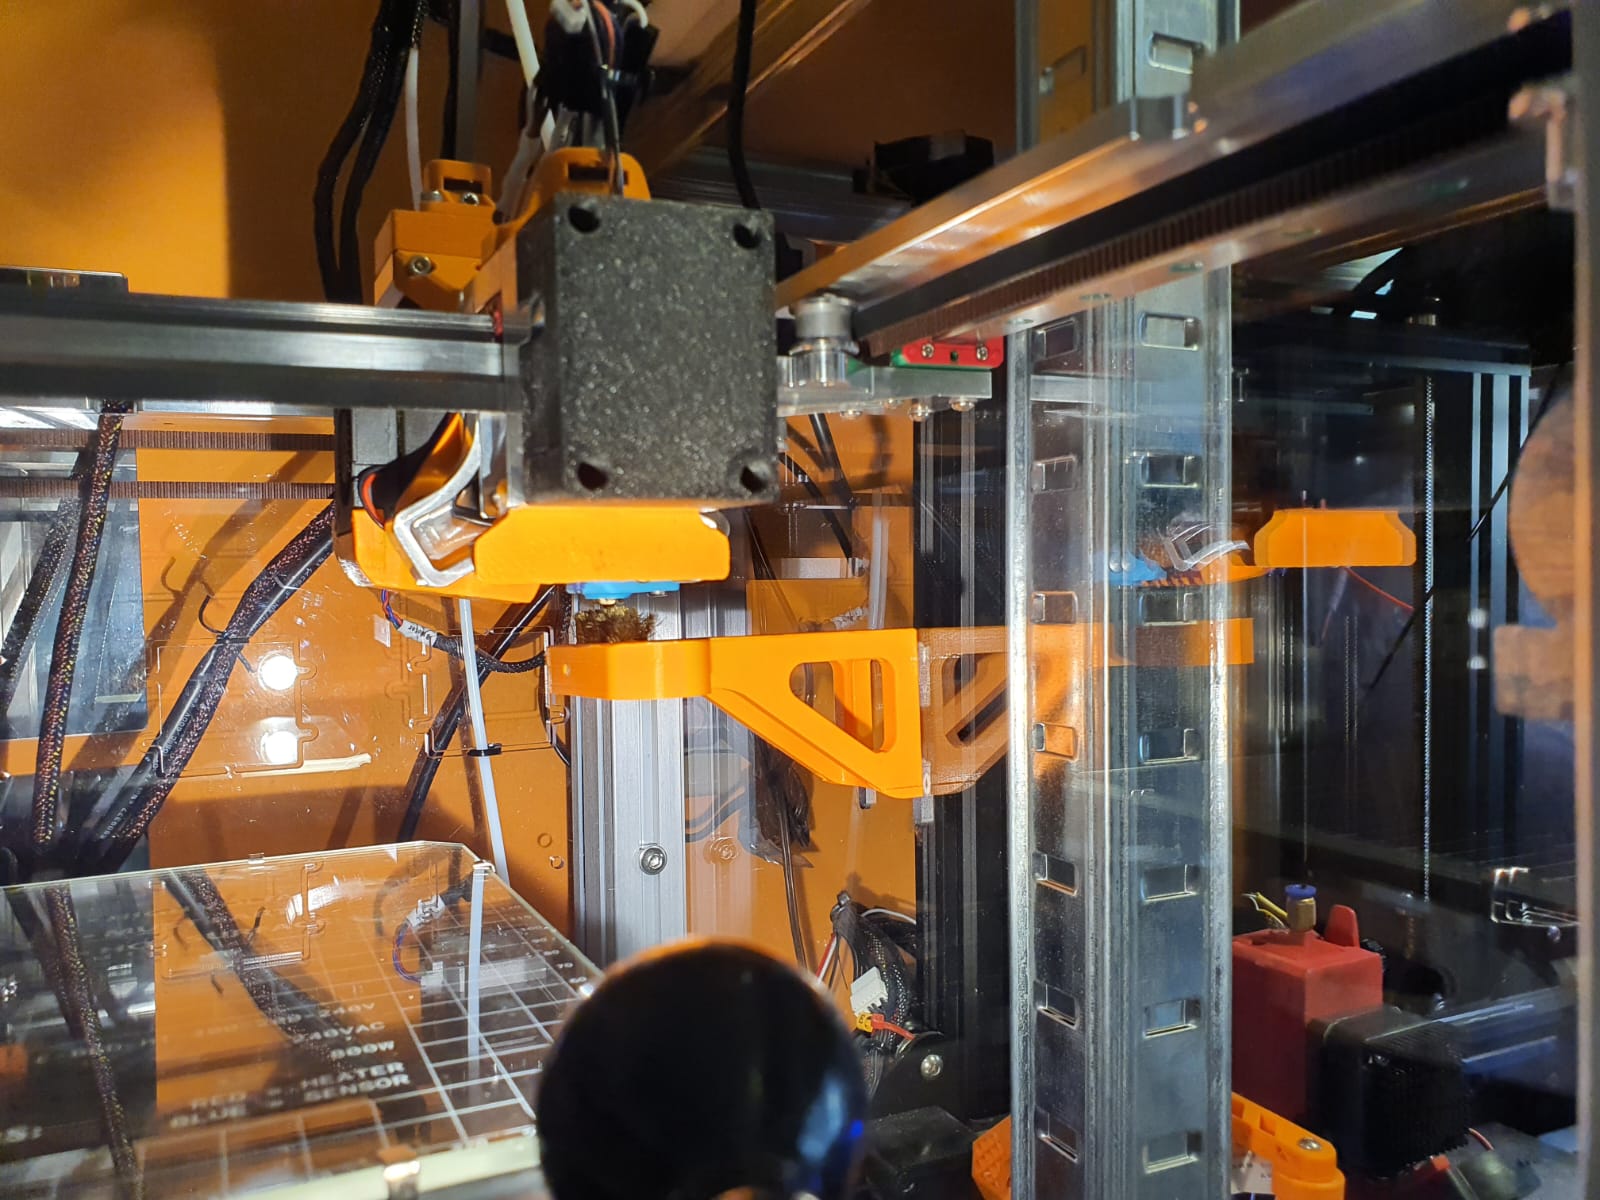
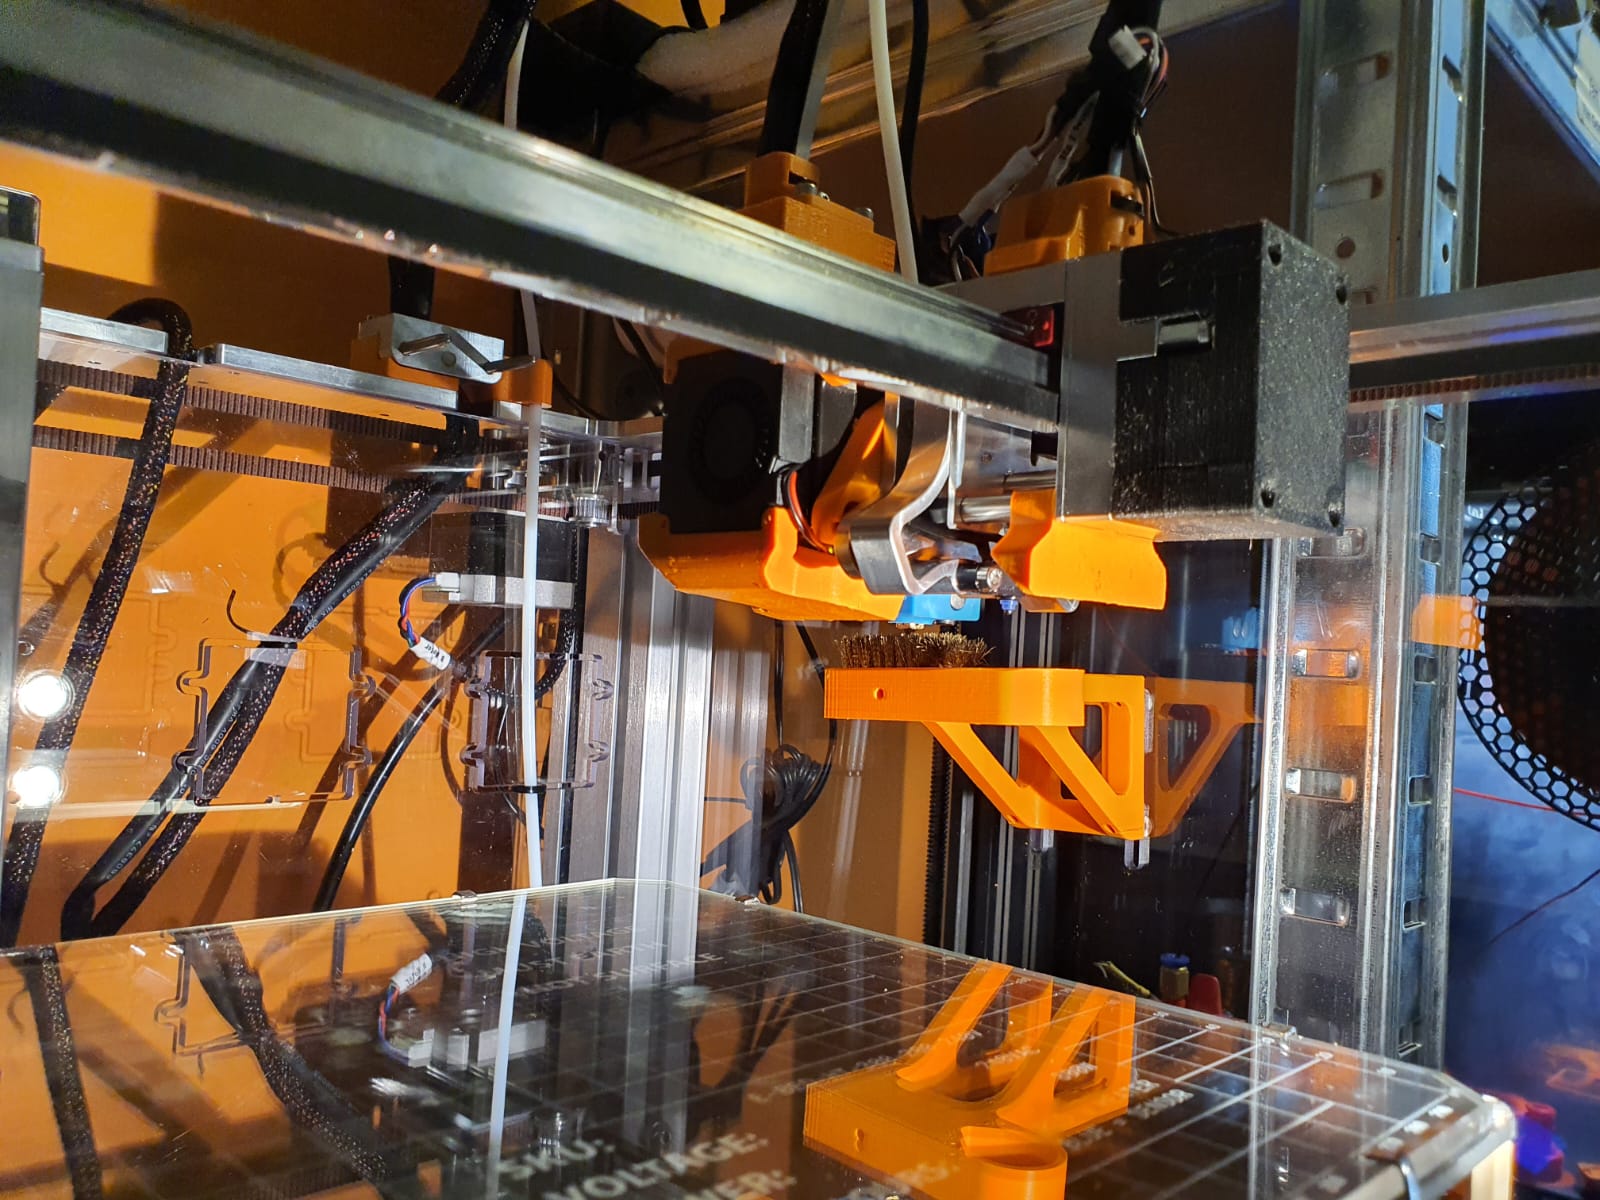
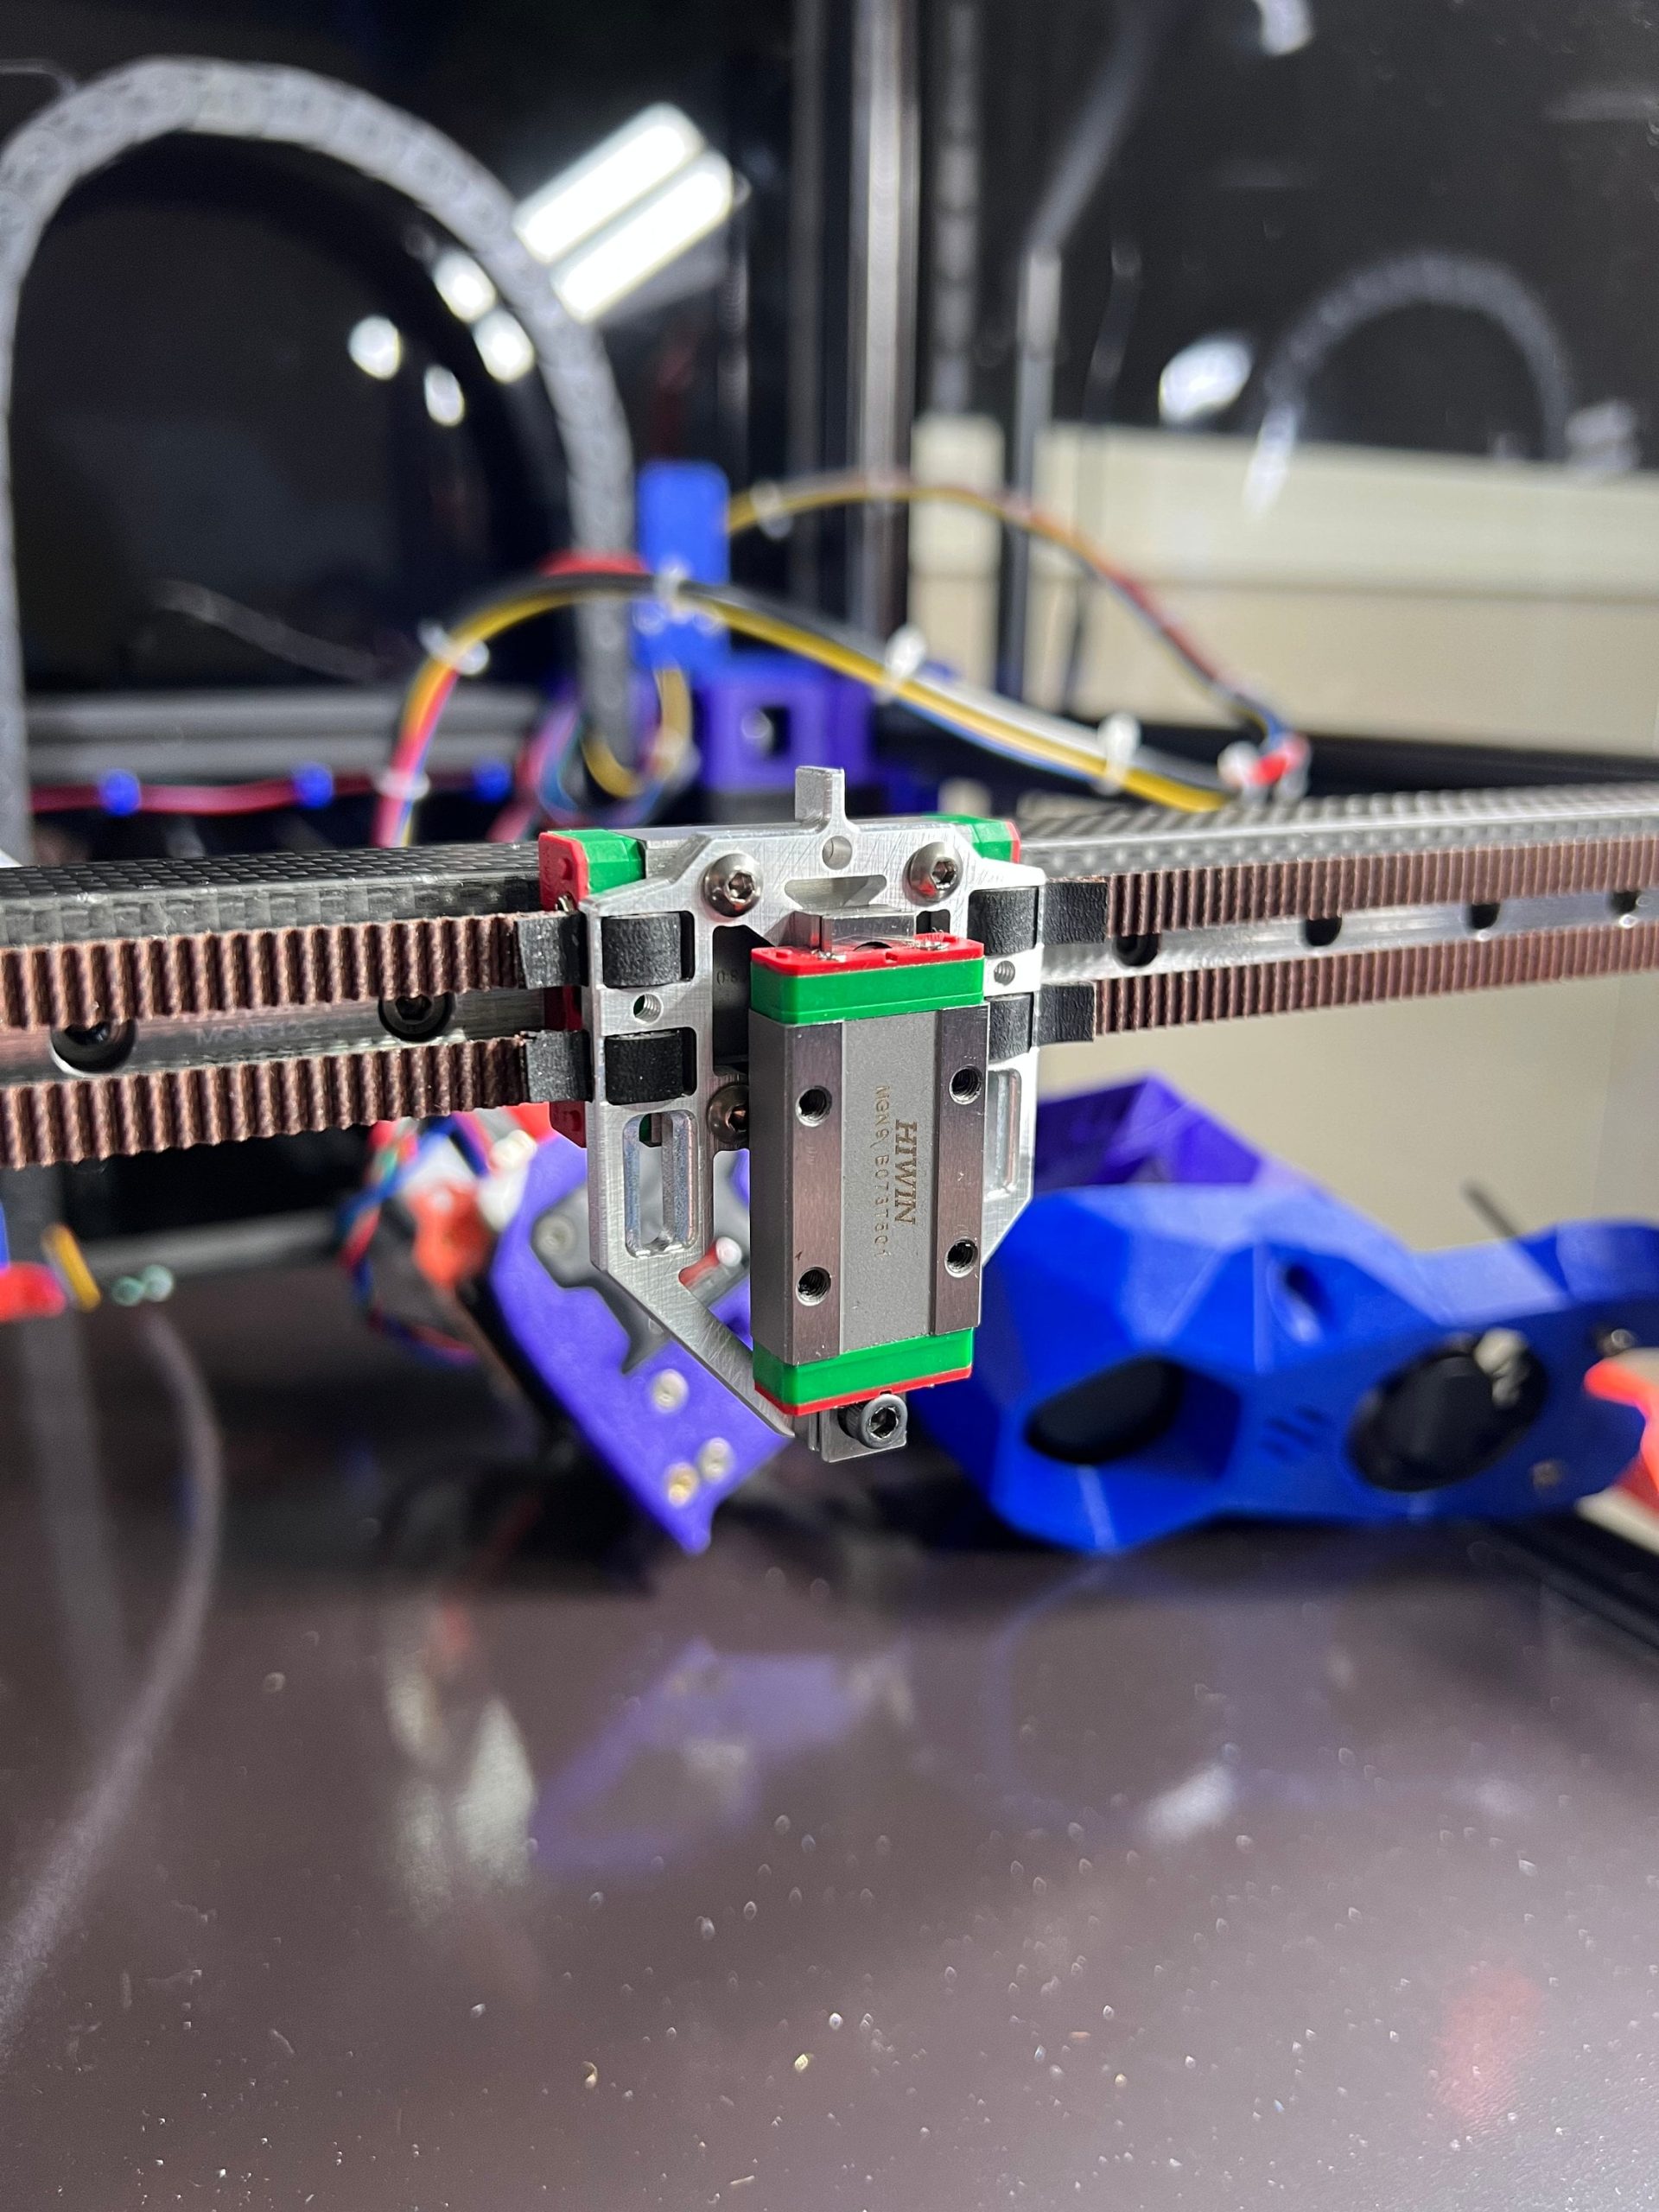
After exploring all kinds of possibilities, this one remained: Keep the tool pickup in the same place and work with existing resources. Saw the mounting block on the X-axis slider into 3 parts and then mill 1 mm off the centre piece on both mounting sides. Adjust the side plates to which the belts are attached so that these plates can be reattached to the middle section of the slider block with new countersunk screws. The through bushings on the bottom no longer pass through the plate, and the plate must be milled away at the corners, just like on the top, to create approximately 5 mm of vertical play. Mount the two lower connection points of both side parts with two 1 mm spacer rings each so that the carriage can move up and down and the sides remain at the original distance from each other in order to maintain the stability of the moving construction. An additional mounting block for the vertical linear rail of the TAP slider is placed on the centre mounting block of the X-axis slider. Extension pieces are attached to the front and/or rear of the tool pickup, to which the TAP slider with the moving part is attached so that everything can move up and down by approx. 3-4 mm..

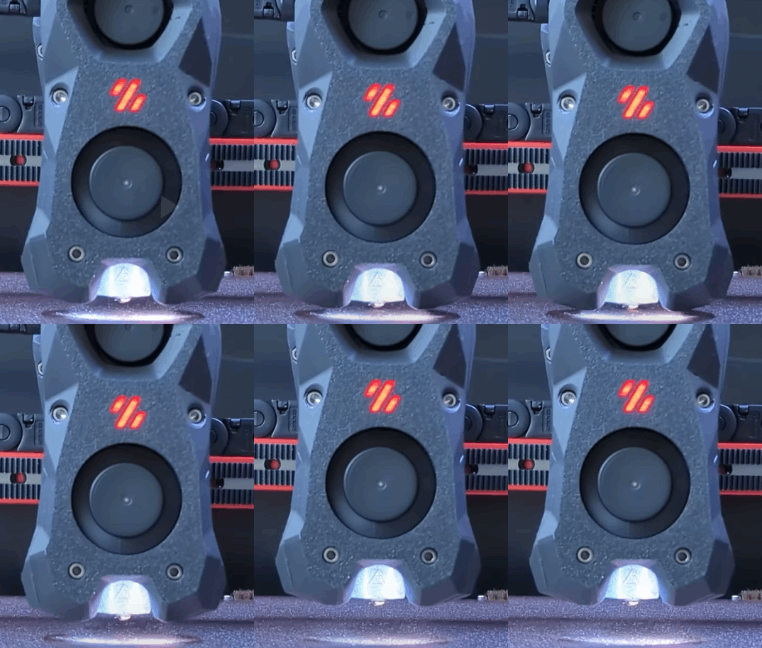
How the TAP function works on a Voron2.4 3D printer
ADDITIONAL: Self-searching tool changer

And while I’m at it: why not make a self-searching tool changer? Roughly set it up with the XYZ coordinates per tool, the last part electronically with a guide system between the pick-up trolley and the tool, and the final fitting with the existing mechanical fitting.

Instead of determining exactly where each tool should be picked up and put away by trial and error, you could use an electronic guidance system to aim precisely at the right tool when it needs to be changed. No more hassle with X-Y settings and homing axes. Because if anything changes as a result of mechanical stress in the frame or due to small deviations from the X and Y homing, picking up and putting away tools will regularly go wrong.

One possible way to do this could be a passage LED/LASER system, such as those used at shop entrances.

.
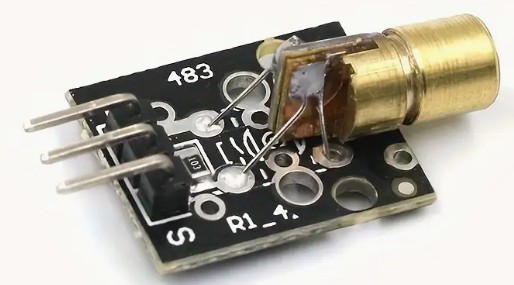


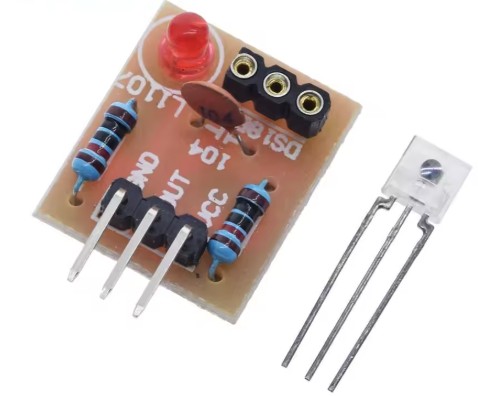
mini focussable laser module


mini laser receiver module


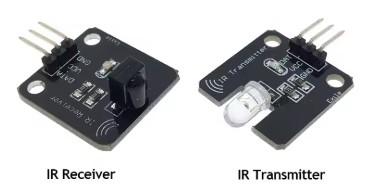
Or simply use infrared, which is invisible but also much less dangerous.


To do this, you use a targeting laser, such as in a levelling system, or an infrared laser with a receiver.

This is placed on top of the X-axis on the moving toolhead and is aimed at the tools, at a 90-degree angle to the X-axis.

You then activate the correct tool you want to move to or pick up as the receiver.

With an X-sweep movement, you can make contact with the receiving tool and then move in a straight line towards the tool until you reach the pick-up point, which is specified in absolute Y value in the configuration file. Sounds like a great development!

ADDITIONAL: Precise XYZ homing of the tools

And I would like to have a way to centre X, Y and Z of each tool nozzle in detail relative to the other tool nozzles, just like with my CNC machines:

3D Print Head Alignment Block

With such a head alignment block, you can accurately determine the position of all axes on a CNC machine. First, you need to determine the approximate position of this block, with an accuracy of approximately 1 mm on the X and Y axes.

The alignment block is electrically insulated and works by making contact between the tool tip and the block.

How does homing with an alignment block work?
You programme a centring macro in G-code.
First, you temporarily set the motor power to the lowest possible value to avoid damage if anything is in the way of the moves to be made.
Just as when I regularly do a home-all, with this new method you also set the bed and the relevant tool nozzle to operating mode (e.g. bed at 70 degrees and nozzle at 180 degrees).
Then you do a normal XY homing, which in my case works with limit switches (or optical switches) at the start of the X and Y axes.
A Z-homing action is also necessary unless you do not want to remove the Z-move block that occurs when you have not first homed Z.
Then move the Z-axis up sufficiently to avoid hitting the block.
Next, move to the absolute XY position of the block.
When you are above the block with your tool, home your Z.
Then home on Z+0.3 both -X and +X, and in the middle of -X and +X home -Y and +Y.
The result is the exact position of the centre on the flat Z plane of the alignment block.

Because you know exactly what the position is in relation to the bed centre and from X0, Y0 and Z0, you can translate this directly into the macro and enter the Z0, X0 and Y0 values as absolute values.

It should be possible to home the E3D tool changer tools in this way as well, with Z using the TAP function and X and Y using electrical detection as described above for the CNC milling machines. We will see if and how this will work as a supplement to TAP-Z homing with the current X and Y microswitch homing on the X and Y axes.


CONCLUSION -FOR NOW-

The credo still seems to be: If the E3D tool changer is working, it’s best to leave it alone. That doesn’t suit me at all, because I often move my printers around. And that doesn’t always go well.

So I’m going to look into these issues and, if possible, build something!

Custom E3D toolchanger Dock adapter plate

Jantec.nl E3D toolchanger Hymera DD DOCK adapter and 3mm shifted adapter download

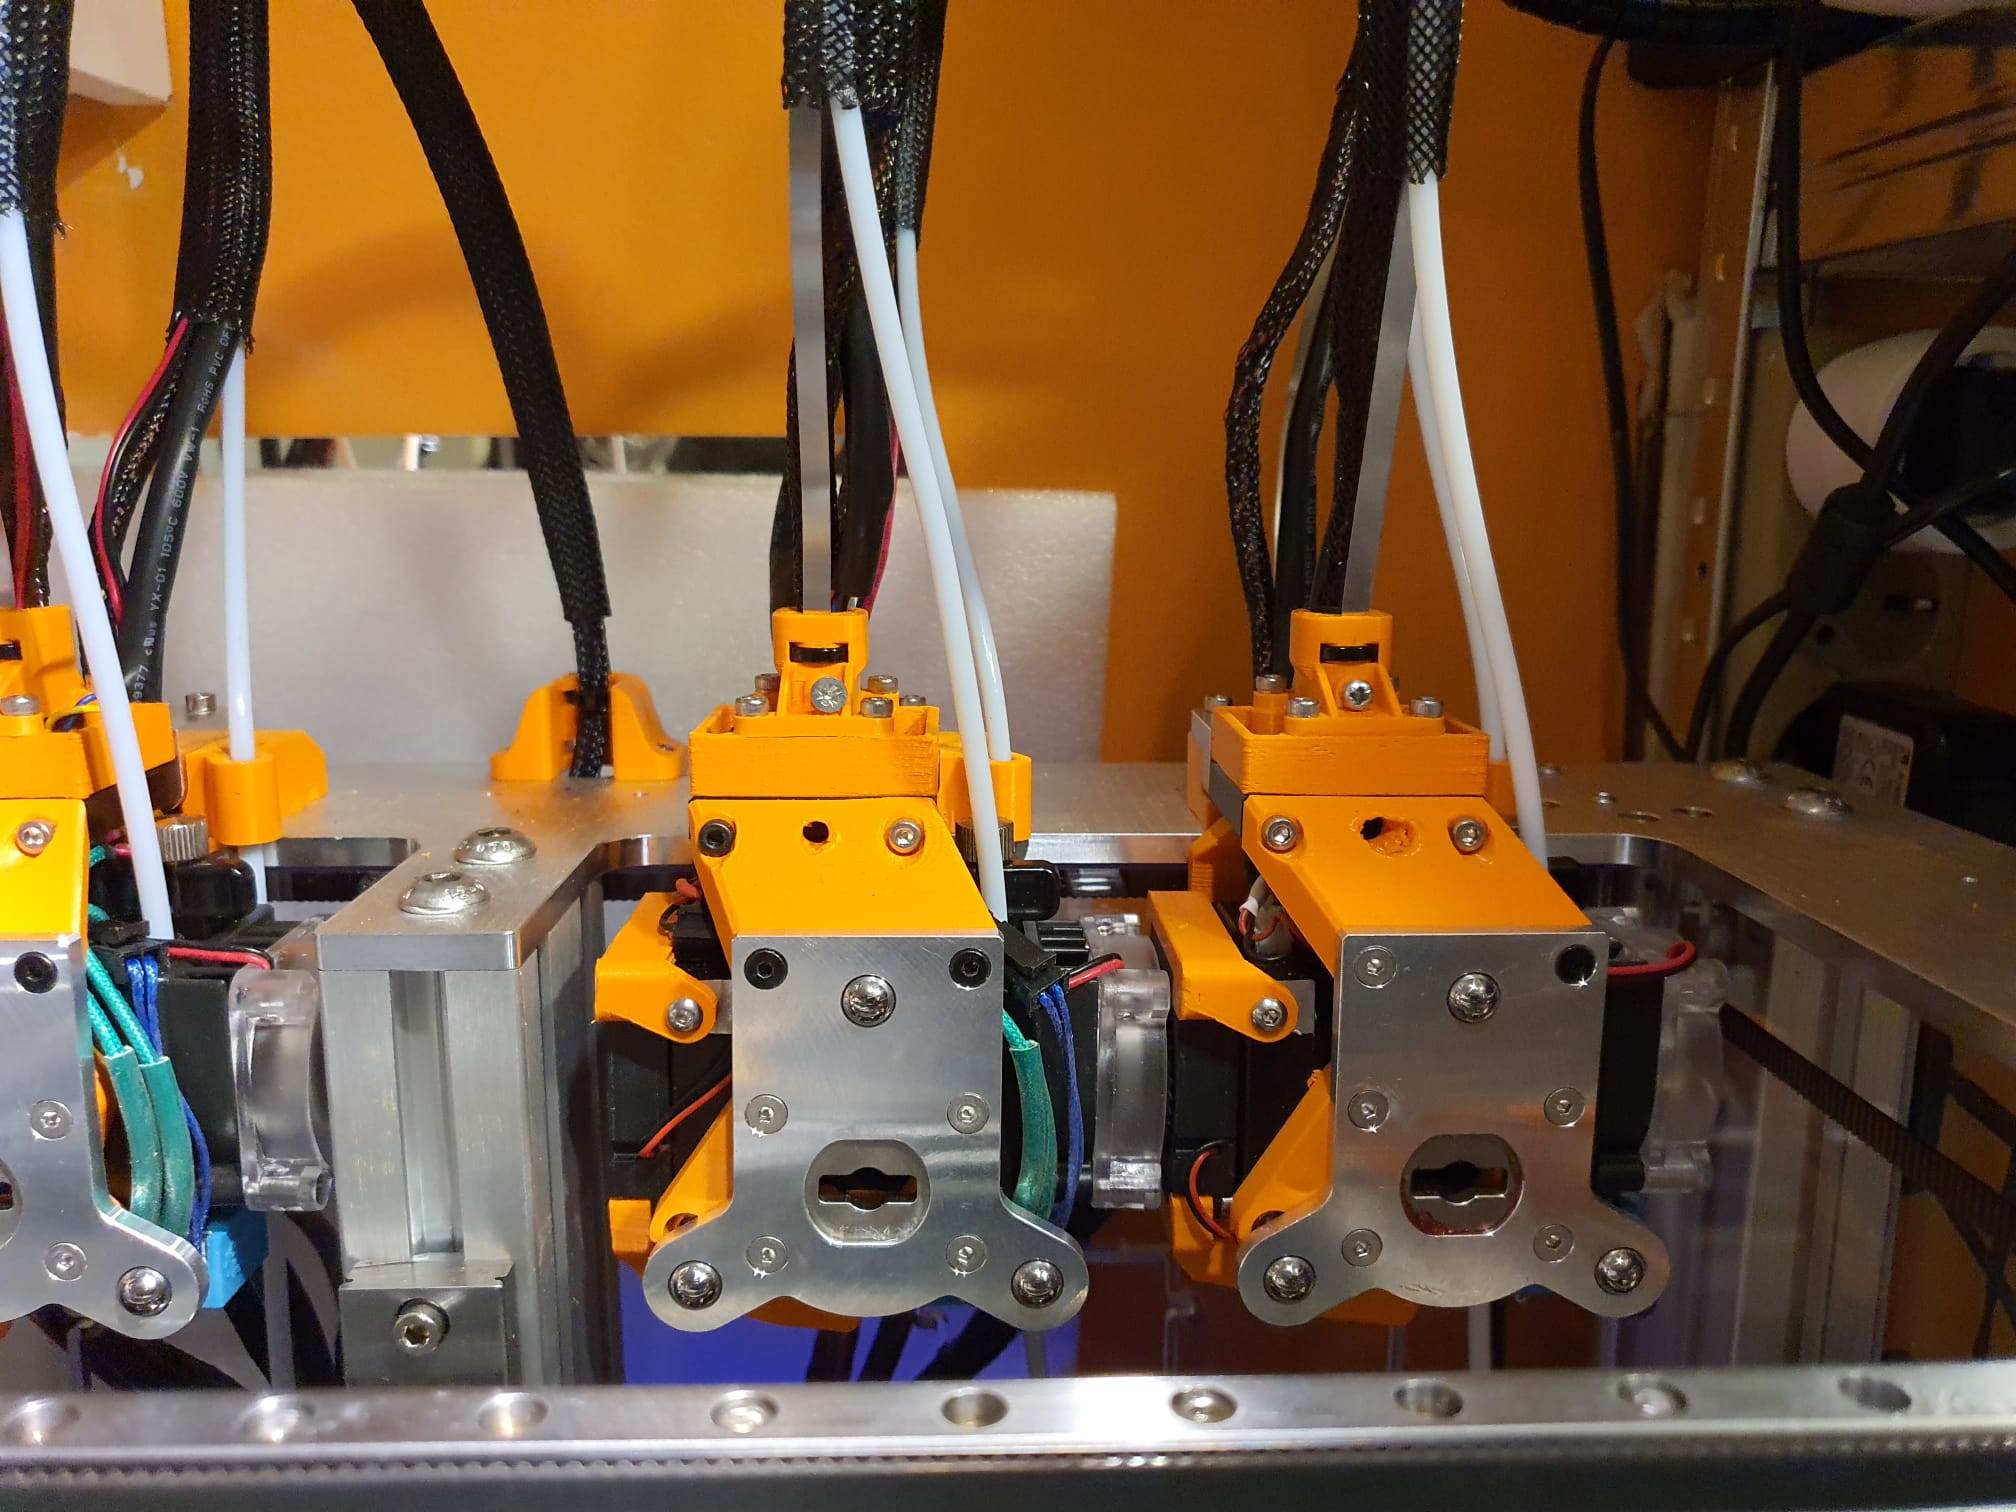
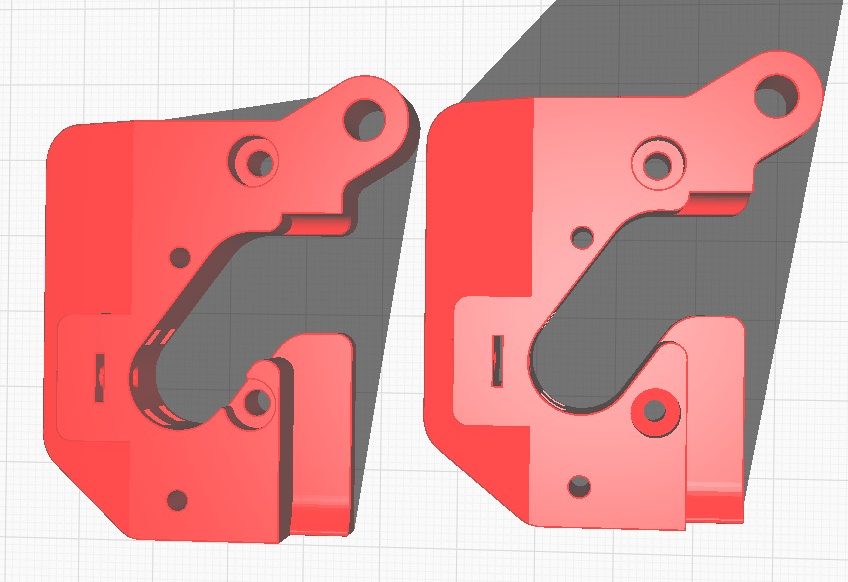
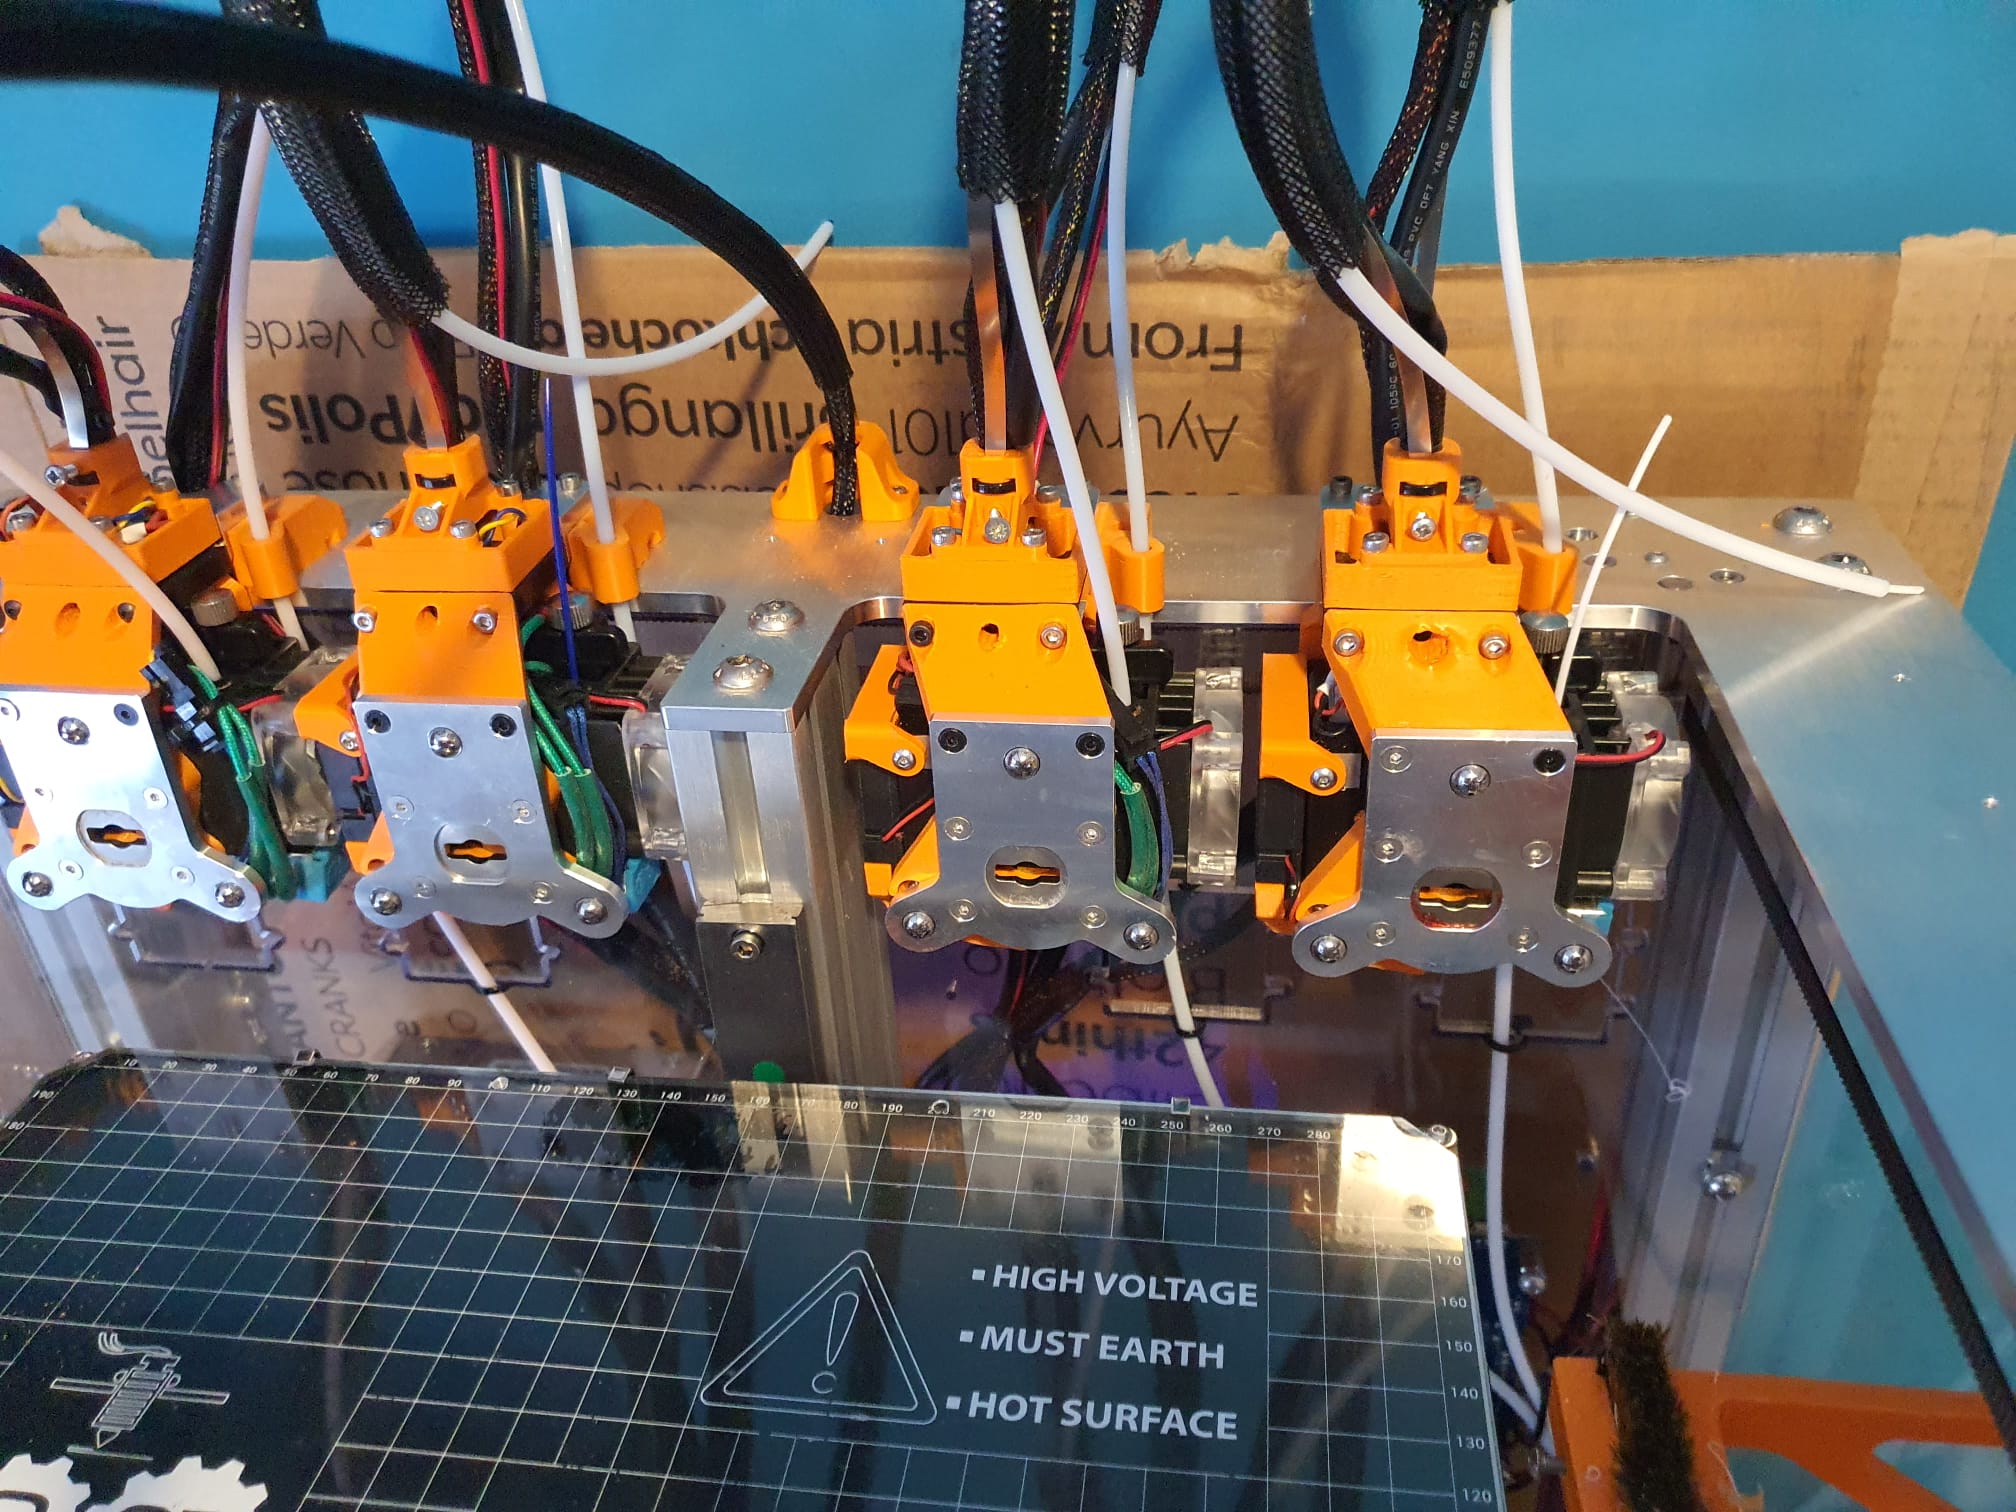
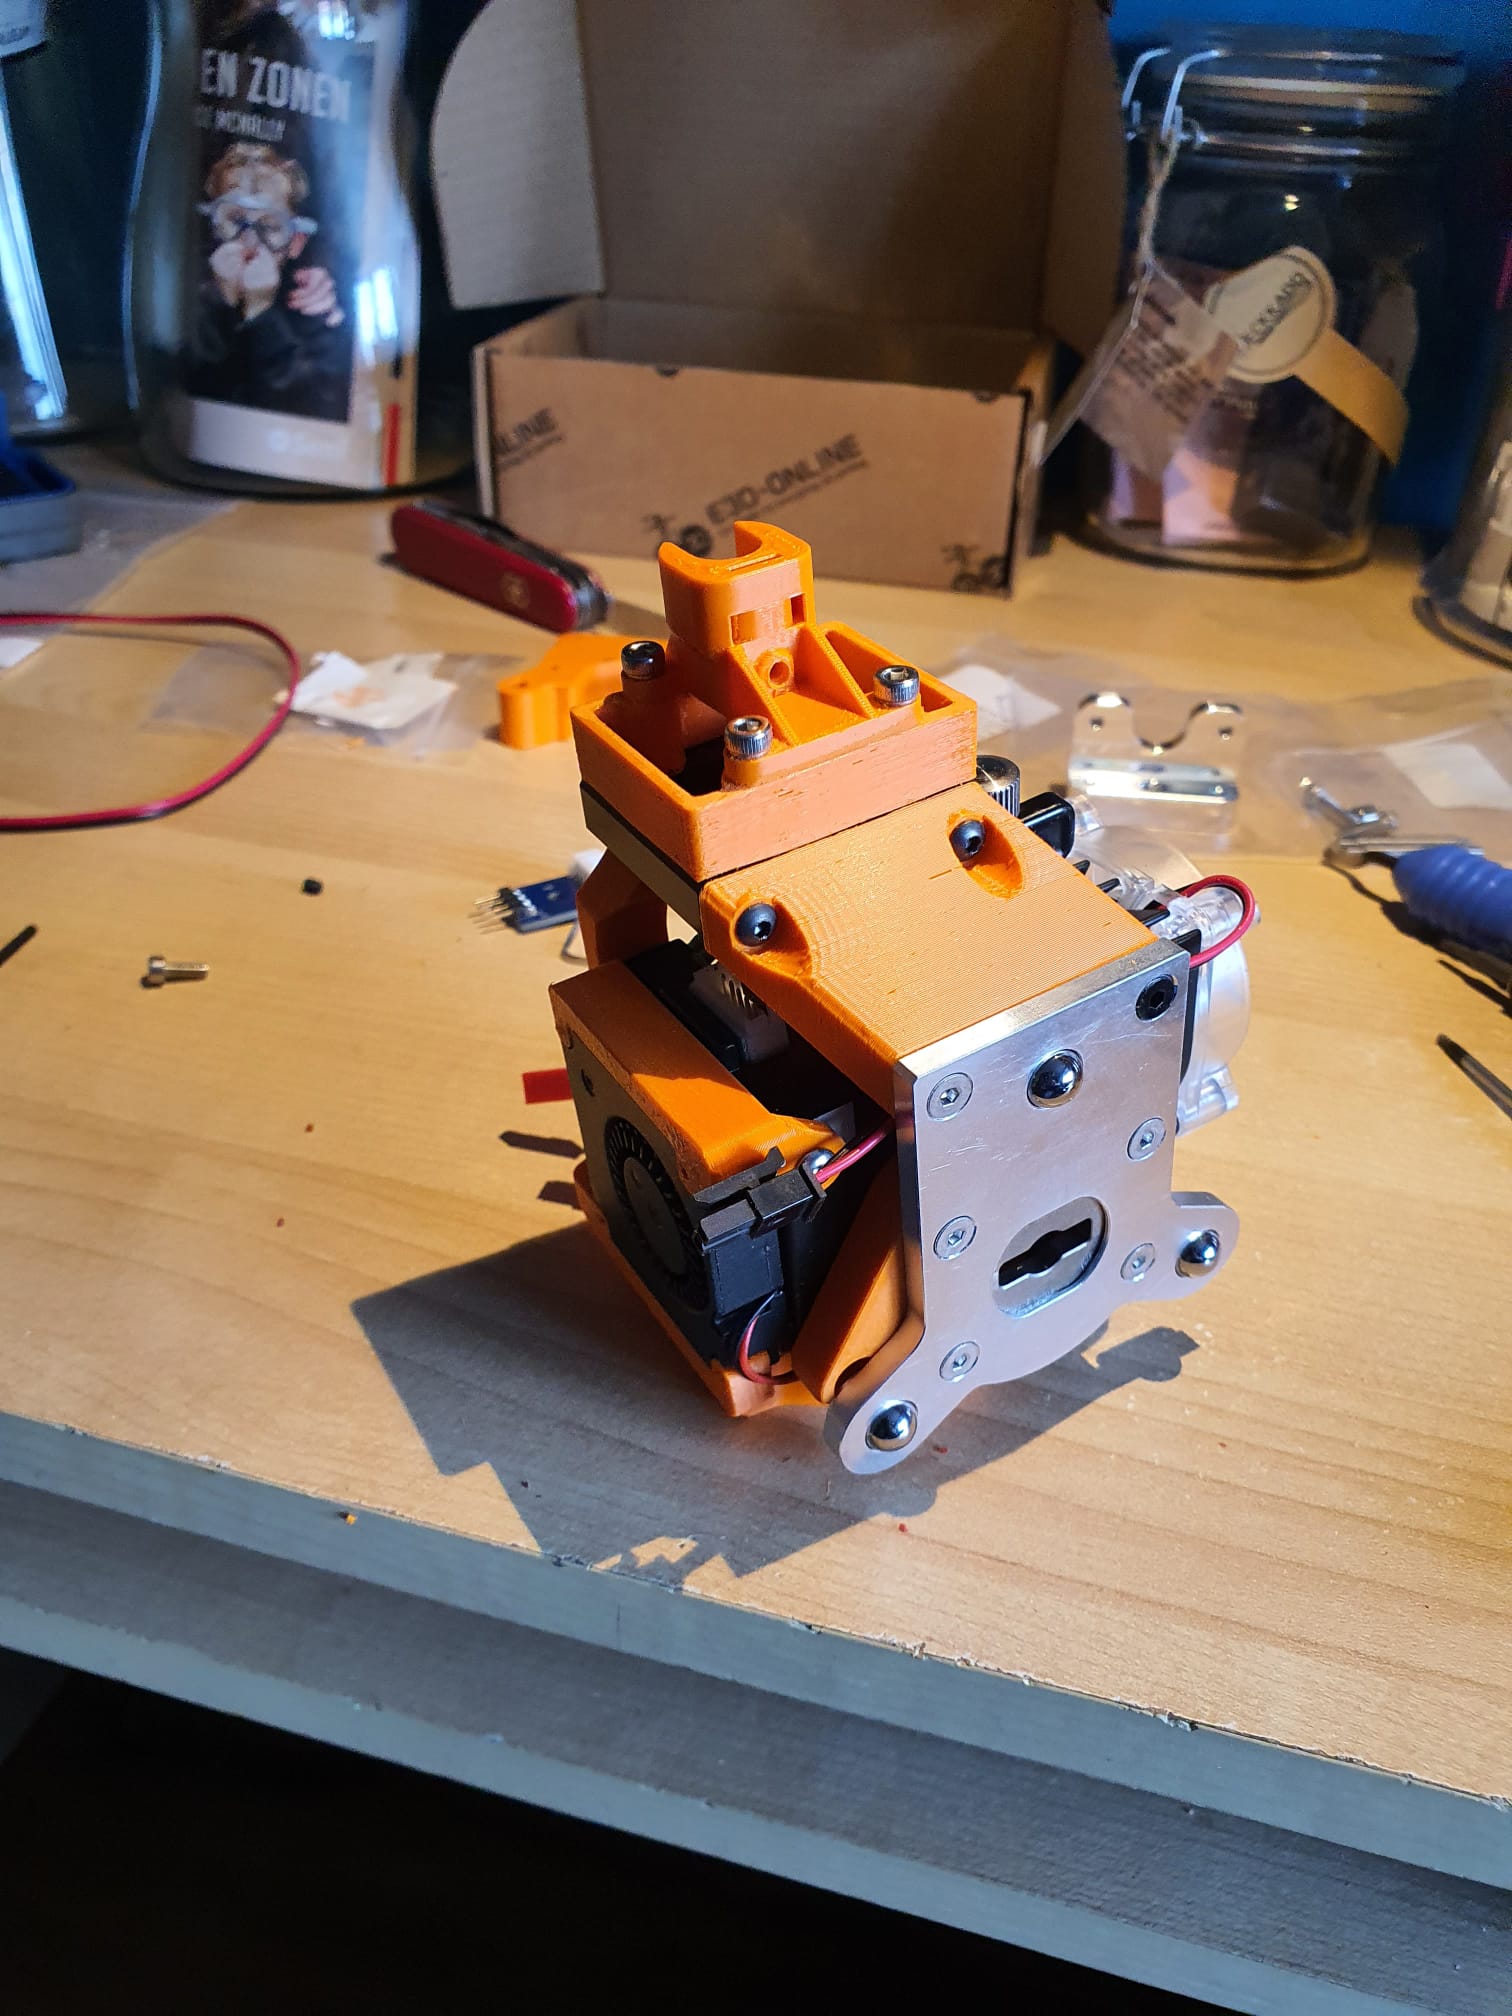
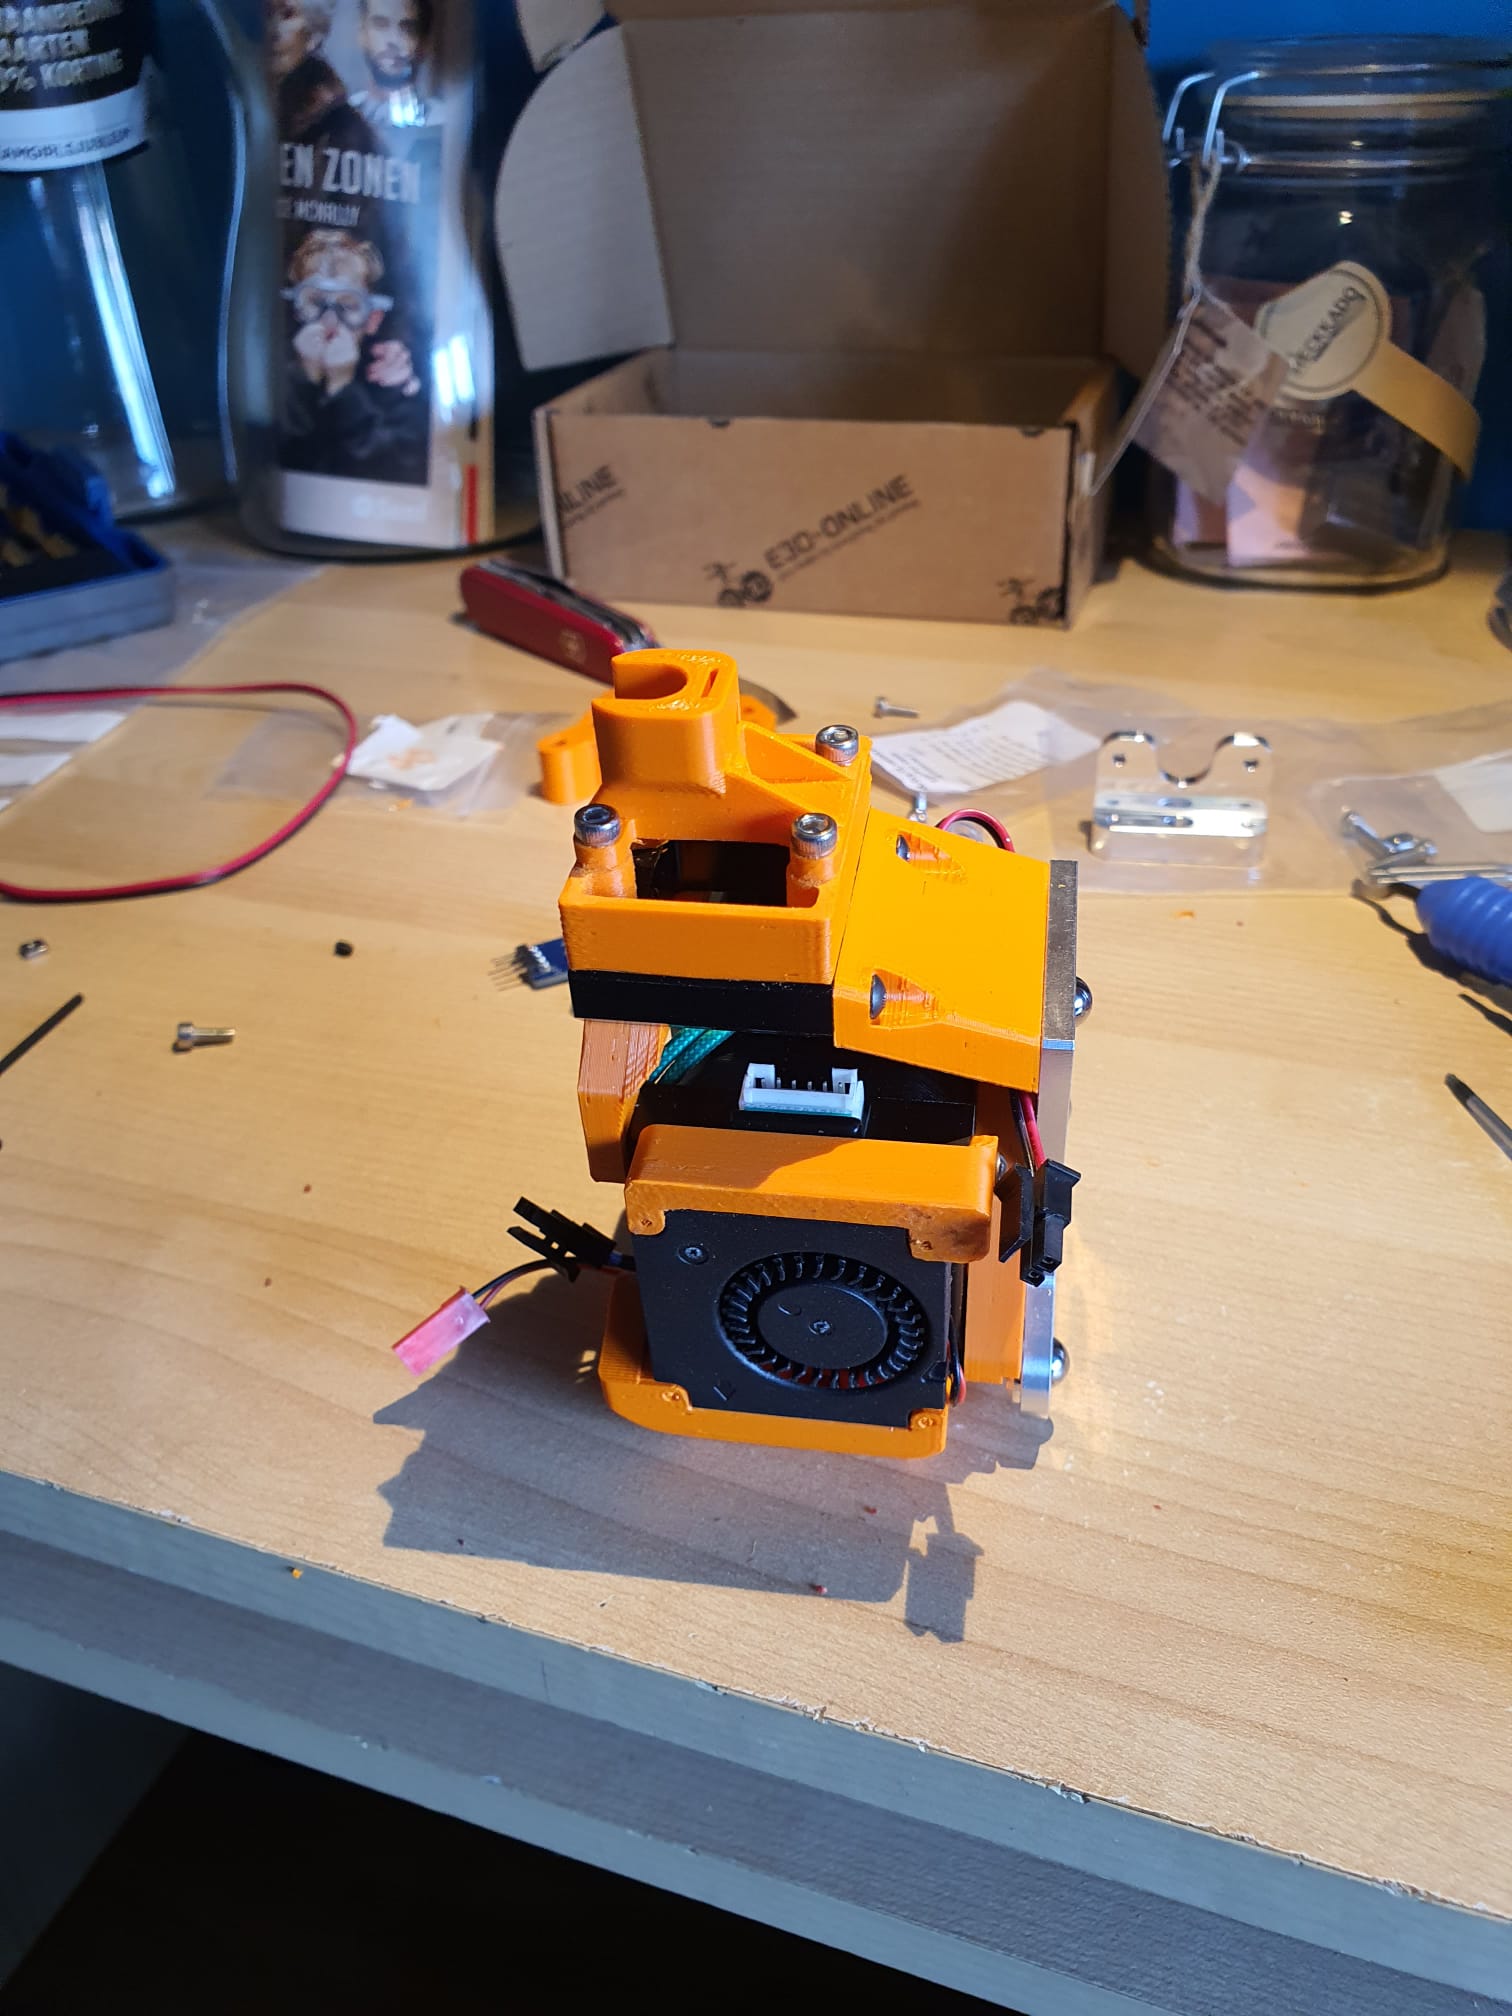
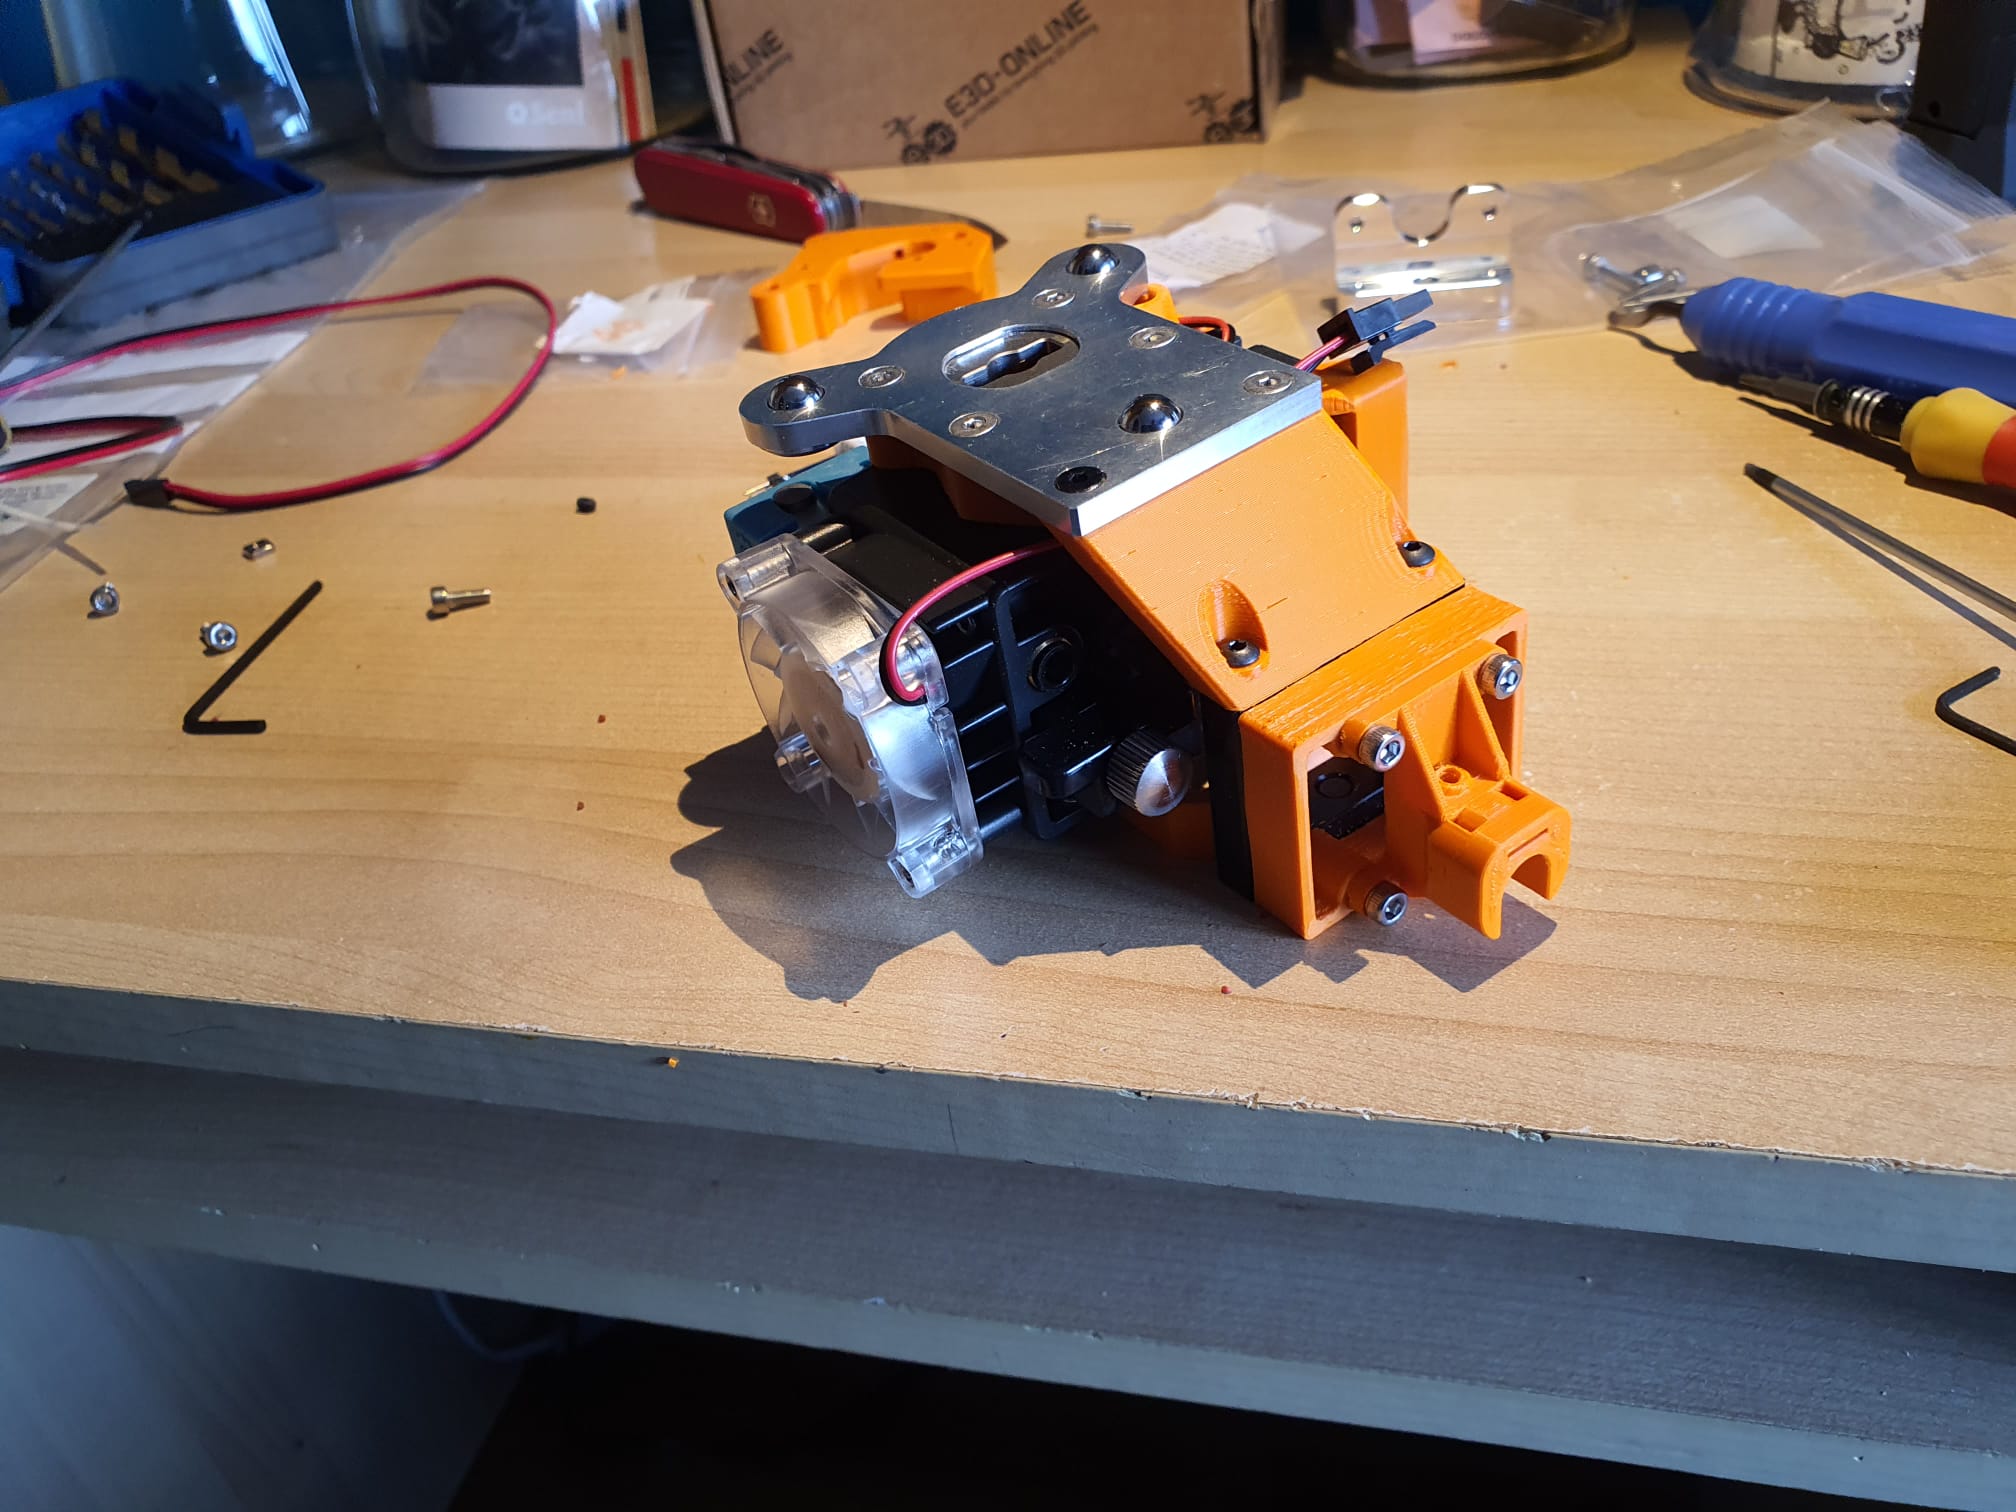
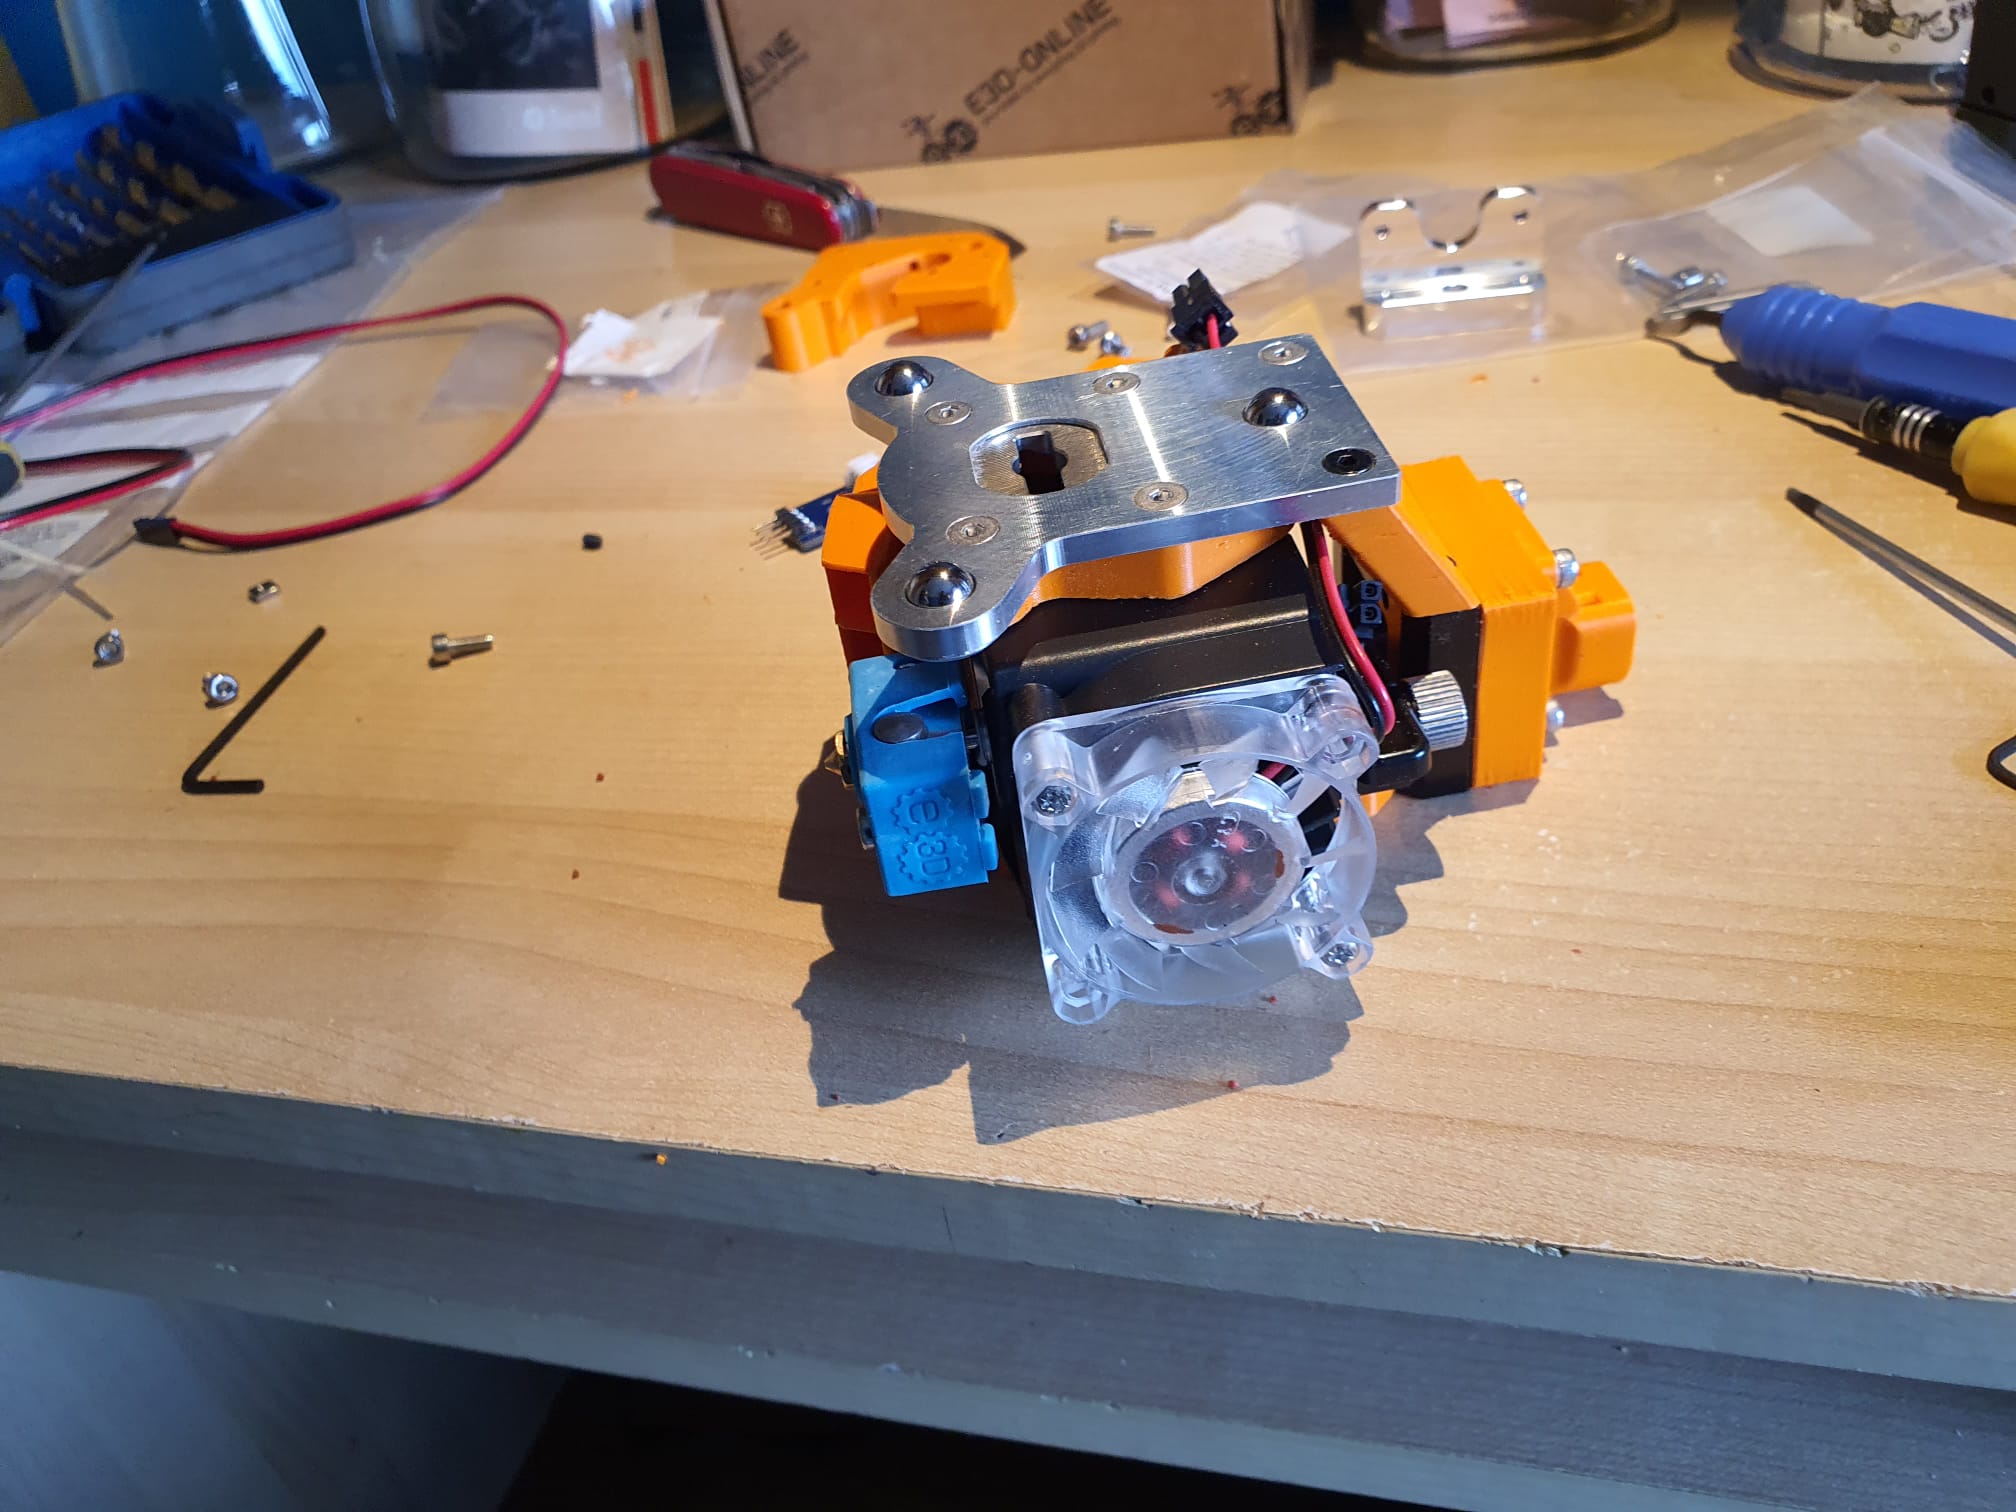
Tool T2 and T3 (3rd and 4th from left) are about 1.5 mm apart in the standard build, which means that T2’s tool fan can draw almost no air. With the new custom adapter, the right tool T3 moves 3 mm to the right, allowing the left tool T2 to once again draw air with the clear fan and cool T2’s heatsink from the Hymera Direct Drive extruder.

With this custom adapter, the respective tool moves up 3 mm, giving you an extra 3 mm of space compared to the left tool.

This makes just enough room for the tool fan of the left adjacent tool to cool the heatsink.

So place this adapter in the 2nd and 4th places with Tool 1 and 3.

This will save the first (T0) and 3rd tool (T2) in terms of cooling!

On the left the original version, on the right my version modified in Autodesk Fusion 360 for the tools at position T1 and T3 (2nd and 4th)


Downloads:

Jantec.nl E3D toolchanger Hymera DD DOCK adapter and 3mm shifted adapter

Calibrating E3D coreXY 4-toolchanger 3d printer

I am in the process of calibrating the tools, the overall settings and so on so I can move on with the rest of the tools.

In doing so, I always set all tools to settings that are in comparison to the first tool, T0.

This way, should anything change,  I have a solid reference.

Tomorrow I will build and install the 2 other Hemera direct drive tools and possibly I can finally have my Benchy testpint made with all 4 Tools!


In the end, calibrating did not work very well and the solution is here:E3D toolchanger upgrade: X-and Y- axis homing switches installing and configuring  and E3D toolchanger: Tuning the tool pickups with reprap global variables and macro’s assistance

Building E3D coreXY 4-toolchanger 3d printer

MORE E3D TOOLCHANGER POSTS


4xHemera direct drive first prints 

Tuning the tool pickups with reprap global variables

X-and Y- axis homing switches installing and configuring

Hymera fans 2, 4, 6 and 8 intermittent problem solved

E3D 4-toolchanger 3D printer updates

Custom E3D toolchanger Dock adapter plate

Calibrating E3D coreXY 4-toolchanger 3d printer

multicolor gadget open hollow multicolor 3d printer designs

Toolhead stepper fault and solution

BUILDING MY MULTICOLOR E3D PRINTER

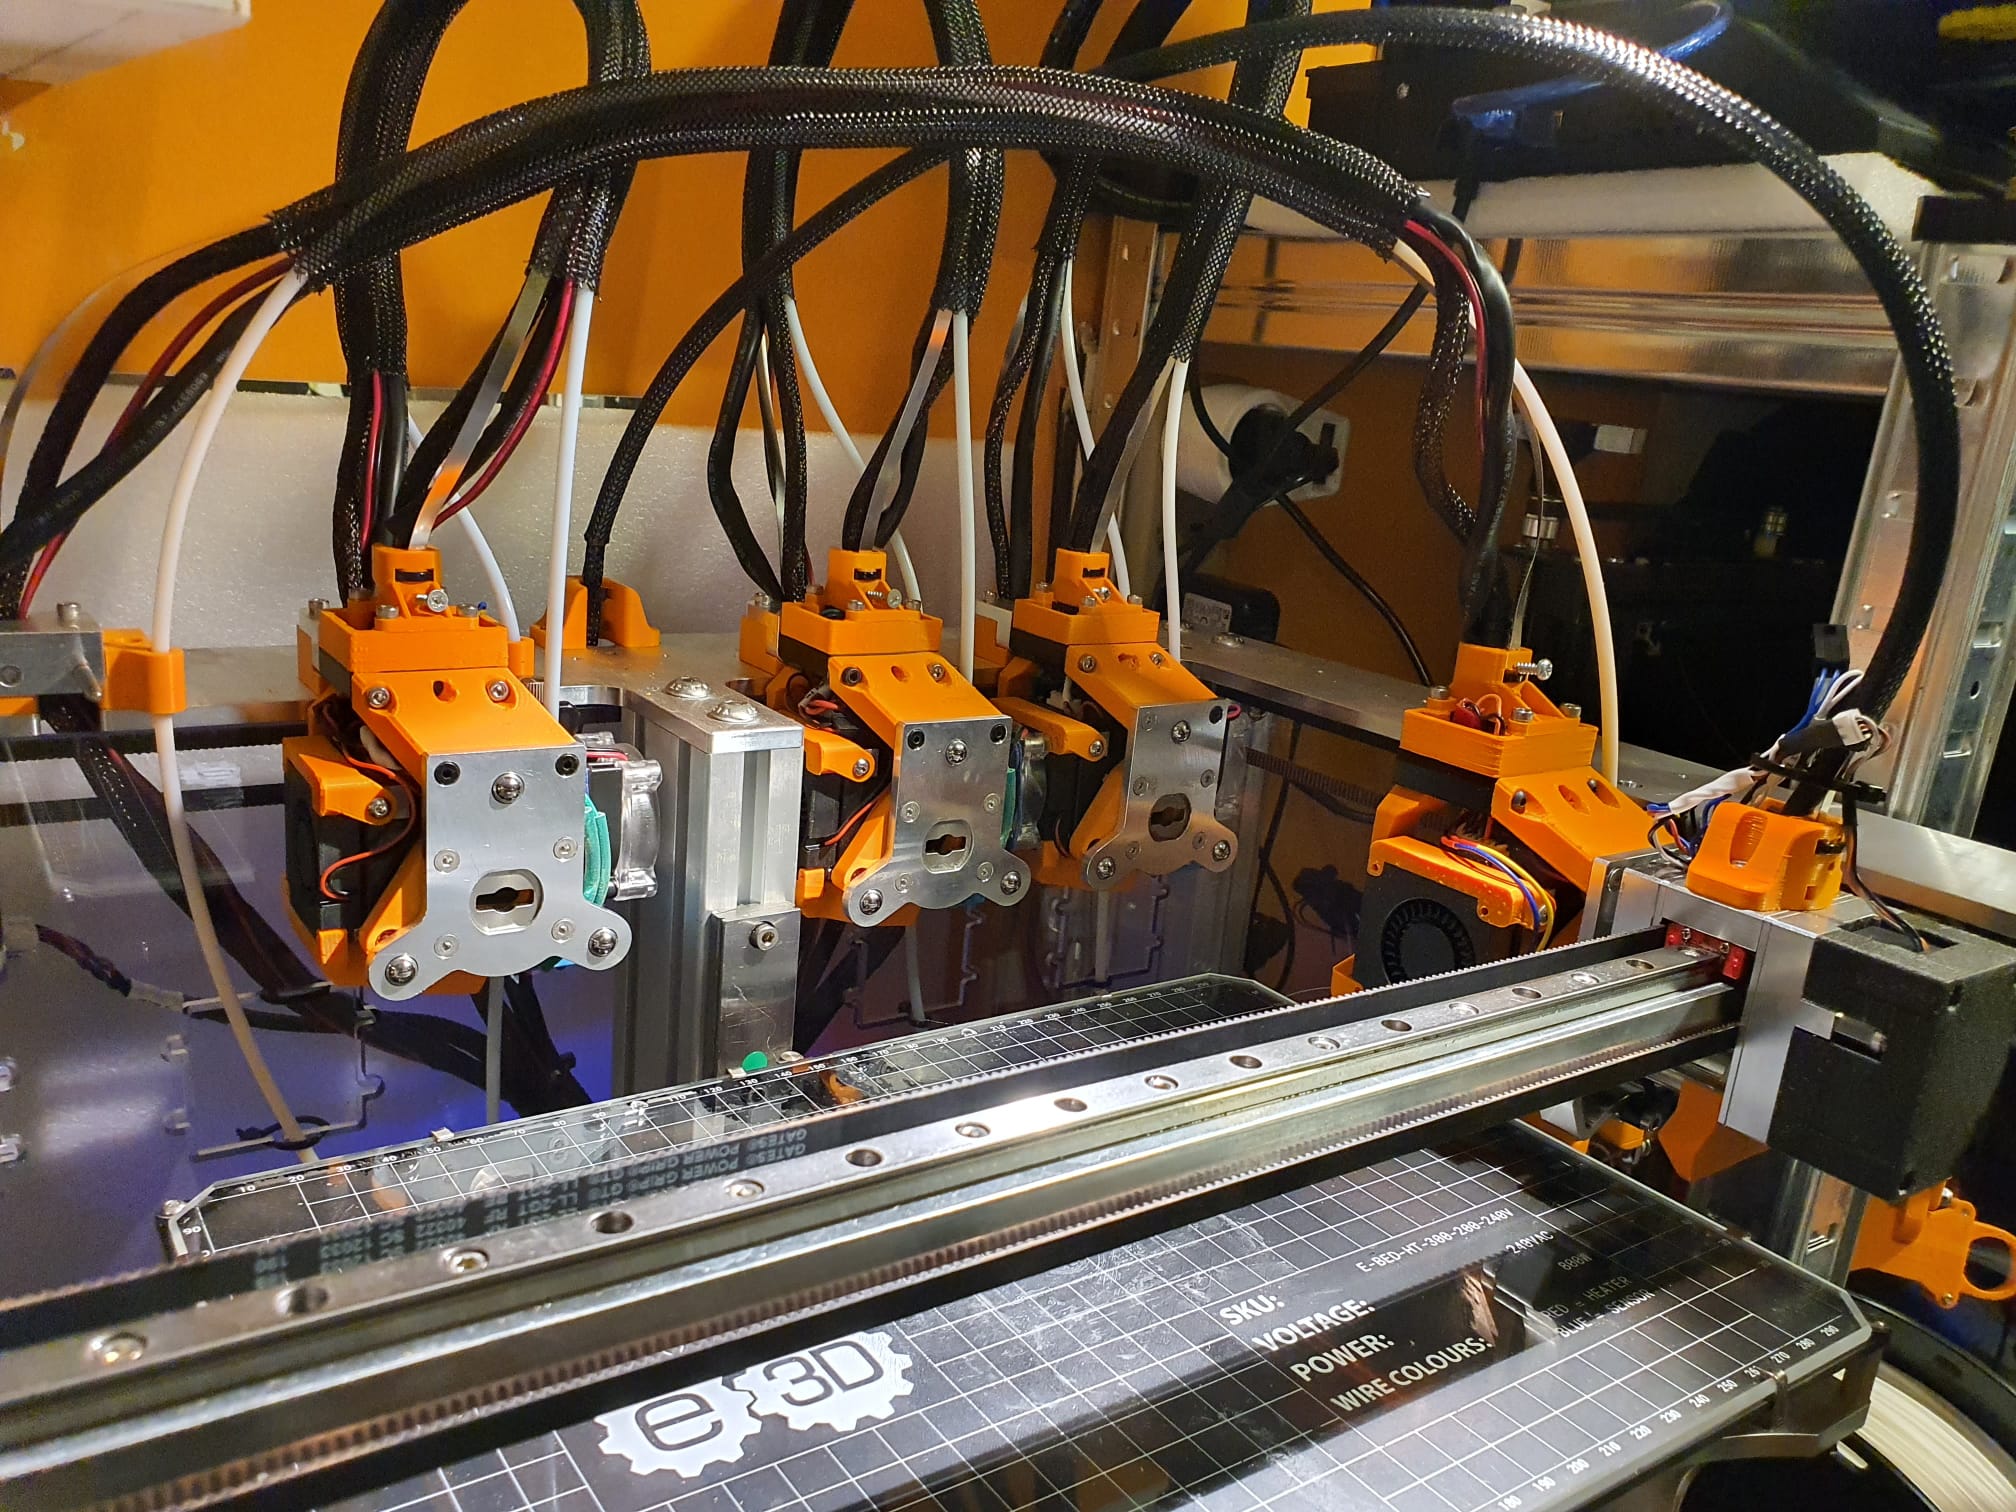
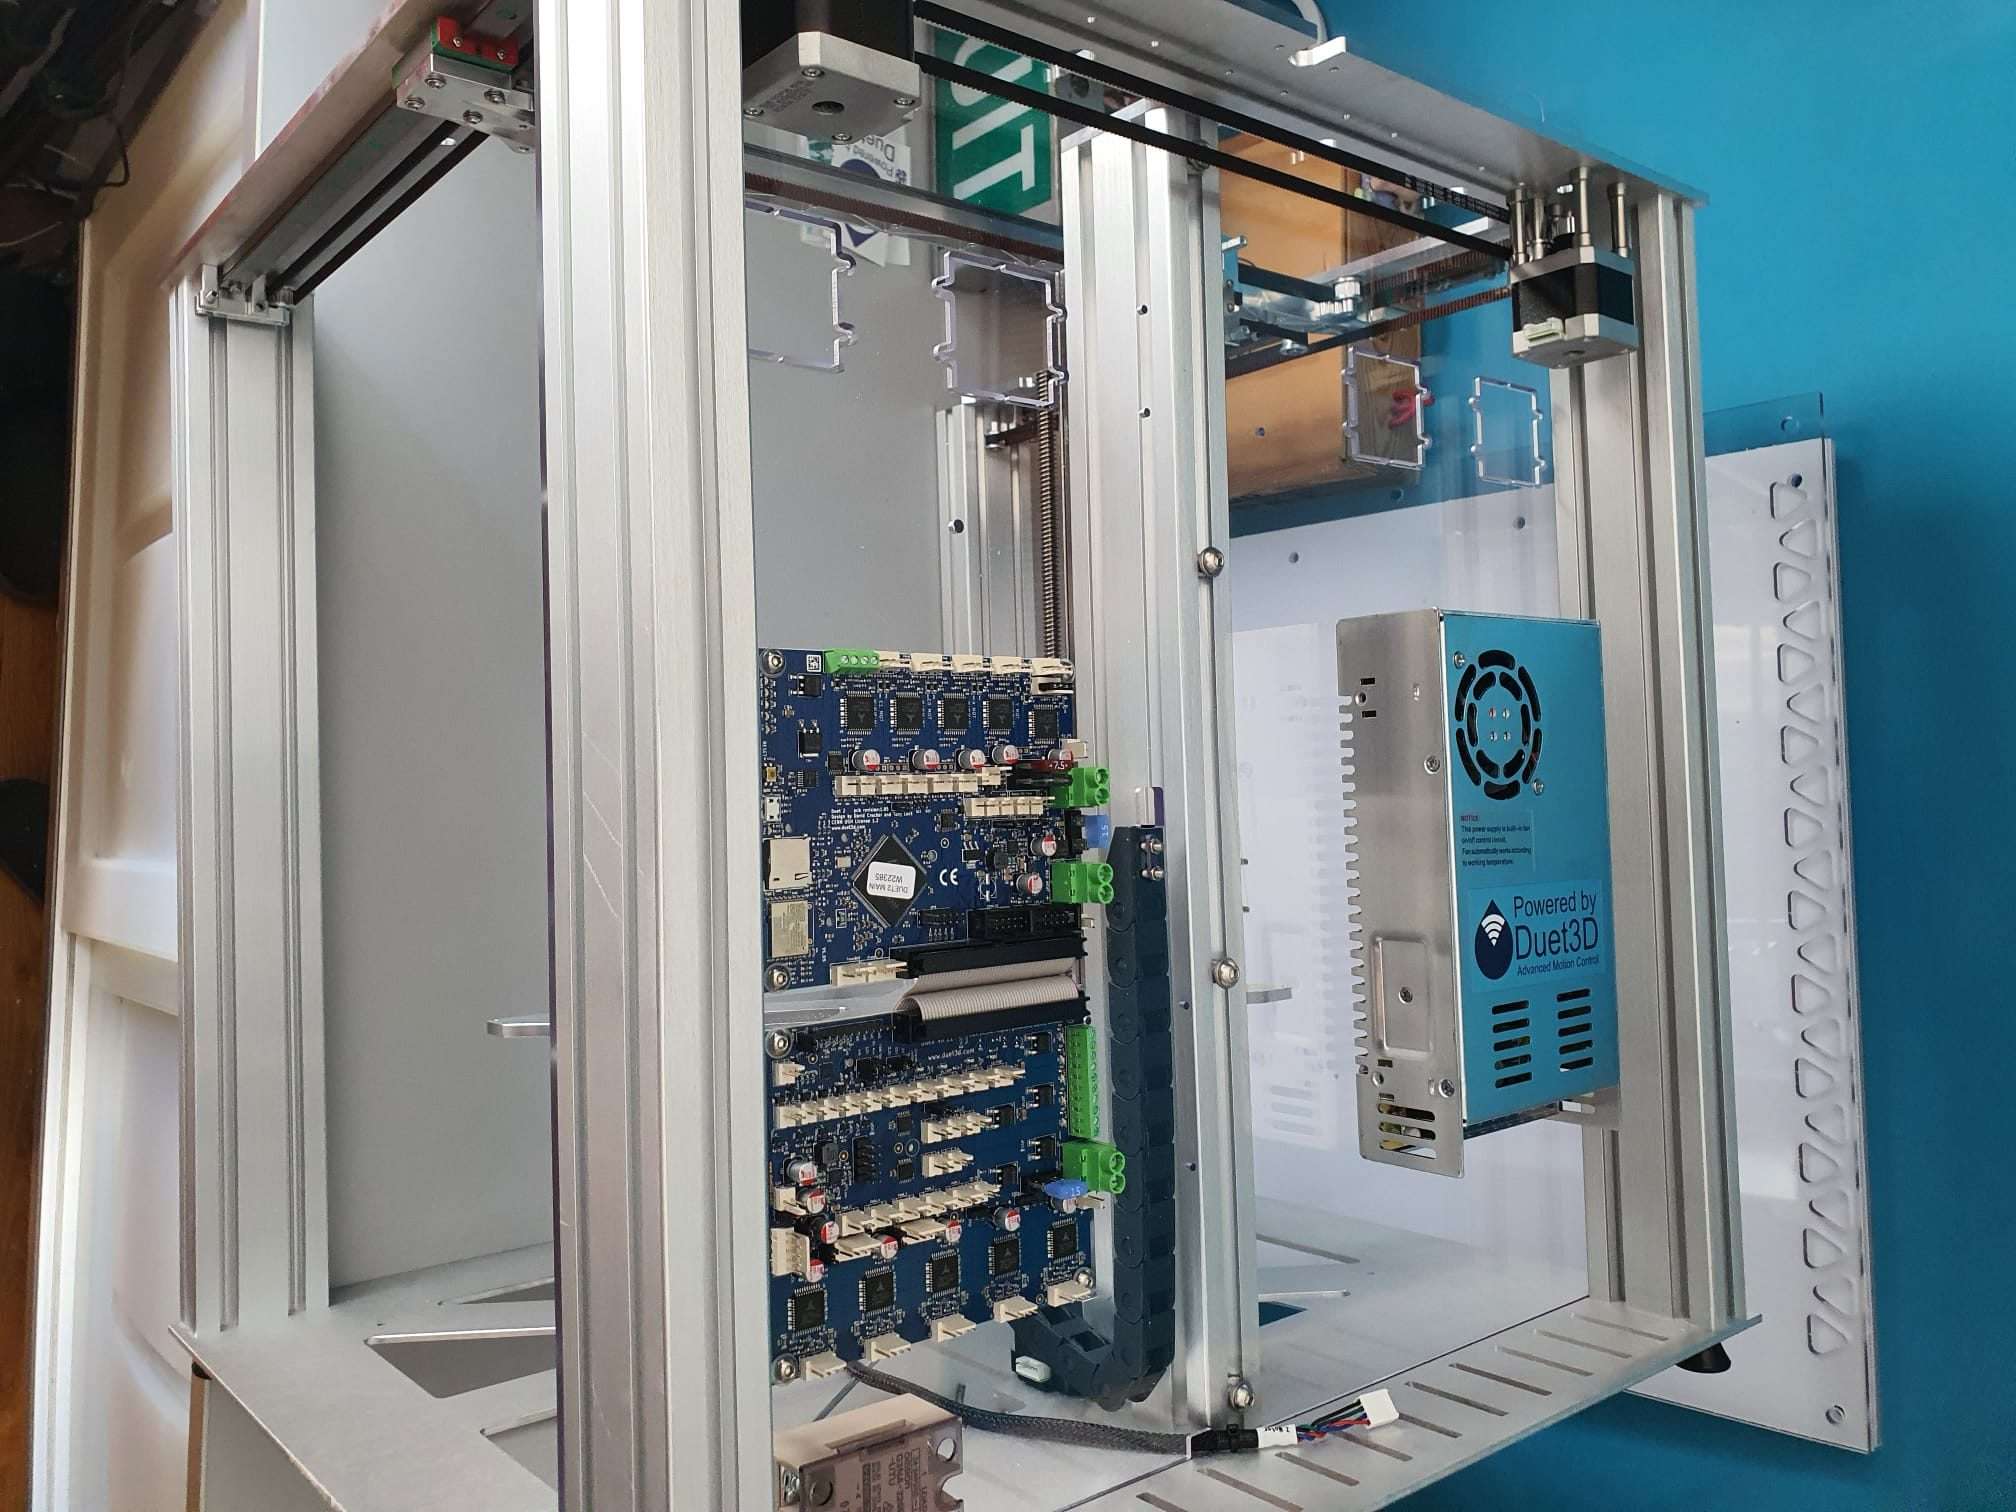
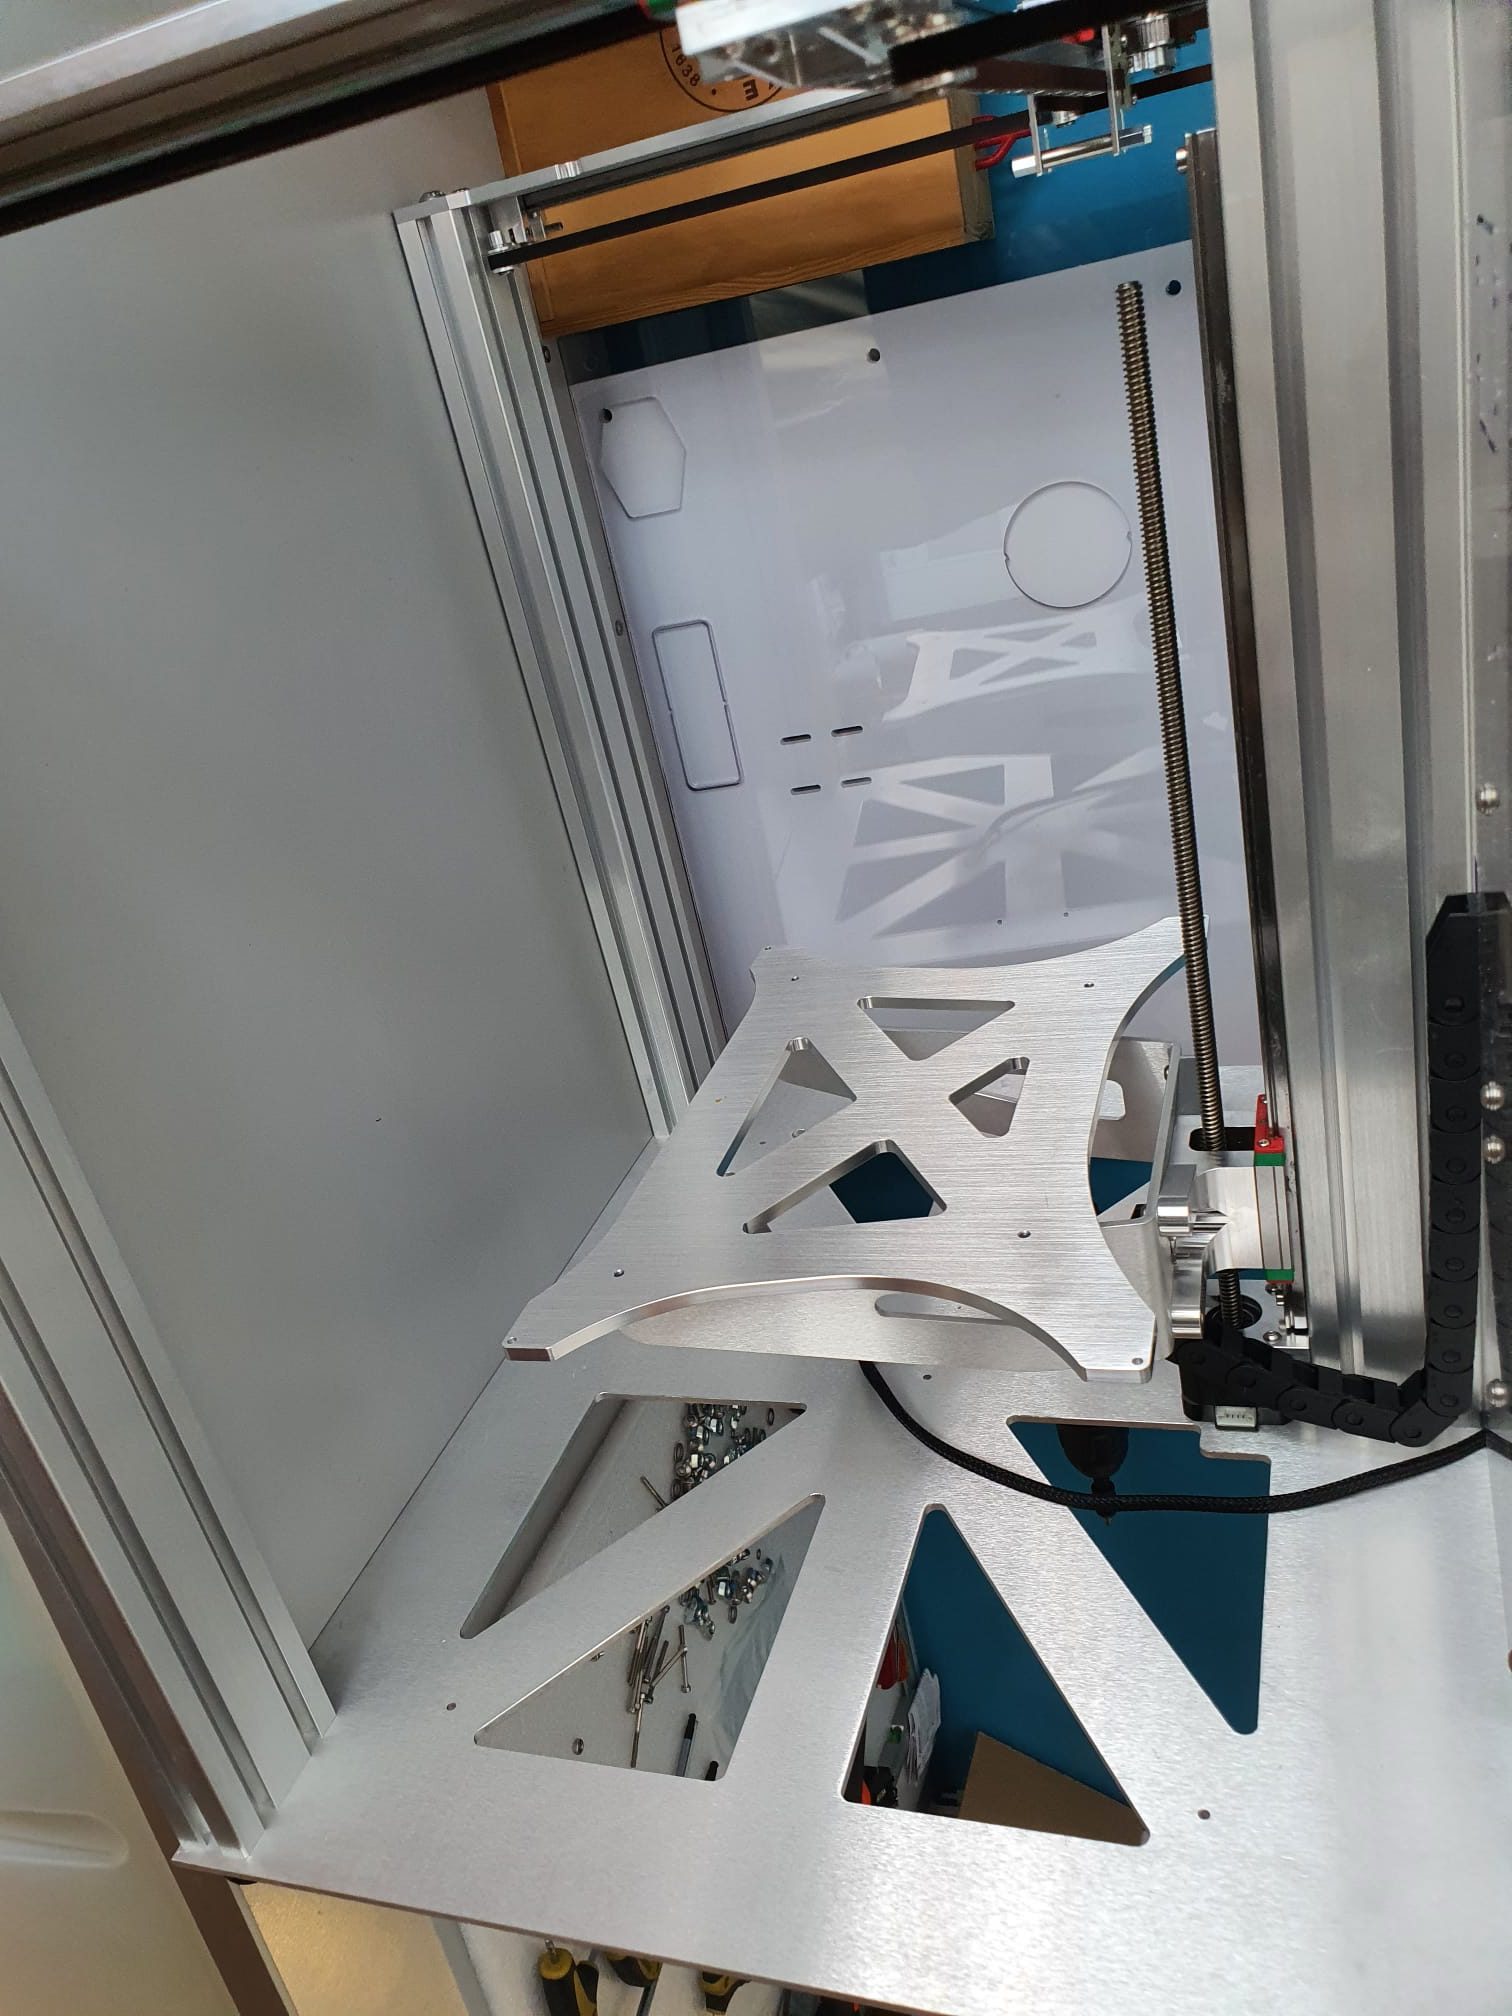
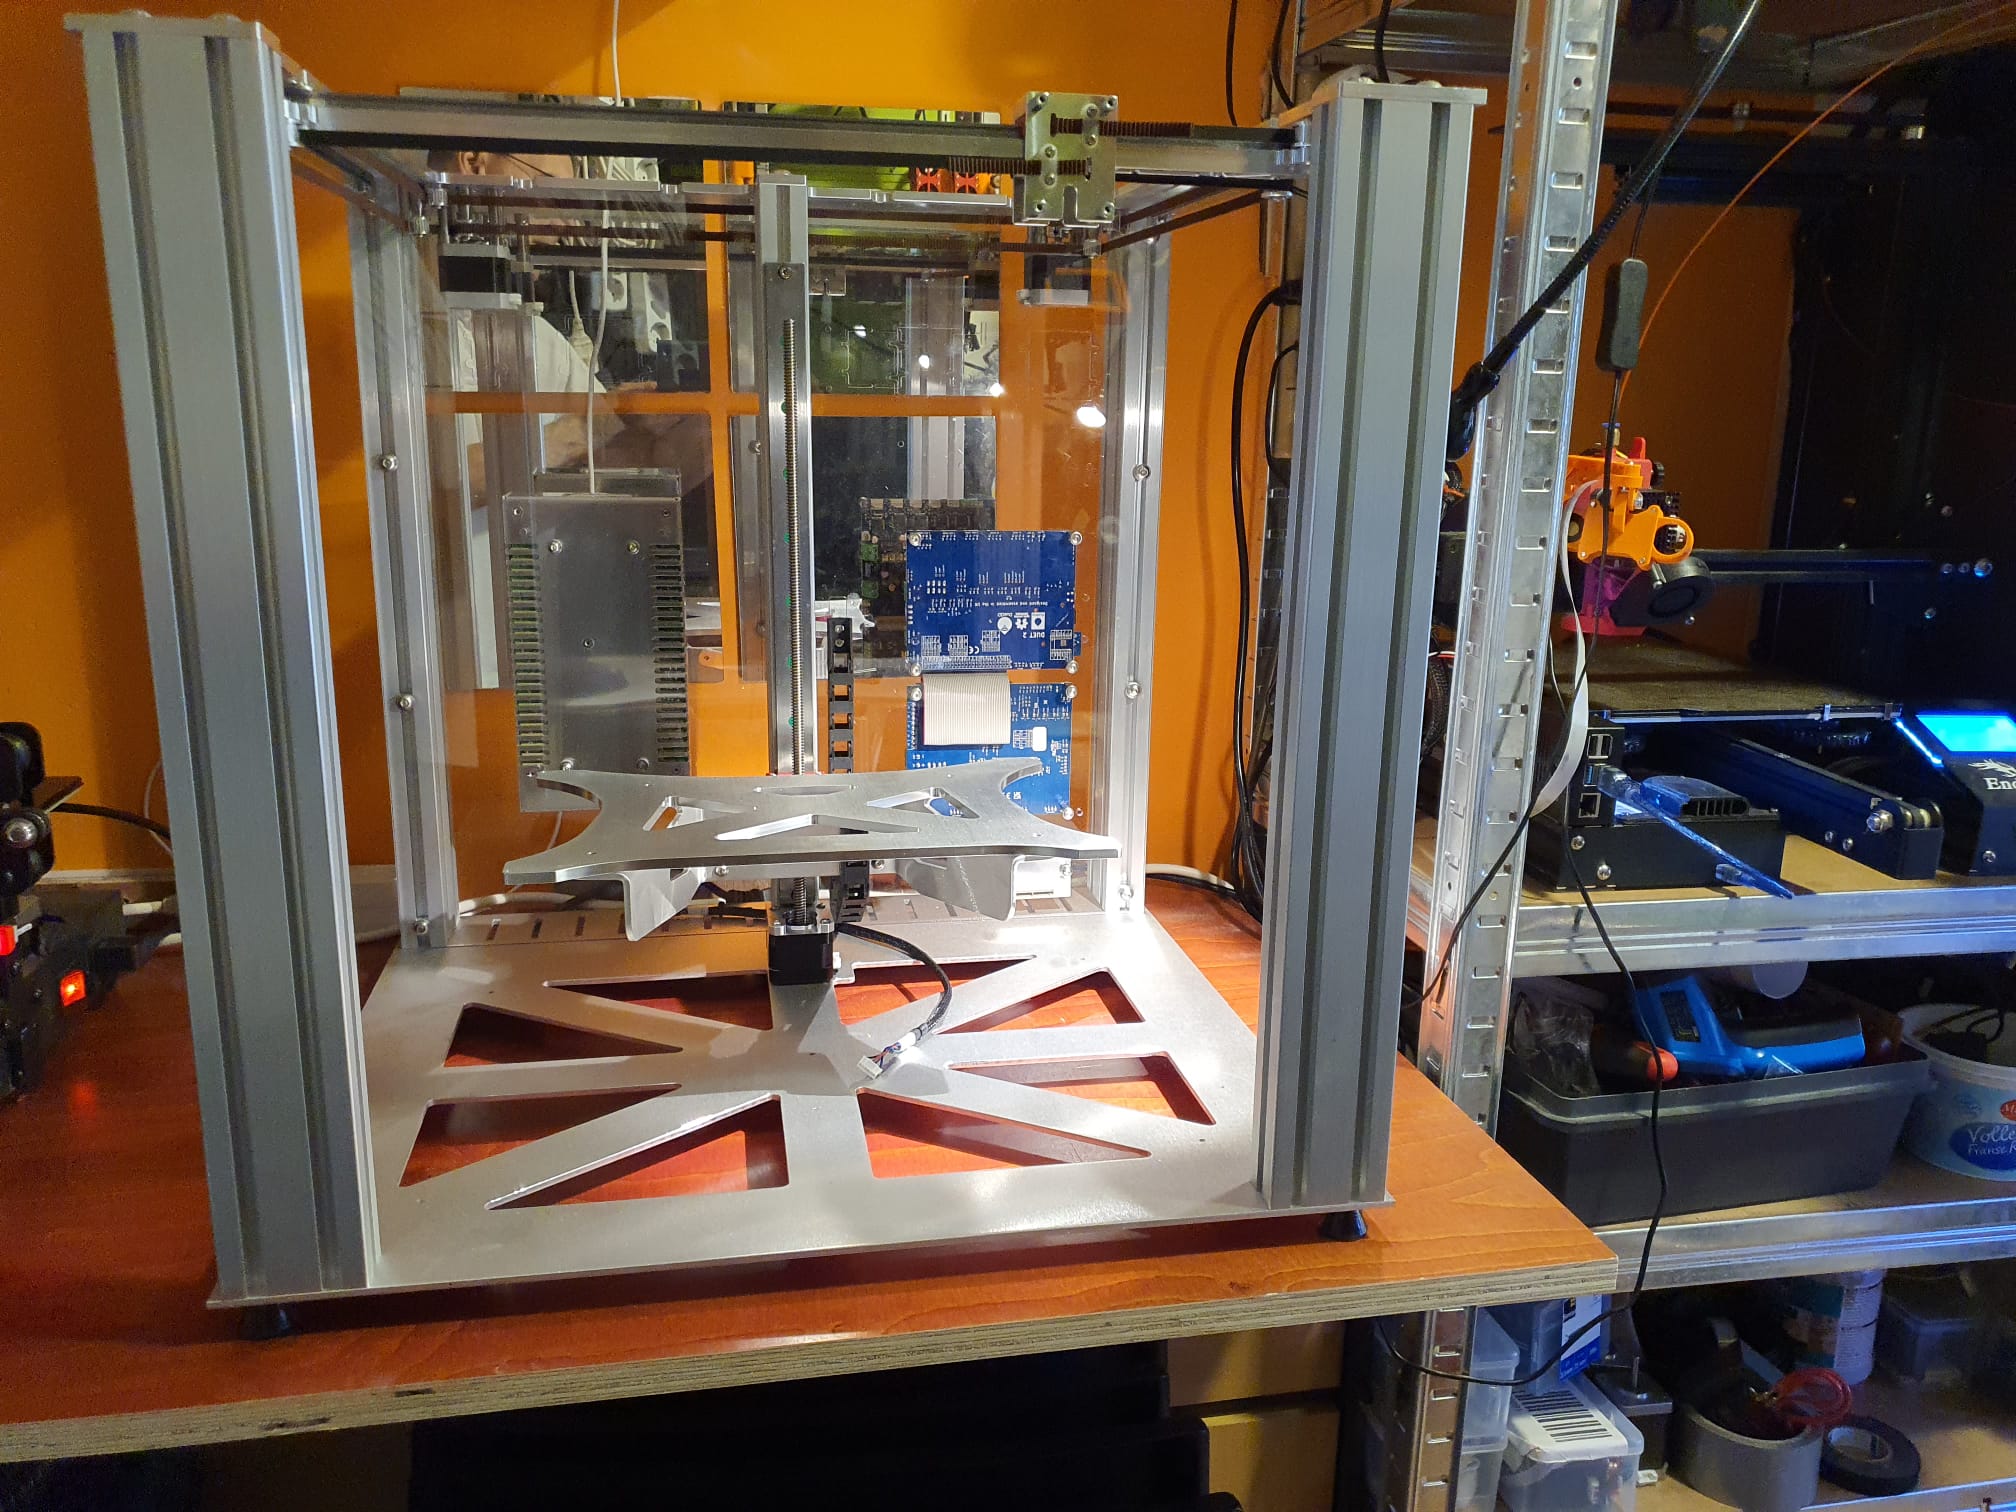
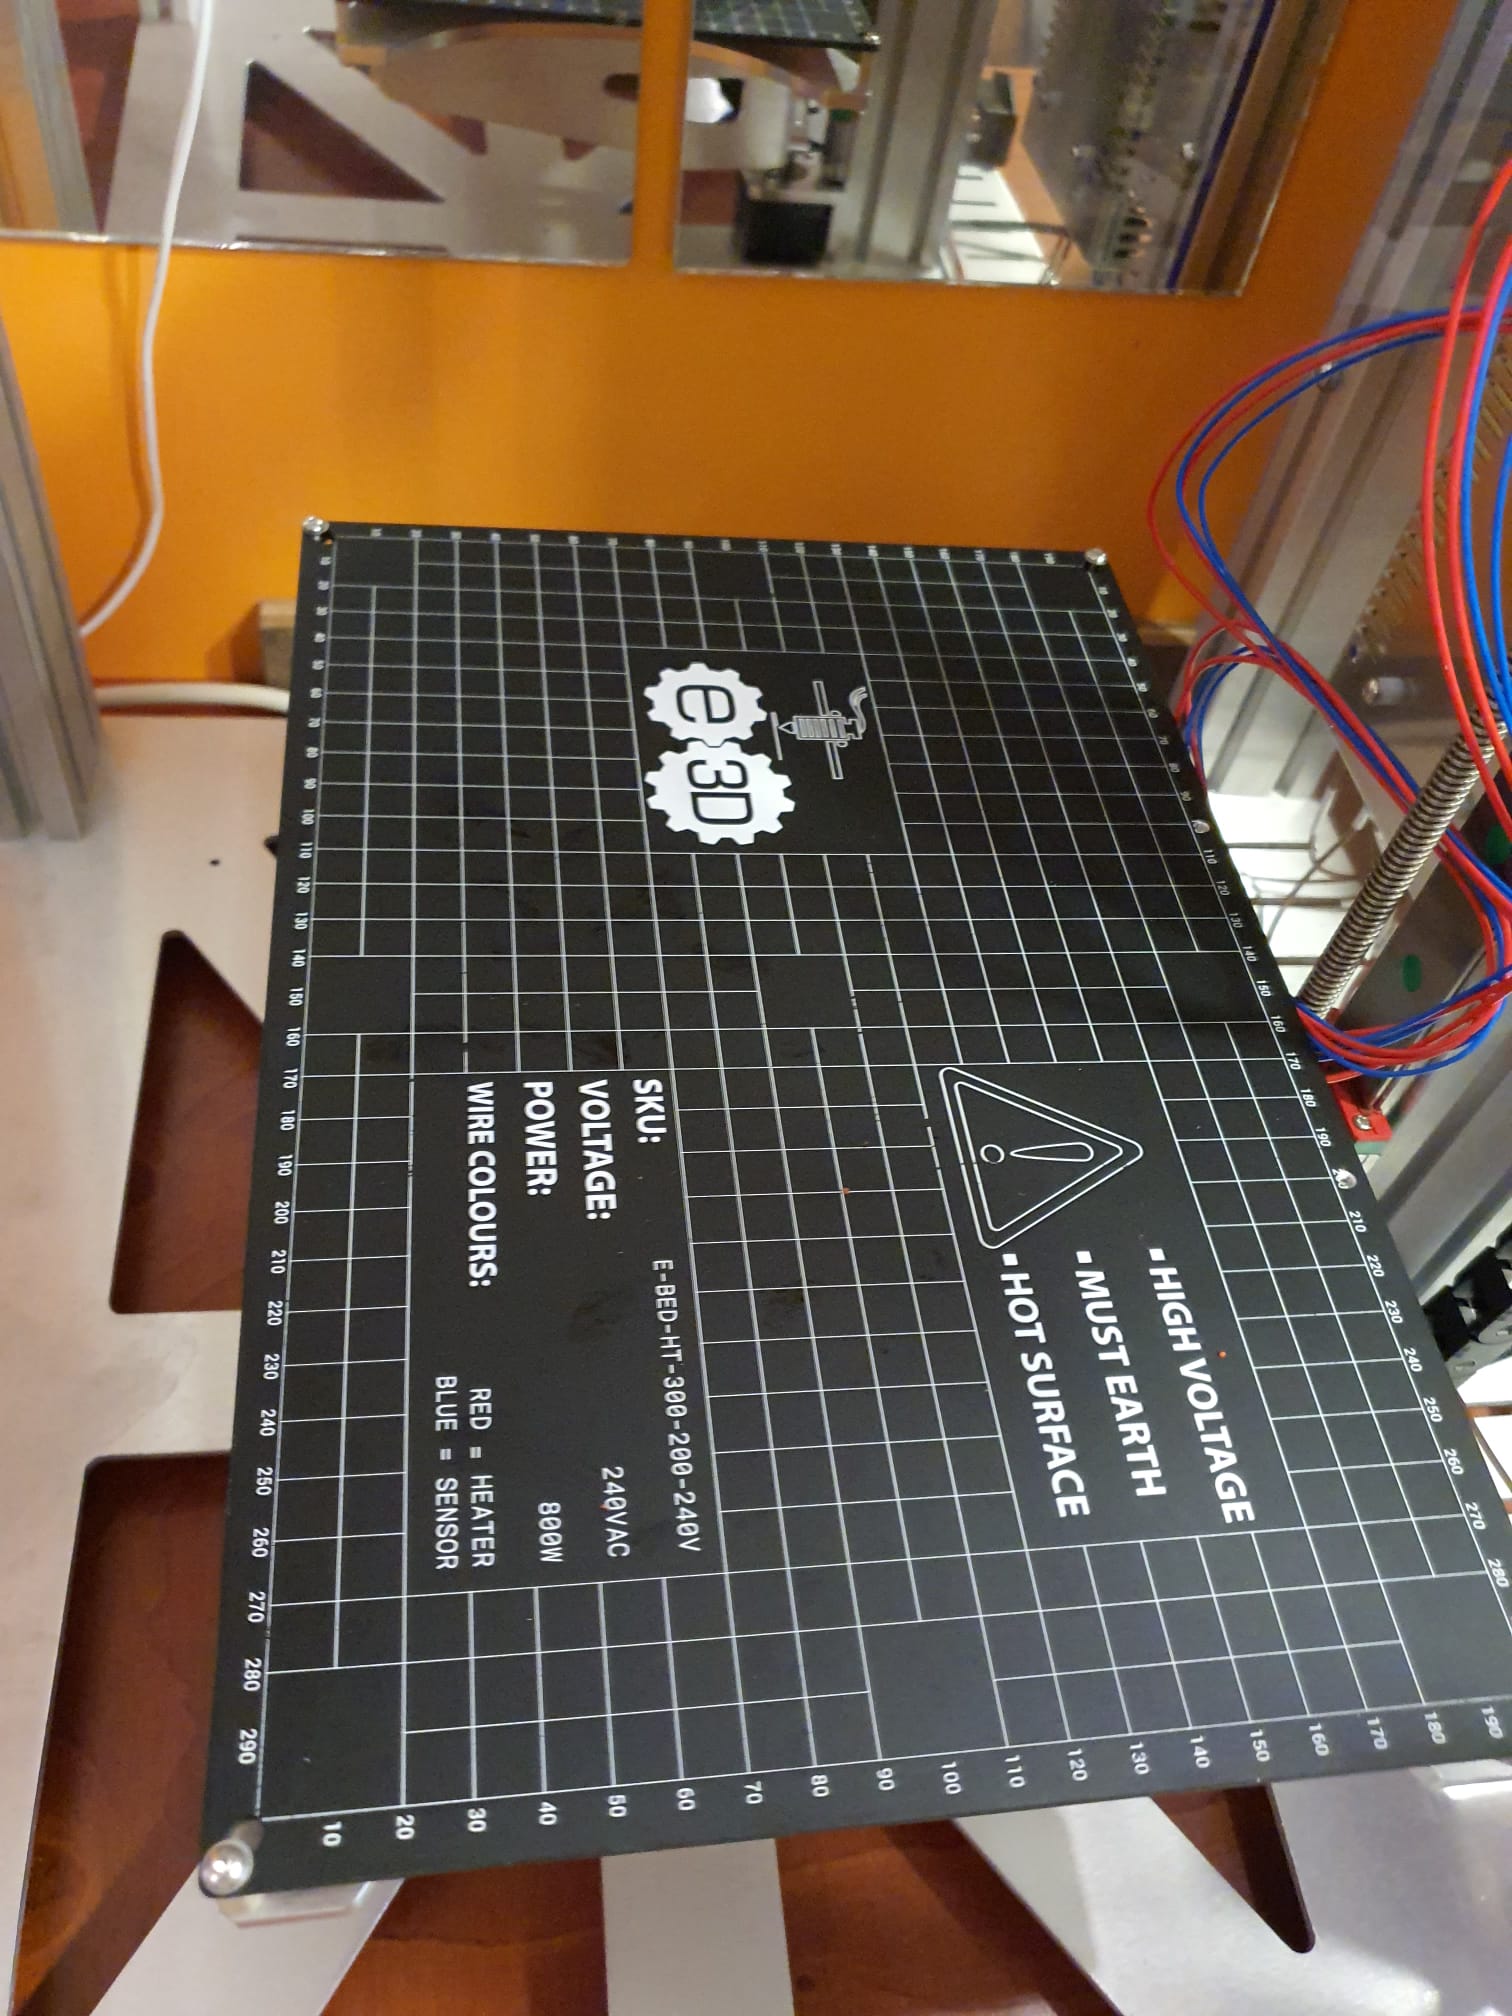
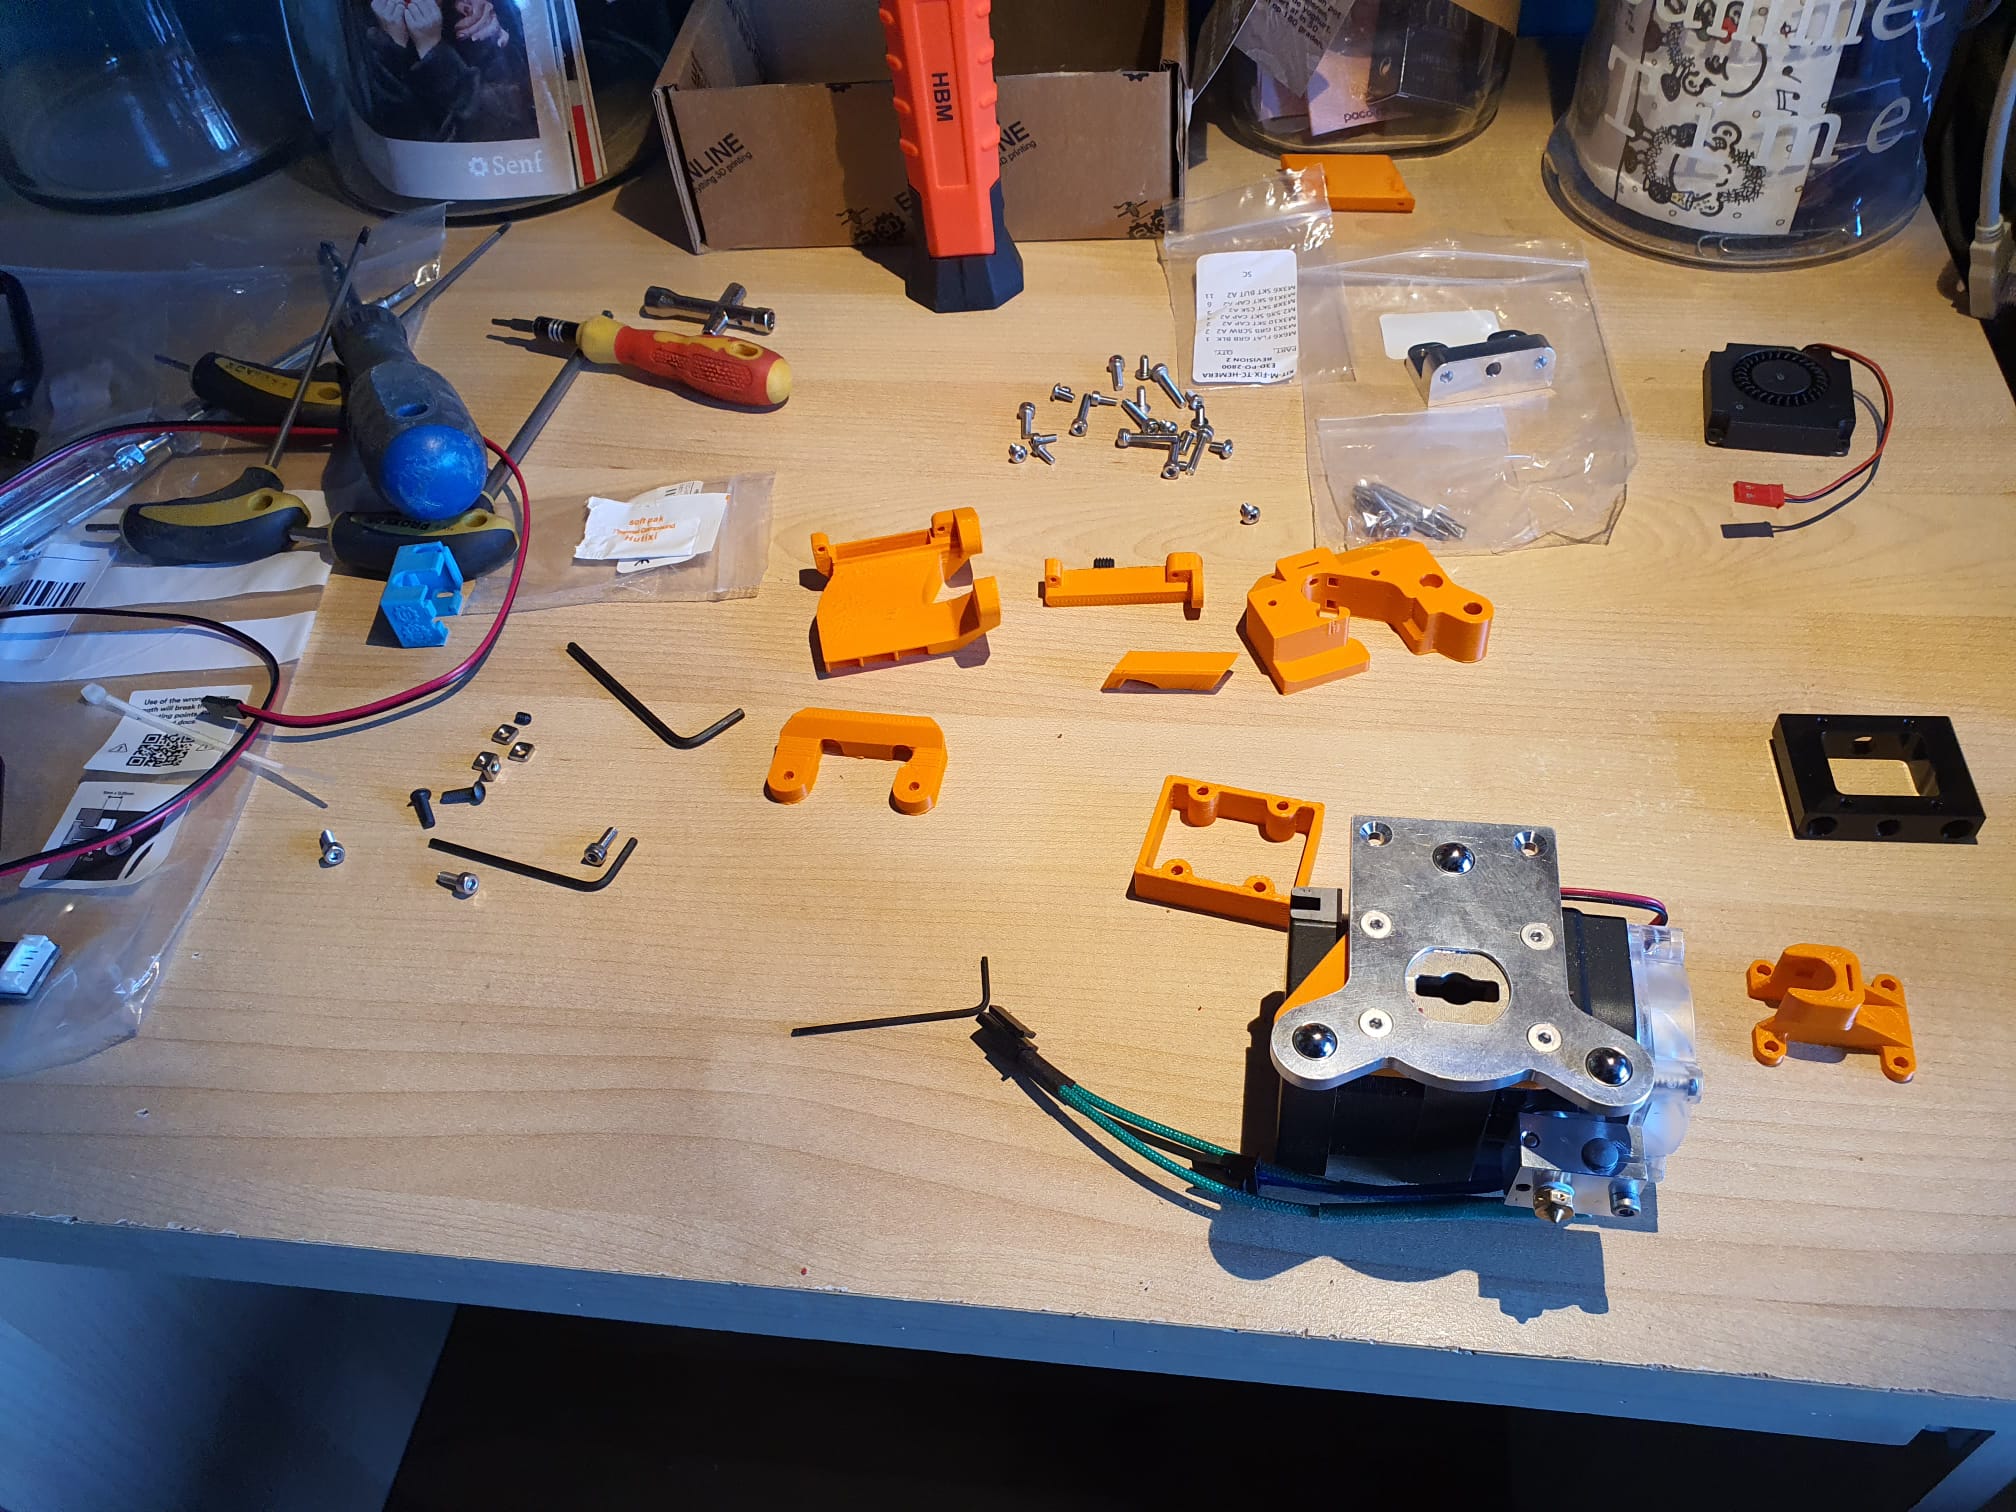
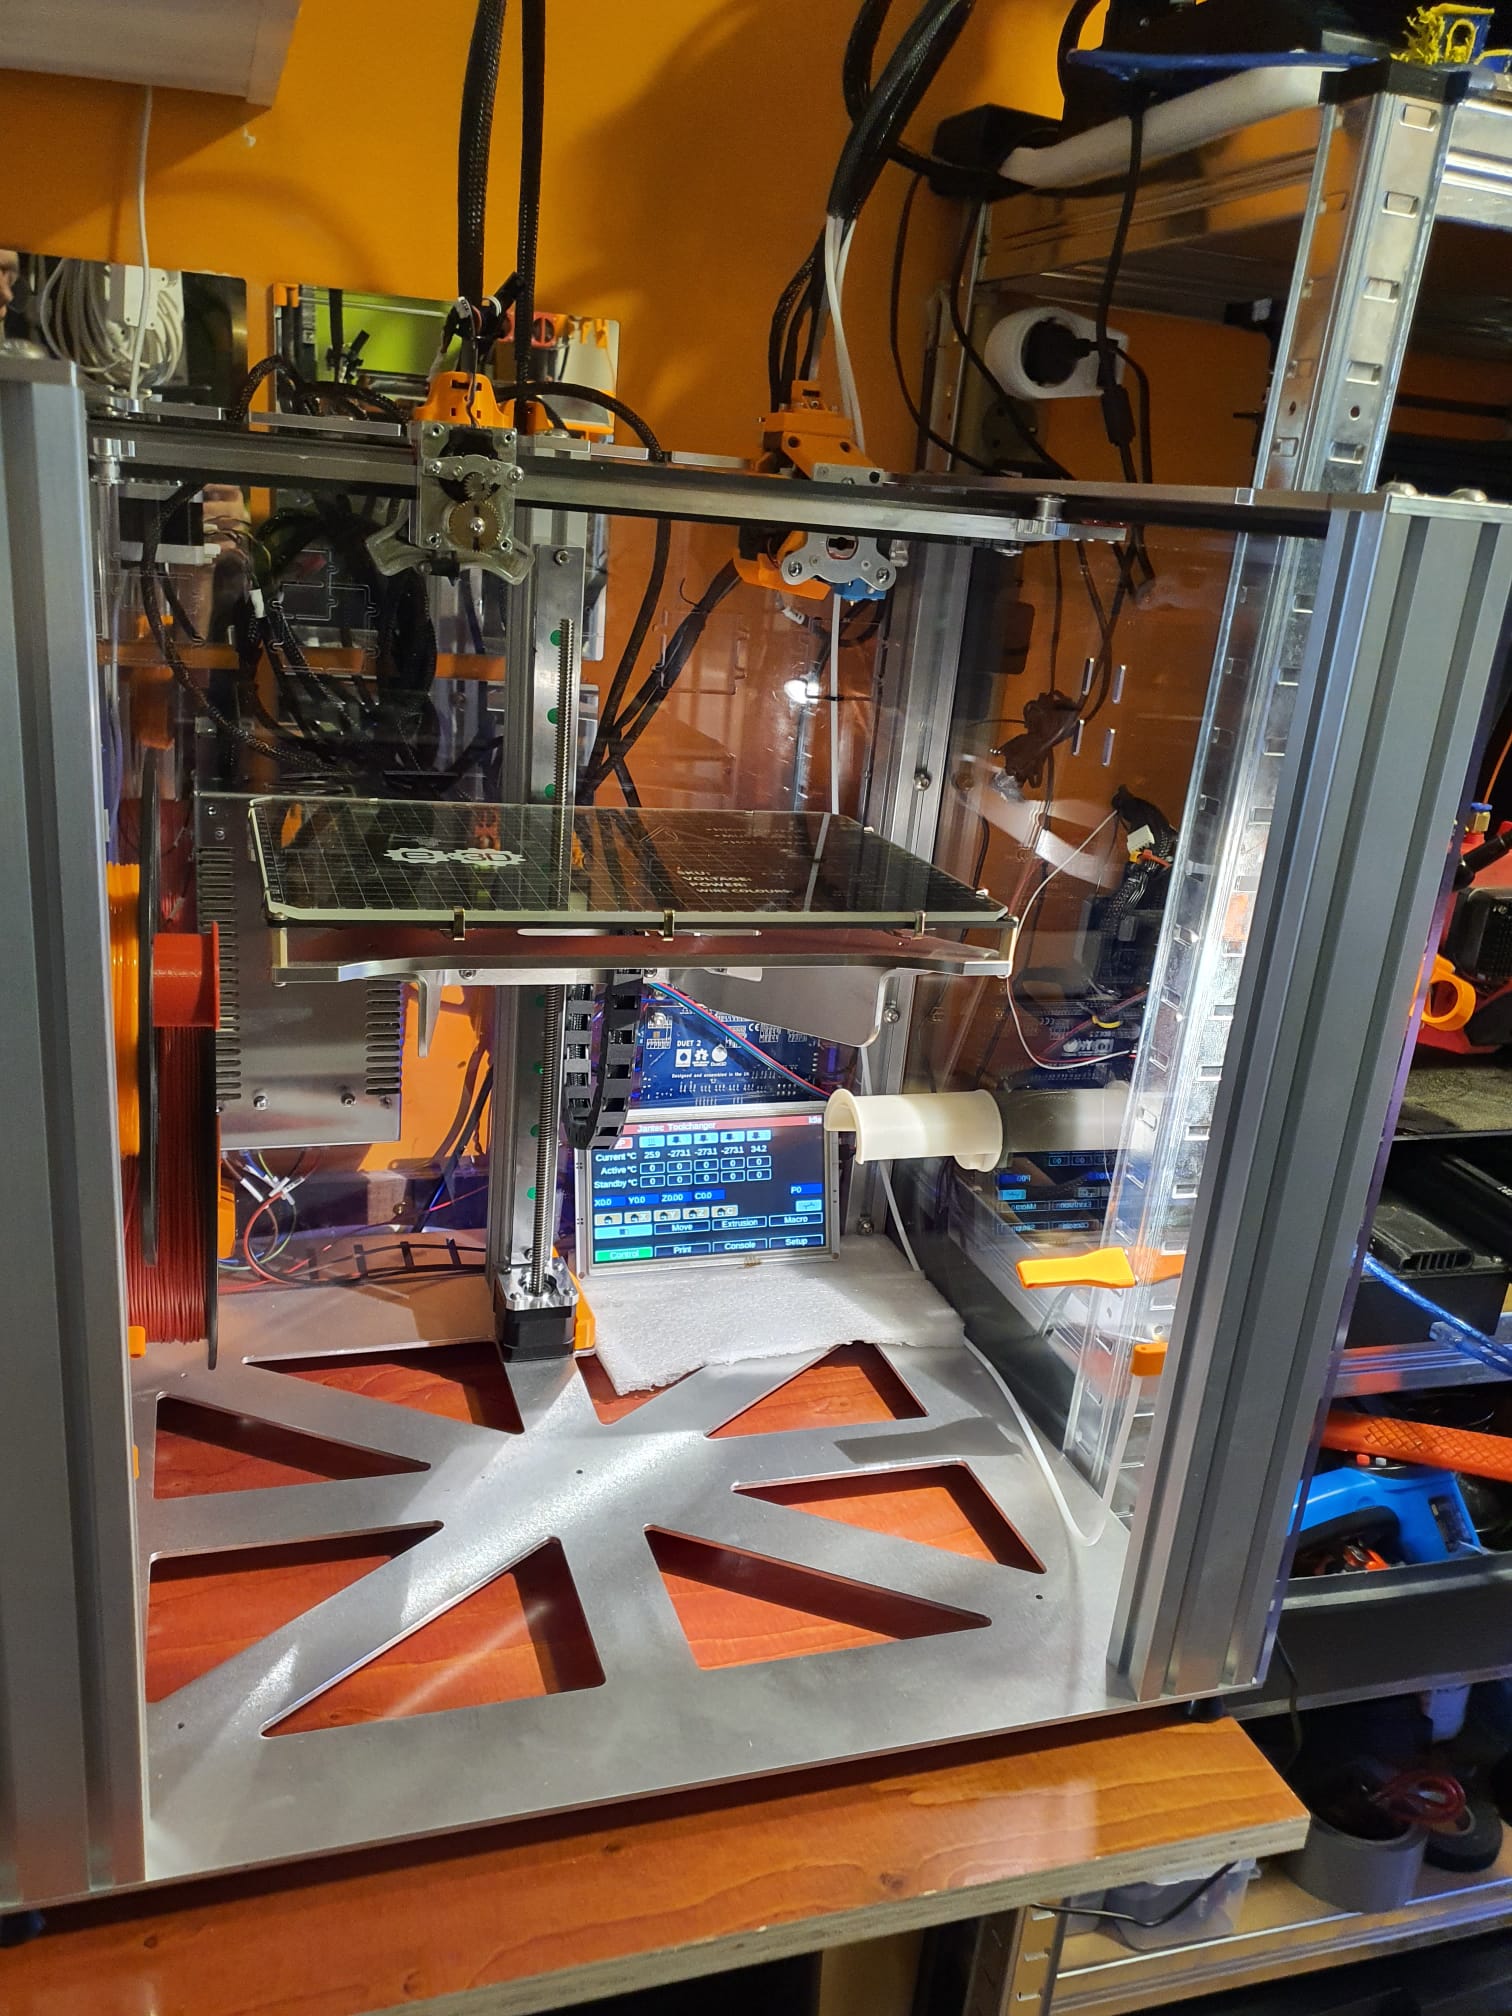
June 2022: Last week I ordered the E3D toolchanger 3d printer kit and today I built it (almost completely).

The delivery went a bit awkward from England, because of the VAT and clearance fees you have to pay in NL.

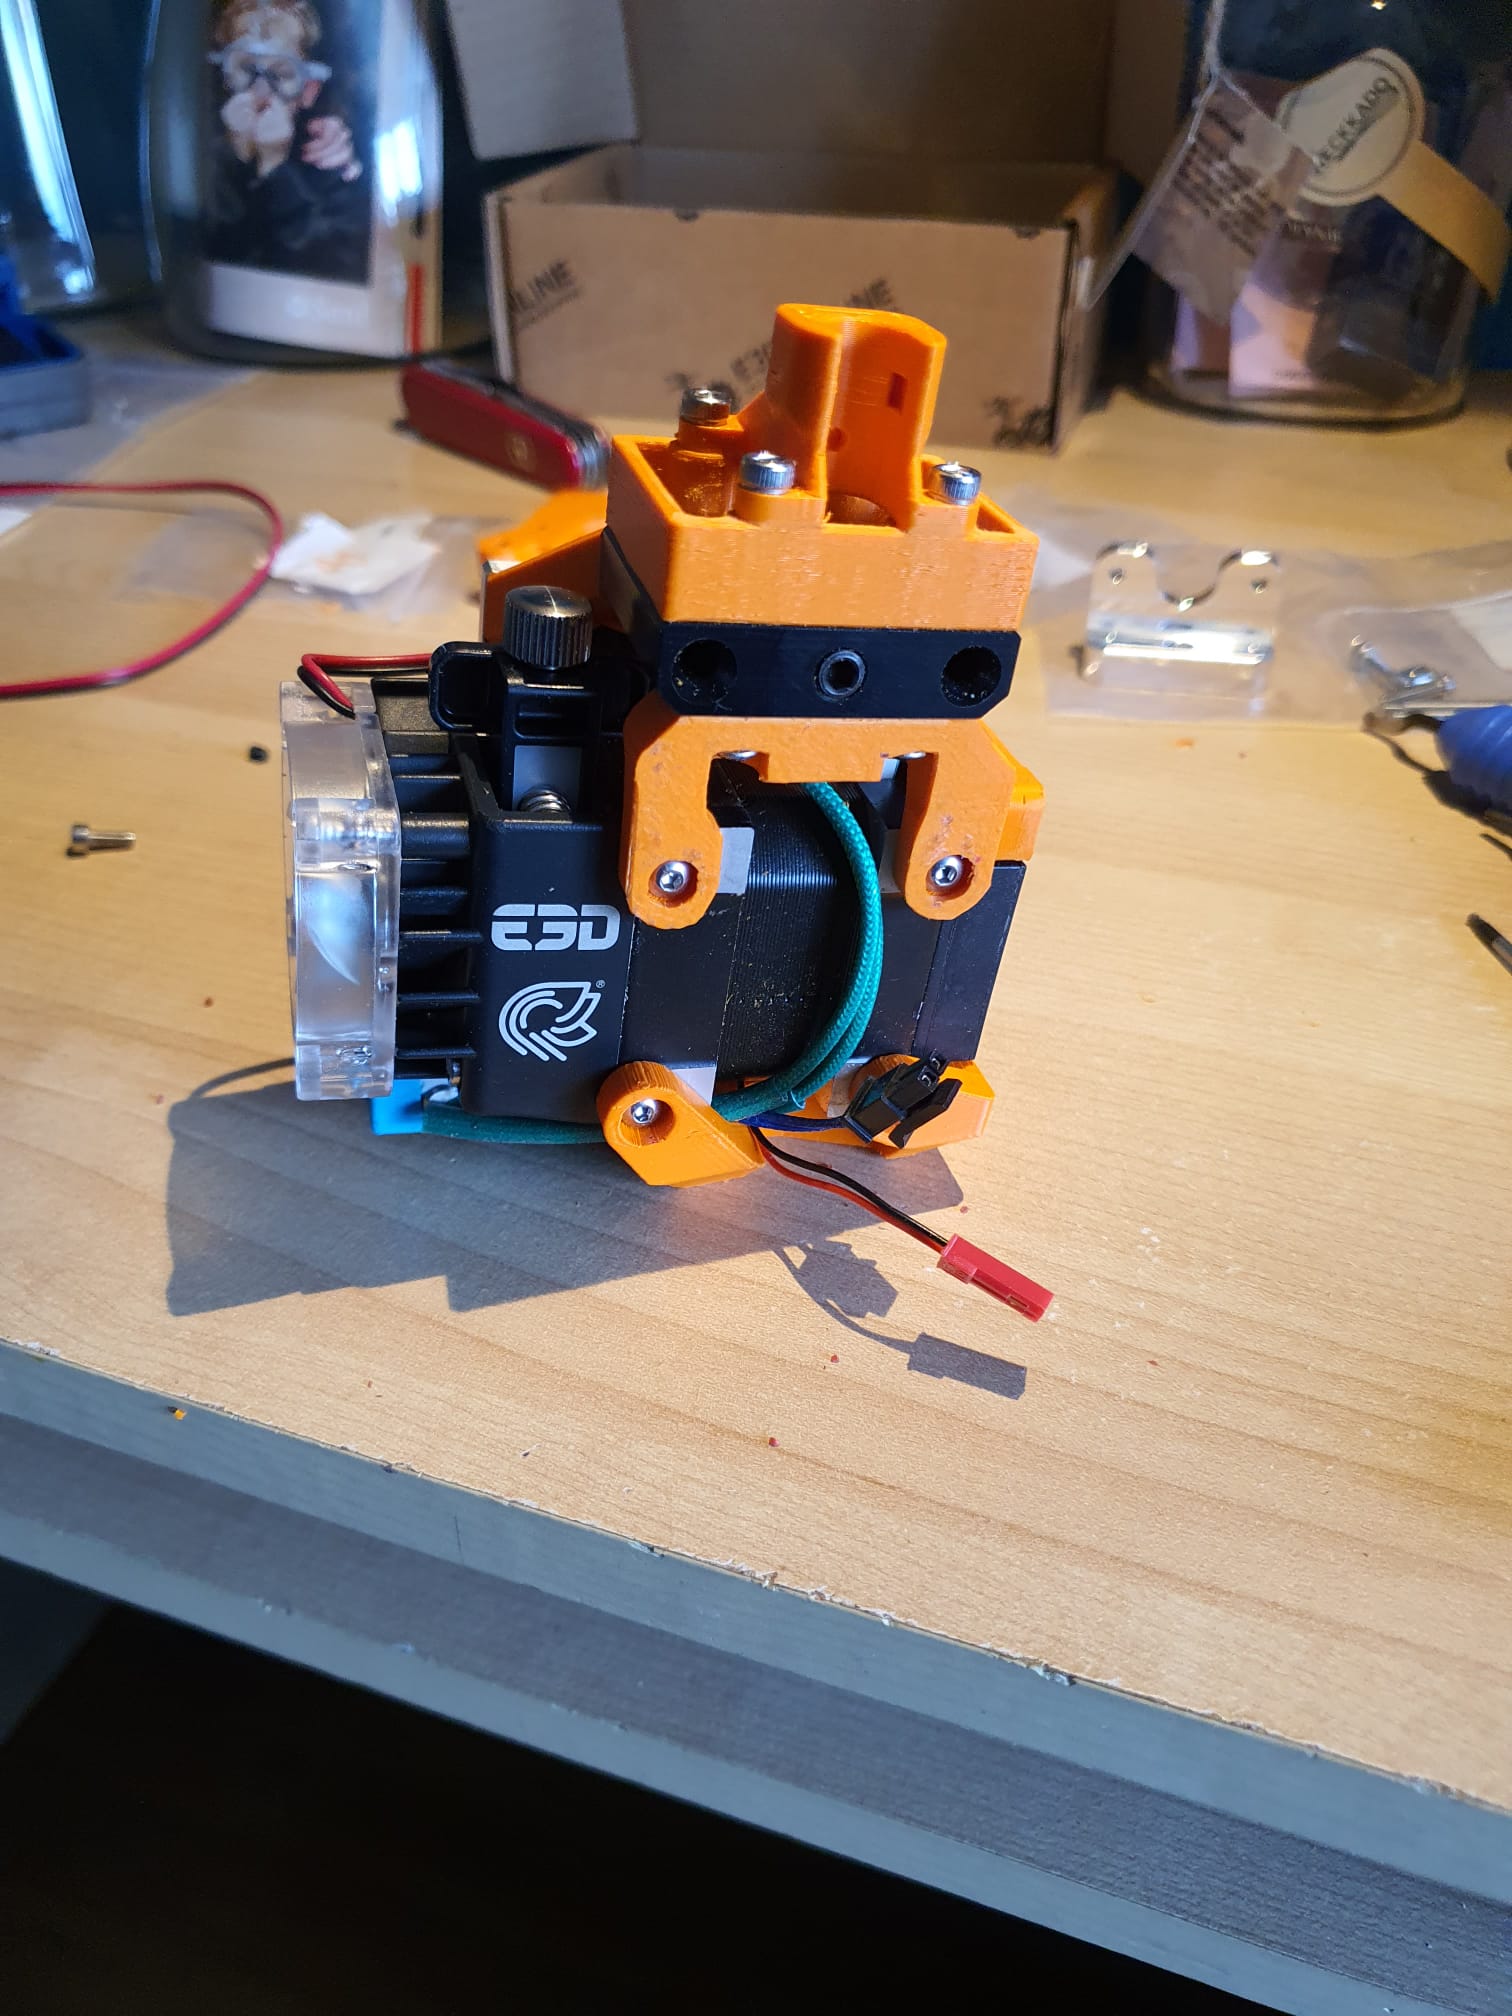
Because my Voron 2.4 is fast, but could not print everything in one day, I have to assemble 3 more extruders.

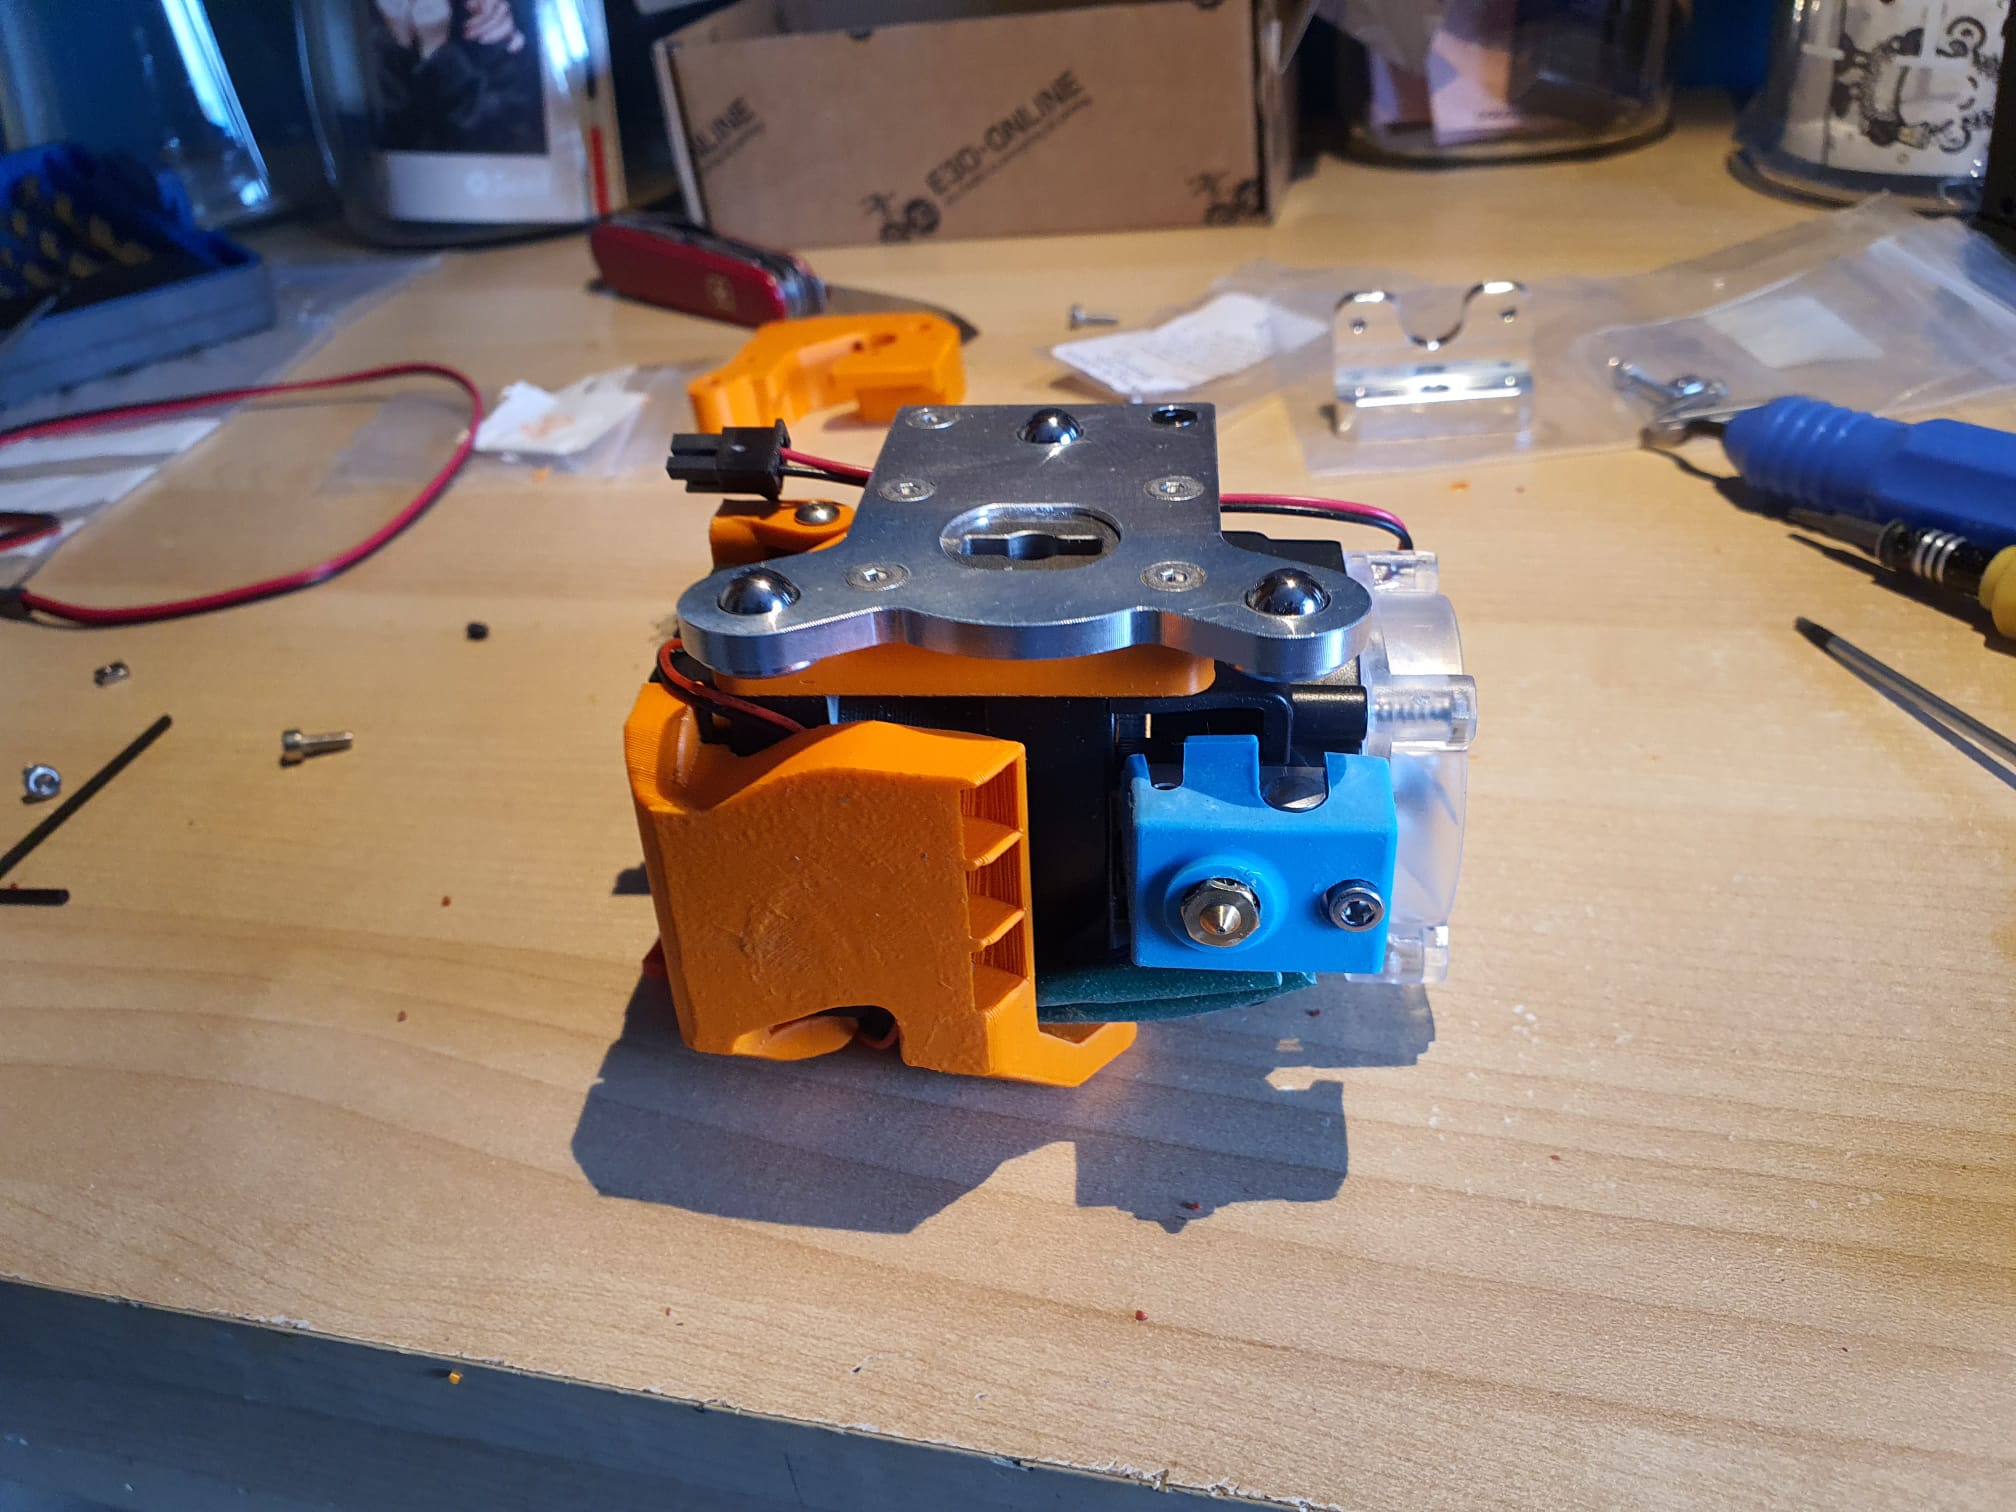
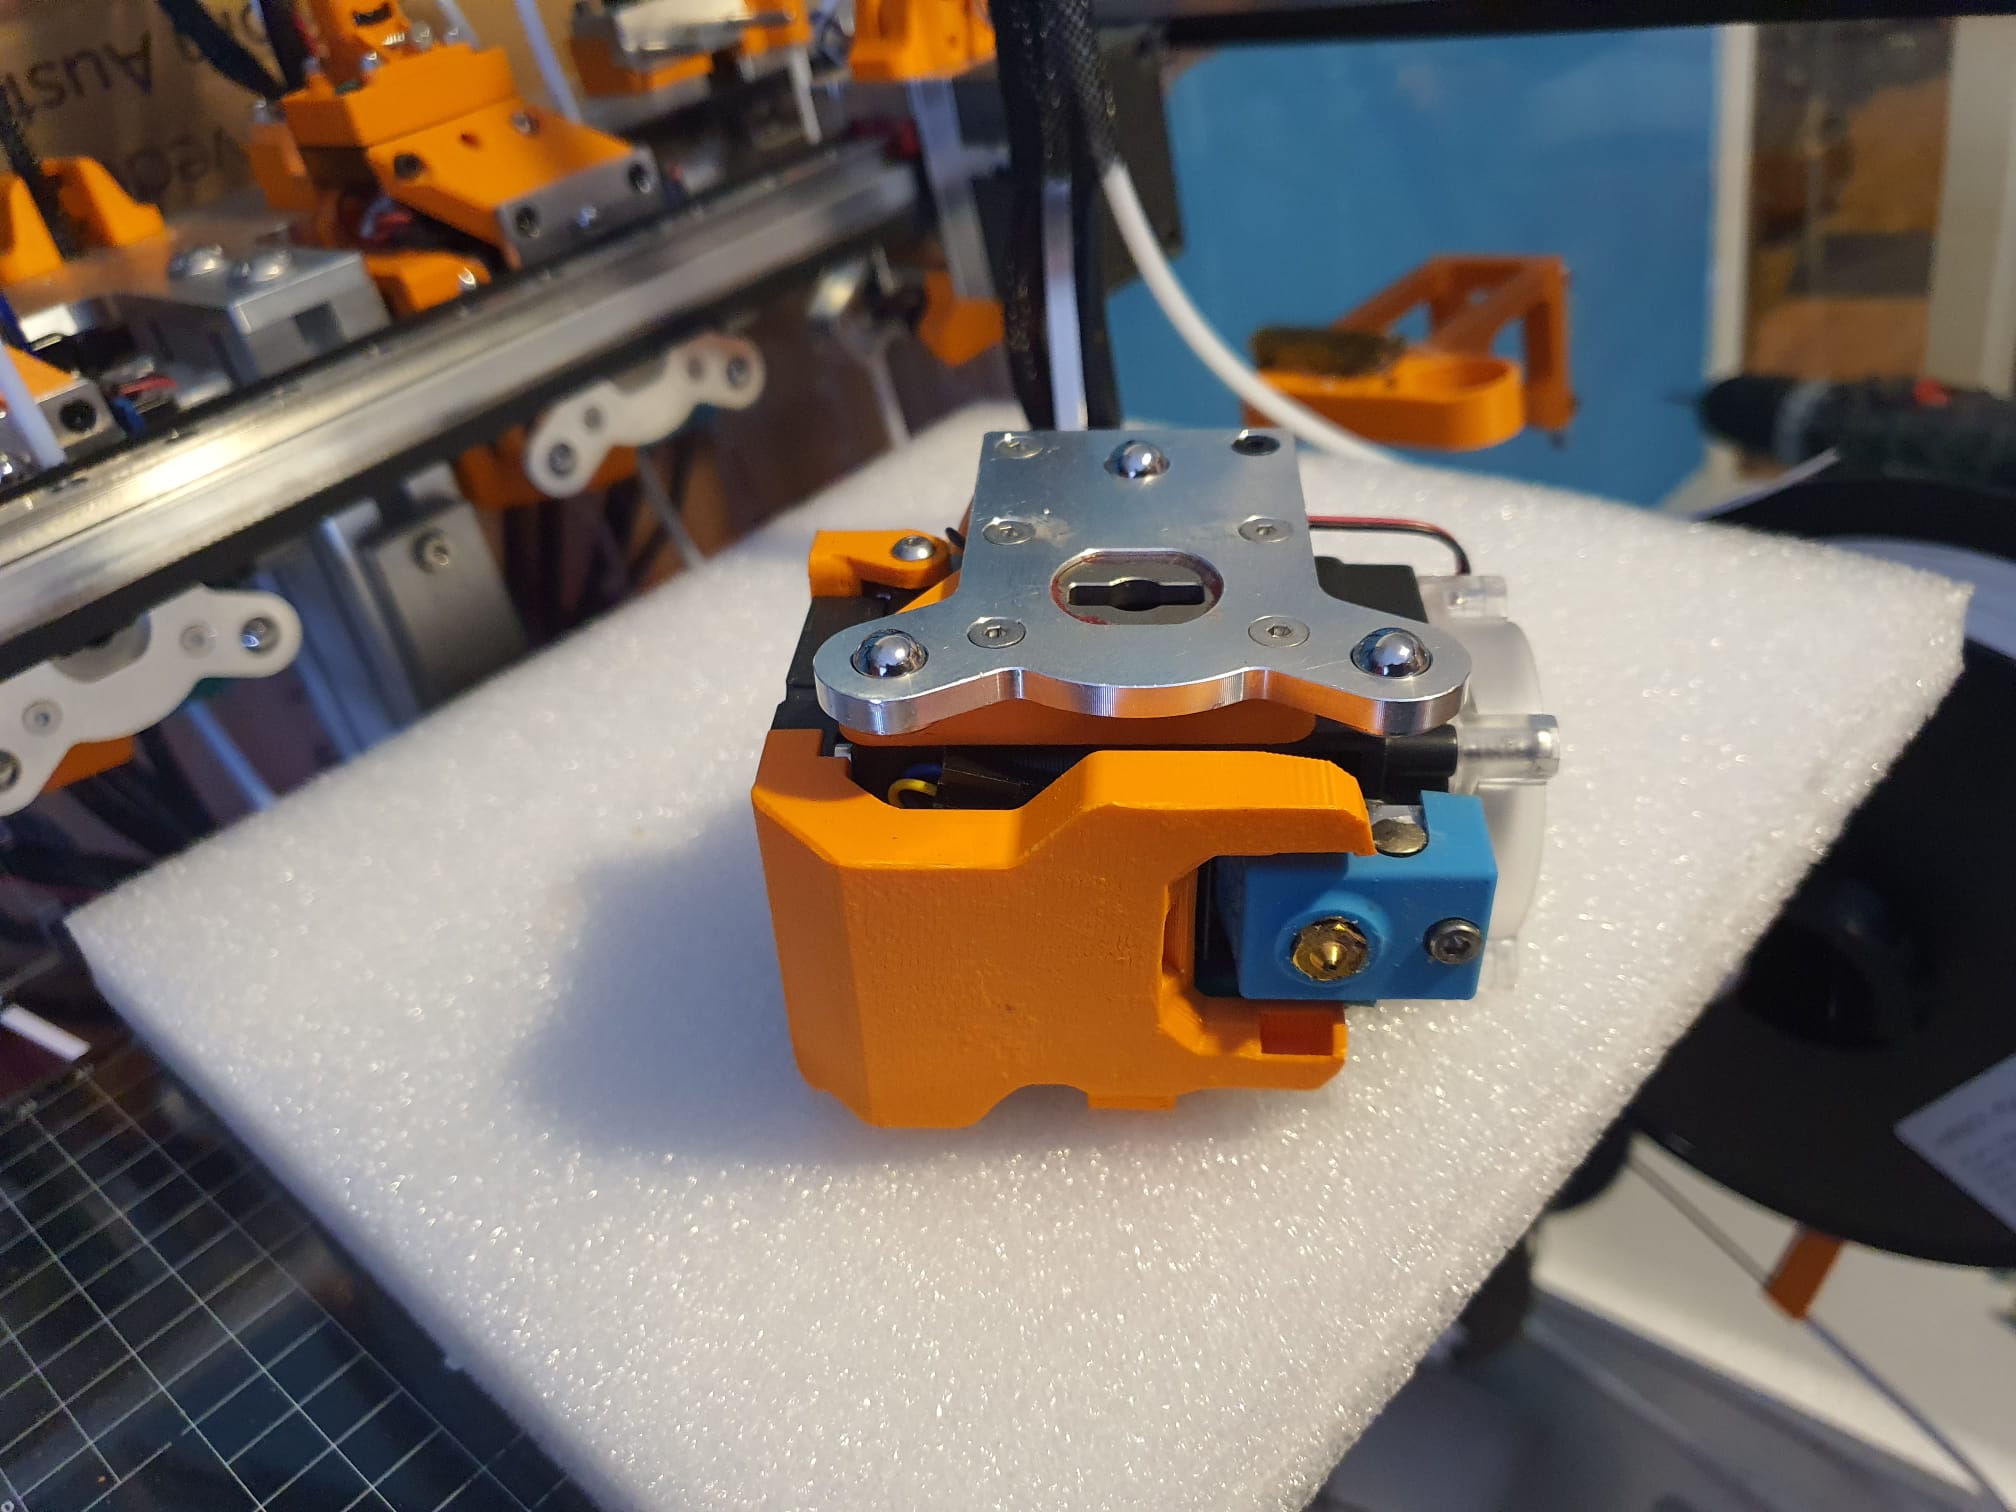
Below you can see my shot with a Hemera direct drive extruder mounted on the right side.

To be able to follow everything on the video, I set all of the tool change speeds to 10x slower for a moment.

After the first day of test runs I swapped the original Duet2wifi board for a Chinese clone.

From the clone the wifi is impeccable, but the new updated wifi module on the original Duet2wifi is also with all the updates not working properly.

Every time I perform a remote reboot after a config change the wifi crashes and the board eventually connects fictitiously to IP address 255.255.255.255.

Searched all sites for help but found nothing.

Lack of experience can hardly be it, I have plenty of printers running fine on duet2wifi.

Just to be sure I have ordered an original Duet ethernet board, then I can convert the original board to duet2ethernet and I can at least still use it.

I ordered the version with 4 tools, the direct drive hemeras.  I also want to work with soft filament.

The nice thing about this experimental printer is that everything works with Duet, and I have quite a bit of experience with that.

The E3D TC will be my first semi-pro multicolor printer.

I have an Ender3 pro with MMU2S, an A30M with Chimera dual nozzle and an I3BearV3 with dual magnetic carriages.

But out of these 3 systems there is no one that really makes perfect prints.  They each have their specific qualities and features.

The Ender3/MMU2S can quickly print PLA and PETG with 5 colors but requires a filament spillage tower on the bed and is very cumbersome and slow to use.

TheA30M with Chimera is nice and fast and large (300x300x400mm) in build volume.  But the print quality is reasonable at best.  The dual nozzle Chimera with the nozzles at the same height hits with each movement just with the unused nozzle the tip of the filament deposited by the active extruder.  This results in smudges and a less beautiful print.  Yet I use this reasonably often, especially for quick test prints and at 0.2 0f even 0.3 mm layer height.  That works fine.

First impressions:

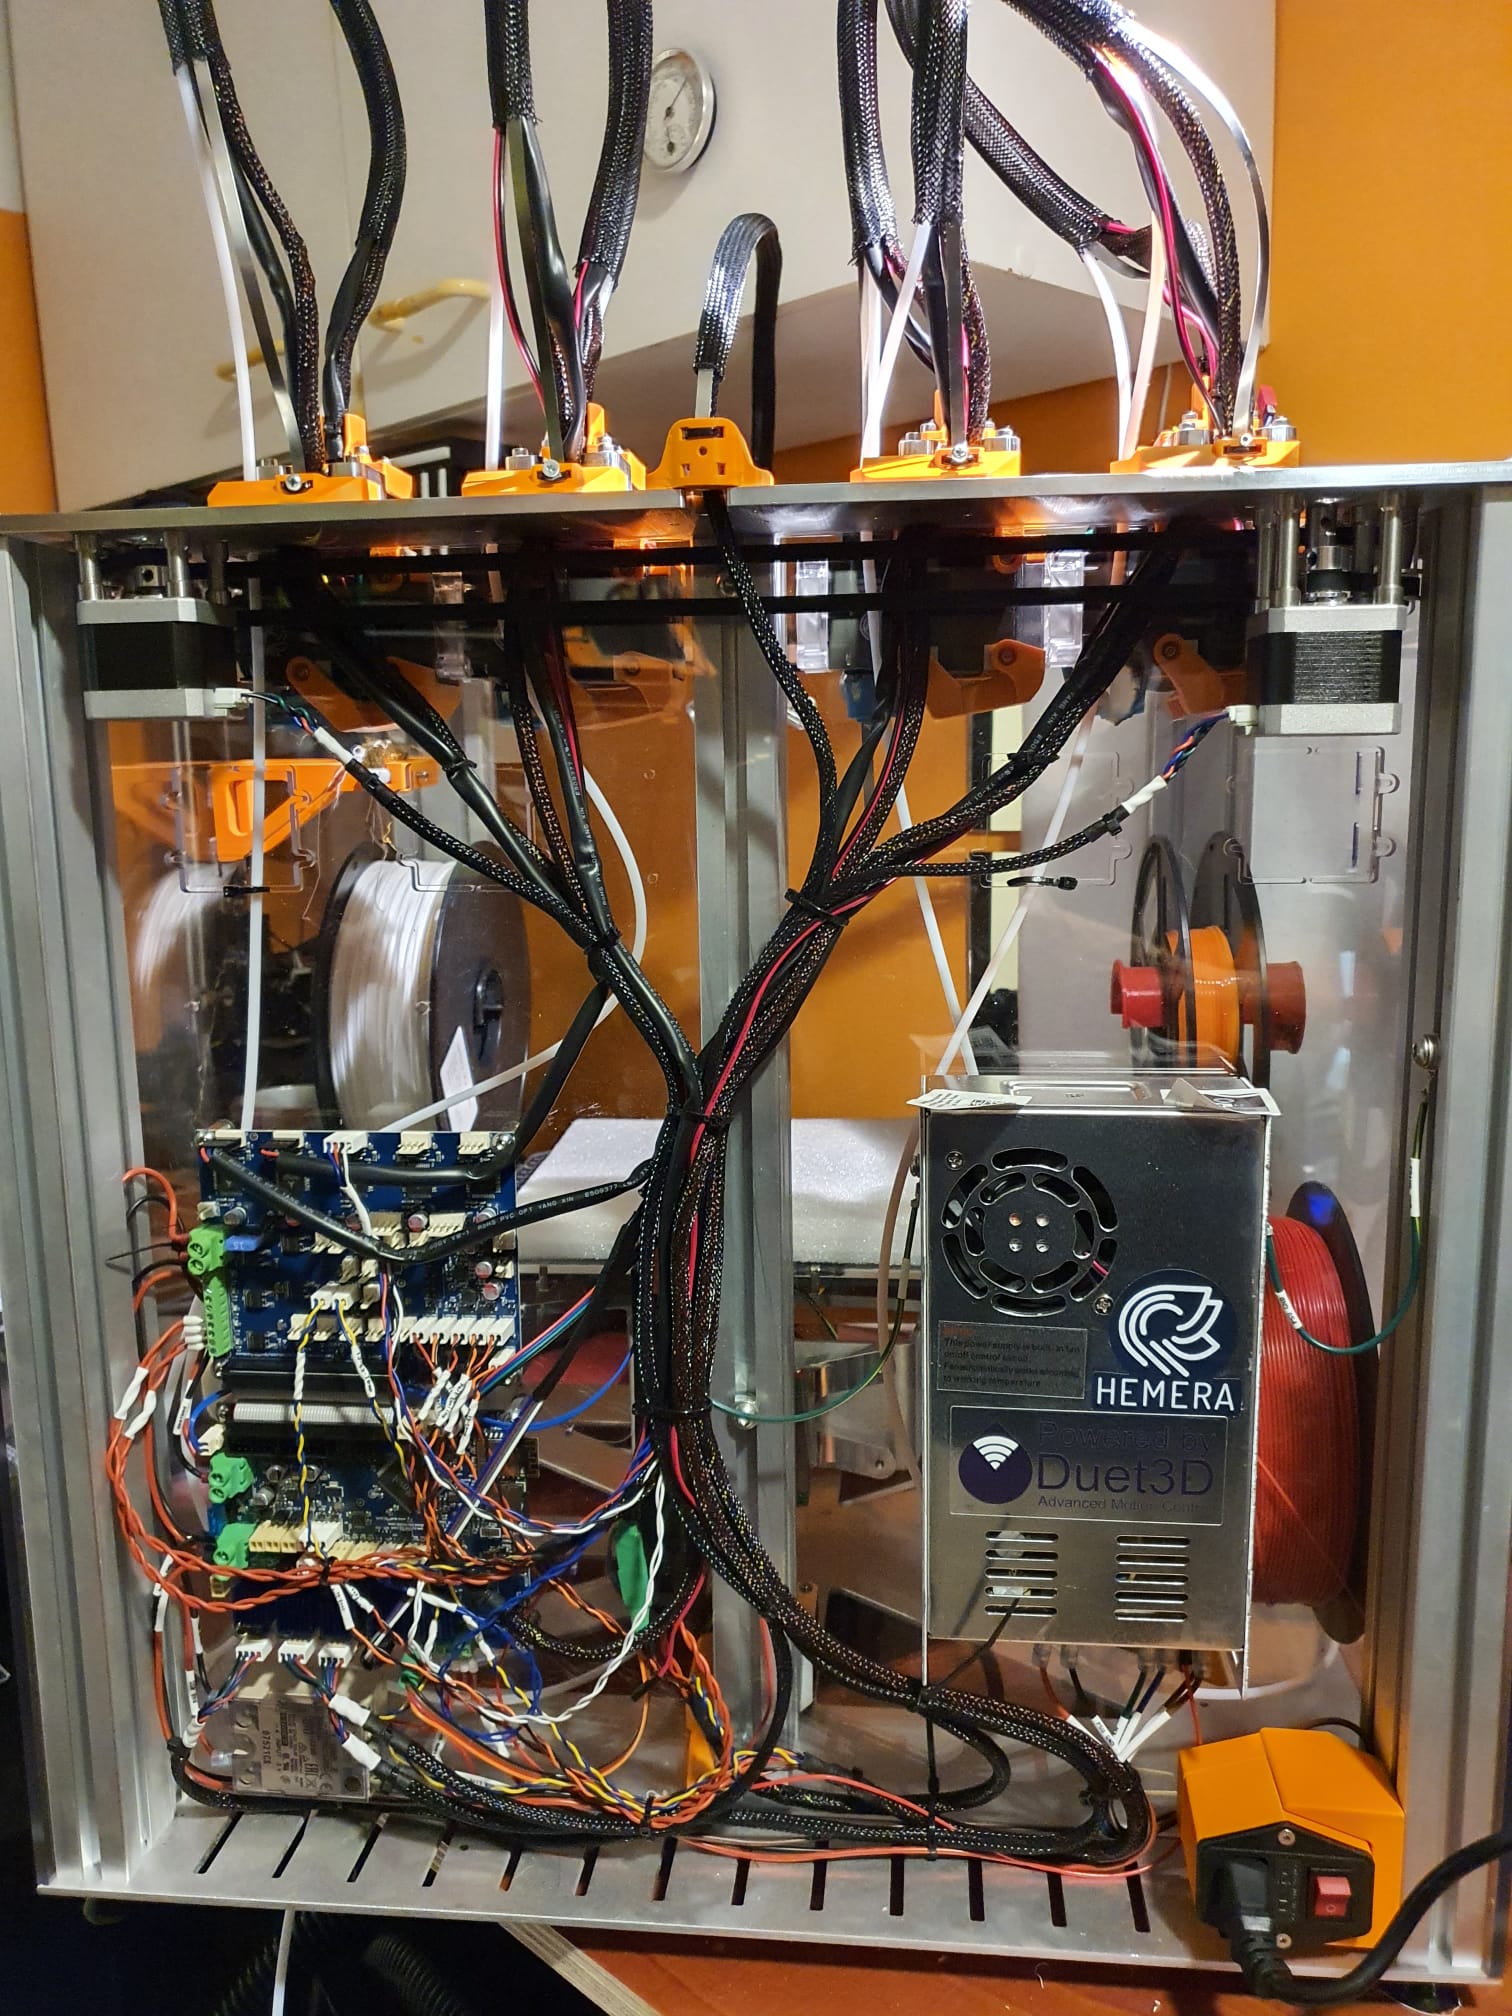
Please note that the Duex5 and Duet2wifi are initially incorrectly mounted here! The Duet must be below the DUEX5!

Here the object fan duct of the original version is used, I will update this later to the new version with the surround air ducts.

I printed everything with orange ASA on the Voron 2.4 at 150mm/s and 0.2mm with the E3DV6 direct drive Voron extruder and a 0.4mm copper nozzle.  Again, that went great!

By the way, there is something to note about this kit.

It is definitely not an ‘out of the box’ working system.

The hardware is outstanding, so are the manuals, better than anything I’ve ever seen.

The Duet and Duex combination is perfect and all the cables and screws, nuts, pins, gears and so on are nicely labeled and of fine quality.

The available config files, macro files and example print files are also great to start with.

And therein lies the problem for non-experts: All values are set to the best possible configuration.

And depending on your choices of extruder, bowden or no bowden and so on you have to make some adjustments here and there.

I had to recalibrate everything in terms of pickup Y values in the tool changer files before the tool was actually picked up and returned nicely.

In addition, it turned out that the tool pickup has to be adjusted very accurately to get the slot in and out of the extruder plates.

You have to understand how this is built, especially in the firmware.

Then you understand that the system has to reset to the start position every time at the start, and then the system makes that the reference point. Then you have to measure where 1) the open position is and 2) the locked position is.  Those values must be entered as C values in the pickup and return macros.

What I also find difficult is that there are no sensors (yet) to check whether the tools are in use or parked.

That means that you can just give a command to do a homeall while there is still a tool hanging on the pickup.

I would like to know that because then you program around that.

And so there are some other things like no filament sensor on the tools, no LED lights on the pickup but I’ve already seen a handy bracket for that.

So a very nice and good system, worth its money and high quality material, design also beautiful and still much to tinker with. Thank goodness!

In any case I’m going to reuse my Z-homing files from the previously built mullti- extruder machines with Duet.

Because this E3D works with a pre-homing without the tools hanging from the pickup, you will have to calibrate a Tool at Z distance relative to the pickup value every now and then.

And also the mutual differences in X and Y of course, relative to Tool0.

I have some nice macro tinkering for that too!

Next week onwards!

hole and pipe placed to adjust the magnetic coupling with the socket screw

error: Content is protected !!